
Okra has an unfair public-relations problem. Mention it at dinner and someone will immediately whisper the word “slimy” as though describing a kitchen crime scene. Yet properly cooked okra can be crisp, smoky, tender, pleasantly grassy, and surprisingly addictive.
The secret is not a complicated chef ritual involving copper cookware and a full moon. Choose tender pods, dry them thoroughly, use the right cut, and match your cooking method to the texture you want. High, dry heat minimizes the vegetable’s famous slipperiness, while gentle simmering deliberately uses its natural mucilage to thicken gumbo, soups, and stews. Both approaches are correct; they simply lead to different dinners.
This 14-step guide explains how to select, prepare, season, and cook okra successfully, with practical instructions for roasting, sautéing, grilling, frying, air-frying, and stewing.
What You Need to Cook Okra
Basic Ingredients
- 1 pound fresh okra
- 1 to 2 tablespoons olive oil or another cooking oil
- 1/2 teaspoon kosher salt, plus more to taste
- Freshly ground black pepper
- Optional seasonings: garlic powder, smoked paprika, cayenne, cumin, Cajun seasoning, lemon juice, or vinegar
Helpful Equipment
- A sharp chef’s knife
- Clean kitchen towels or paper towels
- A large baking sheet, cast-iron skillet, grill, air fryer, or heavy pot
- Tongs or a wide spatula
How to Cook Okra in 14 Steps
Step 1: Choose Small, Tender Okra Pods
Start with bright green pods that feel firm but are not hard as pencils. Small to medium okra, generally no longer than about four inches, is usually more tender than oversized pods. Avoid okra with deep bruises, blackened areas, shriveled skin, or dry, woody stems.
Gently bend the tip of a pod. A fresh one should have a little flexibility. If it feels tough enough to repair a fence, it will probably remain fibrous after cooking. Tender pods are especially important when grilling or roasting them whole.
Step 2: Store Fresh Okra Properly
Cook okra as soon as practical because its quality declines quickly. Until then, keep the pods unwashed in the refrigerator, loosely wrapped in a dry paper towel or placed inside a paper bag. The wrapping absorbs excess moisture without trapping the okra in a miniature tropical swamp.
Use refrigerated okra within a few days for the best flavor and texture. Discard pods that develop mold, a strong off odor, or extensive soft, dark patches. Precut produce should remain refrigerated.
Step 3: Rinse the Okra
Place the whole pods under cool running water and gently rub away visible soil. Do not soak them unnecessarily unless a specific recipe calls for an acidic pretreatment. Washing the pods while they are whole limits the number of cut surfaces exposed to water.
Wash your hands, knife, cutting board, and preparation area before beginning, especially if the same workspace has recently held raw meat or seafood.
Step 4: Dry Every Pod Thoroughly
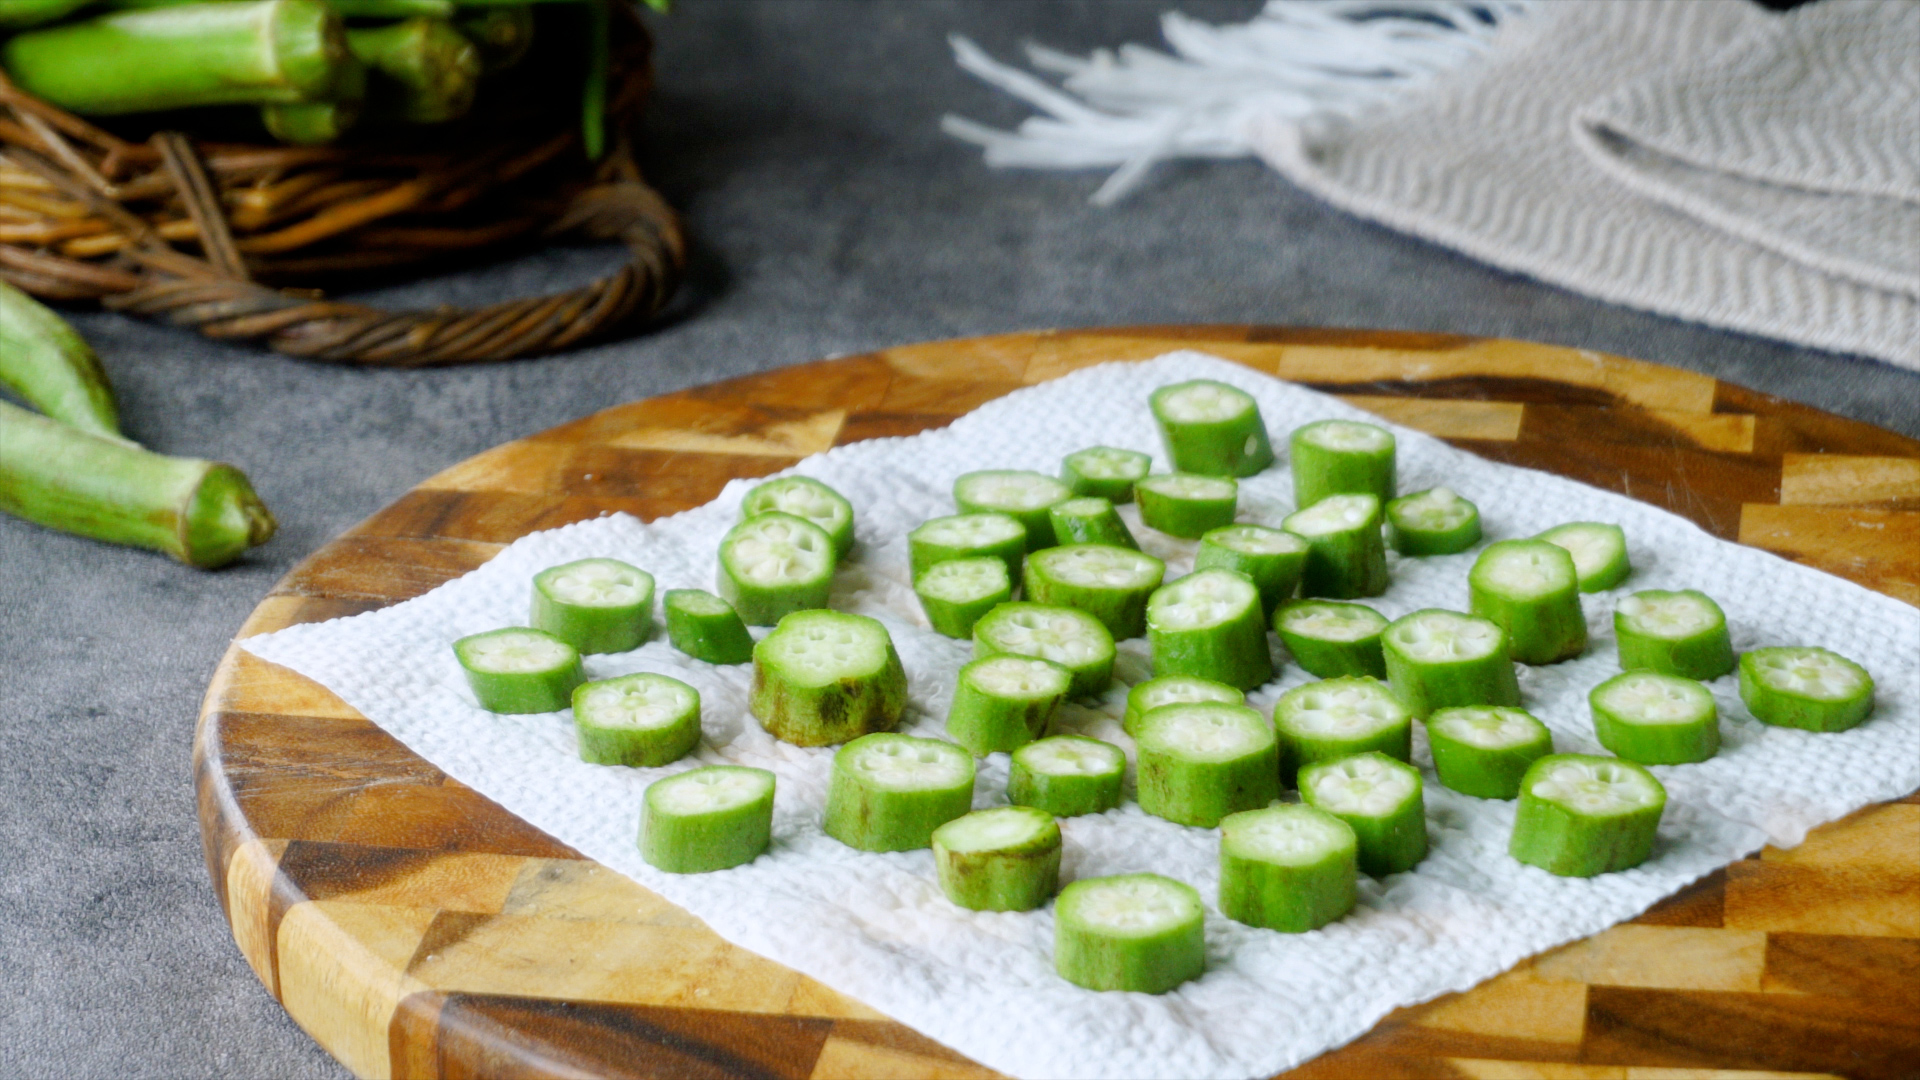
This is one of the most important steps in the entire process. Spread the washed okra on a clean towel and pat each pod dry. Let it air-dry for another 10 to 15 minutes when possible.
Water encourages steaming, and steaming makes it harder for the surface to brown. Dry okra develops better roasted edges, grill marks, and skillet color. It also splatters less dramatically when it meets hot oil, which is excellent news for both your forearms and your kitchen walls.
Step 5: Trim Without Opening the Pods Too Much
Slice off the dry stem end, but do not cut deeply into the pod unless you plan to slice it. The pointed tip is edible and usually does not need to be removed.
When cooking okra whole, trim only the tough cap while keeping the pod sealed. Leaving it mostly intact limits the release of mucilage, the naturally occurring soluble fiber responsible for okra’s thick, slippery texture.
Step 6: Choose the Right Cut
Your cut affects both texture and appearance. Whole pods work well on the grill or in a skillet. Lengthwise halves expose enough surface for browning without creating dozens of mucilage-releasing edges. Half-inch rounds are ideal for cornmeal-coated fried okra, gumbo, and stewed tomatoes.
For extra-crisp okra, slice the pods lengthwise into thin strips. More exposed surface means more potential browning, although the strips require careful handling. Whatever shape you choose, keep the pieces similar in size so they finish cooking together.
Step 7: Decide Whether You Want to Reduce or Use the Mucilage
Okra’s mucilage is not a defect. It is the reason the vegetable can naturally thicken gumbo, soups, and stews. For those dishes, slice the okra and allow it to simmer in liquid.
For a drier result, cook the pods quickly over high heat. You may also toss them with a small amount of lemon juice or add tomatoes near the end of cooking. Some cooks soak whole pods briefly in diluted vinegar, but the okra must be dried completely afterward. Acid can moderate the texture; it cannot change okra into a potato wearing a green costume.
Step 8: Preheat the Cooking Surface
Heat the oven, skillet, grill, fryer, or air fryer before adding the okra. A hot surface begins browning immediately, while a lukewarm one slowly draws out moisture.
For roasting, preheat the oven to 425°F. For skillet cooking, heat a wide pan over medium-high heat. For grilling, prepare a hot direct-heat zone. When deep-frying, bring the oil to approximately 350°F to 375°F and monitor it with a thermometer.
Step 9: Coat Lightly With Oil and Seasoning
For roasting, grilling, or air-frying, toss one pound of okra with one to two tablespoons of oil. The pods should look lightly polished, not as though they have been rescued from an oil spill.
Add salt, black pepper, and one or two complementary spices. Smoked paprika and garlic powder create a barbecue-style flavor. Cumin, coriander, turmeric, and chile powder move the dish toward an Indian-inspired profile. Cajun seasoning adds savory heat, while lemon zest keeps everything bright.
Step 10: Arrange the Okra Without Crowding
Spread the okra in one layer with a little room between the pieces. Use two baking sheets or cook in batches rather than piling everything together.
Crowded okra traps moisture and lowers the temperature of the cooking surface. Instead of browning, the pods steam in their own moisture. This is a fine technique when intentionally making a stew, but a poor strategy when trying to create crisp edges.
Step 11: Cook the Okra With High, Dry Heat
For an easy all-purpose method, roast the seasoned okra at 425°F for 12 to 18 minutes. Turn it once after approximately eight minutes. Smaller rounds may finish sooner, while whole pods may need several extra minutes.
To sauté, add the okra to a hot, lightly oiled skillet and cook for 8 to 12 minutes, stirring only occasionally. Constant stirring prevents sustained contact with the pan and reduces browning. Let the vegetable sit long enough to develop dark, flavorful spots. Roasting and skillet-toasting are widely used to produce firm, browned okra with less noticeable gumminess.
Step 12: Use the Correct Timing for Other Cooking Methods
For grilling: Oil whole pods lightly and place them perpendicular to the grill grates, or thread several pods onto soaked skewers. Grill over high heat for roughly two to four minutes per side, until marked and tender.
For air-frying: Arrange the okra in one layer and cook until browned and crisp, shaking the basket halfway through. Exact timing varies by machine, pod size, and whether the okra is breaded.
For deep-frying: Dip sliced okra in buttermilk or beaten egg, coat it with seasoned cornmeal, and fry in small batches for about three to five minutes. Maintain the oil temperature so the coating becomes crisp rather than greasy.
Step 13: Test for Doneness
Properly cooked okra should be tender enough to bite easily but should still retain its shape unless you are deliberately simmering it into a thick stew. Roasted or grilled pods should have browned spots and lightly crisp edges. Fried pieces should be golden and crunchy.
Do not judge doneness by color alone. Okra generally becomes a deeper green during cooking, but thick pods may still be firm inside. Taste one carefully. The center should be hot and tender, not woody or raw.
Step 14: Finish and Serve Immediately
Season the hot okra with an additional pinch of salt and a squeeze of lemon or lime. Other useful finishes include grated Parmesan, chopped herbs, hot sauce, toasted sesame seeds, crumbled feta, or a dusting of chaat masala.
Serve crisp preparations promptly because trapped steam will gradually soften them. Pair roasted okra with chicken, fish, rice, or grilled meat. Add sautéed okra to grain bowls, serve fried okra with remoulade, or spoon stewed okra and tomatoes over rice or creamy grits.
Five Reliable Ways to Cook Okra
Roasted Okra
Roasting is the easiest method for beginners. Halve the pods lengthwise, toss them with oil and seasoning, and roast them in a single layer at 425°F until browned. A preheated sheet pan can give the cut sides an especially strong sear.
Sautéed Okra
Use a wide skillet so moisture can escape. Begin with hot oil, add thoroughly dried okra, and avoid covering the pan. Garlic, onion, chile, cumin, ginger, and tomatoes all work well, but add watery ingredients after the okra has started to brown.
Grilled Okra
Grill whole pods to keep preparation simple. Toss with oil, salt, and pepper, then cook over direct heat until lightly charred. Grilled okra is excellent with lime juice and a spicy mayonnaise or yogurt dip.
Southern Fried Okra
Cut the pods into rounds, dip them in buttermilk or egg, and coat them with seasoned cornmeal. Fry in small batches until golden, drain briefly, and season while hot. A little flour in the coating improves adhesion, while cornmeal supplies the classic crunch.
Stewed Okra and Tomatoes
Sauté onion and garlic, add sliced okra, and then stir in tomatoes, broth, herbs, and seasoning. Simmer until tender. The tomatoes bring acidity, while the released mucilage gives the sauce body. This is one occasion when the so-called slime is not an intruder; it has a job and arrived wearing its employee badge.
Common Okra Cooking Mistakes
Cooking Wet Okra
Even a powerful oven cannot brown water. Dry the pods before cutting and cooking them.
Overcrowding the Pan
A crowded pan turns roasting into steaming. Cook in batches when necessary.
Using Oversized, Woody Pods
Long cooking may soften a slightly mature pod, but it cannot fully rescue extremely fibrous okra. Begin with tender produce.
Stirring Constantly
Repeated movement interrupts browning. Give the pieces time to make contact with the hot pan.
Expecting Every Recipe to Be Slime-Free
Mucilage is central to many traditional okra dishes. Decide whether you want crisp okra or silky, thickened okra before choosing a cooking method.
Experiences and Lessons From Cooking Okra
My first serious attempt at cooking okra was a textbook demonstration of confidence unsupported by evidence. I washed a large pile of pods, sliced them while they were still dripping, and packed them into a small skillet over timid heat. Then I stirred continuously because stirring feels productive, even when it is actively sabotaging dinner.
The result was technically edible but visually resembled green cereal suspended in wallpaper paste. I blamed the vegetable. The vegetable, had it been given legal representation, would have blamed me.
The breakthrough came when I treated okra less like a delicate green bean and more like a vegetable that enjoys assertive heat. I dried the pods thoroughly, halved them lengthwise, preheated a sheet pan, and gave every piece enough personal space to maintain a respectable social boundary. The transformation was immediate. The cut surfaces browned, the edges crisped, and the centers became tender without producing a pool of mucilage.
That experience taught me that most okra problems begin before the okra reaches the heat. Freshness matters. Small pods cook evenly, while oversized pods can remain stringy no matter how enthusiastically they are seasoned. Moisture matters. A few drops of water may seem harmless, but an entire pound of damp okra releases enough steam to defeat browning. Pan size matters. A wide skillet can outperform a crowded expensive pan simply because evaporation has somewhere to go.
I also learned not to treat mucilage as a universal enemy. When making gumbo or tomato-based okra stew, the thickening power that is undesirable in a crisp side dish becomes extremely useful. In a stew, sliced okra creates a silky texture without requiring a large amount of flour or cornstarch. The important lesson is to decide on the destination before choosing the road.
For reluctant okra eaters, grilled whole pods have produced the most consistently positive reactions at my table. They look approachable, develop smoky char, and can be picked up by the stem like a vegetable french fry. A squeeze of lime and a spicy dipping sauce usually eliminates any remaining suspicion.
Fried okra wins the popularity contest, of course, because cornmeal and hot oil have negotiated peace treaties with far more controversial ingredients. The challenge is keeping the oil hot. Adding too much okra at once drops the temperature, producing a heavy coating instead of a crisp one. Small batches take longer, but they also disappear from the serving plate faster.
Roasting remains my everyday favorite because it requires little cleanup and welcomes experimentation. One night the seasoning may be smoked paprika and garlic; another night it may be cumin, turmeric, and cayenne. Parmesan works. Cajun seasoning works. Lemon pepper works. Okra accepts bold flavor without losing its own earthy character.
The most useful experience has been learning to stop apologizing for the ingredient. Okra does not need to imitate broccoli, zucchini, or a french fry to earn a place at dinner. It can be crisp, charred, juicy, silky, breaded, pickled, or deeply stewed. Once the cooking method respects the texture, okra stops being a vegetable people endure and becomes one they reach for before the bowl is empty.
Final Thoughts
Learning how to cook okra is mostly a matter of controlling moisture, heat, and space. Choose tender pods, wash and dry them carefully, avoid overcrowding, and use high heat when you want a browned, less slippery result. When making gumbo or stew, take the opposite approach and let the mucilage create the rich texture the dish needs.
Start with roasted or grilled okra if you are new to the vegetable. Once you understand how it responds to heat, move on to skillet preparations, cornmeal-coated fried okra, spicy bhindi, and slow-simmered stews. You may discover that okra was never difficult. It was simply waiting for someone to preheat the pan.