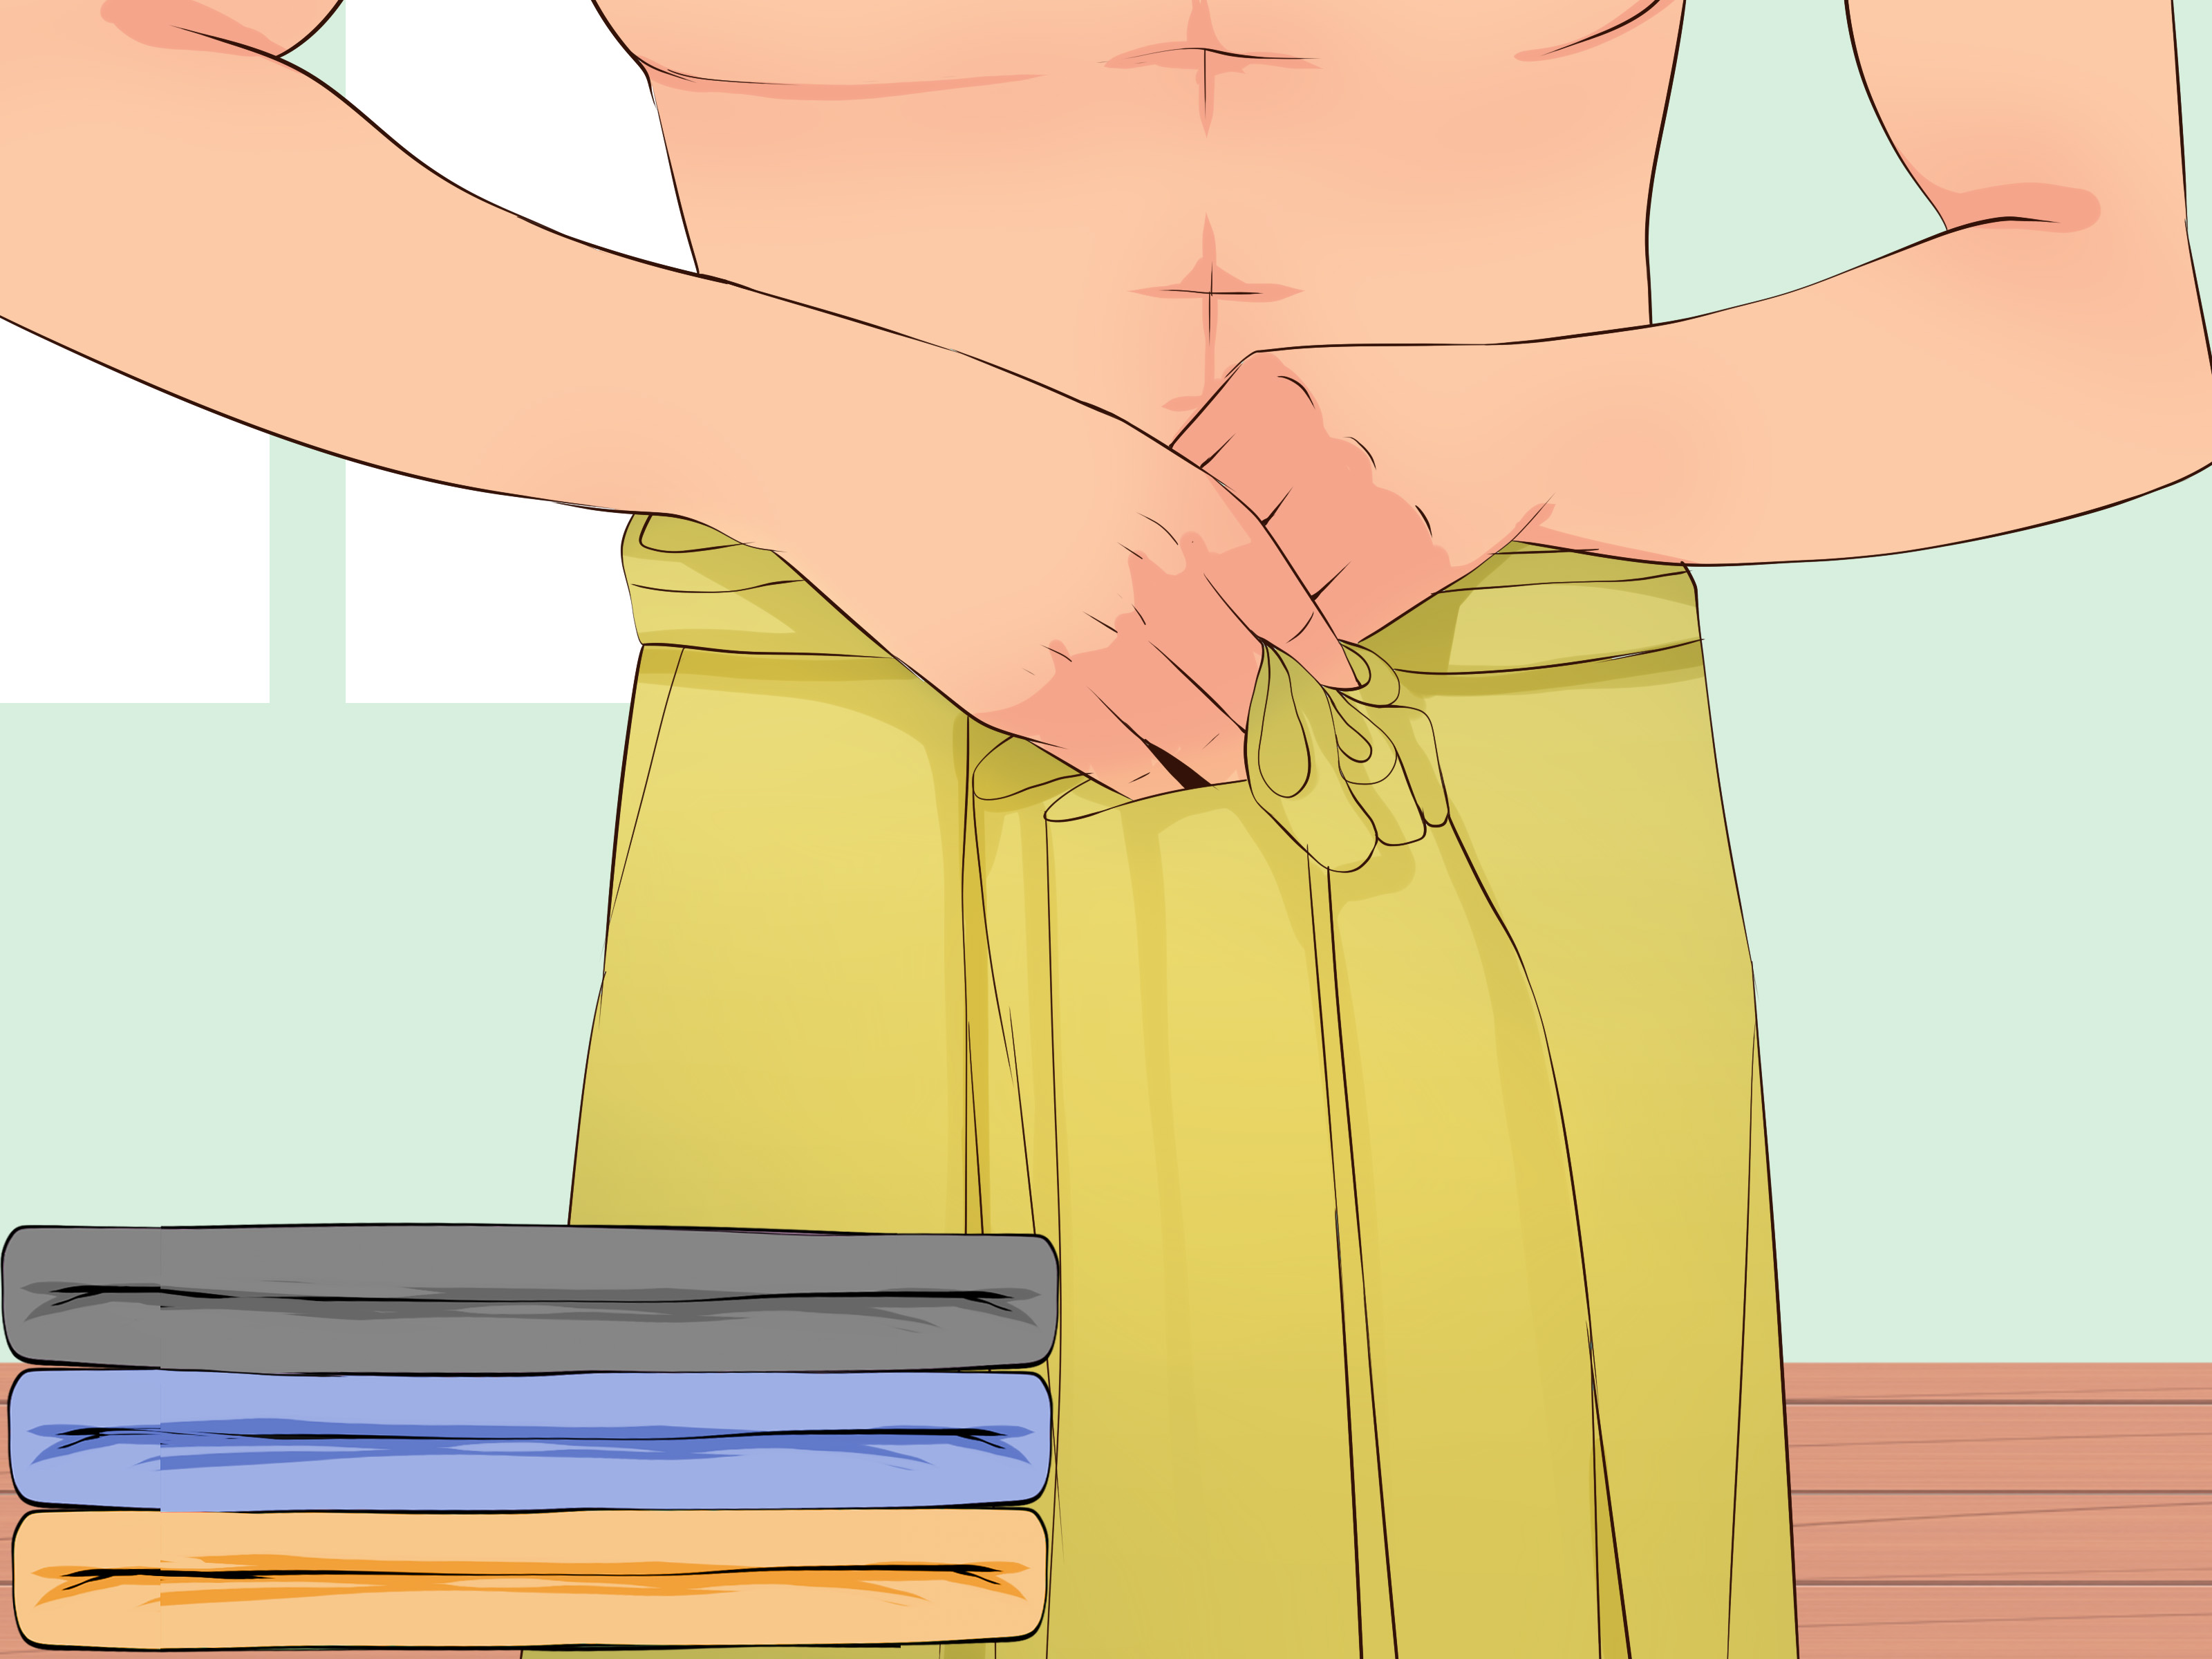

A pancha kachcham can make a man look dignified, ceremonial, and impressively composedeven when he spent the previous 20 minutes negotiating with several yards of fabric. This traditional dhoti drape is associated especially with South Indian Hindu ceremonies, Tamil Brahmin weddings, temple visits, festivals, and religious observances.
Unlike trousers, a traditional panchakacham dhoti is not built with buttons, zippers, or a helpful label that says “front.” It is generally an unstitched rectangular cloth that is wrapped around the waist, pleated, passed between the legs, and secured through a series of tucks. The result resembles loose, elegant trousers while preserving the character of a traditional veshti or dhoti.
This guide explains three ways to wear a pancha kachcham: a classic South Indian five-tuck method, a knot-first ceremonial variation, and a ready-made option for beginners. Because customs differ among families, temples, and religious communities, the final drape used for an important ceremony should follow the instructions of your priest, family elder, or other knowledgeable guide.
What Is a Pancha Kachcham?
Pancha kachchamalso written as panchakacham, pancha kacham, or panchakachhais a traditional way of draping a long dhoti or veshti. The cloth is wrapped securely around the waist and arranged between the legs, creating a divided lower garment rather than an open skirt-like wrap.
The name is commonly associated with a five-fold or five-tuck arrangement. However, terminology and explanations vary among regions and communities. What remains consistent is the garment’s distinctive combination of waist wrapping, front pleats, a between-the-legs section, and a rear tuck.
Traditional versions are frequently made from cotton, while silk or silk-blend garments are popular for weddings and major festivals. White, cream, or off-white cloth with a colored or gold zari border is especially common. An angavastram, a rectangular shoulder cloth, may be worn with the dhoti to complete the ensemble.
When Is It Worn?
A pancha kachcham may be worn for:
- Hindu weddings and wedding rituals
- Pujas, homams, and family ceremonies
- Temple visits and special sevas
- Religious festivals
- Traditional cultural programs
- Formal family occasions
Some temples specifically encourage or require traditional attire such as a dhoti, sometimes paired with an upper cloth. Even Hindu temples in the United States may maintain modest dress standards or provide a dhoti to visitors whose clothing does not meet the temple’s requirements.
Before You Begin: Choose the Right Pancha Kachcham
The first secret of successful dhoti draping is having enough fabric. The second secret is not beginning five minutes before the ceremony.
Traditional panchakacham garments are available in different lengths, often described in cubits or muzham. Eight-, nine-, and ten-cubit versions are commonly sold, with longer cloth generally offering more room for taller or broader wearers. The correct length depends on your height, waist measurement, build, and preferred depth of pleats.
What You Will Need
- A long cotton or silk-blend veshti suitable for panchakacham draping
- A fitted undershirt or traditional upper garment, when appropriate
- An angavastram, shawl, or kurta if required for the occasion
- A full-length mirror
- A clean, dry floor or bed on which to open the cloth
- Ten to twenty minutes for practice
- A knowledgeable helper for your first attempt, if available
Prepare the Fabric
Open the garment fully and identify its center, top edge, decorative border, and two ends. If the fabric has been stored folded, smooth out deep creases before draping. Cotton is usually easier for beginners because it grips itself better than glossy synthetic material. Silk looks magnificent, but it occasionally behaves as though it has somewhere else to be.
Stand with your feet about shoulder-width apart. Keep the top edge near your natural waist rather than low on the hips. A waist-level drape is generally more secure and produces better proportions.
Way 1: The Classic South Indian Five-Tuck Drape
This is the most recognizable traditional approach and is a useful starting point for anyone learning how to wear a panchakacham. Exact pleat direction and border placement can vary, so treat the following steps as a practical framework rather than a replacement for community-specific instruction.
Step 1: Find the Center
Hold the top edge of the open dhoti and locate its midpoint. Position that midpoint against the center of your lower back. Bring the two ends forward around your waist. Adjust them until the amount of fabric on both sides is approximately equal.
Step 2: Form the Waist Wrap
Cross one side over the other at the front. Wrap the upper end around your waist and tuck it firmly into the waistband. The cloth should feel snug without restricting your breathing.
Fold the top edge inward once or twice to create a stronger waistband. This rolled edge acts like the foundation of the entire drape. If the foundation is loose, every later pleat will begin developing independent career plans.
Step 3: Create the First Front Pleats
Take the free fabric on one side and begin making narrow, even accordion pleats. Pleats approximately two inches wide are manageable for most beginners, although their exact width may be adjusted to suit the cloth and wearer.
Smooth each fold as you work. Keep the decorative border visible rather than hiding it inside the pleats. Hold the completed group firmly and tuck it into the front of the waistband, slightly to one side or at the position followed by your family tradition.
Step 4: Make the Second Pleated Section
Use the remaining width of the same section to create another group of neat folds. Tuck these folds near or over the first group. The front should begin to look structured rather than bulky.
Do not force an excessive amount of fabric into one spot. Spread the tucks slightly when necessary so the waistband remains comfortable.
Step 5: Prepare the Kachcham
Gather the cloth remaining on the opposite side into straight pleats. Check carefully that the fabric is not twisted. Bring this pleated section between your legs from front to back.
The fabric should sit comfortably through the legs without pulling tightly. Leave enough room to walk, bend, sit cross-legged, and participate in rituals. A pancha kachcham should look controlled, not as though it is attempting to place you under arrest.
Step 6: Secure the Rear Tuck
Bring the pleated section upward at the back and tuck it securely into the center of the rear waistband. Smooth the pleats downward so they lie flat and symmetrical.
Check the length from all sides. The garment should generally fall near the ankles without dragging on the floor. Adjust the rear tuck higher if the cloth is too long or release a small amount if it feels tight.
Step 7: Finish the Front
Return to the front and organize any remaining fabric into a final set of pleats. Tuck them securely so the border appears crisp and intentional. Traditional tutorials commonly emphasize an orderly front, an untwisted between-the-legs section, and a firmly secured rear tuck.
Step 8: Perform a Movement Test
Walk several steps. Sit down. Stand up. Bend your knees gently. If you can perform these actions without grabbing the waistband in panic, the drape is probably secure.
If the rear pleats pull uncomfortably, loosen and retuck them. If the front sags, tighten the initial waist wrap before adjusting the decorative folds. Correcting the foundation is more effective than stuffing additional fabric into the waistband and hoping tradition will handle the engineering.
Way 2: The Knot-First Ceremonial Drape
A knot-first variation, sometimes associated with Vrindavan or Vaishnava-style instructions, begins by anchoring the garment at the navel before forming the front and rear pleats. It can feel easier to control because the knot stabilizes the waist while the remaining cloth is arranged.
This is not automatically interchangeable with the style prescribed for a Tamil Brahmin wedding or a specific temple ritual. Ask the officiating priest which drape is appropriate before choosing it for a formal religious occasion.
Step 1: Wrap and Center the Cloth
Place the center of the fabric against your lower back and bring both ends forward. Make sure the two sides are reasonably balanced.
Step 2: Tie a Secure Waist Knot
Cross the ends at the navel and tie a compact knot. Keep it firm but flat so it does not create an uncomfortable lump under the finished pleats.
Allow the remaining fabric to hang from both sides. Check that the lower edge is level before continuing.
Step 3: Pleat the First Side
Take the fabric hanging from the left side. Hold its lower corner and make a series of smooth accordion pleats moving upward. Keep the border aligned and prevent the layers from twisting.
Step 4: Form the Rear Kachcham
Bring the pleated section between your legs and upward toward the back. Tuck it securely into the center of the rear waistband. Adjust it until you have enough room for a natural stride.
Step 5: Pleat the Opposite Side
Gather the fabric on the right side into approximately five or six folds, depending on its width and your body size. Fold the pleated section across the front and tuck it near the waist knot.
Step 6: Lift and Retuck the Front Layers
Take the outer front layers, lift them to a comfortable level above the knees or lower thighs, and fold the excess upward. Tuck this folded section into the waistband slightly off-center.
The finished garment should have a stable waist, a clean front, and a divided silhouette through the legs. Published draping instructions for this style generally follow the sequence of waist knot, side pleats, rear tuck, and final front arrangement.
Who May Prefer This Method?
The knot-first approach may suit beginners who struggle to keep the initial waist wrap from loosening. It may also work well for devotional gatherings, cultural events, or occasions where this specific style is traditionally accepted.
Because the knot carries much of the tension, avoid tying it too tightly. You should be able to take a full breath and sit comfortably.
Way 3: Wear a Ready-Made Pancha Kachcham
A ready-made or pre-stitched pancha kachcham is the practical answer for anyone who admires traditional clothing but does not wish to solve a fabric puzzle before sunrise.
These garments preserve the pleated appearance of a panchakacham while adding stitched sections, an elasticized or adjustable waist, hooks, ties, or a drawstring. Some include pockets, which may not be ancient, but neither is carrying a smartphone in your hand through an entire wedding.
Step 1: Check the Front and Back
Lay the garment flat and identify the front pleats, rear section, waistband, and fasteners. Unlike an unstitched dhoti, a ready-made version should have a clearly defined orientation.
Step 2: Step Into the Garment
Open the waistband completely and step into the leg sections as you would with loose pants. Pull the garment up to your natural waist.
Step 3: Fasten the Waist
Secure the hooks, ties, buttons, or drawstring. Adjust the waistband until it feels snug. Do not rely on elastic alone if the garment includes a secondary tie.
Step 4: Arrange the Pleats
Smooth the front pleats with your hands. Make sure the decorative border is straight and that the rear pleats fall centrally rather than drifting toward one hip.
Step 5: Check the Length
The bottom edge should not drag under your heels. Some ready-made garments allow the length to be adjusted at the waist. If substantial alteration is required, have it done before the event rather than introducing safety pins during a sacred ritual.
Step 6: Add the Upper Garment
Complete the outfit with an angavastram, traditional shirt, kurta, or other upper garment appropriate to the venue. Follow temple rules carefully; some locations specify a dhoti with an upper cloth, while others have their own customs.
Advantages and Limitations
A ready-made panchakacham is fast, consistent, and beginner-friendly. It is an excellent choice for children, travelers, wedding guests, and anyone with limited mobility. It also reduces the chance of an unexpected wardrobe rebellion halfway through a ceremony.
However, a stitched version may not satisfy the requirements of every ritual. Some religious observances specifically call for an unstitched garment. Confirm what is acceptable before purchasing one for a wedding, puja, homam, or temple service.
How to Style a Panchakacham Dhoti
For a Wedding
Choose silk, art silk, or fine cotton with a gold zari border. Pair it with a matching angavastram and, when appropriate, a silk shirt or kurta. Traditional South Indian wedding photography frequently shows grooms wearing bordered silk veshtis or panchakacham-style garments with ceremonial shawls.
For a Temple Visit
Select breathable cotton in white, cream, or another understated color. Avoid garments that are transparent, excessively decorated, or difficult to keep secure. Review the temple’s dress code before arriving.
For a Festival or Cultural Program
A cotton-silk blend offers a useful balance between appearance and comfort. A bordered angavastram can coordinate the outfit without making it overly formal.
Footwear and Accessories
Traditional sandals may complement the outfit outside a temple, but footwear is normally removed before entering a Hindu place of worship. Keep accessories restrained. A simple watch, chain, or traditional jewelry can work, although the draping and border should remain the visual focus.
Common Pancha Kachcham Mistakes
Starting With Too Little Fabric
A short veshti may work as an ordinary waist wrap but may not provide enough material for the pleats and rear kachcham. Confirm the required length before practicing.
Ignoring the Border
A decorative border should appear straight and deliberate. Check its direction before beginning so it does not disappear inside the folds.
Making Uneven Pleats
Pleats do not need to be mathematically identical, but they should be close. Uneven folds create bulk and may cause one side to hang lower.
Twisting the Rear Section
Before passing the cloth between your legs, flatten it and confirm that it is not twisted. A twisted kachcham is uncomfortable and difficult to correct after the final tucks are in place.
Making the Drape Too Tight
The garment must allow walking, sitting, kneeling, and cross-legged positions. A ceremonial outfit that permits only tiny penguin steps is not properly adjusted.
Skipping the Practice Session
Practice at least once with the actual garment. Different fabrics behave differently, and a technique learned with crisp cotton may feel completely different when attempted with slippery silk.
Experiences and Lessons From Wearing a Pancha Kachcham
First-time wearers often discover that the hardest part is not understanding the individual steps. The real challenge is remembering which folds must stay in place while both hands are busy creating the next set. A common beginner experience begins confidently: the center is aligned, the waist feels secure, and the first pleats look respectable. Then the wearer reaches for the opposite end, and the carefully arranged waistband quietly loosens. Practicing in front of a mirror helps, but practicing with an experienced relative helps even more. One person can hold the pleats while the other explains why the border is facing the wall.
Another frequently reported lesson concerns fabric choice. Crisp cotton may initially seem less luxurious than silk, yet it is far easier to learn with because the folds grip one another. Silk and smooth blends tend to slide, particularly when the wearer is moving between standing, sitting, and bending positions. Many experienced wearers therefore recommend learning the traditional dhoti drape with cotton before attempting an elaborate wedding garment. It is the clothing equivalent of learning to drive in a sensible car before borrowing a polished ceremonial limousine.
Movement testing also changes the experience dramatically. A pancha kachcham can appear perfect while the wearer stands motionless in front of a mirror. The truth arrives when he tries to sit cross-legged. If the rear tuck is too tight, the fabric pulls immediately. If it is too loose, the pleats may sag. A reliable routine is to walk across the room, climb one step, sit on a chair, sit briefly on the floor, and stand again. These movements reveal problems before the garment is worn in public.
Weddings provide their own education. A groom may need to move around a sacred fire, sit through extended rituals, receive blessings, and pose for photographsall while surrounded by relatives who have strong opinions about pleat alignment. A secure waistband is therefore more important than producing a dramatic number of folds. Neatness matters, but comfort and stability matter too. Experienced helpers usually correct the foundation first: tighten the waist wrap, flatten the between-the-legs section, secure the rear tuck, and only then refine the visible front pleats.
Temple visits teach a different lesson: simplicity is often best. Lightweight cotton remains comfortable in warm weather and can be washed more easily than ornate silk. Arriving early allows time to change without rushing, particularly when the temple provides a separate changing area. It is also wise to carry the angavastram folded in a clean bag so it does not collect every snack crumb in the car before becoming ceremonial attire.
Ready-made panchakachams have made the experience more accessible to younger wearers, overseas families, and people who did not grow up learning the traditional technique. A pre-stitched garment can be put on quickly and usually survives a long event with minimal adjustment. Yet many wearers still value learning the unstitched method because the process creates a connection to family practice. Draping the garment with a parent, grandfather, priest, or elder often becomes as memorable as the event itself.
The most useful lesson is that pancha kachcham draping improves through repetition. The first attempt may require 30 minutes and several negotiations with gravity. The second may take 15. Eventually, the sequence becomes familiar: center, wrap, pleat, tuck, pass, secure, and adjust. Perfection is not necessary during practice. The goal is a garment that is respectful, balanced, comfortable, and appropriate for the occasion.
Final Thoughts
Learning how to wear a pancha kachcham is part technique and part patience. The classic five-tuck drape offers the full traditional experience. The knot-first method provides a stable alternative where that variation is culturally appropriate. A ready-made panchakacham delivers speed and convenience for beginners, travelers, and busy wedding guests.
Whichever method you choose, begin with the correct garment length, establish a firm waistband, keep the fabric untwisted, and test your ability to move. Most importantly, respect the customs of the family, temple, or ceremony you are attending. Traditional clothing is not merely a costume; it carries personal, cultural, and religious meaning.
Note: Pancha kachcham conventions can differ by region, lineage, family, temple, and type of ceremony. Use this article as a practical learning guide, but consult the officiating priest or a knowledgeable elder when dressing for a formal ritual.