
A strange noise, a glowing dashboard light, or an engine that refuses to start can make an ordinary morning feel like the opening scene of a financial horror movie. The good news is that many common car problems can be diagnosedand sometimes repairedwithin a single day. The less exciting news is that speed comes from planning, not from swinging a wrench with heroic enthusiasm.
This one-day car repair guide explains how to identify the problem, decide whether it is safe to handle yourself, obtain the correct parts, and complete practical repairs without turning a minor fault into an expensive mechanical plot twist.
Can You Really Fix a Car in One Day?
Yes, provided the problem is reasonably simple, the correct parts are available, and the vehicle does not require major internal engine, transmission, electrical, structural, or high-voltage work. A dead battery, corroded terminal, loose gas cap, clogged air filter, defective bulb, worn wiper blade, blown fuse, or flat tire may be handled in a few hours. More complicated repairs may still qualify for same-day auto repair when a professional shop has the necessary parts and diagnostic equipment.
The real objective is not to force every repair into eight hours. It is to reach the safest useful outcome by the end of the day. That outcome might be a completed DIY repair, a confirmed diagnosis, a written shop estimate, or a tow to the correct specialist.
Starting problems, check-engine warnings, brake complaints, vibrations, fluid leaks, overheating, and sudden changes in vehicle performance all deserve prompt attention. A minor symptom can sometimes be the first warning of a larger failure.
The One-Day Car Repair Schedule
A disciplined timeline keeps you from spending four hours replacing a perfectly healthy part because someone on an internet forum wrote, “Mine did that once.” Use the following schedule as a practical framework.
| Time | Task | Goal |
|---|---|---|
| 7:00–8:00 a.m. | Inspect and document symptoms | Determine whether the car is safe to approach, start, or drive |
| 8:00–9:30 a.m. | Perform basic diagnostic checks | Narrow the problem to one system |
| 9:30–11:00 a.m. | Confirm parts, tools, and repair instructions | Avoid buying parts based on guesses |
| 11:00 a.m.–2:00 p.m. | Complete a safe DIY repair or deliver the car to a shop | Correct the confirmed fault |
| 2:00–4:00 p.m. | Reassemble, inspect, and test | Verify that the repair solved the symptom |
| 4:00–5:00 p.m. | Perform a controlled test drive | Confirm normal operation before regular use |
Step 1: Decide Whether the Car Is Safe to Touch or Drive
Before diagnosing anything, look for danger. Do not start or drive the vehicle when you see active smoke, flames, a rapidly spreading fuel leak, a swollen battery, a severely damaged tire, an obvious brake-fluid leak, or coolant pouring from the engine compartment.
Stop immediately and arrange a tow if the engine is overheating, the oil-pressure warning remains illuminated, the brakes feel ineffective, the steering suddenly becomes difficult, or thick smoke appears from the exhaust or under the hood. A swollen battery should not be jump-started because it may rupture and release corrosive material.
Do Not Open a Hot Cooling System
If the temperature gauge is in the red zone, shut off the engine and allow it to cool completely. Never remove a pressurized radiator cap from a hot engine. Escaping coolant and steam can cause severe burns. Low coolant may contribute to overheating, but the underlying cause might also be a failed hose, thermostat, fan, radiator, or water pump.
Use Proper Lifting Equipment
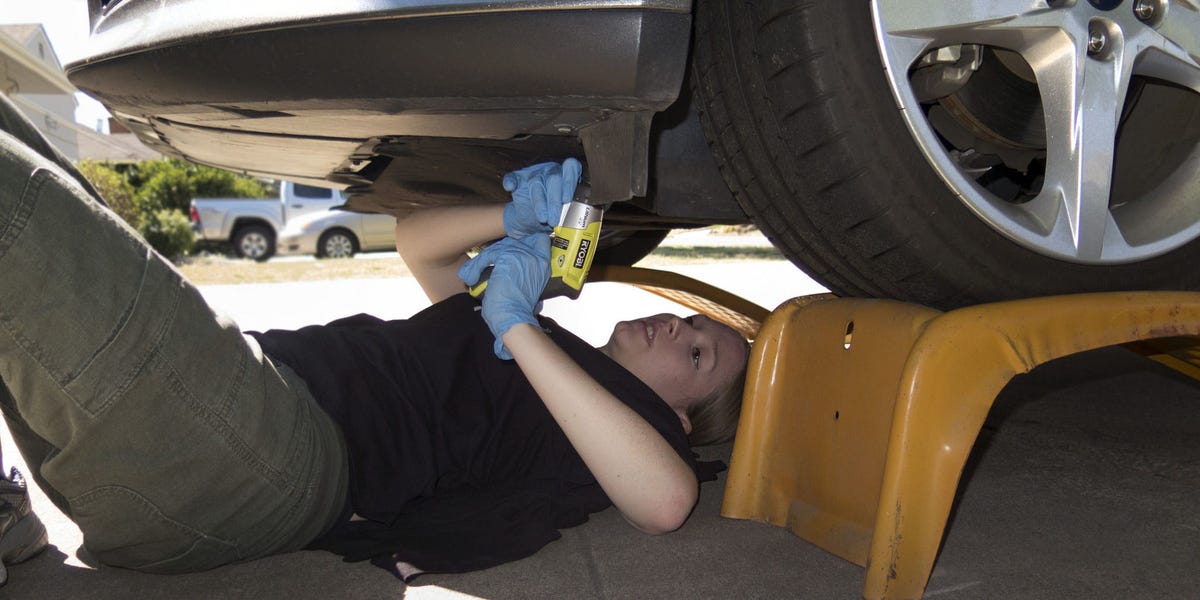
Work on a flat, solid surface. Apply the parking brake, place the transmission in Park or in gear, and use wheel chocks. Never place any part of your body beneath a vehicle supported only by its emergency jack. A jack lifts the car; correctly rated jack stands support it. Those are very different job descriptions.
Step 2: Record the Symptoms Before Taking Anything Apart
Good diagnosis begins with observation. Write down exactly what happened and under what conditions. Useful details include:
- Whether the engine was cold or fully warmed up
- Whether the problem appeared during starting, acceleration, braking, turning, or idling
- The color and location of any leaking fluid
- Whether a dashboard light was steady or flashing
- The sound: clicking, squealing, grinding, knocking, humming, or silence
- Recent work, a dead battery, a pothole impact, a fuel stop, or extreme weather
Take photographs of warning lights, leaks, disconnected hoses, damaged wiring, and part labels. Record a short video of intermittent noises when it is safe to do so. A mechanic can often learn more from a ten-second video than from the description, “It makes a kind of unhappy refrigerator sound.”
Step 3: Perform a Fast Visual Inspection
Open the hood only after the engine is off and safe to inspect. Look for loose battery cables, corrosion, disconnected electrical plugs, damaged belts, split hoses, animal nesting material, and obvious fluid leaks.
Check the Battery
A dead or weak battery is one of the most common reasons a car will not start. Typical clues include rapid clicking, slow cranking, dim lights, or electrical accessories that behave strangely. Extreme temperatures and age can reduce battery performance.
Make sure the terminals are tight. If the battery case is cracked, leaking, unusually hot, or swollen, stop and request professional assistance. Otherwise, a battery test can help distinguish a discharged battery from a failed starter, alternator, cable, or connection.
Check Fluids With the Engine Cool
Inspect the engine-oil level according to the owner’s manual. Look at the coolant reservoir, brake-fluid reservoir, windshield-washer fluid, and power-steering fluid if your model uses hydraulic steering. Do not assume that topping off a low reservoir solves the problem; fluids do not normally disappear without a reason.
Oil and coolant levels, belts, hoses, filters, lights, brakes, and batteries are among the basic systems included in recognized vehicle-maintenance checklists.
Inspect the Tires
Check for punctures, bulges, exposed cords, cuts, and uneven wear. Measure tire pressure when the tires are cold and use the vehicle manufacturer’s recommended pressure from the driver-door placard or owner’s manualnot the maximum pressure printed on the tire sidewall. Underinflation increases heat buildup and the risk of tire failure.
Step 4: Scan the Car Before Replacing Parts
Most gasoline-powered passenger vehicles sold in the United States since the mid-1990s use an OBD-II diagnostic connector. A compatible scanner can retrieve trouble codes when the check-engine light is illuminated.
A code identifies the system that detected an abnormal condition; it does not automatically identify the failed part. For example, an oxygen-sensor code might be triggered by damaged wiring, an exhaust leak, a fuel-delivery problem, or another fault that causes an unusual exhaust reading. Treat the code as a clue rather than a shopping list.
A steady check-engine light commonly allows time for careful diagnosis, although the vehicle may still require prompt service. A flashing check-engine light can indicate an active misfire capable of causing additional damage, so reduce load, stop driving when safe, and arrange professional inspection. Even something as simple as a loose fuel cap can trigger an emissions-related warning, while other causes may require substantial diagnosis.
Step 5: Choose a Repair That Fits One Day
The following jobs are often realistic for a careful beginner, although vehicle design varies. Always consult model-specific service information and the owner’s manual before beginning.
Replace a Dead Battery
After confirming that the battery is faulty, buy the exact size, terminal orientation, capacity, and battery type specified for the vehicle. Some modern cars require battery registration, computer relearning, or backup power during replacement. In those cases, professional installation may be faster and safer.
When jump-starting is permitted by both vehicle manuals, keep the vehicles from touching, switch off accessories, confirm polarity, and follow the specified cable sequence. The final negative connection is generally made to an approved metal ground on the disabled vehicle rather than directly beside the dead battery. Incorrect connections can damage electrical equipment or cause injury.
Clean Corroded Battery Terminals
Light terminal corrosion can create enough resistance to prevent starting. Wear eye protection and gloves, disconnect the battery according to the manufacturer’s procedure, clean the terminals with an appropriate battery-terminal tool and cleaner, and tighten the connections securely. Avoid overtightening soft lead terminals.
Replace Wiper Blades, Bulbs, or Filters
Windshield wipers, many exterior bulbs, engine-air filters, and cabin-air filters are excellent one-day car repair candidates. They usually require basic hand tools, and the correct replacement can often be verified using the vehicle identification details at a parts store.
Before changing an exterior bulb, inspect the housing for moisture or damage. Before replacing a repeatedly blown fuse, investigate why it is failing. A fuse is a protective device, not a tiny electrical sacrifice that should be fed replacements indefinitely.
Correct a Loose Fuel Cap
Inspect the cap seal for cracks, tighten the cap until it clicks as designed, and drive normally. The warning light may not disappear immediately because the computer often needs to complete another emissions-system test. Do not erase codes merely to conceal an unresolved fault.
Install the Spare Tire
Move as far away from traffic as possible and use a stable, level location. Follow the manufacturer’s jacking points and wheel-tightening sequence. Temporary spare tires have speed, distance, and pressure restrictions, so treat the spare as transportation to a repair facilitynot as a surprise lifetime upgrade. Spare-tire condition and inflation should be checked regularly because a neglected spare may be unusable when needed.
Repairs That Should Usually Go to a Professional
A same-day goal should never override safety. Unless you have the required training, equipment, and service information, leave the following work to a qualified technician:
- Brake hydraulic, ABS, or major brake-component repairs
- Airbag and seat-belt pretensioner systems
- Fuel leaks or fuel-system pressure faults
- Steering and suspension failures
- Internal engine or transmission repairs
- Air-conditioning refrigerant recovery and charging
- Hybrid or electric-vehicle high-voltage components
- Major wiring faults, overheating, or recurring blown fuses
- Structural damage after a collision
Brake systems deserve particular caution. A proper inspection may include friction material, fluid, rotors, hoses, lines, warning lights, and a road test. Replacing one visible part without evaluating the complete system can leave the original safety problem unresolved.
How to Get Professional Same-Day Auto Repair
Call the shop early and provide the year, make, model, engine, mileage, symptoms, diagnostic codes, and vehicle identification number. Ask whether the shop can diagnose the vehicle that day, whether likely parts are locally available, and whether there is a diagnostic charge.
Request a written estimate that separates parts, labor, diagnostic fees, taxes, and shop supplies. Ask whether the estimate is based on a published labor-time guide or actual time, what warranty applies, and whether the shop will contact you before exceeding the approved amount. The Federal Trade Commission recommends comparing repair shops, checking warranty policies, and understanding how charges are calculated.
Online repair estimators can establish a rough local price range, but the final cost depends on the exact vehicle, diagnosis, parts quality, labor rate, and related damage.
Questions to Ask Before Approving Work
- What test confirmed the failed component?
- Are there other possible causes?
- Is the repair required for safety, reliability, emissions, or routine maintenance?
- Are original-equipment, new aftermarket, remanufactured, or used parts being quoted?
- What warranty covers the part and labor?
- Will additional work require separate authorization?
Step 6: Verify the Repair
Finishing the installation is not the same as proving the repair worked. Before starting the engine, confirm that tools, rags, drain pans, and loose hardware are removed from the engine compartment. Check every connector, clamp, fastener, fluid cap, and battery connection you touched.
Start the engine in a ventilated area and watch for warning lights, leaks, smoke, unusual odors, or abnormal noises. Allow the vehicle to idle while monitoring temperature and charging behavior. Do not repeatedly rev the engine to celebrate. The neighbors are not waiting for an encore.
Take a Controlled Test Drive
Begin with a slow trip close to home. Test steering and braking at low speed before entering traffic. Confirm that the original symptom is gone and that no new warning lights appear. Recheck fluid levels, wheel-lug torque, and the repaired area after the test when the manufacturer’s procedure calls for it.
Common Mistakes That Turn a One-Day Repair Into a Weekend Disaster
Buying Parts Before Diagnosing the Problem
Guessing is expensive. A no-start condition can involve the battery, terminals, ground cables, starter, immobilizer, fuel system, ignition system, or engine-management electronics. Testing first is almost always faster than replacing the most popular suspect.
Ignoring the Owner’s Manual
The manual identifies fluid specifications, fuse locations, tire pressures, jump-start procedures, jacking points, warning-light meanings, and towing restrictions. Generic advice cannot account for every vehicle design.
Using the Wrong Fluid
Engine oil, coolant, transmission fluid, brake fluid, gear oil, and power-steering fluid are not universal. “It was approximately the same color” is not an engineering specification.
Rushing Reassembly
Cross-threaded bolts, loose electrical grounds, pinched seals, forgotten connectors, and overtightened plastic housings cause avoidable failures. Photograph complicated assemblies before disassembly and organize fasteners in labeled containers.
Dumping Used Fluids
Collect used oil in a clean, leak-resistant container and take it to an approved recycling or collection location. Do not mix it with coolant, solvents, gasoline, or other waste unless the receiving facility specifically permits it.
A Practical One-Day Tool Kit
- Owner’s manual and model-specific repair instructions
- Safety glasses, mechanic’s gloves, and work light
- Socket set, ratchet, extensions, and combination wrenches
- Screwdrivers, pliers, trim tools, and torque wrench
- Digital multimeter and battery-terminal brush
- OBD-II scanner
- Tire-pressure gauge and portable inflator
- Wheel chocks, floor jack, and correctly rated jack stands
- Drain pan, funnel, shop towels, and absorbent material
- Penetrating oil, parts cleaner, zip ties, labels, and storage bags
A roadside emergency kit should also include reflective warning equipment, a flashlight, basic first-aid supplies, charging equipment, and the tools appropriate for the vehicle’s tire system.
Check for Recalls Before Paying for the Repair
Enter the vehicle identification number into the official NHTSA recall database before purchasing an expensive safety-related component. An open safety recall is generally repaired by the manufacturer’s dealer network without charge to the vehicle owner. The VIN is commonly visible at the lower driver-side windshield, on the driver-door label, or on registration and insurance documents.
Real-World Experiences From a One-Day Car Repair
The following composite scenario reflects the kind of experience many drivers have when trying to fix a car in one day. It illustrates why a calm diagnostic process usually beats frantic parts replacement.
Imagine that the day begins at 7:10 a.m. The car does not start. The dashboard lights appear, but turning the key produces rapid clicking. The natural reaction is to blame the starter, partly because “starter” sounds like the component responsible for starting. Automotive terminology has laid a small trap.
The first useful lesson is to pause. The headlights are dim, the battery terminals show white corrosion, and the battery is several years old. A voltage check shows that the battery is discharged. After eye protection and gloves go on, the connections are inspected. The positive terminal is loose enough to move by hand.
Cleaning and tightening the connection improves the lights, but the engine still cranks slowly. A parts store tests the battery and confirms that it cannot hold an adequate charge. Because the correct replacement is in stock, the new battery is installed before lunch. The engine starts immediately.
That could be the end of the story, but good repair work includes verification. With the engine running, the charging system is checked. The alternator output is normal, no battery warning remains illuminated, and the terminals stay secure. The result is a genuine repair rather than a temporary jump-start followed by another dead battery in a grocery-store parking lot.
Now consider a different afternoon. The check-engine light appears shortly after refueling. The engine runs normally, and the light is steady rather than flashing. An OBD-II scan retrieves an evaporative-emissions code. Instead of immediately purchasing a valve or sensor, the driver inspects the fuel cap and discovers that it was not fully tightened.
The cap is secured, its seal is checked, and the vehicle is driven through several normal trips. The light eventually goes out after the onboard system reruns its test. The experience costs almost nothing because diagnosis came before shopping.
A third example shows when to stop. During a test drive, the brake pedal suddenly feels soft and a wet patch appears near one wheel. This is not the moment for a rushed tutorial, an optimistic bottle of brake fluid, or a promise to “drive carefully.” The car is parked and towed to a repair facility. The shop finds a damaged hydraulic component and completes the repair that afternoon.
Although the owner did not personally replace the part, the one-day plan still worked. The dangerous symptom was recognized, unnecessary driving was avoided, and the correct professional handled a safety-critical system.
These experiences share the same pattern: observe, test, verify, and respect the boundary between a manageable DIY task and a repair that requires professional equipment. The fastest repair is rarely the one that begins with the most tools. It is the one that begins with the best question: “What evidence shows which component actually failed?”
Another lesson is that parts availability controls the clock. Calling stores before dismantling the vehicle can save hours. Confirm the exact engine, trim, production date, and connector style because two cars with the same model name may use different parts. Compare the replacement with the original before beginning installation.
Finally, keep notes. Record the date, mileage, diagnostic codes, test results, part numbers, torque values, receipts, and warranty information. That humble repair log becomes extremely useful when a symptom returns or when the vehicle is later sold. It also prevents the classic mystery: finding a new-looking component under the hood and having absolutely no memory of when or why it arrived there.
Conclusion: Fix the Problem, Not Just the Symptom
Learning how to fix your car in one day is less about mechanical speed than disciplined decision-making. Begin with safety, document the symptoms, inspect the basics, retrieve diagnostic information, and confirm the fault before buying parts. Handle simple repairs only when you have the correct tools, instructions, and experience. Tow the vehicle when brakes, steering, fuel, overheating, high-voltage equipment, or major mechanical damage is involved.
A successful one-day car repair might end with a new battery, a properly inflated tire, a replaced filter, or a professional invoice. What matters is that the vehicle is genuinely safe and the original problem has been verifiednot merely persuaded to remain quiet until tomorrow.