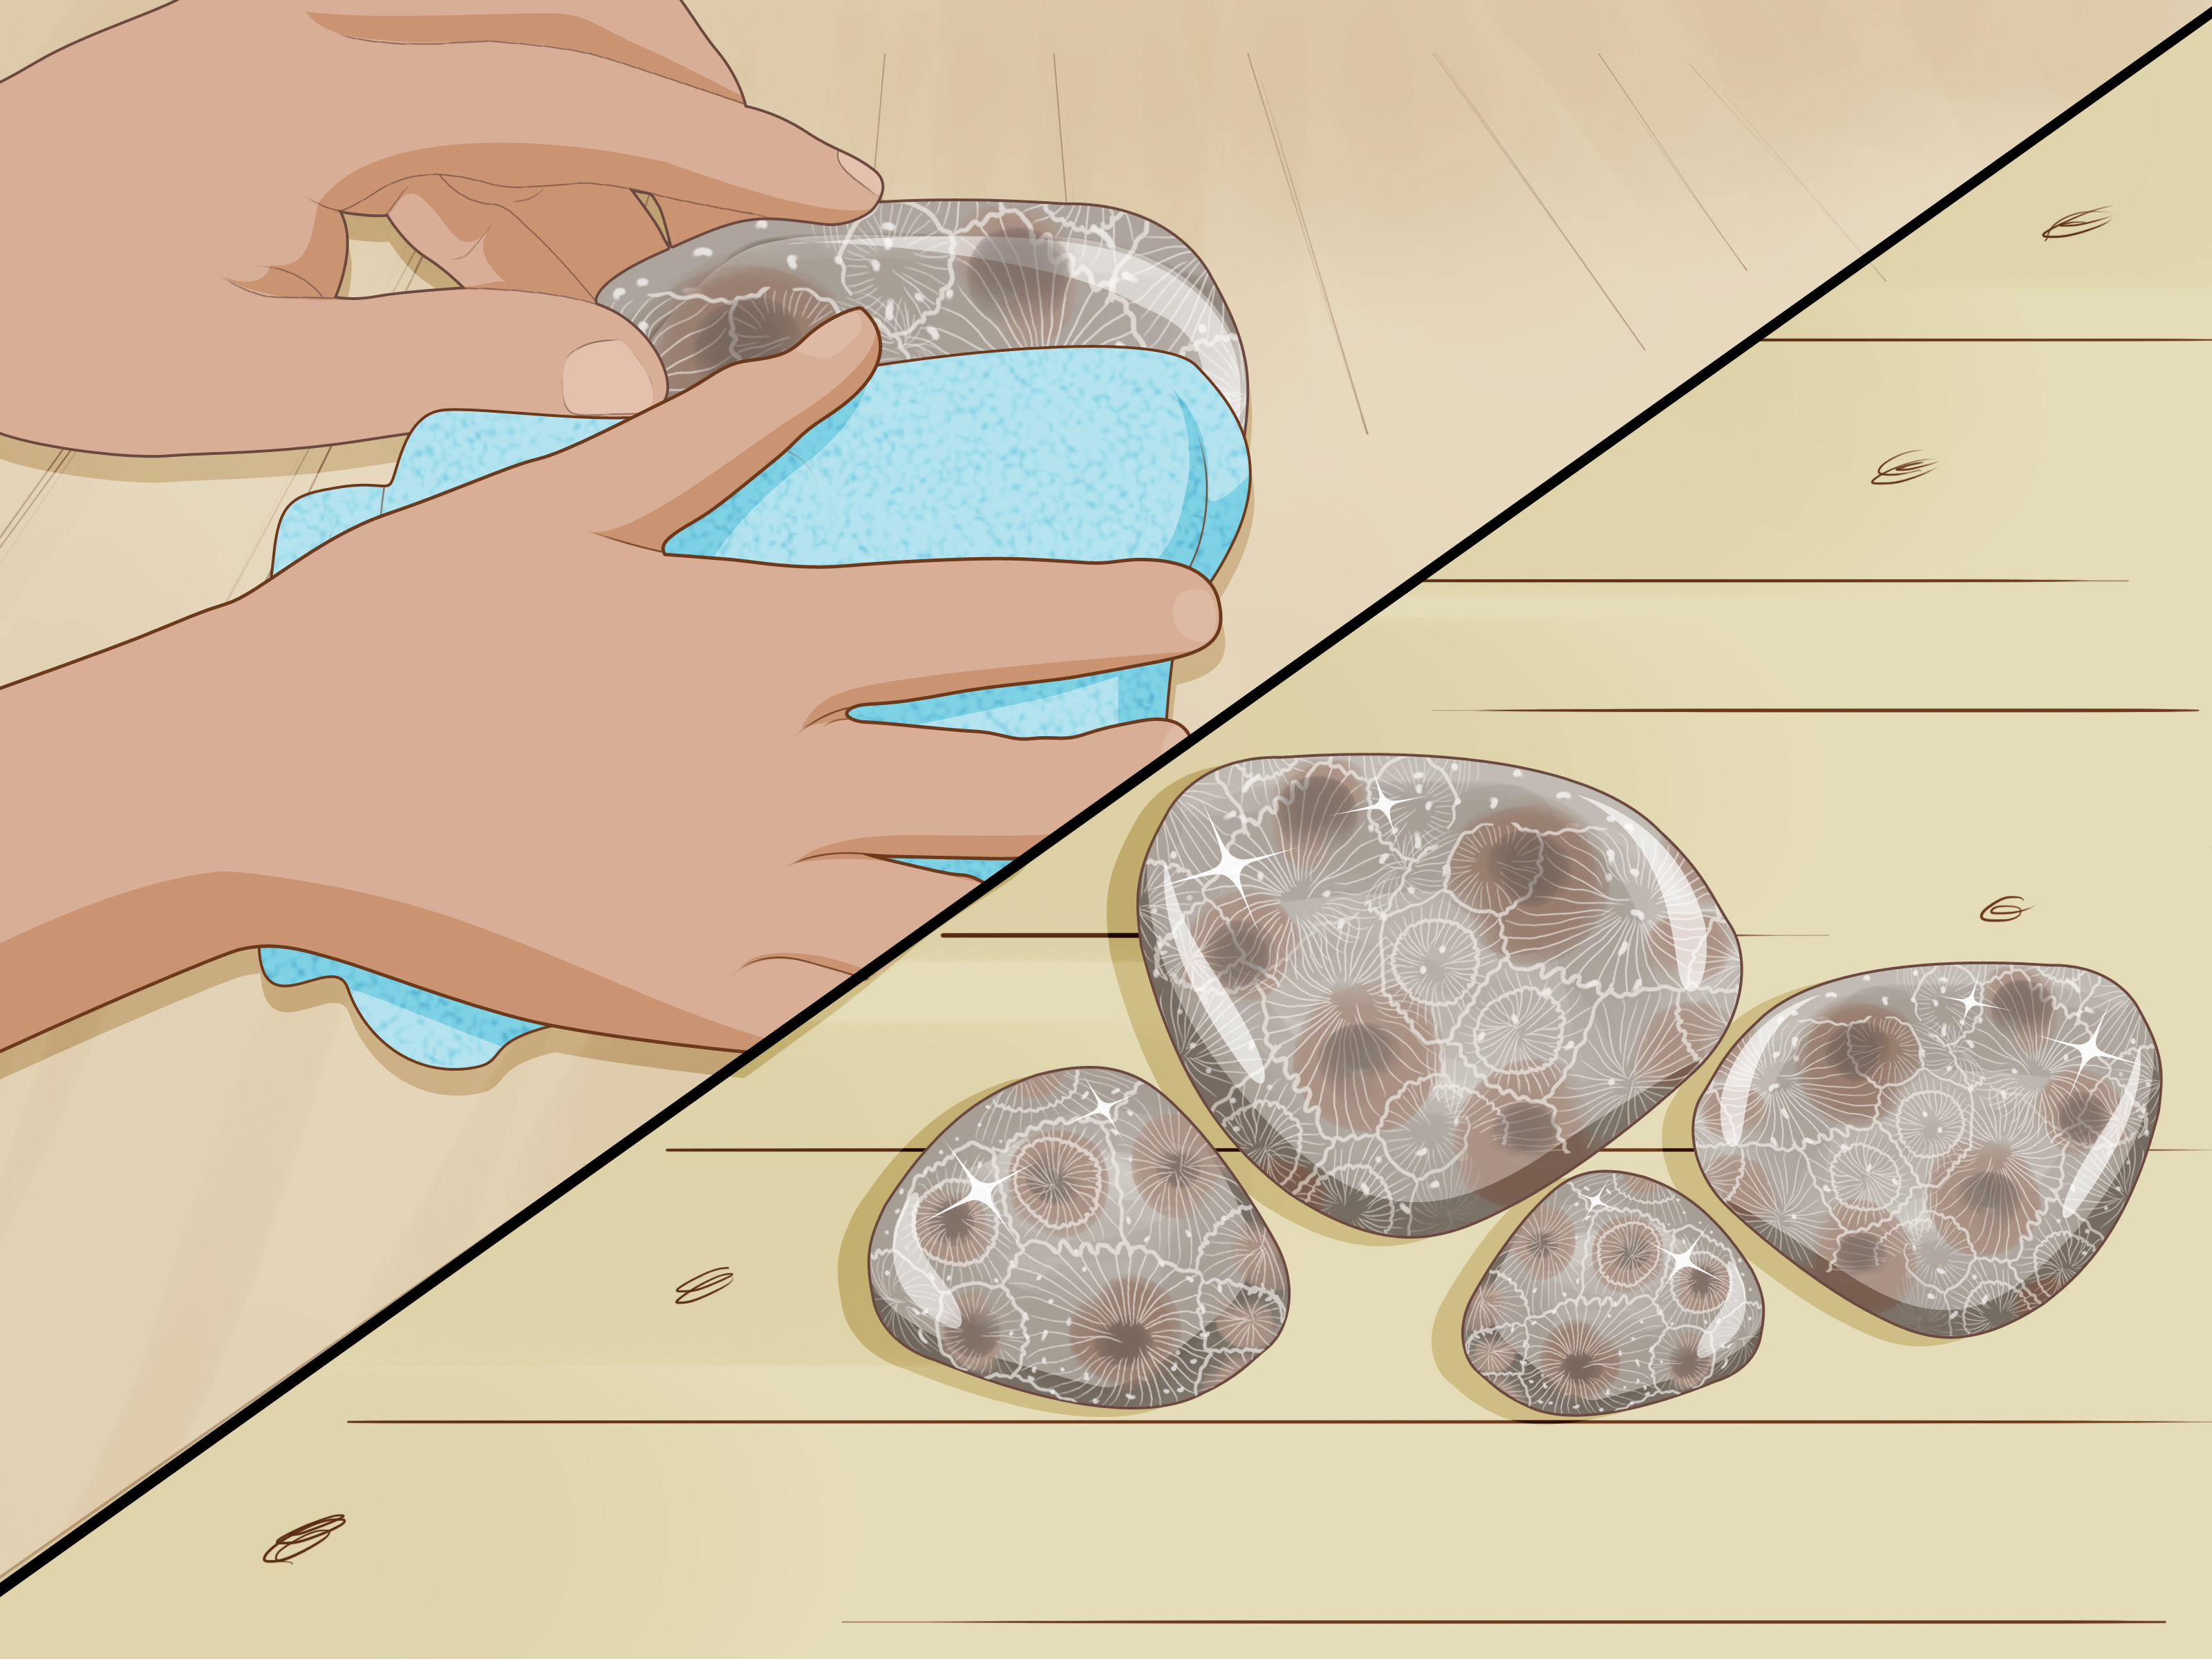

Petoskey stones are the kind of beach treasure that can make a perfectly normal adult suddenly crouch in the rain, squint at gravel, and whisper, “Wait… is that the one?” These famous Michigan stones look a little shy when dry, often appearing gray, dusty, and ordinary. But add water or a proper polish, and the hidden honeycomb pattern of ancient coral pops out like nature just turned on a tiny fossil flashlight.
If you have found one and want that wet-look shine to last, the good news is simple: you can polish a Petoskey stone by hand with patience, water, wet/dry sandpaper, and a soft cloth. The less-good news? Patience is not optional. Petoskey stones are soft fossilized coral, mostly calcite, so they polish beautifully but scratch easily. Rush the process and your stone will glare at you with dull patches like it knows you skipped leg day.
This guide walks you through how to polish Petoskey stones in 9 clear steps, from choosing the right stone to finishing it with a smooth, natural shine. You will also learn what not to do, how to avoid common beginner mistakes, and how to make your finished stone look like a souvenir-shop gem without needing professional lapidary equipment.
What Makes Petoskey Stones Special?
A Petoskey stone is not just a pretty rock. It is fossilized colonial coral, commonly known as Hexagonaria percarinata, from a time when ancient warm seas covered what is now Michigan. Each little “eye” or honeycomb cell in the stone was once part of a coral polyp structure. Millions of years later, glaciers, waves, and shoreline movement helped round these fossils into the collectible stones people hunt along Michigan beaches today.
That fossil pattern is the reason polishing matters. When a Petoskey stone is wet, the contrast between the pale coral walls and darker centers becomes easier to see. Polishing recreates that wet look permanently, or at least as permanently as a carefully handled soft stone can manage. Because the stone is softer than quartz, agate, or jasper, it needs a gentler touch and finer control.
Supplies You Need to Polish Petoskey Stones
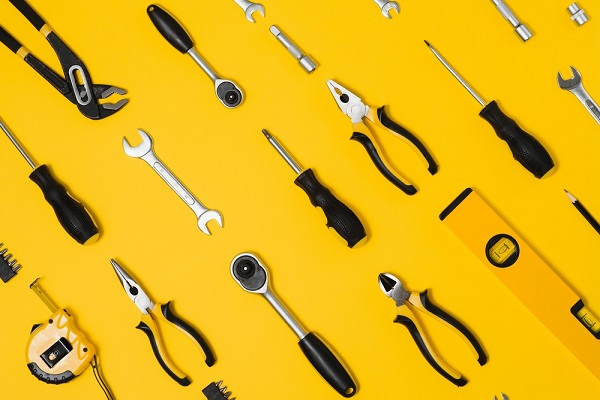
Before beginning, gather everything in one place. Polishing is easier when you are not wandering around the house with wet hands looking for sandpaper while your stone sits there judging your organization skills.
- One clean Petoskey stone
- Water and a small bowl or spray bottle
- Wet/dry sandpaper: 220 grit, 400 grit, 600 grit, and optionally 800, 1000, 1500, or 2000 grit
- Soft towel or microfiber cloth
- Aluminum oxide polishing powder, cerium oxide, or a non-aggressive lapidary polishing compound
- Soft polishing cloth such as denim, felt, velvet, or leather
- Optional: safety glasses and a dust mask if using any power tool
The key phrase is wet/dry sandpaper. Regular paper-backed sandpaper falls apart when wet and may create uneven scratches. Automotive wet/dry sandpaper is a better choice because it is made for smooth surface finishing.
How to Polish Petoskey Stones: 9 Steps
Step 1: Choose the Right Petoskey Stone
Start with a stone that has a visible fossil pattern, a fairly solid surface, and no deep cracks. A rounded beach stone is often easier for beginners than a jagged chunk because nature has already done some of the shaping work. If the stone has large pits, crumbly areas, or heavy host rock attached, it may still be interesting, but it may not polish evenly.
Look at the stone while it is wet. Water gives you a preview of the final polish. If the pattern looks strong when wet, you have a good candidate. If the surface looks patchy, chalky, or deeply fractured even under water, polishing may improve it but probably will not turn it into a glassy masterpiece. That is not failure; that is geology having opinions.
Step 2: Wash the Stone Thoroughly
Rinse the Petoskey stone under clean water and scrub away sand, clay, algae, or beach grit with a soft brush. Do not use harsh acids, vinegar, or strong cleaners. Petoskey stones contain calcite, and acidic cleaners can etch the surface, making your polishing job harder before you even begin.
After cleaning, dry the stone and inspect it. Mark any obvious scratches, bumps, or rough patches in your mind. These areas will need the most attention during the first sanding stage. If you want to polish only one face of the stone, decide that now. Many collectors polish the best patterned side and leave the back natural for contrast.
Step 3: Start Wet Sanding With 220-Grit Sandpaper
Wet the stone and the 220-grit sandpaper. Then rub the stone in small circular motions. Keep the surface damp the entire time. Water helps carry away stone dust, reduces scratching, and keeps the sanding smoother. This first sanding stage is the most important because it removes roughness, weathered surface material, and visible scratches.
Do not press too hard. Petoskey stone is soft enough that aggressive pressure can create flat spots, uneven edges, or new scratches. Think of it as coaxing the shine out, not interrogating the rock under a lamp.
Spend extra time here. Beginners often move on too soon, then wonder why the final polish looks cloudy. The polish does not hide sanding mistakes; it announces them with a tiny trumpet. Rinse and dry the stone often. Drying is important because scratches are easier to see on a dry surface than on a wet one.
Step 4: Move to 400-Grit Sandpaper
Once the surface feels evenly smooth from the 220-grit stage, switch to 400 grit. Wet the stone again and sand in circular motions. Your goal is no longer heavy shaping. Now you are removing the scratches left by the previous grit.
This is the part of polishing where discipline matters. Each grit must erase the marks from the grit before it. If you leave 220-grit scratches behind and jump ahead, those scratches will still be there later, sitting proudly under your polish like uninvited guests at a wedding.
Rinse the stone, dry it, and check it from several angles under good light. If you still see deeper scratches, keep working with 400 grit. If scratches remain stubborn, briefly return to 220 grit, then repeat the 400-grit stage.
Step 5: Smooth the Stone With 600-Grit Sandpaper
After the 400-grit stage, move to 600 grit. Continue wet sanding with light, steady pressure. At this point, the Petoskey stone should begin to feel silky under your fingers. The fossil pattern may look clearer, and the surface should become more uniform.
Spend at least several minutes with 600 grit after you think you are finished. This extra time helps remove small marks you may not notice right away. If you want a higher-quality finish, you can continue with 800, 1000, 1500, or 2000 grit. These finer grits are optional, but they make polishing easier and can help produce a cleaner shine.
A practical example: if you are polishing a small stone for a pendant or display piece, going beyond 600 grit is worth it. If you are polishing a larger stone for a shelf, 600 grit followed by a good polishing compound may be enough. The smaller and more detailed the piece, the more those extra sanding stages matter.
Step 6: Inspect for Scratches Before Polishing
Before you touch the polishing powder, stop and inspect the stone like a quality-control manager with a magnifying glass and a suspicious attitude. Rinse it, dry it completely, and look for dull patches, white spots, flat scratches, or rough areas.
This step is where many beginners save or ruin the final result. Polishing compound is not magic frosting. It cannot fill deep scratches or fix uneven sanding. If you see marks, go back to the appropriate grit. For small haze marks, return to 600 grit. For deeper scratches, go back to 400 or even 220 grit, then work forward again.
The rule is simple: all visible scratches should be removed before polishing. It sounds strict because it is. The stone has waited about 350 million years. It can handle ten more minutes of sanding.
Step 7: Apply Polishing Compound
Dampen a soft cloth such as denim, felt, velvet, or leather. Add a small amount of aluminum oxide polishing powder, cerium oxide, or another gentle lapidary polish. You do not need a mountain of powder. A little slurry goes a long way.
Rub the stone in short circular strokes. Work evenly across the entire polished surface. You should begin to see a soft shine develop. Keep the cloth slightly damp, but not dripping. If it dries out completely, add a tiny amount of water. If the slurry becomes gritty from debris, rinse the stone and cloth before continuing.
For a small stone, polishing may take only a few minutes after proper sanding. For a larger or more stubborn piece, it may take longer. The real shine comes from the sanding preparation; the compound is the final handshake.
Step 8: Buff, Rinse, and Dry
Once the stone has a pleasing shine, rinse it carefully with clean water. Wipe away all polishing residue, especially from small pits or coral-pattern grooves. Dry it with a soft towel and buff it with a clean section of cloth.
Now check the stone under bright light. Rotate it slowly. A good hand-polished Petoskey stone should have a smooth, satin-to-glossy surface and a strong visible pattern. It may not look like machine-polished glass, but it should have that satisfying “wet forever” appearance that makes Petoskey stones so addictive to collect.
If you find dull patches, repeat the polish. If you find scratches, return to sanding. This is not going backward; it is how good polishing works.
Step 9: Display and Protect Your Finished Stone
After polishing, handle the stone gently. Petoskey stones are softer than many common minerals, so they can scratch if tossed into a drawer with keys, coins, or harder rocks. Display it on a shelf, in a small dish, in a shadow box, or as part of a labeled rock collection.
If you plan to make jewelry, choose a setting that protects the surface. A pendant is usually safer than a ring because rings take more daily abuse. For home display, avoid long-term exposure to harsh chemicals or abrasive dust. A quick wipe with a soft cloth is usually enough to keep the shine looking fresh.
Can You Polish Petoskey Stones in a Rock Tumbler?
Yes, but with caution. Petoskey stones are soft, so tumbling them with harder stones is a recipe for disappointment served with a side of fossil crumbs. If you use a tumbler, polish only Petoskey stones or similarly soft materials together, and use cushioning media such as plastic pellets, walnut shell, or small ceramic media depending on the method. Many hobbyists prefer hand polishing because it gives better control and reduces the risk of bruising or over-grinding the stone.
For beginners, hand polishing is the safer method. It lets you feel the stone change under your fingers, inspect progress often, and avoid turning a beautiful fossil into a sad little pebble with commitment issues.
Common Mistakes to Avoid
Skipping Grits
Do not jump from rough sanding straight to polish. Each grit has a job. Skipping one usually leaves scratches behind.
Sanding Dry
Wet sanding is cleaner, safer, and smoother. Dry sanding creates dust and can leave deeper marks.
Using Too Much Pressure
Petoskey stones are soft. Let the abrasive do the work. Heavy pressure can flatten the pattern or create uneven spots.
Expecting Every Stone to Shine the Same
Some stones are naturally better polishing candidates than others. Solid, smooth, well-patterned stones usually polish best.
Using Acidic Cleaners
Because Petoskey stones contain calcite, acidic products can damage the surface. Stick with water, mild soap if necessary, and proper polishing materials.
Extra Experience: What Polishing Petoskey Stones Teaches You
Polishing Petoskey stones is part craft, part geology lesson, and part quiet therapy disguised as a hobby. The first thing you learn is that the stone changes personality when wet. On the beach, you may spot a bold honeycomb pattern glowing under lake water. Then you bring it home, let it dry, and suddenly it looks like a gray potato with secrets. That moment is exactly why polishing feels rewarding. You are not adding beauty so much as revealing what was already there.
One practical experience many beginners share is underestimating the 220-grit stage. It feels rough, basic, and not very glamorous. But it sets up everything that follows. If you rush it, the later grits become frustrating because they are trying to fix problems they were never meant to fix. The better approach is to treat the first stage like foundation work on a house. Nobody compliments the foundation at dinner parties, but everyone notices when the walls lean.
Another lesson is that drying the stone between stages is not a tiny detail; it is a secret weapon. A wet stone hides scratches. A dry stone tells the truth. After rinsing and drying, tilt the stone near a window or lamp. Fine scratches often appear as pale lines or dull streaks. When you catch them early, fixing them is easy. When you find them after polishing, you have to backtrack, which is still fixable but slightly annoying in the way only avoidable mistakes can be.
Polishing also teaches you to choose stones more carefully. At first, you may want to polish every Petoskey stone you find. After a few sessions, you start noticing which ones have strong patterns, fewer pits, and pleasing shapes. A small, solid stone with crisp coral cells can look better polished than a large stone with cracks and crumbly patches. Bigger is not always better. Sometimes the best stone is the one that fits neatly between your fingers and lets the pattern shine without a wrestling match.
There is also a rhythm to hand polishing that makes it surprisingly enjoyable. The circular sanding, rinse, dry, inspect, repeat process slows you down. You begin to see tiny changes: a rough edge softens, a cloudy patch clears, a fossil eye sharpens. It is not instant-gratification crafting. It is more like making coffee the old-fashioned way: slower, more deliberate, and oddly satisfying when it works.
One personal-style tip: keep a “practice stone” around. Use it to test new polishing compounds, cloth types, or finer grits before trying them on your favorite find. This removes pressure and helps you learn how the material responds. A scrap of denim may produce a different feel than felt or leather. A stone taken to 1000 or 2000 grit before polishing may develop a cleaner shine than one stopped at 600 grit. Experimentation is part of the fun, as long as you experiment on stones you are not emotionally attached to like they are family heirlooms.
Finally, polishing Petoskey stones makes you appreciate the story inside the object. You are holding fossil coral from an ancient sea, shaped by geological time, moved by ice, smoothed by water, found by chance, and finished by hand. That is a lot of history for something that fits in your palm. The finished shine is beautiful, but the real reward is knowing you helped reveal a pattern that waited millions of years to be seen.
Final Thoughts
Learning how to polish Petoskey stones is not difficult, but it does reward care. Choose a solid stone, sand it wet through progressively finer grits, inspect it closely, and polish only after the scratches are gone. The process is simple, but the results can feel almost magical: a dull gray fossil becomes a glossy piece of Michigan history with a pattern that looks hand-drawn by ancient ocean life.
Whether you found your stone along a Lake Michigan beach or received it as a souvenir, polishing it by hand gives you a closer connection to the fossil itself. Go slowly, keep it wet, check your work, and remember that a little patience can turn a humble rock into a display-worthy keepsake. Also, do not be surprised if polishing one Petoskey stone leads to polishing ten more. Rockhounding hobbies rarely arrive alone; they bring friends, storage boxes, and strong opinions about sandpaper.
Note: This article is written for educational and hobby use. Always follow local, state, and federal collecting rules before removing stones from beaches, parks, lakeshores, or private land.