
An iPod that will not get loud enough can make a perfectly good playlist feel as if it is performing from the next apartment. Before blaming the hardwareor declaring your earbuds emotionally unavailablecheck whether the device is obeying a volume cap, a headphone-safety setting, or a music-library adjustment.
“Unlocking” an iPod volume limit is usually less dramatic than the phrase suggests. Most of the time, it means changing a setting you control, entering the combination you created, or correcting a playback option that makes tracks seem quieter than they are.
This guide covers the major iPod families: click-wheel iPod classic models, iPod nano, iPod shuffle, and iPod touch. The exact menu labels vary by generation and software version, so begin by identifying the model and updating its software only through Apple’s supported tools.
More important, do not assume every cap is an error. A volume limit may have been set by a parent, a school, a previous owner, or your own wiser past selfthe person who apparently cared about your eardrums while you were busy rediscovering 2000s pop-punk.
First, Identify What Is Actually Limiting the Sound
A true iPod volume limit stops the volume bar before it reaches its normal maximum. On many iPod classic and nano models, a small triangle on the volume bar marks the cap. On iPod touch, a Headphone Safety feature can reduce loud audio above a chosen level. On iPod shuffle, the maximum-volume control lives in iTunes rather than on the player itself.
But a quiet song is not always a locked iPod. Sound Check can normalize playback, an individual track can carry a reduced volume value in iTunes, Bluetooth headphones may have their own volume control, and worn or poorly matched headphones can make the same iPod seem far weaker.
Test with one familiar, well-mastered song and a known-good pair of headphones before you change anything. That tiny bit of detective work can spare you from performing surgery on a problem that is really just a timid podcast episode.
1. Remove the Built-In Volume Limit on iPod Classic or iPod Nano
For many click-wheel iPods and older nanos, the direct fix is pleasantly old-school: open the device’s Settings menu and choose Volume Limit. Use the Click Wheel to move the limit marker toward the top of the scale.
On an iPod classic, moving the marker all the way to the maximum removes the restriction. Press the Center or Play/Pause button, depending on the model, to accept the change.
Start with the music paused or at a low listening level. Then make one small adjustment, play a familiar track for a few seconds, and reassess. The goal is not to turn the iPod into a tiny concert PA system; it is to regain normal control of the available range.
If the player asks for a number combination, stop there. That indicates the volume limit was deliberately locked, and the correct path is Method 4not a random sequence of hopeful button mashing.
How to Confirm the Limit Was Removed
Return to the Now Playing screen after changing the setting. If the volume bar now travels farther than before, the restriction was probably the culprit. If the iPod still feels weak, move to Method 5 and inspect playback settings, headphones, and the music files themselves.
2. Adjust or Remove the iPod Shuffle Maximum-Volume Setting in iTunes
The iPod shuffle is delightfully minimalist, which is charming until you need a menu that does not exist. Its maximum-volume option is managed when the shuffle is connected to a computer.
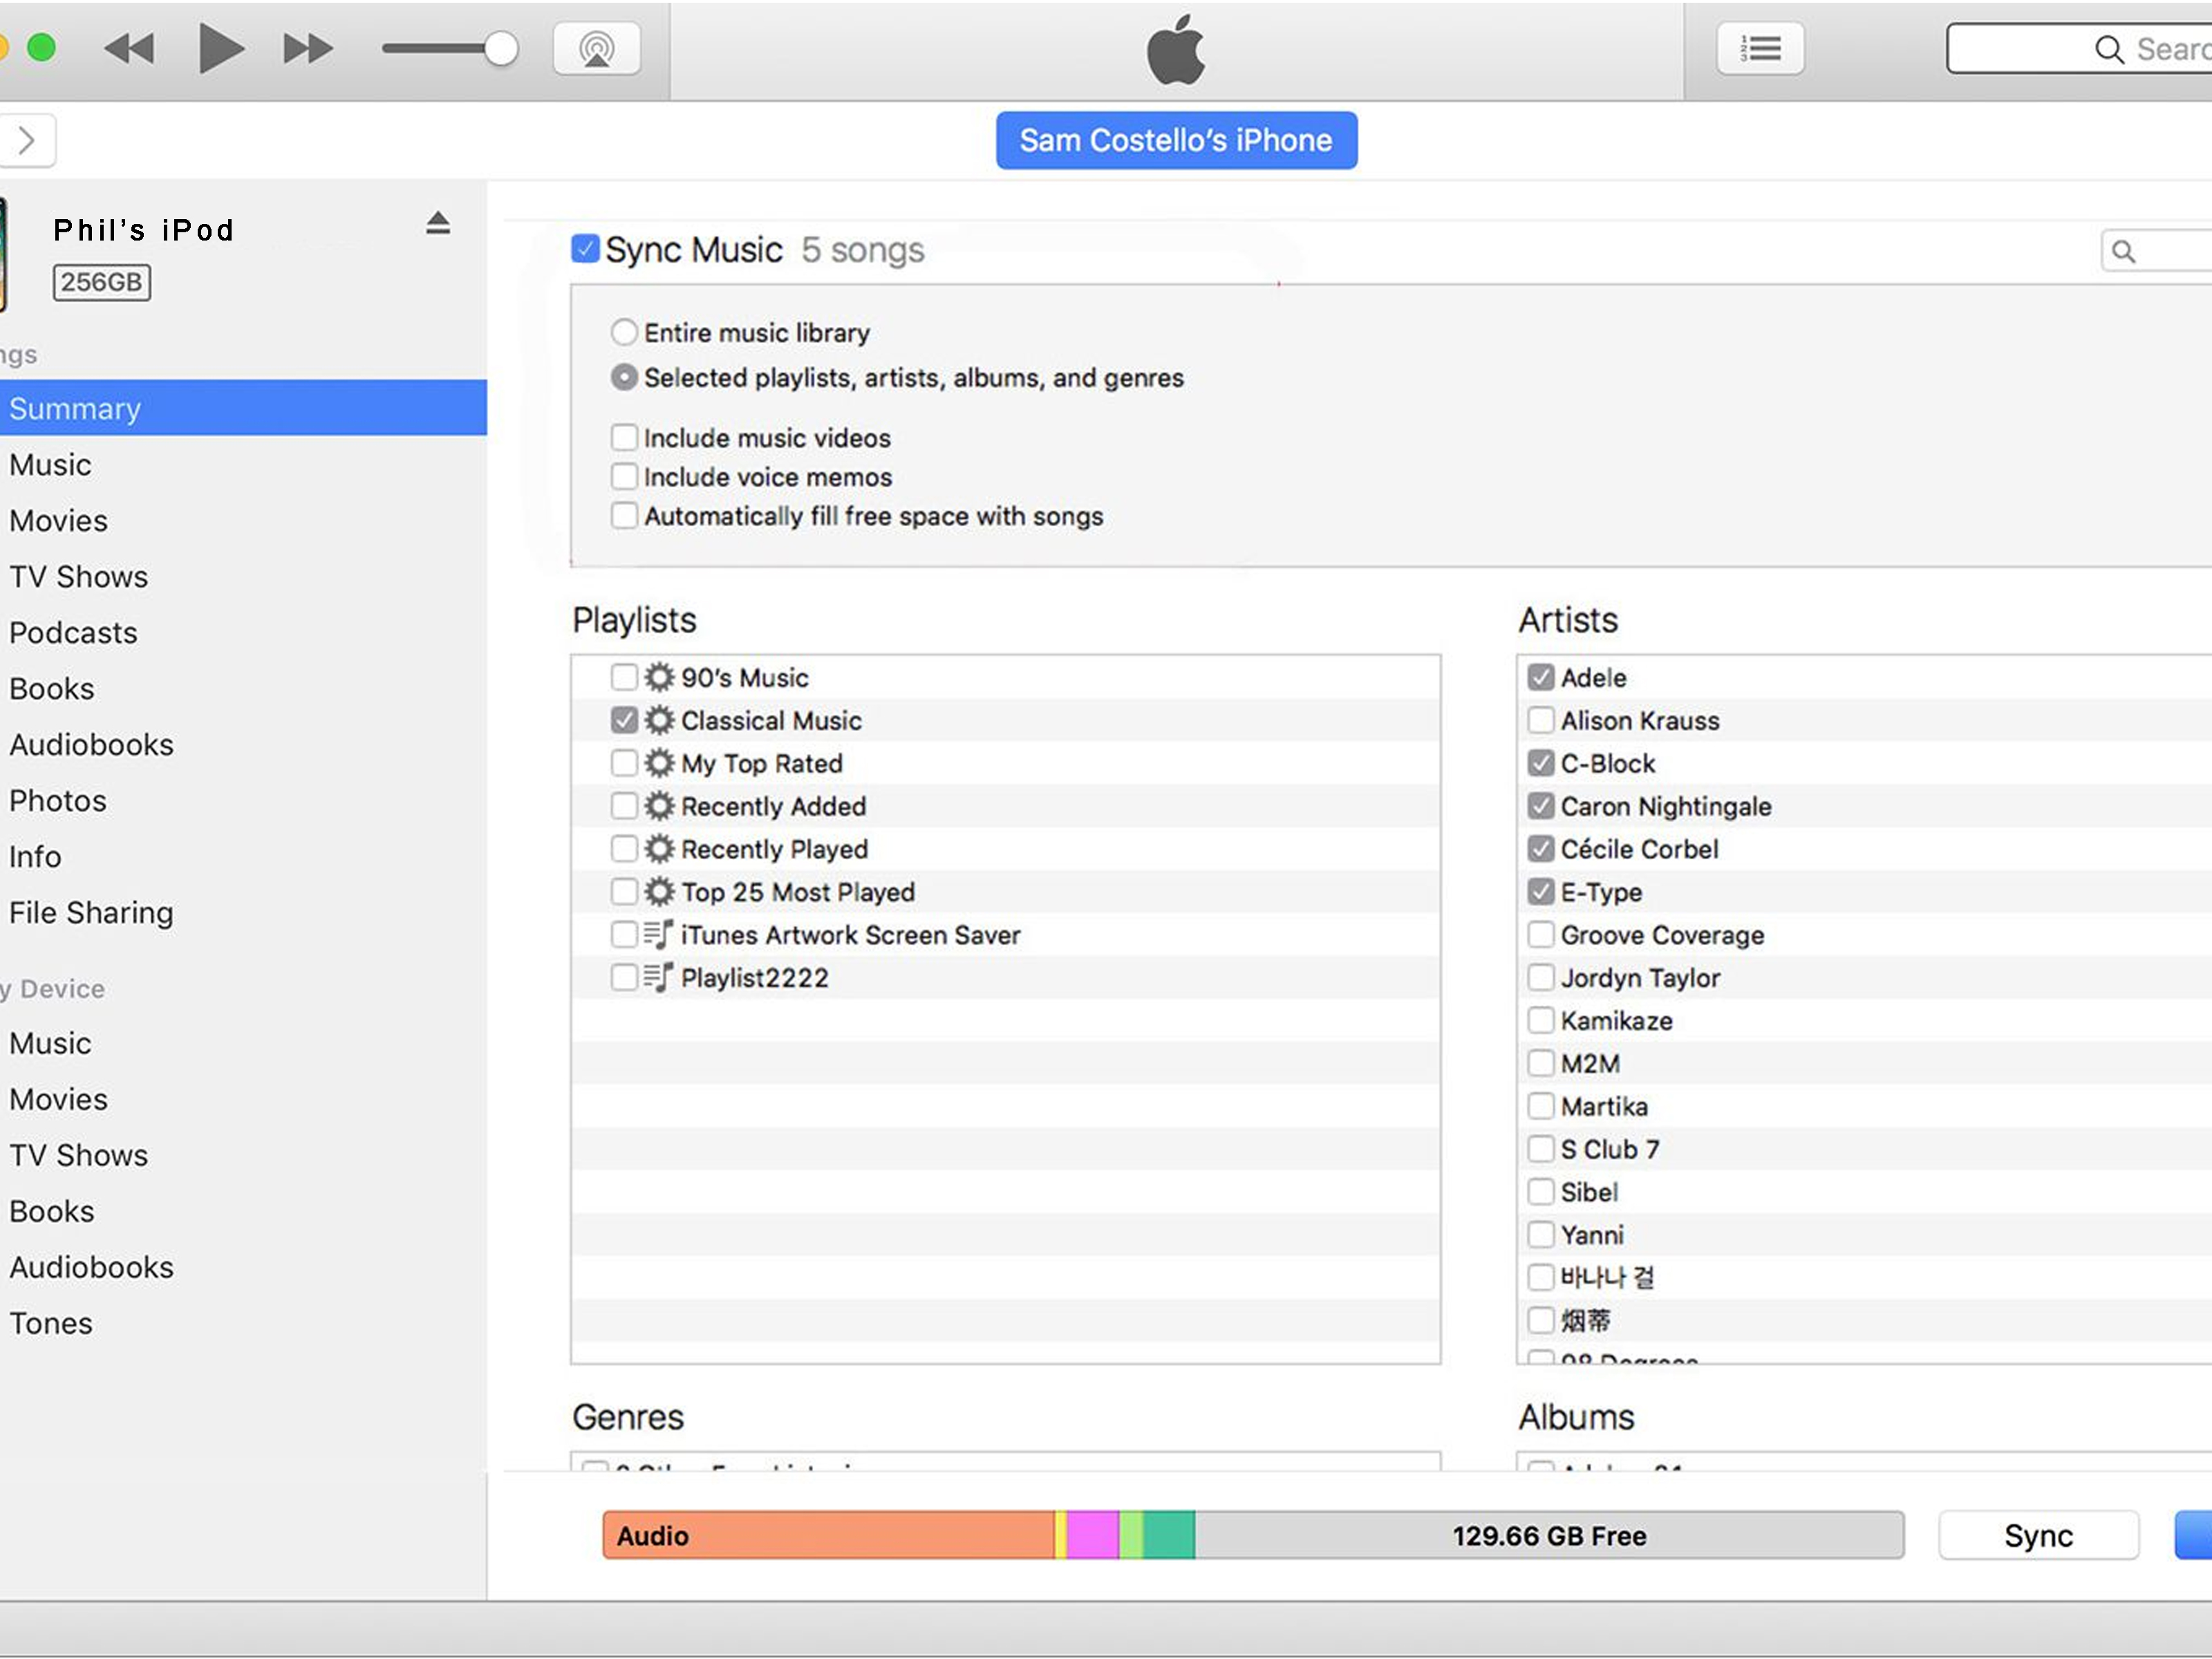
Connect the device by USB, open iTunes, select the iPod button, and open Summary on supported shuffle generations. Look for Limit maximum volume.
To remove a cap you created, clear that checkbox. To set a lower ceiling for a child or for safer listening, select it and move the slider to the preferred maximum instead.
iTunes uses the shuffle’s current volume as the starting point when the option is enabled, so set a sensible listening level before creating a new limit. If the control is missing, check whether the shuffle software needs an update.
After syncing, disconnect the player properly and test it with the same headphones and song used earlier. This matters because it separates a settings fix from a headphone issue. A shuffle has no display to explain its feelings, so a consistent test routine is your best translator.
3. Review Headphone Safety and Screen Time on iPod Touch
Later iPod touch models use iOS-style audio controls. A setting called Reduce Loud Sounds can automatically lower headphone audio above the level selected in Headphone Safety.
On compatible iPod touch software, go to Settings > Sounds > Headphone Safety. Depending on the software version, the menu may appear as Sounds & Haptics.
When you own the device and the setting is not being managed for someone else, review the selected threshold and decide whether it suits your listening situation. Turning the feature off or setting a less restrictive threshold restores more of the device’s output range, but it also removes a protection that is doing real work.
Treat that decision like removing the guardrail from a mountain road: possible, yes; automatically wise, no.
What to Do When the Setting Is Locked
If the control is grayed out or cannot be changed, check Settings > Screen Time > Content & Privacy Restrictions. A parent or authorized administrator may have prevented changes to Reduce Loud Sounds.
The appropriate solution is to ask that person to update the restriction. For a family device, a sensible compromise is to keep the feature enabled but use better-isolating headphones so you are not fighting background noise with raw volume.
4. Use the Correct Codeor Restore Your Own Device as a Last Resort
Some iPod classic and nano models let the owner protect a volume limit with a combination. There is no magic factory code worth trying from a sketchy forum. The player expects the combination that was set on that specific device.
If you know the code, go to Settings > Volume Limit, enter the combination, move the limit to the maximum position, and confirm the change.
If you bought the iPod secondhand, ask the seller before assuming the unit is defective. A locked limit can simply be leftover parental protection.
If the legitimate owner cannot recall the combination, the supported last-resort solution is to restore the iPod, which erases its settings and content. Back up or re-sync anything that still exists on the device before taking that step.
For iPod touch, recovery-mode restoration likewise erases the device and its passcode, after which you set it up again. Restoring is not a quick volume boost; it is a reset button with consequences.
Use it only after confirming that the capnot Sound Check, the headphones, the cable, or a low-volume recordingis truly the problem. Think of it as using a fire extinguisher, not a light switch.
5. Fix “Fake” Volume Limits: Sound Check, Track Settings, EQ, and Headphones
Many “my iPod is capped” complaints turn out to be playback inconsistencies. On iPod touch, visit Settings > Music and review Sound Check. On iPod classic, Sound Check can also be enabled or disabled from Settings after the library has been analyzed in iTunes.
Sound Check aims to make songs play at a more consistent relative level, which can cause especially loud tracks to play lower than expected. Disable it temporarily and compare the same track before and after.
Next, inspect the song itself in desktop Music or iTunes. A track may have an individual volume adjustment applied under its information or options panel. Return a negative adjustment to neutral, sync the iPod, and test again.
Avoid cranking positive software gain to the ceiling. It can create distortion without producing better, cleaner sound. Loud and fuzzy is not an upgrade; it is just a tiny blender with a chorus.
Check the Headphones Before Blaming the iPod
Test a second pair of headphones. Wired headphones with a loose plug, blocked mesh, damaged cable, or poor sensitivity can make output seem strangely limited. Bluetooth headphones may have their own independent volume level.
EQ can improve the perceived punch of music, but it is not a safe substitute for a real volume fix, and some EQ presets reduce headroom. Start with EQ off, set the iPod volume modestly, then adjust one variable at a time.
How Loud Is Too Loud?
Volume controls are not villainous furniture installed solely to ruin a guitar solo. Repeated exposure to loud sound can harm hearing, and the risk rises as the volume and listening time increase.
Decibel output also varies with the headphones, the fit, the track, and the setting, so a particular percentage on an iPod is not a universal safety guarantee.
A useful everyday check is simple: if someone at arm’s length has to raise their voice to talk to you, the environment or your headphones are probably too loud.
Take listening breaks, lower the level before inserting earbuds, and use headphones that reduce outside noise so you do not need to overpower a bus, gym, airplane, or very enthusiastic lawn mower.
Ringing, muffled hearing, pain, or sound sensitivity after listening are reasons to stop and seek professional hearing advice if they persist.
What Not to Do
Skip firmware hacks, unknown “volume booster” files, hardware modifications, and instructions that tell you to delete hidden system files. They can corrupt an aging iPod, erase a library, bypass a restriction you do not own, or provide more distortion rather than more useful volume.
The five methods above cover the legitimate settings and recovery paths that solve the vast majority of iPod volume-limit problems.
Conclusion
Unlocking an iPod volume limit is usually a settings task, not a hardware battle. Classic and nano owners should inspect the Volume Limit menu; shuffle owners should check iTunes; iPod touch users should review Headphone Safety and any authorized Screen Time rules.
When the volume bar already reaches the top, investigate Sound Check, track-level settings, headphone condition, and Bluetooth volume before considering a restore. Bring back the music, keep the clarity, and leave your hearing enough headroom for tomorrow’s favorite song.
Practical Experiences: What iPod Owners Commonly Learn the Hard Way
The first surprise is that the “limit” is often not obvious. Someone may inherit an iPod classic, turn the Click Wheel to what looks like full volume, and still hear a polite whisper. The clue is usually the limit marker on the display or a locked Volume Limit screen.
Once the authorized owner enters the combination and adjusts the cap, the player can feel instantly revived. Still, that success does not prove every quiet iPod has the same problem. A volume cap is only one suspect in a crowded audio lineup.
The iPod shuffle teaches a different lesson. With no display, its buttons can seem broken when the actual setting lives in iTunes. Connecting it to a computer, opening the device summary, and finding the maximum-volume checkbox often solves the mystery.
The practical takeaway is to keep a compatible sync setup available if you still use a shuffle. A tiny music player from another era occasionally needs a tiny piece of era-appropriate maintenance.
iPod touch owners often change one audio setting, restart, and wonder why the sound remains constrained. Headphone Safety, Screen Time restrictions, or the headphones themselves may still be responsible.
Compare wired headphones, Bluetooth earbuds, and the built-in speaker using the same familiar track. When only one pair sounds weak, the iPod is probably innocent. When every output is limited in the same way, Settingsnot a replacement shopping cartis the next stop.
Library settings create another false alarm. Sound Check can be helpful when one album is mastered quietly and the next seems eager to wake the neighbors. But listeners who expect dramatic jumps in loudness can mistake normalization for a cap.
Comparing one track with Sound Check on and off turns a vague complaint into a clear answer. The same is true for individual song-volume adjustments: one quiet file can make a healthy iPod look guilty.
A restore is where impatience becomes expensive. It can clear a forgotten owner-set limit, but it also clears media and settings, so experienced users usually try every reversible test first: another pair of headphones, another song, Sound Check, the volume menu, and the sync settings.
Only after those checks point to a genuinely locked device does a restore make sense. This order avoids the classic mistake of erasing a carefully curated music library to fix a cable that was barely connected.
The best long-term result is rarely “maximum volume achieved.” It is finding a comfortable level where lyrics are clear, bass is present, and there is no need to raise the dial whenever the train doors open.
Better-fitting or noise-isolating headphones often solve that problem more elegantly than additional gain. The winning fix is not always louder. Sometimes it is less background noise, a healthier setting, and one fewer reason for your future self to ask why everyone is mumbling.