
A wobbly table is one of those tiny household problems that becomes weirdly dramatic. One minute you are enjoying coffee, and the next your mug is doing a nervous little tap dance every time someone reaches for toast. The good news? A shaky table is usually not a sign that your furniture has given up on life. In most cases, it means one of three things: the table is not sitting evenly on the floor, the leg joints are loose, or the table frame needs stronger bracing.
Learning how to brace a wobbly table can save money, prevent damage, and keep your dining room from feeling like a low-budget carnival ride. Whether you are fixing a wooden dining table, a small side table, a workbench, a desk, or a beloved flea-market find, the repair starts with understanding where the wobble comes from. Once you identify the cause, you can choose the right fix instead of randomly tightening screws and hoping the furniture gods approve.
This guide covers three practical ways to stabilize a wobbly table: leveling the legs, reinforcing the corner joints, and adding cross bracing or stretchers. Each method can be done with basic tools, a little patience, and the confidence of someone who has watched at least one DIY video and said, “I can probably do that.”
Before You Brace: Find Out Why the Table Wobbles
Before you reach for brackets, glue, screws, clamps, or your emergency stash of cardboard folded under one leg, take five minutes to diagnose the problem. A table can wobble for several reasons, and bracing the wrong part can make the repair harder than it needs to be.
Check the floor first
Place the table in another part of the room and press lightly on each corner. If the wobble changes or disappears, the problem may be the floor, not the table. Older homes, tile floors, patios, garages, and even some new apartments can have uneven surfaces. In that case, leveling feet, furniture pads, or shims may solve the problem quickly.
Inspect each leg
Grab each table leg near the top and gently wiggle it side to side. If one leg moves independently from the table frame, the joint is loose. This often happens where the leg meets the apron, which is the horizontal frame under the tabletop. Loose screws, worn holes, cracked glue joints, or weak factory hardware can all cause movement.
Look for racking
Racking happens when the table frame shifts from a rectangle toward a parallelogram shape. In normal-person language: the table sways side to side like it is trying to dance at a wedding. This is common on tall tables, narrow desks, lightweight furniture, workbenches, folding tables, and tables with thin legs. Racking usually requires stronger bracing, such as corner blocks, L-brackets, diagonal braces, or stretchers.
Tools and Materials You May Need
You do not need a professional workshop to fix most wobbly tables. For many repairs, a screwdriver, drill, level, measuring tape, wood glue, clamps, screws, and brackets will do the job. For more involved repairs, you may also need corner braces, metal L-brackets, wood blocks, threaded inserts, adjustable leveling feet, shims, sandpaper, a small saw, and safety glasses.
Use screws that are long enough to hold firmly but not so long that they poke through the tabletop or leg. That sounds obvious, but many DIY lessons begin with someone saying, “Why is there a screw tip coming through my dining table?” Measure twice, drill once, and avoid turning a simple repair into modern art.
Way 1: Level the Legs and Stabilize the Base
The easiest way to fix a wobbly table is to make sure all legs touch the floor evenly. This method is best when the table rocks back and forth but the legs and joints feel solid. If the table is structurally sound and only one foot is slightly short, you may not need major bracing at all.
Step 1: Test the table on a flat surface
Move the table to the flattest surface you can find. A garage floor, countertop-height work surface, or a known level area can help. Press down gently on opposite corners. If one leg lifts, mark that leg with painter’s tape. This is your problem area.
Step 2: Use furniture pads or shims for a quick fix
For a small wobble, add a felt furniture pad, rubber foot, or thin shim under the short leg. This works especially well for coffee tables, side tables, nightstands, and lightweight dining tables. Rubber pads also help reduce sliding on hard floors. If you are fixing a table on tile, stone, laminate, or hardwood, this simple repair can feel almost magical.
For a cleaner look, trim the shim so it does not stick out. A visible chunk of cardboard under a table leg may work, but it also announces to guests that your furniture repair strategy is “college apartment chic.” Felt pads or adjustable feet look much better.
Step 3: Sand down the longer leg if needed
If one leg is slightly longer than the others, you can carefully sand it down. This is best for solid wood legs, not metal legs or hollow manufactured furniture parts. Mark the amount to remove, then sand slowly and test often. Remove too much and congratulations: you have simply moved the wobble to another leg.
Step 4: Install adjustable leveling feet
Adjustable leveling feet are excellent for worktables, desks, patio tables, craft tables, and furniture that sits on uneven floors. Most leveling feet use a threaded stem that screws into the bottom of each leg. You drill a pilot hole, install the threaded insert or T-nut, and twist the foot up or down until the table sits level.
This is one of the best long-term fixes for tables that get moved frequently. Instead of re-shimming the table every time it changes rooms, you can simply adjust the feet. It is also useful for garage workbenches, where the floor may slope slightly for drainage.
When this method works best
Leveling works best when the table wobbles because of uneven legs or an uneven floor. It does not solve loose joints or a weak frame. If the table still sways after all feet are firmly touching the floor, move on to bracing the joints.
Way 2: Reinforce Loose Leg Joints With Corner Braces
If your table legs wiggle where they meet the apron or tabletop, the joints need reinforcement. This is where corner braces, wood corner blocks, L-brackets, screws, and glue become your best friends. This repair is common for wooden dining tables, vintage tables, inexpensive flat-pack furniture, and tables that have survived several moves, three children, two pets, and one enthusiastic game night.
Step 1: Tighten existing hardware
Flip the table upside down on a blanket or cardboard to protect the top. Inspect the underside. You may find bolts, screws, corner plates, brackets, or mounting plates. Tighten everything gently but firmly. If a screw spins without gripping, the hole may be stripped. In that case, remove the screw, fill the hole with wood glue and toothpicks or a wooden plug, let it dry, trim it flush, and drive the screw again.
Do not overtighten screws in particleboard or MDF. These materials can crumble when abused. Think of them as furniture crackers: useful, but not thrilled about brute force.
Step 2: Add wood glue to loose wooden joints
If the joint has opened slightly, clean out dust and old debris, then apply wood glue to the mating surfaces. Clamp the joint so the leg sits tightly against the apron or mounting block. For stressed joints, give the glue plenty of curing time before using the table again. A table leg carries load and movement, so patience matters.
Wood glue works best when the surfaces fit closely together. If the joint has a large gap, glue alone will not save it. Add mechanical reinforcement with screws, brackets, corner blocks, or a combination of these.
Step 3: Install metal L-brackets
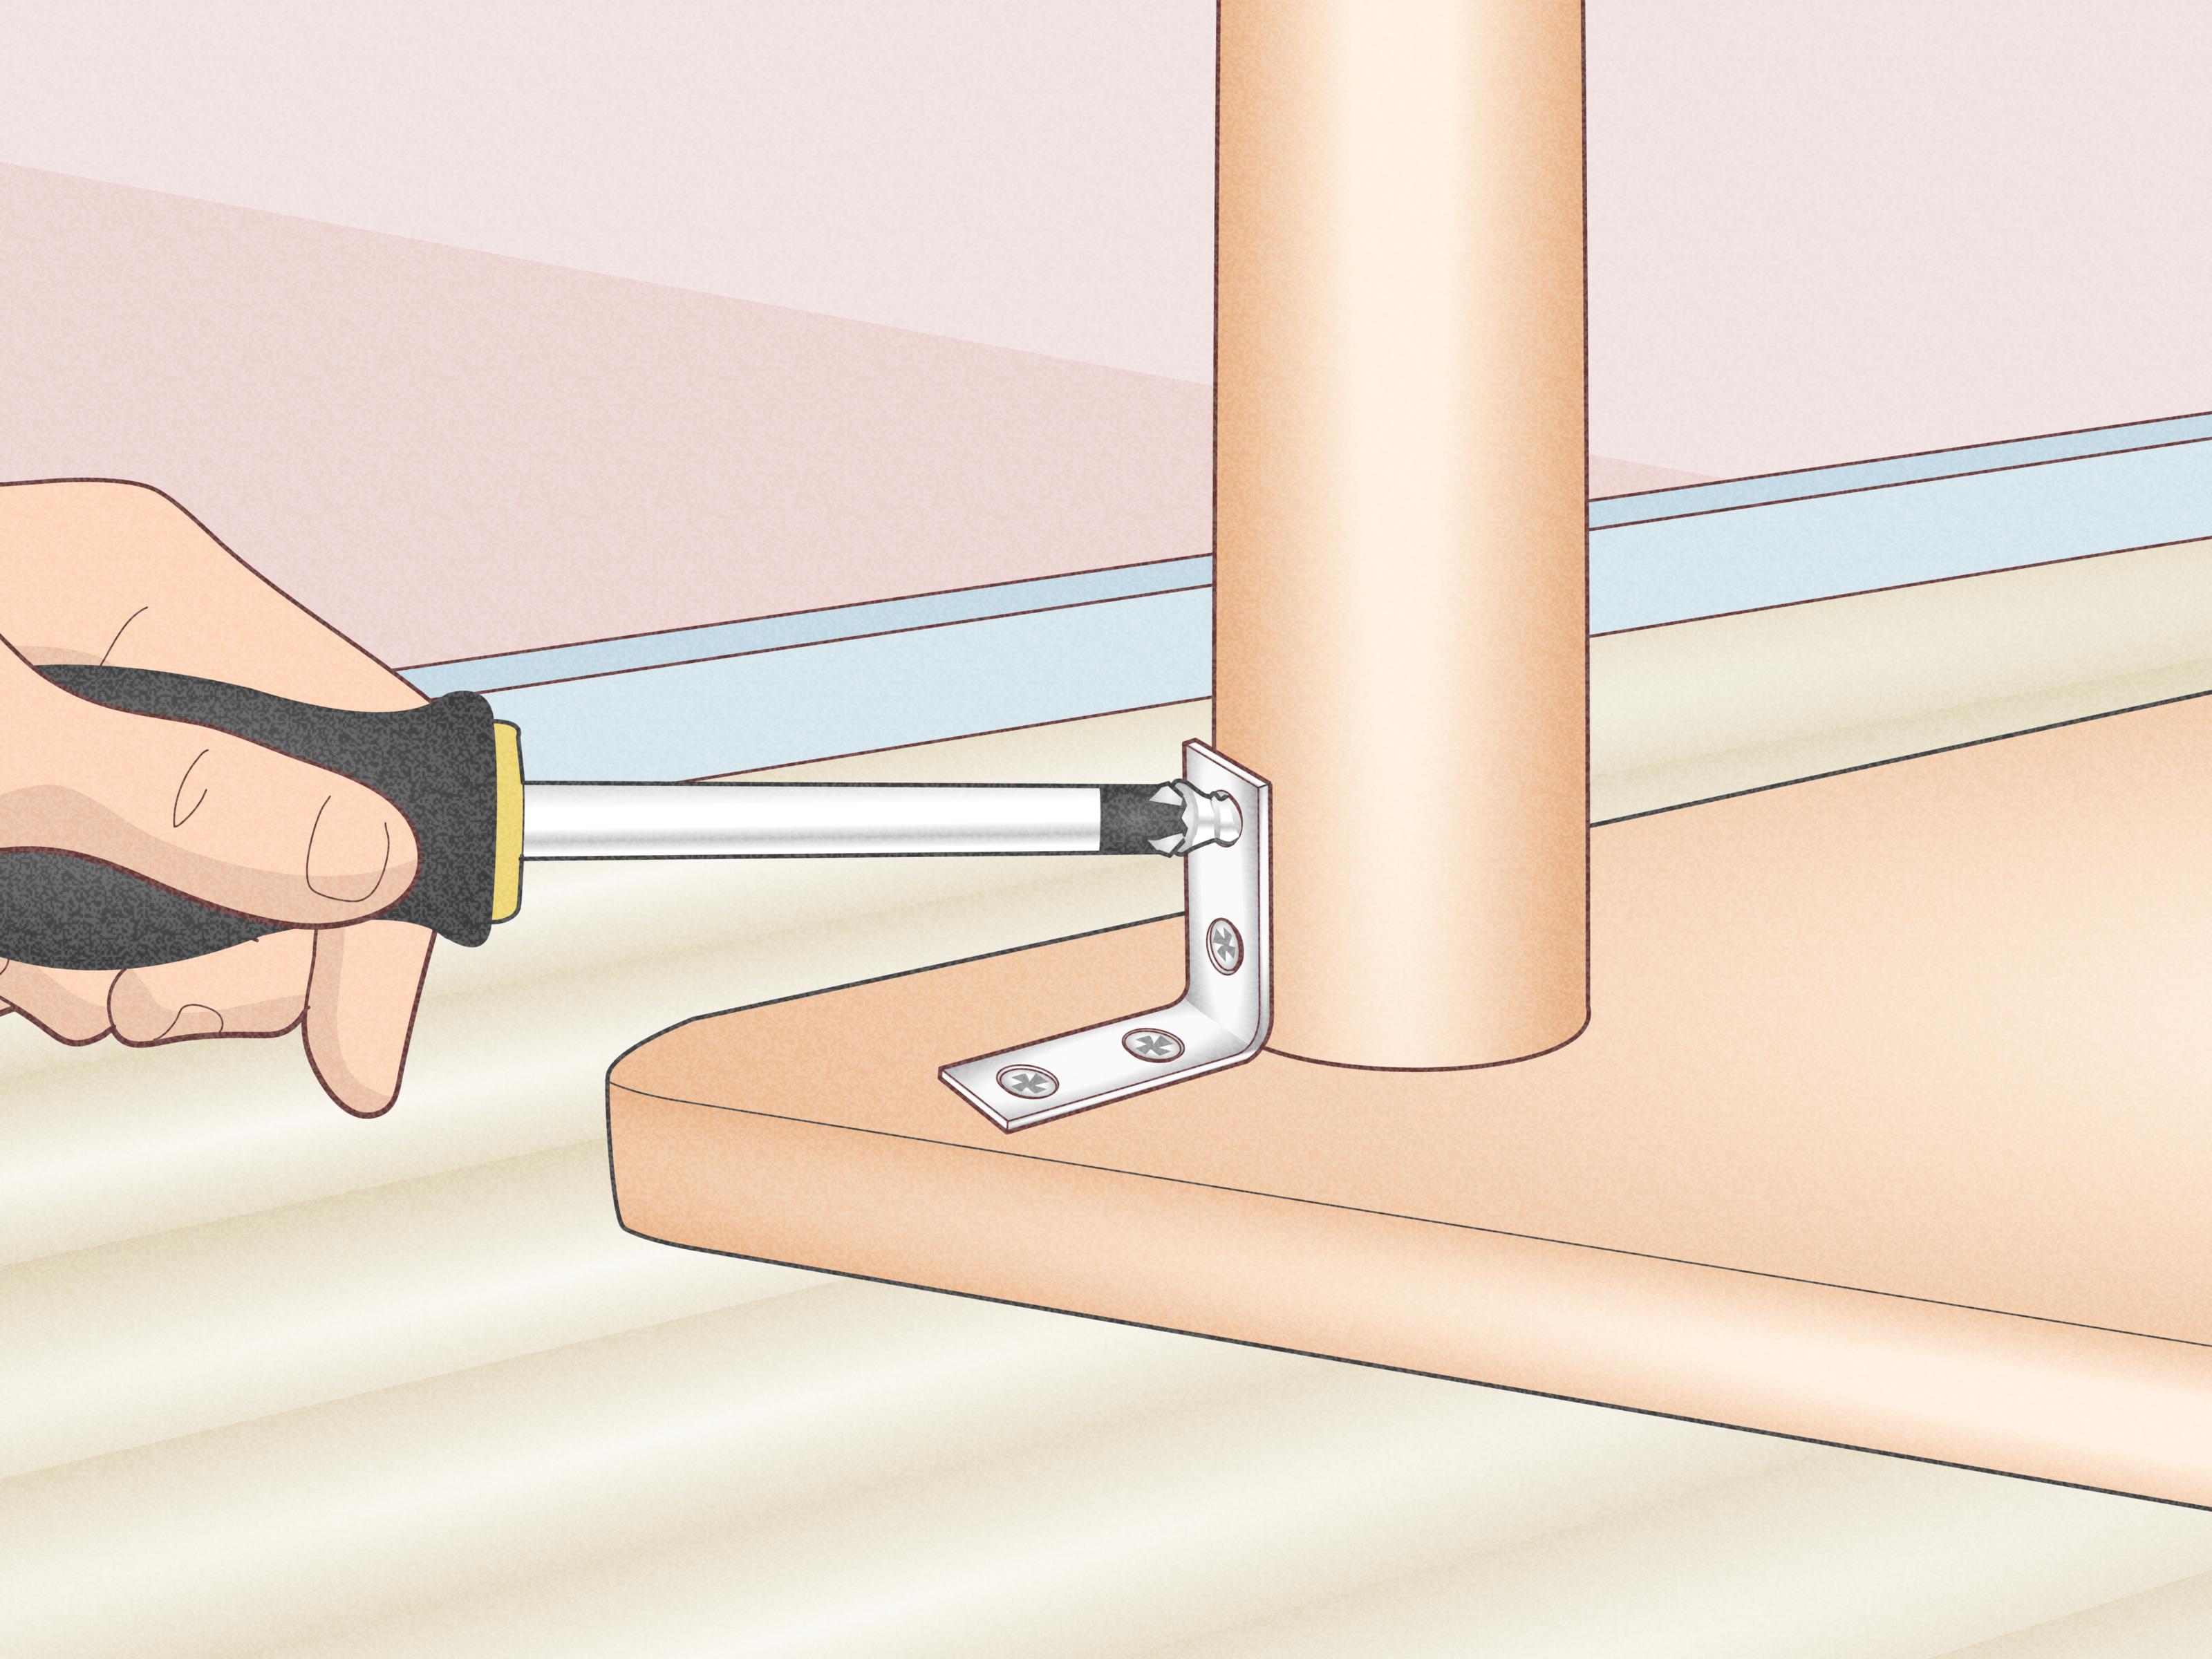
Metal L-brackets are a fast and practical way to brace a wobbly table. Position one bracket at the inside corner where the leg meets the apron or underside support. Mark the screw holes, drill pilot holes, and attach the bracket with screws. Repeat on all four corners for balanced support.
Choose brackets that fit the table size. A tiny craft bracket may not help much on a heavy dining table, while a bulky construction bracket may look odd under a delicate antique. For visible furniture, black, brass, or zinc-plated brackets can look cleaner than raw utility hardware.
Step 4: Add wood corner blocks
Wood corner blocks are traditional, strong, and easy to hide. Cut triangular or square blocks that fit snugly into the inside corners of the table frame. Glue and screw each block into the apron and, when appropriate, into the leg. The block spreads stress across a wider area and reduces side-to-side movement.
Corner blocks are especially useful for wooden tables with aprons. They reinforce the leg-to-apron connection without changing the table’s appearance from the outside. For a dining table, this is usually the sweet spot: strong enough to matter, hidden enough that nobody asks, “Why is there hardware under Grandma’s table?”
Step 5: Use the right screws
Always drill pilot holes before installing screws near the edge of wood. Pilot holes reduce splitting and help the screw go in straight. Use wood screws for wood, machine screws for threaded metal hardware, and appropriate fasteners for metal legs. If you are working with hardwood, a little wax on the screw threads can make installation smoother.
When this method works best
Corner bracing works best when the table legs are loose but the overall design is solid. It is a great repair for dining tables, desks, console tables, and side tables. If the legs are stable individually but the whole table still sways, you likely need cross bracing or stretchers.
Way 3: Add Cross Bracing, Stretchers, or Underside Supports
Cross bracing is the heavy-duty solution for a table that sways from side to side. It works by preventing the table frame from twisting or racking. If you have ever seen an X-shape brace on a workbench, farmhouse table, gate, or shelf unit, you have seen this principle in action. Diagonal bracing turns a flexible rectangle into a much stronger triangle-based structure.
Option A: Install diagonal braces between the legs
A diagonal brace can be made from wood or metal. It usually runs from one leg to another at an angle, either along the side or across the back of the table. For a workbench or utility table, the brace can be visible. For a desk or dining table, place it where knees and chairs will not hit it.
Measure the distance between the legs, cut the brace to fit, and fasten it securely with screws or bolts. If using wood, predrill holes to prevent splitting. If using metal flat bar or strap, make sure the edges are smooth and the fasteners are tight. Add one diagonal brace to start. If the table still moves, add a second brace in the opposite direction to create an X shape.
Option B: Add stretchers between legs
Stretchers are horizontal supports that connect table legs near the lower part of the frame. You often see them on farmhouse tables, benches, worktables, and older chairs. A stretcher reduces leg movement by tying the legs together, which makes the table feel more solid.
For a wooden table, you can install side stretchers between the front and back legs or an end stretcher between each pair of side legs. A long center stretcher can also connect the two end frames. Use glue and screws, dowels, pocket holes, or bolts depending on the table style and your tools.
The key is placement. Stretchers should be low enough to add stability but high enough that feet, chairs, and storage bins do not constantly crash into them. A stretcher that turns every meal into a shin-injury obstacle course is technically stable, but emotionally questionable.
Option C: Reinforce the underside of the tabletop
Sometimes the legs are fine, but the tabletop or frame flexes. This is common with large tabletops, thin tops, long desks, or DIY tables made from lightweight materials. In these cases, underside supports can help. Wood cleats, metal channels, or support rails can be attached beneath the top to reduce flexing and improve rigidity.
When adding supports beneath a solid wood tabletop, remember that wood expands and contracts with humidity. Avoid locking a wide solid wood top so tightly that it cannot move seasonally. Use hardware or fastening methods that allow a little movement across the grain. Plywood, MDF, and manufactured tops usually move less than solid wood, but they still need proper support.
When this method works best
Cross bracing and stretchers work best for tables that sway horizontally, especially tall, narrow, lightweight, or heavily used tables. This is also the best choice for shop tables, standing desks, craft tables, folding tables, and large DIY builds.
How to Choose the Best Method for Your Table
The right repair depends on what kind of wobble you have. If the table rocks because one foot is short, level the legs. If one leg wiggles at the top, reinforce the joint with glue, screws, corner blocks, or brackets. If the whole table sways like it is trying to escape the room, add cross bracing or stretchers.
For small decorative tables, keep the repair light and hidden. Felt pads, small corner brackets, or careful glue repairs may be enough. For dining tables, prioritize strength and appearance. Hidden corner blocks and sturdy brackets are often ideal. For workbenches and shop tables, appearance matters less than stability, so diagonal bracing and stretchers are usually the winning move.
Common Mistakes to Avoid
Using glue without clamping
Glue needs tight contact to work properly. If you simply squirt glue into a loose joint and walk away, the joint may stay loose. Clamp the parts together until the glue cures.
Installing screws without pilot holes
Screws can split wood, especially near the end grain or edge. Pilot holes make the repair cleaner and stronger.
Ignoring stripped screw holes
If a screw hole is stripped, a bigger screw is not always the best answer. Fill and repair the hole, use a plug, or install a threaded insert for a stronger hold.
Adding braces where people need legroom
A table can be beautifully stable and deeply annoying if the brace is right where knees belong. Before fastening anything, sit at the table and check clearance.
Overbuilding delicate furniture
A slim antique side table does not need construction-grade brackets that look like they belong on a deck. Match the repair to the furniture.
Safety Tips for Bracing a Wobbly Table
Always support the table securely when it is upside down. Use a blanket, cardboard, or foam pads to protect the top. Wear safety glasses when drilling or cutting. Keep hands clear of drill bits and saw blades. If the table is heavy, ask someone to help flip it. Your back will thank you, and so will the table, which would prefer not to be dropped dramatically in the middle of the room.
If the table is antique, valuable, or structurally cracked, consider consulting a furniture repair professional before making permanent changes. Original joinery, veneers, finishes, and hardware can affect value. A quick bracket repair may be perfect for a kitchen table but too aggressive for a collectible piece.
Real-Life Experience: What Actually Works When a Table Refuses to Behave
After fixing several wobbly tables, one lesson becomes clear: the table usually tells you what it needs if you stop and test it carefully. The mistake many people make is treating every wobble the same. They tighten a few screws, shove a napkin under one leg, and declare victory until the next family dinner exposes the lie. The better approach is to press, wiggle, lift, and listen.
For example, a small coffee table may seem unstable because one leg is short, but the real issue might be a loose mounting plate underneath. In that case, adding a felt pad under the leg helps for about ten minutes. Then someone sets down a bowl of popcorn, the joint shifts again, and the wobble returns like a villain in a sequel. Tightening or replacing the mounting screws fixes the actual problem.
Dining tables often need corner reinforcement. The legs experience constant stress from people leaning, sliding chairs, bumping the table, and occasionally using one corner as a temporary laptop desk, homework station, grocery landing zone, or emotional support surface during tax season. Over time, the apron-to-leg joints loosen. Wood corner blocks are especially satisfying here because they are hidden, strong, and forgiving. Even if the table was not built with beefy joinery, adding well-fitted corner blocks can make it feel much more solid.
Worktables and desks are different. They may not have loose joints at all; they may simply lack lateral support. A tall desk with thin legs can sway even when every screw is tight. In that case, diagonal bracing is the hero. The first time you add a diagonal brace to a shaky utility table, it feels almost unfair. The movement often drops immediately because the brace stops the frame from racking. It is not glamorous, but it works.
One practical trick is to do temporary testing before making permanent changes. Clamp a scrap board diagonally between two legs and test the table. If the wobble improves, you know cross bracing will help. Clamp a block into a corner and wiggle the leg. If the movement decreases, corner blocks are the right path. Place a pad under a short leg and press the tabletop. If the rocking stops, leveling is enough. These small tests prevent unnecessary drilling.
Another useful habit is repairing all four corners, not just the worst one. A table is a system. Reinforcing one corner may help, but uneven stiffness can sometimes shift stress elsewhere. If you install L-brackets or corner blocks, do all matching corners when possible. The table will feel more balanced, and the repair will look intentional rather than like a furniture bandage.
Finally, do not underestimate appearance. A repair you hate looking at will bother you every time you sit down. For hidden areas, strength matters most. For visible areas, choose hardware that blends with the furniture or use wood braces that can be stained or painted. A stable table is wonderful, but a stable table that still looks good is the real victory. That is the difference between “I fixed it” and “I fixed it, and nobody can tell.”
Conclusion
A wobbly table does not have to stay wobbly forever. Start by diagnosing the cause: uneven legs, loose joints, or weak lateral support. Then choose the fix that matches the problem. Leveling feet and furniture pads solve many simple rocking issues. Corner braces, wood blocks, glue, and screws reinforce loose leg joints. Cross bracing, stretchers, and underside supports handle serious side-to-side sway.
The best repair is not always the most complicated one. Sometimes the winning move is a small pad under one leg. Other times, the table needs serious bracing underneath. Either way, a careful repair can extend the life of your furniture, protect your floors, and save your coffee from performing acrobatics. With a few tools and a little patience, you can turn a shaky table into a steady, useful, confidence-boosting piece of furniture.
SEO Tags