
Note: This article is written in standard American English and synthesized from reputable U.S. horticulture and food-safety guidance.
Apple picking sounds simple: find a pretty apple, pluck it, put it in a basket, and imagine yourself becoming the pie-making hero of autumn. But anyone who has ever brought home a bag of bruised, underripe, mealy, or suspiciously “why is it leaking?” apples knows the truth. A great apple harvest is not just about showing up at the orchard in flannel and good intentions. It is about knowing when apples are truly ready, how to remove them without damage, and what to do with them once they leave the tree.
Whether you are visiting a U-pick orchard, harvesting from a backyard apple tree, or helping a neighbor rescue an overloaded branch, small mistakes can turn crisp fruit into compost faster than you can say “caramel apple.” The good news is that most apple-picking mistakes are easy to avoid. With a few smart habits, you can protect flavor, improve storage life, reduce waste, and come home with apples that are actually worthy of your pies, crisps, sauces, cider, lunch boxes, and shameless kitchen-counter snacking.
Below are seven common apple-picking mistakes that can ruin your harvestand what to do instead for sweeter, cleaner, longer-lasting fruit.
Why Apple-Picking Technique Matters More Than You Think
Apples may look tough, but they bruise more easily than many people realize. A hard squeeze, a rough drop into a bucket, or a casual shake of a branch can damage fruit under the skin. The problem is that bruising is not always obvious right away. That apple may look perfectly fine in the orchard, then develop soft brown spots a day or two later. Bruises also shorten storage life because damaged tissue loses moisture faster and gives spoilage organisms a convenient place to move in.
Ripeness matters just as much. Apples picked too early can taste hard, sour, and starchy. Apples left too long may become soft, mealy, or more likely to drop. Different varieties ripen at different times, and even apples on the same tree can mature unevenly depending on sunlight, branch position, and weather. In other words, the apple tree is not running on your weekend schedule. It has its own little fruit calendar, and it does not care that you already promised everyone homemade apple butter.
1. Mistake: Picking Apples Based on Red Color Alone
One of the easiest apple-picking mistakes is assuming that red equals ripe. Some apples develop beautiful red color before they are fully mature, while others remain green, yellow, or partly blushed even when they are delicious. If you judge only by the brightest skin, you may end up with fruit that looks ready for a magazine cover but tastes like crunchy disappointment.
What to Do Instead
Use several ripeness clues together. Look at the background color beneath the blush. In many varieties, that background shifts from deep green toward yellow-green, cream, or golden tones as the apple matures. Check whether the apple separates easily from the branch. A ripe apple usually comes off with a gentle lift and twist rather than a hard tug. You can also cut one sample apple and inspect the seeds; mature apples often have brown seeds instead of pale white ones. Finally, taste matters. A ready apple should have the flavor expected for its variety: sweet, tart, aromatic, crisp, or balancednot bland and starchy.
For U-pick orchards, ask staff which rows are ready. Orchard workers track variety windows closely, and they would much rather point you toward ripe fruit than watch you accidentally pick next week’s crop today.
2. Mistake: Pulling, Yanking, or Shaking Apples Off the Tree
If an apple refuses to come off, many beginners respond with more force. They pull downward, yank the stem, twist wildly, or shake the branch like they are trying to win a carnival game. Unfortunately, rough picking can bruise apples, break fruiting spurs, knock down immature fruit, and damage the tree’s future crop. Trees are generous, but they do not appreciate being treated like vending machines.
What to Do Instead
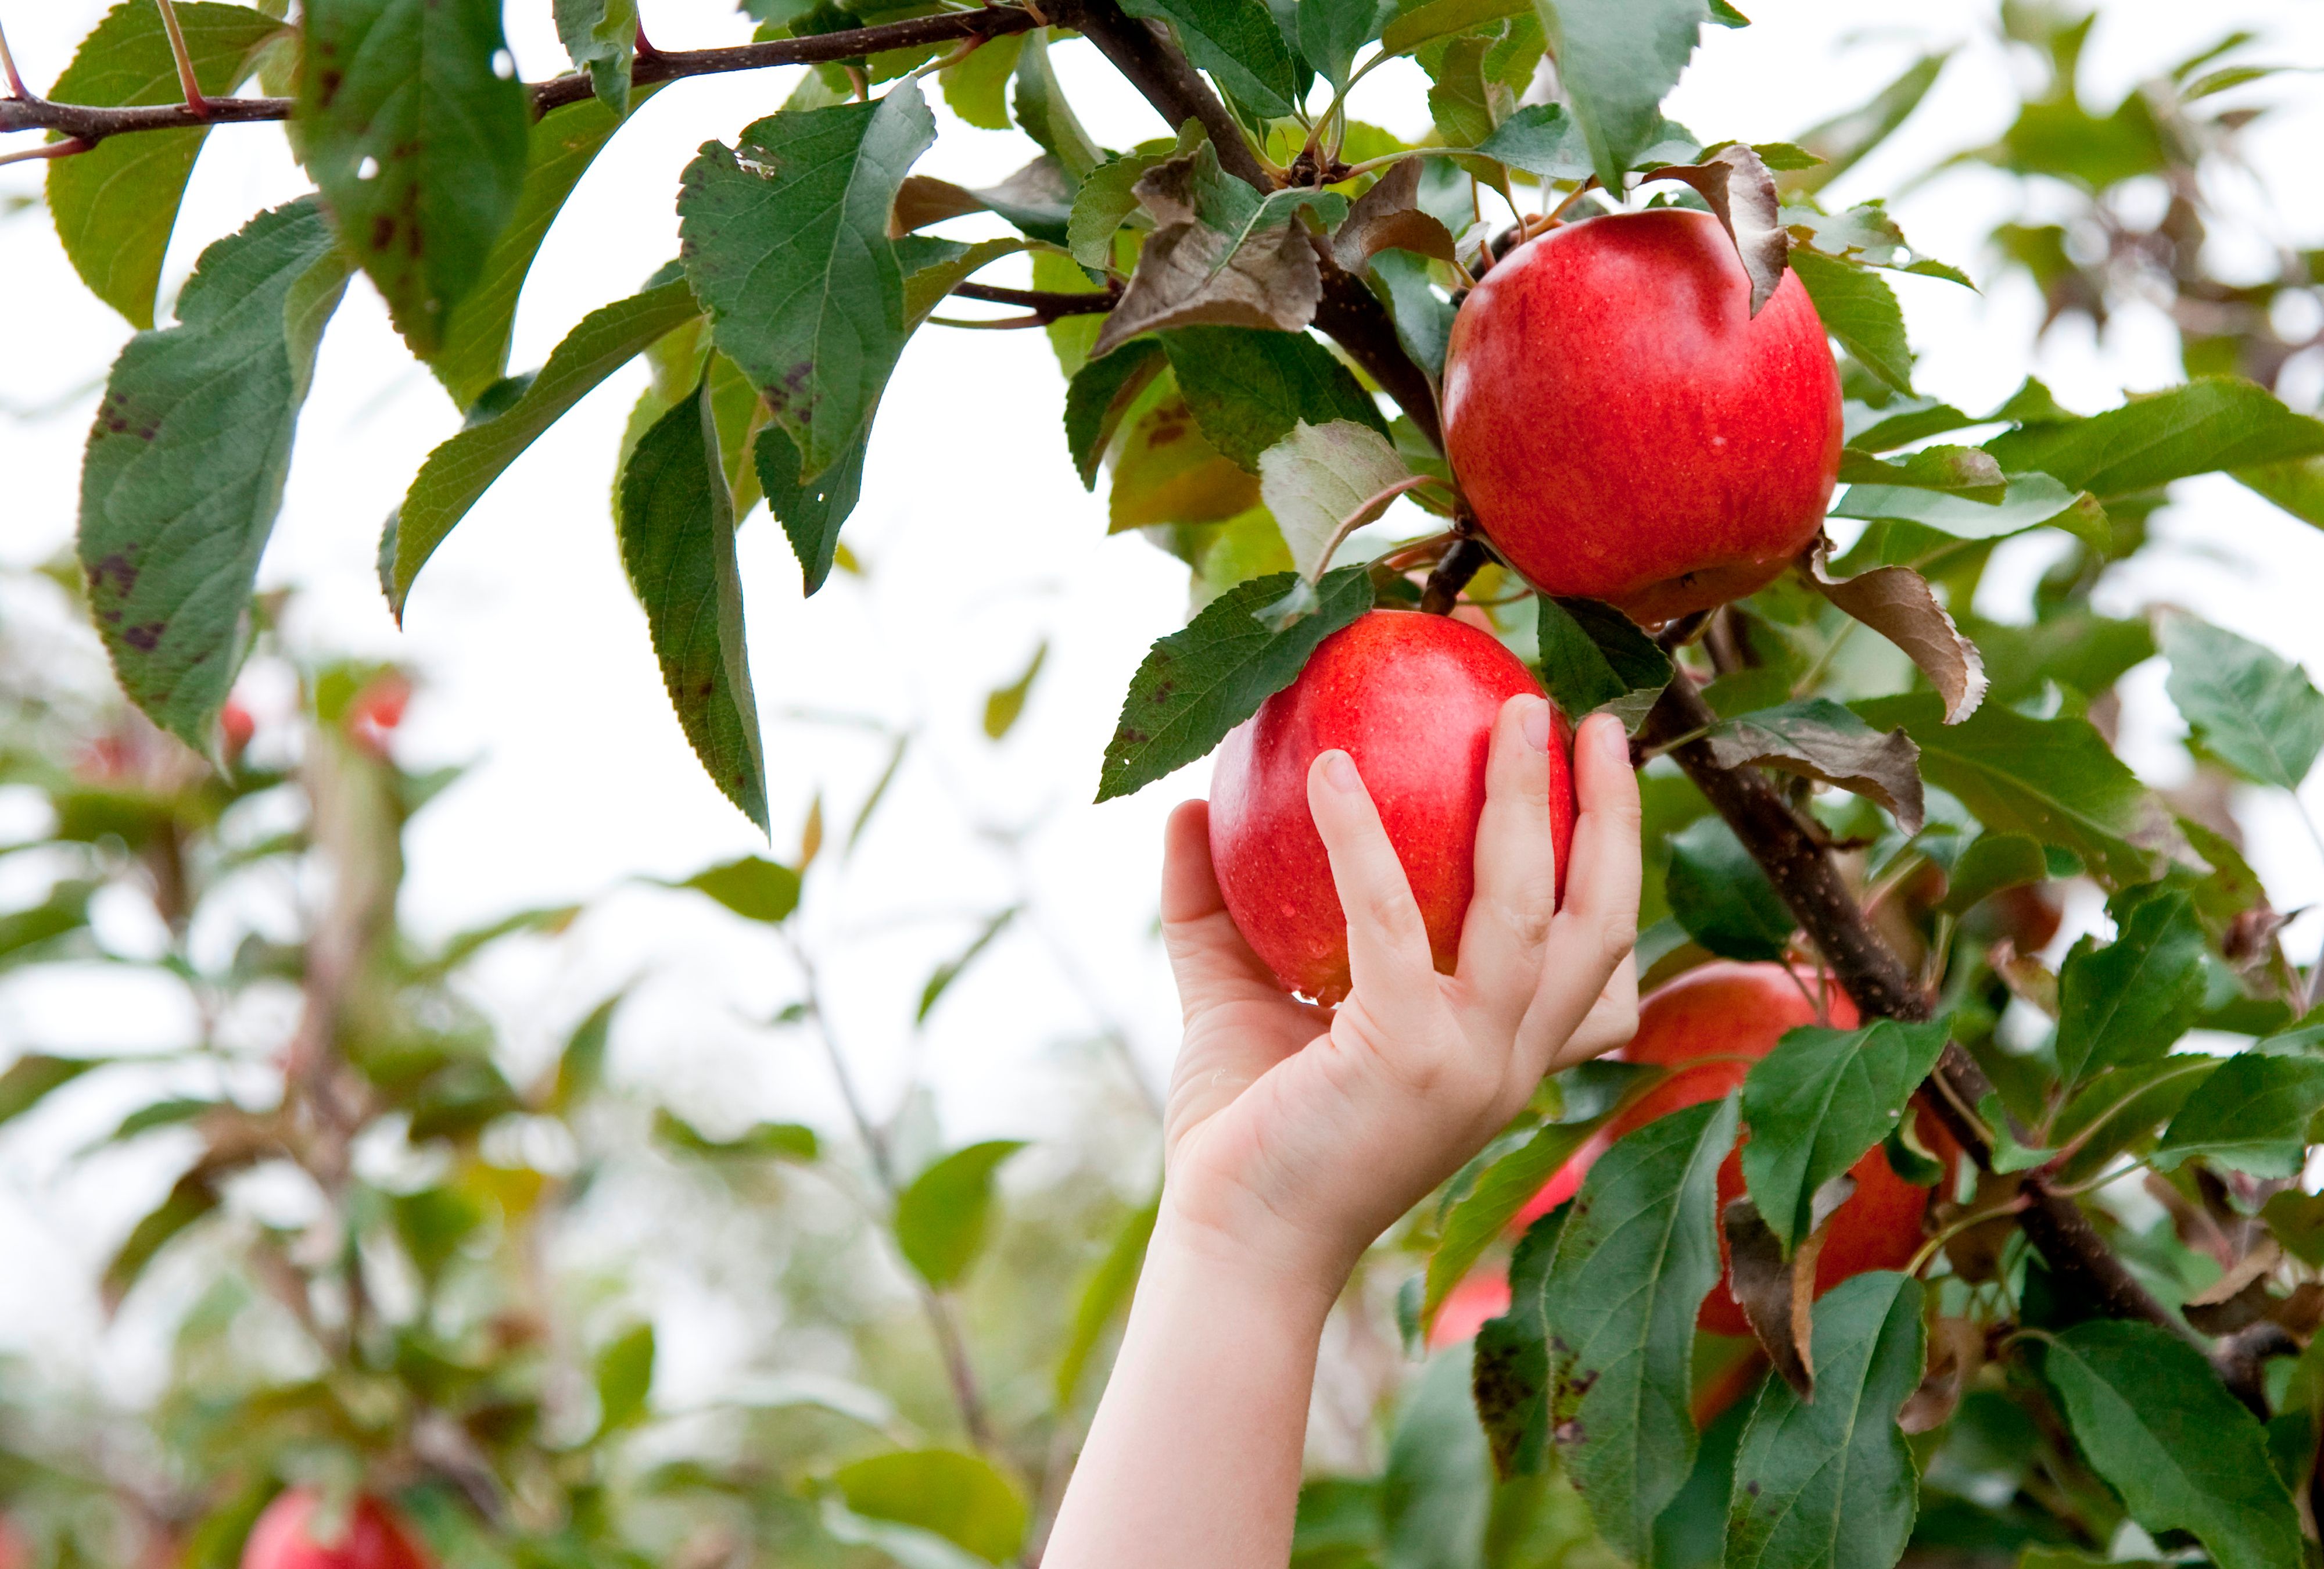
Hold the apple gently in your palm, lift it upward, and give it a small twist or roll. If it is ready, it should release with the stem attached. Try not to squeeze with your fingertips; finger pressure can create small bruises. If you need to pull hard, the apple may not be ripe yet. Leave it for another day or choose a fruit that separates more easily.
Never shake apples down if you want them for fresh eating or long-term storage. Fruit that falls and hits the ground can be bruised, split, contaminated, or unsafe to use. Shaking may feel efficient in the moment, but it often turns a beautiful harvest into a pile of apple casualties.
3. Mistake: Treating Every Apple Variety the Same
Apple varieties are like people at a family reunion: related, but absolutely not identical. A Honeycrisp, Gala, Fuji, McIntosh, Granny Smith, Golden Delicious, and Braeburn may all be apples, but they do not ripen, store, cook, or soften at the same pace. Some early-season apples are wonderful for fresh eating but have a short storage life. Many later-season apples store better, especially when picked at the right stage and kept cold.
What to Do Instead
Know what you are picking and what you want to do with it. If your goal is fresh snacking this week, choose ripe, flavorful apples and enjoy them soon. If your goal is winter storage, look for sound, firm apples from varieties known to keep well. If you are making pies, sauce, dried apples, or cider, ask which varieties are best suited for that use. Tart apples often shine in baking, while crisp sweet-tart apples make excellent fresh snacks.
At home, label bags or boxes by variety and harvest date. This simple step prevents mystery-apple chaos later. It also helps you learn which varieties from your tree or local orchard keep best in your kitchen conditions.
4. Mistake: Picking Bruised, Rotten, Insect-Damaged, or Fallen Apples for Storage
It is tempting to save every apple, especially after you have spent the afternoon reaching, bending, and pretending that carrying a full basket counts as strength training. But damaged apples do not store well. Bruises, punctures, insect holes, cracks, and rotten spots can spread problems to nearby fruit. Fallen apples are especially risky because they may have touched soil, animal waste, or other contaminants.
What to Do Instead
Sort as you pick. Put perfect or nearly perfect apples in your storage container. Place slightly bruised but otherwise usable apples in a separate “use soon” bag for sauce, baking, or fresh eating after trimming. Discard rotten fruit and leave questionable fallen apples out of your fresh-eating and cider plans. If you manage a backyard tree, remove fallen fruit from under the tree regularly to reduce pest pressure and keep the area cleaner.
For storage, be picky. Choose apples with firm flesh, intact skin, and no soft spots. One bad apple really can spoil the bunchnot as a moral lesson, but as a very practical fruit-storage reality.
5. Mistake: Tossing Apples Into Deep Bags or Leaving Them in the Sun
Fresh-picked apples deserve better than being flung into a bucket like baseballs. Every drop, toss, and crush increases the chance of bruising. Deep bags can also place too much weight on the apples at the bottom. Add a warm sunny car trunk, and your harvest can lose crispness before you even get home.
What to Do Instead
Handle apples like eggs with ambition. Place them gently into shallow containers, baskets, or padded bags. Do not overfill. If you are picking a large amount, keep filled containers in the shade while you continue harvesting. On warm days, get apples into a cool space as soon as possible. Harvesting during the cool part of the morning can help reduce heat stress on the fruit.
When transporting apples, avoid stacking heavy containers on top of one another. If you are using reusable grocery bags, do not pack them so full that the apples at the bottom are carrying the emotional and physical weight of the entire orchard.
6. Mistake: Washing Apples Before Storage
Washing apples right after picking feels responsible. After all, they came from outside, where nature happens with enthusiasm. However, washing before storage can introduce extra moisture, which may encourage decay if the apples are not dried thoroughly. It can also remove some of the fruit’s natural protective surface. Clean apples are great when you are ready to eat them; damp apples in storage are less great.
What to Do Instead
Store apples unwashed, then rinse them under clean running water right before eating, slicing, cooking, or preserving. Do not use soap, bleach, detergent, or commercial produce wash. Plain running water and gentle rubbing are the standard recommendation for fresh produce. If an apple has a bruised or damaged area, cut that area away before use.
For storage, keep apples cold and humid. A refrigerator crisper drawer works well for small harvests. For larger quantities, use clean boxes or crates lined with perforated plastic to help reduce moisture loss while still allowing some airflow. The ideal storage range for many apples is close to 32 to 40 degrees Fahrenheit with high humidity. In everyday home terms, that means “as cold as safely possible without freezing.”
7. Mistake: Skipping a Post-Harvest Plan
The final apple-picking mistake happens after the fun part: bringing home more apples than you can realistically eat. A big harvest is exciting on day one. By day ten, it can become a countertop invasion. Without a plan, even excellent apples may soften, shrivel, or get forgotten behind the cereal boxes.
What to Do Instead
Plan your harvest by use. Keep the best apples for storage. Eat early-season or softer varieties first. Use blemished apples quickly for applesauce, apple butter, baked apples, muffins, pancakes, chutney, or pies. Freeze sliced apples for future baking, dehydrate rings for snacks, or can applesauce using tested food-preservation methods.
Check stored apples weekly. Remove any fruit that shows soft spots, mold, or leakage. Keep apples away from strong-smelling foods because they can absorb odors. Also remember that apples release ethylene gas, which can speed ripening in some nearby produce. If your lettuce suddenly ages like it has seen too much, the apples may be part of the drama.
How to Pick Apples the Right Way: A Simple Step-by-Step Guide
Step 1: Check the Variety and Harvest Window
Before picking, identify the variety if possible. Early varieties may ripen in late summer, while midseason and late-season apples often carry the harvest into fall. Local weather can shift timing, so use variety information as a guide, not a commandment.
Step 2: Look for Multiple Ripeness Signs
Check background color, firmness, flavor, seed color, and ease of separation. A ripe apple should release with a gentle upward lift and twist. If it clings like it has unresolved attachment issues, leave it alone.
Step 3: Pick Gently
Cup the apple in your palm, lift, twist, and roll. Keep the stem attached when possible. Avoid squeezing with fingertips, pulling downward, or shaking branches.
Step 4: Sort Immediately
Separate perfect apples from bruised, cracked, insect-damaged, or overripe fruit. Use imperfect apples soon and reserve only sound fruit for storage.
Step 5: Cool Quickly
Keep apples shaded during harvest and move them to cold storage as soon as practical. Warm apples continue to ripen faster, which shortens their useful life.
Step 6: Store Smart
Store unwashed apples in a refrigerator, cool cellar, or other cold location with high humidity. Use perforated plastic bags, lined boxes, or crisper drawers to reduce moisture loss without trapping too much condensation.
Best Uses for Different Types of Apples
Choosing apples by purpose makes the entire harvest more satisfying. Crisp sweet apples such as Fuji, Gala, and Honeycrisp are excellent for fresh eating. Tart, firm apples such as Granny Smith hold up well in baking. Golden Delicious and Jonagold can be versatile choices for pies, sauce, and snacking. McIntosh softens quickly when cooked, making it useful for applesauce. Firm late-season apples often perform better in storage than delicate early-season types.
For pies, many bakers prefer mixing varieties. One apple brings sweetness, another brings tartness, and a third brings structure. Think of it as assembling a tiny fruit orchestra, except the finale involves cinnamon and a fork.
Quick Apple Storage Tips for a Longer-Lasting Harvest
- Store only firm, undamaged apples for the longest life.
- Keep apples cold, ideally near 32 to 40 degrees Fahrenheit.
- Maintain humidity with perforated plastic or a refrigerator crisper drawer.
- Do not wash apples until you are ready to use them.
- Check stored apples weekly and remove damaged fruit.
- Use early-season and bruised apples first.
- Keep apples away from ethylene-sensitive produce when possible.
Final Thoughts: Pick Less Roughly, Store More Wisely, Enjoy More Apples
Apple picking is one of fall’s simplest pleasures, but the best harvests come from careful timing and gentle handling. Do not pick by color alone. Do not yank, shake, toss, or overfill. Do not store damaged apples with your best fruit. And please, for the sake of every pie waiting to be born, do not leave your harvest baking in a hot car.
When you learn the signs of ripeness, use the lift-and-twist method, sort apples by quality, and store them cold, you protect everything that makes apples worth picking in the first place: crunch, sweetness, aroma, and that satisfying first bite that tastes like fall just put on a sweater.
Apple-Picking Experiences: Lessons From the Orchard Row
The first thing most people learn in an apple orchard is that the best-looking apple is not always the best-tasting one. I have seen pickers walk past slightly dull, perfectly mature apples to chase the reddest fruit at the top of the tree, only to discover that beauty and ripeness are not the same thing. A shiny red apple can still taste flat if picked too early, while a less dramatic apple with warm background color may be sweet, crisp, and ready for pie duty. The orchard quietly rewards patience.
Another common experience is the “just one more bag” problem. You arrive thinking you will pick enough for snacks. Then the air smells like leaves, the trees are loaded, and suddenly you are carrying enough apples to feed a marching band. Overpicking is easy because apples feel light one at a time. Ten pounds later, your arms disagree. The smarter approach is to decide before picking: one bag for fresh eating, one for baking, and maybe one for sauce. A harvest plan saves money, storage space, and your lower back.
Children also teach excellent apple-picking lessons, often by demonstrating what not to do. They may squeeze apples like stress balls, drop them into bags from shoulder height, or pick tiny green fruit because “this one is cute.” That is not a failure; it is a teachable moment with snacks. Show them how to cup the apple, lift gently, and twist. Let them compare an underripe apple with a ripe one. Kids learn quickly when flavor is involved, especially when the lesson ends with cider doughnuts.
Backyard trees offer a different kind of education. Unlike commercial orchards, a home tree may ripen unevenly, hide fruit inside the canopy, or drop apples before you realize harvest season has started. One year, a tree may produce a modest basket. The next year, it may behave like it is trying to open a wholesale business. Regular checking helps. Walk around the tree every few days during harvest season, taste sample fruit, and pick in stages instead of stripping the whole tree at once.
The biggest post-harvest lesson is that apples are living produce, not decorative fall props. A basket on the counter looks charming, but warm rooms speed softening. If you want apples to last, admire them briefly, then move them to cold storage. Keep the bruised ones separate and use them first. Make applesauce on the weekend. Freeze slices for winter crisps. Share extras with neighbors before they turn into a science project. A good apple harvest should end in full plates, not guilty compost.
In the end, apple picking is part skill, part timing, and part cheerful restraint. Pick what is ripe, handle it gently, store it properly, and use it with purpose. Do that, and your harvest will taste less like a lucky accident and more like the season’s best reward.