
Adding a lean to onto a shed is one of those backyard upgrades that looks simple, works hard, and somehow makes you feel like you have unlocked a secret level of storage. One day your mower is sulking in the rain, your firewood is pretending to be a sponge, and your garden tools are scattered like clues in a mystery novel. The next day, with a well-planned lean-to shed addition, everything has a place.
A lean-to is basically a single-slope structure attached to, built beside, or placed near an existing shed. It can be open, enclosed, framed with posts, covered with metal roofing, or designed as a tidy little storage wing. The beauty is flexibility. You do not need to build a second shed when a smart shed extension can give you more covered space for tools, bikes, firewood, lawn equipment, potting benches, or even a small outdoor work zone.
Before you grab the circular saw and start making sawdust confetti, remember that a lean-to is still a structure. It needs the right support, roof slope, drainage, fasteners, flashing, and local approval where required. Done well, it can look like it was always part of the shed. Done poorly, it may leak, sag, or become a very expensive umbrella. Let’s look at six practical ways to add a lean to onto a shed without inviting chaos to move into your backyard.
Before You Build: Plan the Lean-To Like a Pro
The best lean-to shed ideas begin with measuring, not guessing. Start by deciding what the new covered area needs to hold. A narrow three-foot lean-to may be perfect for rakes, shovels, and garden stakes. A six- to eight-foot-deep lean-to can shelter a riding mower, wheelbarrow, grill, bikes, or stacked firewood. If you want room to walk, turn equipment around, or open mower handles without performing a backyard yoga pose, add extra clearance.
Check Local Rules First
Many U.S. cities and counties regulate accessory structures, even small ones. A lean-to may affect total shed square footage, roof runoff, setbacks from property lines, and height limits. Some areas allow small detached storage structures without a permit, while others require approval when you attach a roof, pour concrete, add electricity, or exceed a size threshold. Homeowners associations can also have rules about roof materials, visibility, color, and placement. A five-minute call to the building department is far less painful than removing a beautiful new lean-to because it sits twelve inches too close to the fence.
Think About Water Before Wood
Water is the villain in most shed stories. Plan the roof slope so rain and snow move away from the shed, doors, foundation, and neighboring property. Add drip edge, gutters, splash blocks, or downspout extensions where needed. If the area beside the shed is low or soggy, fix grading before construction. A lean-to built over mud will keep the rain off your mower while the posts slowly audition for a swamp documentary.
Match Materials Without Overbuilding
Your lean-to does not have to be fancy, but it should be compatible with the existing shed. Use pressure-treated lumber where wood touches or comes close to the ground. Choose exterior-rated fasteners and corrosion-resistant connectors. Match roof materials when possible, or intentionally contrast them with a clean metal roof. The goal is a shed lean-to roof that looks deliberate, not like it wandered over from another backyard.
1. Extend the Existing Shed Roofline
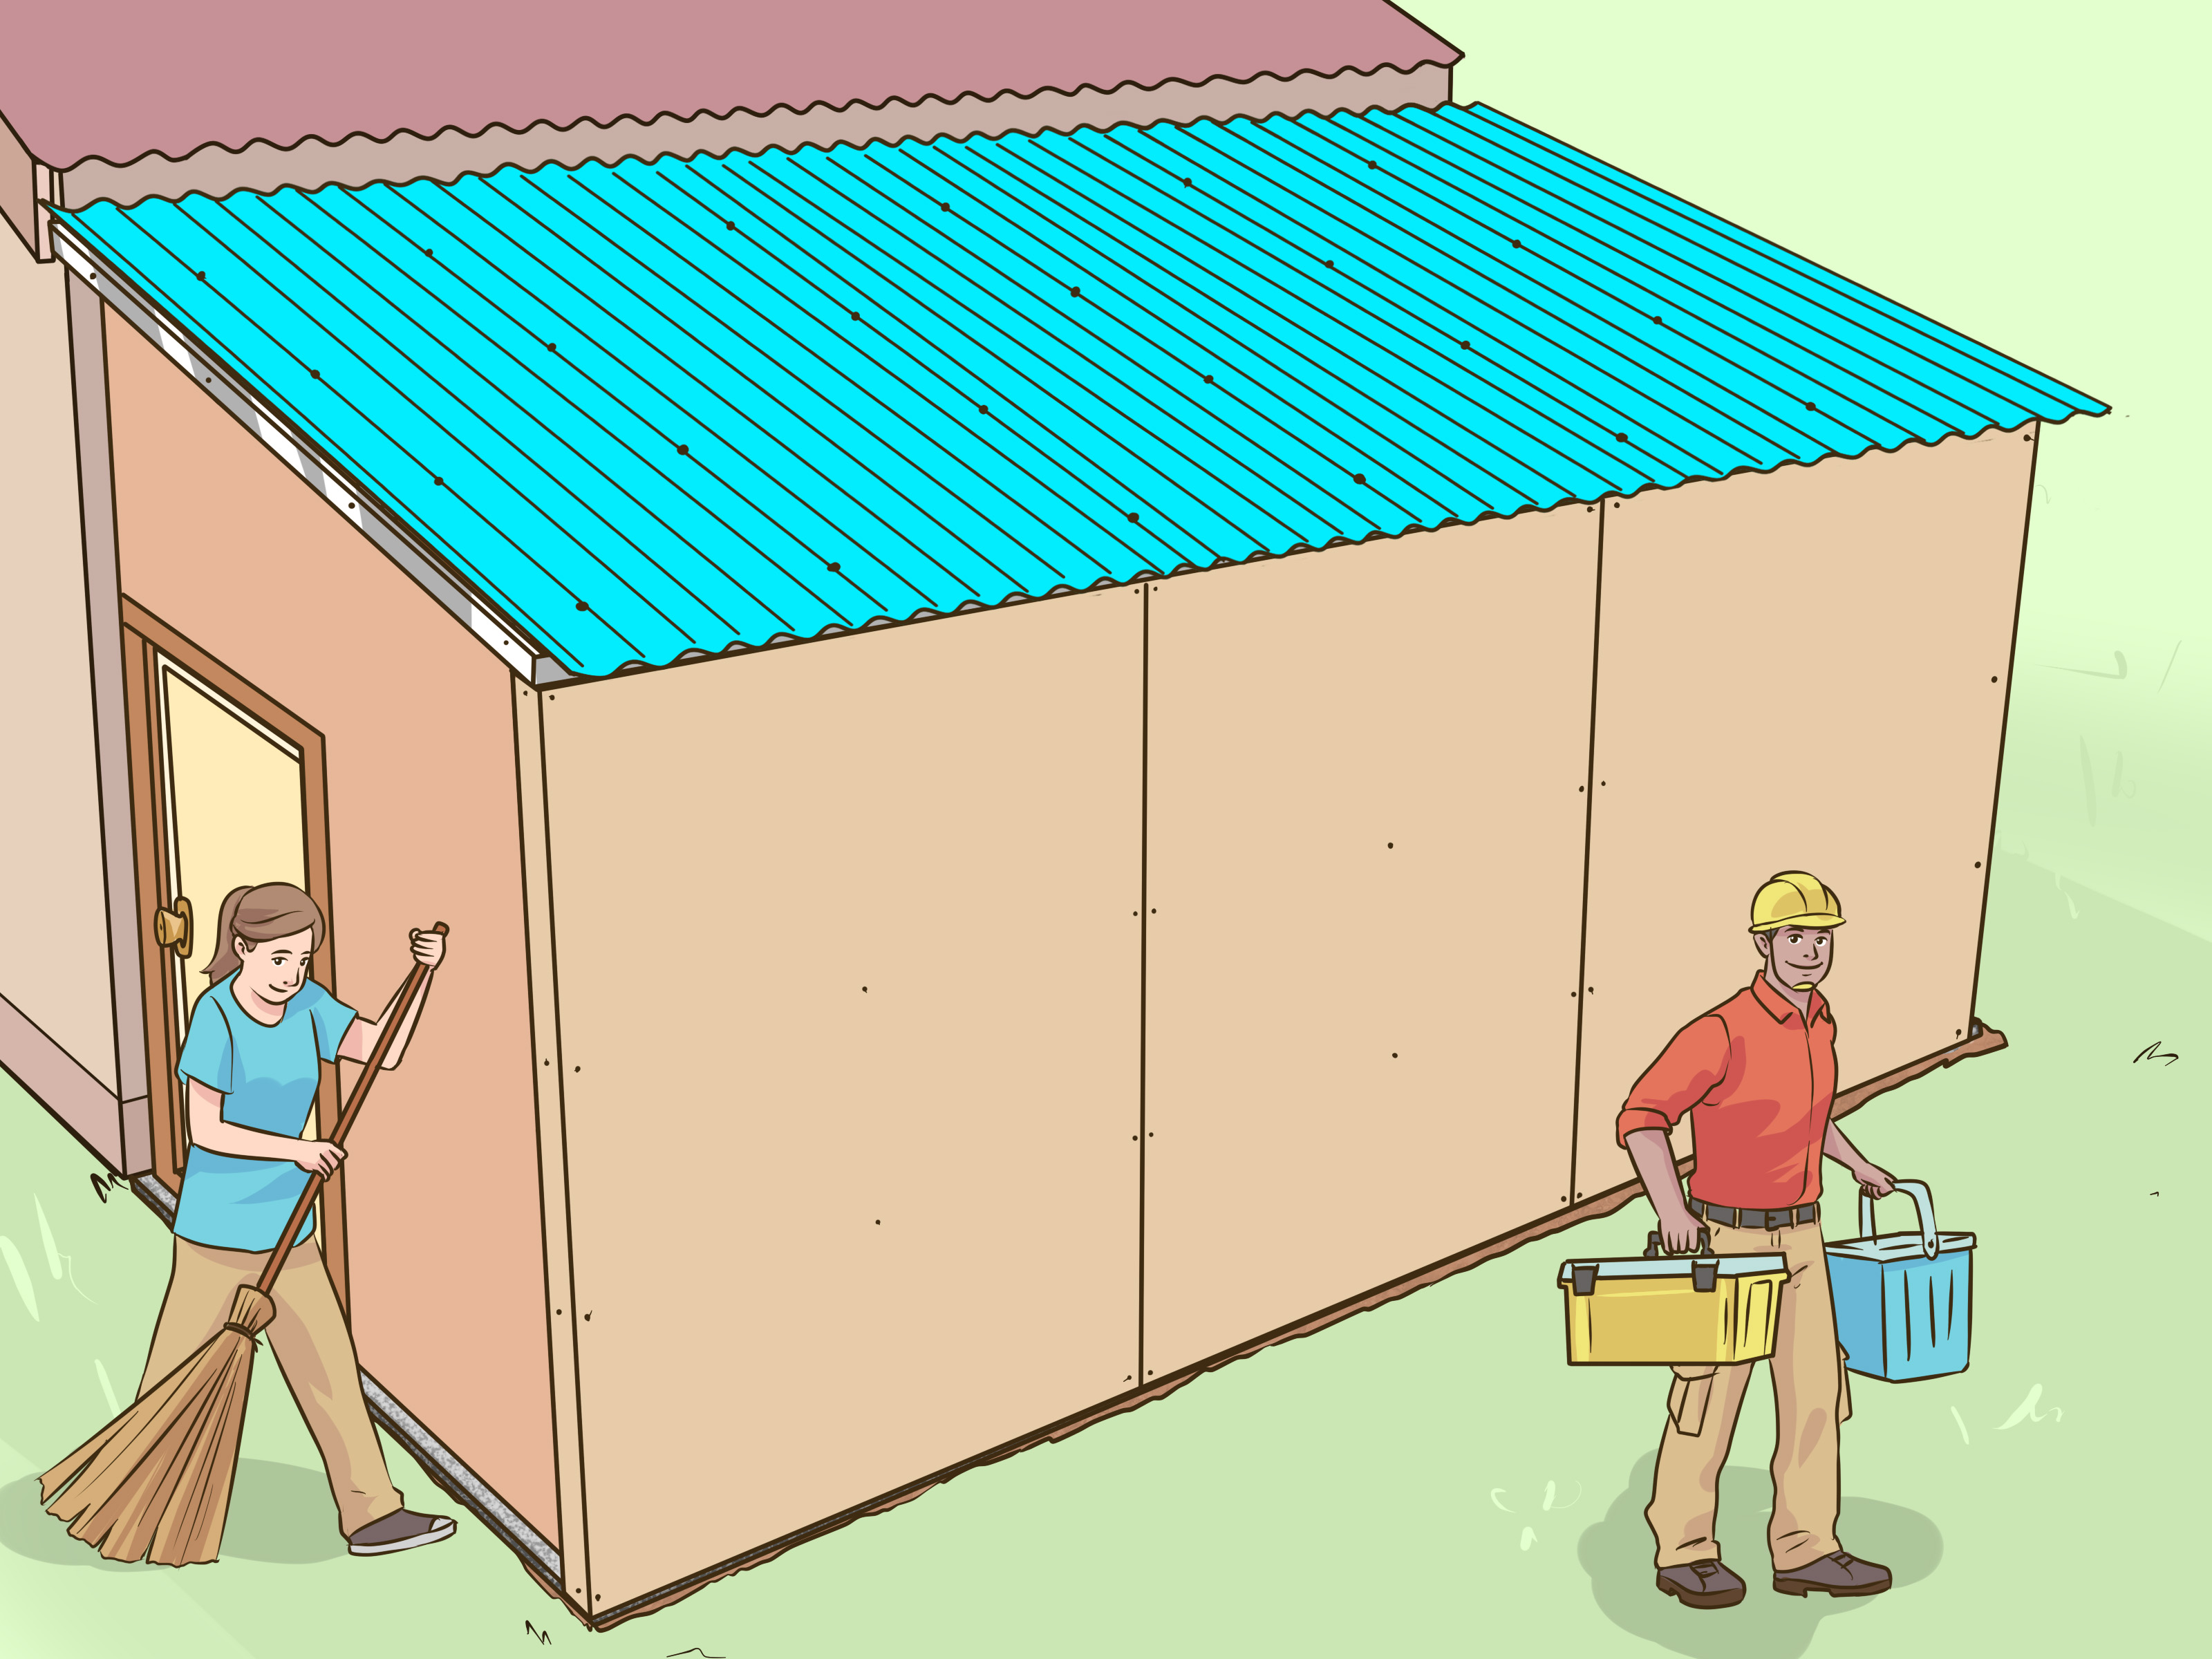
The most seamless way to add a lean to onto a shed is to extend the roofline from one side of the existing structure. This creates a clean, built-in look and works especially well if your shed has enough wall height to create a proper roof slope.
How This Method Works
In this design, rafters or roof framing extend outward from the shed wall and land on a new support beam carried by posts. The high side is attached near the shed wall, and the low side rests on posts set several feet away. The result is an open covered bay with one sloped roof plane.
This method is ideal for storing lawn equipment, bicycles, garden carts, ladders, and outdoor furniture. It keeps items covered while leaving the front and sides open for easy access. If you are constantly wrestling a wheelbarrow through a narrow shed door, this layout can feel like a small miracle.
Key Building Tips
The critical detail is the connection at the shed wall. If the existing shed framing is strong enough, you may use a properly fastened ledger board attached into studs or structural framing. If the shed wall is light-duty, old, or questionable, avoid relying on it as the main support. Instead, build an independent post-and-beam frame close to the shed, then flash the joint carefully so water does not run between the structures.
Pay close attention to roof pitch. Asphalt shingles generally need more slope than many metal roofing systems. If your lean-to roof is shallow, metal panels may be a better choice. Also, do not skip flashing where the lean-to roof meets the shed wall. Step flashing, apron flashing, or properly integrated metal flashing helps move water onto the roof surface instead of behind the siding.
2. Build a Post-and-Beam Lean-To Beside the Shed
A post-and-beam lean-to is one of the strongest and most forgiving options. Instead of asking the shed wall to carry major roof loads, you create a separate frame with posts, beams, and rafters. It can sit directly beside the shed and still look attached, but structurally it is more independent.
Why This Is a Smart Choice
This approach is especially useful when the existing shed is older, has thin wall framing, or was built from a kit that was never designed to support additional loads. Many backyard sheds are perfectly fine for storing tools but not engineered to hold a new roof wing. A post-and-beam lean-to reduces stress on the original shed and makes the project easier to repair or modify later.
Best Uses
Use this design for heavier storage needs, such as a riding mower, small tractor, ATV, kayak rack, workbench, or stacks of lumber. You can make it open on three sides or add partial walls for wind protection. In snowy or high-wind regions, this method also gives you more control over post anchoring, rafter sizing, and uplift resistance.
Practical Example
Imagine a 10-by-12-foot shed with a six-foot-deep lean-to running along one side. You could set three or four pressure-treated posts on concrete piers, install a front beam, run rafters from a rear beam near the shed to the front beam, then cover the roof with corrugated metal. Add gutters along the low edge, and you have a sturdy equipment bay that feels like a mini carport for hardworking backyard gear.
3. Add a Metal-Roof Equipment Bay
If your main goal is durable, low-maintenance outdoor storage, a metal-roof lean-to is hard to beat. Metal panels are popular for shed additions because they install quickly, shed water well, and can handle lower slopes when installed according to the manufacturer’s instructions.
Why Metal Roofing Works Well
Metal roofing is lighter than many shingle assemblies and can be a great fit for simple lean-to framing. It is also practical for spaces that store messy, rugged items: mowers, tillers, trash cans, compost tools, snow blowers, and garden carts. In other words, everything that does not need a red carpet but does deserve a dry roof.
Important Installation Details
Use closure strips, proper fasteners, overlapping panel seams, and drip edges as recommended for the roofing product. If the roof meets the shed wall, install flashing behind or over the siding detail in a way that directs water outward. Do not rely on caulk alone as your water-control strategy. Caulk is useful, but it is not a personality strong enough to carry the whole project.
Also consider condensation. In humid climates, metal panels can sweat underneath when warm moist air meets a cool roof surface. Good airflow, underlayment, and open sides can help. For enclosed lean-to additions, ventilation becomes even more important.
4. Create a Firewood and Garden Tool Lean-To
Not every shed lean-to addition needs to be large enough for machinery. A narrow lean-to can be perfect for firewood, long-handled tools, potting supplies, hoses, stakes, and seasonal garden gear. This is one of the easiest and most budget-friendly ways to add useful space.
Design for Airflow
Firewood needs protection from rain, but it also needs airflow. A lean-to with a roof, open front, and slatted side walls works beautifully. Raise the wood stack off the ground with pallets, pressure-treated runners, or a simple rack. This helps air move underneath and reduces moisture problems.
For garden tools, add hooks, peg rails, shelves, and narrow storage cubbies along the shed wall. Keep frequently used tools near the front and heavier items lower. A small lean-to can turn the outside of your shed into a tidy tool station instead of a rake jungle.
Keep It Narrow and Neat
A three- to four-foot-deep lean-to is often enough for this purpose. Because the structure is smaller, it may require fewer materials, but it still needs proper anchoring and water management. If you stack firewood against the shed siding, leave space for airflow. Wood piled tight against siding can trap moisture and invite pests. Firewood is useful; termites are not part of the storage plan.
5. Build an Enclosed Lean-To Addition
An enclosed lean-to turns your shed extension into a true bonus room for storage. Instead of a simple open roof, you add walls, siding, a door, and possibly windows or vents. This option costs more and takes more planning, but it gives you the most protection from weather, pests, and curious raccoons with main-character energy.
When Enclosing Makes Sense
Choose an enclosed lean-to if you need to store items that should not sit in blowing rain or direct sun. Examples include power tools, paint supplies, seed-starting equipment, camping gear, cushions, seasonal decorations, and small shop tools. It can also become a potting room, hobby nook, or organized garden supply closet.
Structural and Moisture Considerations
Once you add walls, the project becomes more like a small shed addition than a simple roof. You need a stable base, framed walls, sheathing or siding, roof ventilation, and a door that swings freely. If the addition shares a wall with the existing shed, inspect that wall carefully. Rot, weak studs, poor siding, or an uneven foundation should be fixed before you build onto it.
Ventilation matters. Enclosed sheds can trap humidity, especially if they hold fuel-powered equipment, damp tools, soil, or firewood. Add vents near the top and lower wall area to encourage air movement. If you plan to add electricity, lighting, or outlets, hire a qualified electrician and follow local code. Backyard ambition is wonderful; amateur electrical improvisation is not.
6. Use a Freestanding Lean-To Kit or Modular Addition
If you like the idea of extra covered space but do not want to design every rafter cut from scratch, a freestanding lean-to kit or modular storage unit may be the right answer. These kits come in wood, resin, plastic, or metal and are designed to sit beside a wall, fence, garage, or shed.
Why Kits Are Appealing
A kit can save planning time and reduce measuring mistakes. Many include pre-cut panels, fasteners, doors, roof panels, and instructions. Smaller lean-to storage units are great for trash cans, pool supplies, patio cushions, garden tools, and outdoor toys. Larger kits can act as a dedicated side storage bay.
What to Watch For
Do not assume “kit” means “no planning needed.” You still need a level base, clearance for doors, attention to wind exposure, and compliance with local rules. Some resin and metal kits are lightweight, so anchoring is important. A shed kit that is not secured can become airborne in a storm, and nobody wants to explain to a neighbor why their new storage unit is visiting the patio uninvited.
Also check dimensions carefully. Exterior measurements may not equal usable interior space. If you need to store a mower, snow blower, or large grill, measure the item first, including handles, wheels, and turning room. A beautiful storage kit is less beautiful when the mower misses fitting by two inches.
How to Choose the Best Lean-To Shed Addition
The right method depends on your shed, budget, climate, and storage goals. For a simple open shelter, extending the roofline or building a post-and-beam lean-to is usually the most practical. For firewood and tools, a narrow slatted lean-to is efficient and affordable. For valuable items, an enclosed lean-to gives better protection. For quick storage, a modular kit may be the easiest path.
Ask These Questions Before Choosing
- What will the lean-to store? Heavy equipment needs more depth, stronger framing, and better access.
- Can the existing shed support an attached roof? If not, choose a freestanding post-and-beam design.
- How much snow, rain, or wind does your area get? Climate affects roof pitch, rafter sizing, anchors, and connectors.
- Will water drain away safely? Plan gutters, downspouts, splash blocks, or grading before you build.
- Do you need a permit? Check before buying materials.
Common Mistakes to Avoid
The biggest mistake is treating a lean-to like a decorative shelf instead of a small structure. Weak posts, undersized rafters, poor flashing, and shallow roof pitch can shorten its life. Another common problem is building too small. Storage needs grow. If you have room and the rules allow it, add a little extra depth. Future you will be grateful, especially when the leaf blower, folding chairs, and mysterious box of extension cords all need homes.
Basic Materials You May Need
Every project is different, but many DIY lean-to shed additions use pressure-treated posts, beams, rafters, joist hangers or rafter ties, exterior screws or structural fasteners, concrete piers or post bases, roof sheathing or purlins, roofing panels or shingles, flashing, drip edge, gutters, and siding if enclosed. For an open lean-to, the list can be fairly short. For an enclosed addition, expect more lumber, sheathing, trim, door hardware, vents, and weatherproofing materials.
Use fasteners rated for exterior use and compatible with pressure-treated lumber. Corrosion is not dramatic at first, but over time it can weaken connections. Where high winds are common, use appropriate metal connectors to help resist uplift. A lean-to roof is basically a wing if the wind gets under it, so secure connections are not optional decoration.
Safety Tips for DIY Builders
Lean-to projects often involve ladders, roof edges, power tools, long boards, and awkward overhead work. Wear eye protection, gloves, and sturdy shoes. Work on level ground when cutting lumber. Keep ladders stable, face the ladder while climbing, and avoid overreaching. If a roof panel feels too large to control safely, get help. Pride is not a fall-protection system.
If your shed is tall, your site is sloped, or the structure requires complex footings or structural calculations, consider hiring a contractor. The same goes for electrical work, concrete slabs, or any addition attached to a building that may affect code compliance. DIY is satisfying, but knowing when to bring in a pro is also a power move.
Real-World Experiences: What Homeowners Learn After Adding a Lean-To
After adding a lean to onto a shed, many homeowners discover that the project was less about “extra storage” and more about changing how the whole yard works. The most common happy surprise is convenience. When the mower, rake, potting soil, and wheelbarrow are under a side roof instead of buried inside the shed, weekend chores become smoother. You are no longer unloading half the shed to reach one tool. That alone can make the project feel worth it.
One practical lesson is to build for actual movement, not just object size. A mower may technically fit in a four-foot-deep lean-to, but can you roll it in without scraping the posts? Can you turn the handlebars? Can you open the shed door while the mower is parked there? Many people wish they had added twelve to eighteen inches more depth. That small increase usually costs less during construction than it does to regret the cramped space every Saturday.
Another experience-based tip is to think about the low side of the roof. Homeowners often focus on the pretty high side attached to the shed, then forget that the low edge is where all the water exits. Without a gutter, splash block, gravel strip, or drainage plan, rain can carve a trench along the lean-to or splash mud onto stored equipment. A simple gutter and downspout extension can make the difference between a dry storage bay and a muddy boot factory.
People also learn quickly that open-sided lean-tos are wonderfully accessible but not weatherproof from every direction. Wind-driven rain can still reach items near the edges. If you live in a stormy area, partial side walls, lattice, slats, or outdoor curtains can help. For firewood, slats are ideal because they block some rain while keeping air moving. For power tools or cushions, an enclosed lean-to or weather-resistant storage bins may be smarter.
Matching the shed matters more than expected. Even a simple lean-to looks better when the trim color, roof style, and proportions relate to the original shed. You do not need perfection, but repeating one or two details helps. Use the same paint color, similar fascia boards, or roofing that complements the existing roof. A lean-to that looks intentional can improve the whole backyard, while a mismatched one may look like the shed grew an awkward elbow.
Finally, experienced DIYers tend to agree on one thing: flashing is not the place to improvise. Water finds gaps with the dedication of a detective. If the lean-to roof touches the shed wall, take your time with flashing, siding cuts, underlayment, and sealant. A dry joint is the difference between a long-lasting shed extension and a slow leak that hides until the wall sheathing gets soft. Build it square, slope it correctly, flash it carefully, and your lean-to will quietly do its job for years.
Conclusion
Adding a lean to onto a shed is one of the most practical backyard upgrades you can make. It expands storage, protects equipment, organizes tools, and gives your shed a more useful footprint without requiring a full second building. Whether you extend the roofline, build a post-and-beam shelter, install a metal-roof equipment bay, create a firewood lean-to, enclose the addition, or use a modular kit, the same principles apply: plan carefully, manage water, size the structure for real use, and build strong connections.
The best lean-to shed addition is not always the biggest or fanciest. It is the one that fits your yard, follows local rules, handles your climate, and solves the storage problem you actually have. Build it right, and your shed stops being a crowded box of chaos and starts acting like the organized backyard command center it was always meant to be.