
Driftwood has a talent for looking expensive while being, quite literally, old wood that took the scenic route. Tossed by rivers, lakes, waves, wind, and time, it arrives with soft edges, silver-gray color, strange knots, and the kind of character furniture stores try very hard to fake. The only problem? Raw driftwood can also arrive with sand, salt, bugs, mildew, soft spots, and a smell that says, “I have seen things.”
Learning how to preserve driftwood is the difference between a beautiful coastal centerpiece and a crumbly souvenir that sheds on your coffee table like a nervous golden retriever. The good news is that preserving driftwood is not complicated. You do not need a professional workshop, a marine biology degree, or a garage full of mysterious cans. You need patience, clean water, gentle tools, proper drying time, and the right finish for the way you plan to use the piece.
This guide covers three easy ways to preserve driftwood: cleaning and drying it naturally, sealing it for home decor, and preparing it safely for aquariums or moisture-prone displays. Each method protects the wood while keeping the weathered texture that made you pick it up in the first place.
Before You Preserve Driftwood: Choose the Right Piece
Not every piece of driftwood deserves a second career as wall art. Some pieces are too soft, rotten, oily, or contaminated to bring indoors. Start by choosing driftwood that feels firm, not spongy. Press your fingernail into the surface. A little give is normal, but if it collapses like cake, leave it behind. Shake the piece gently. If dust, insects, or soft inner material fall out, it may be too far gone.
Also, check the rules before collecting. Many U.S. parks, beaches, refuges, and protected shorelines limit or prohibit removal of driftwood because it supports habitat, helps stabilize shorelines, and provides shelter for small wildlife. A piece from private land, a legal collecting area, or a purchased source is safer from both an environmental and legal point of view. Driftwood may look abandoned, but in nature it often has a job.
Best Driftwood for DIY Projects
The best pieces for DIY driftwood decor are dry or mostly dry, lightweight but not brittle, free of heavy bark, and interesting in shape. Smooth branches, root pieces, and flat weathered boards work beautifully for shelves, wreaths, candle displays, mirrors, planters, and table centerpieces. Avoid wood with strong chemical odors, oily residue, tar, paint flakes, or unknown stains. If it smells like fuel, sewage, or mystery sauce, that is not “rustic charm.” That is a polite invitation to walk away.
Way 1: Clean, Soak, and Dry Driftwood Naturally
The first and most important way to preserve driftwood is also the simplest: clean it thoroughly and dry it slowly. This method is ideal for indoor decor, craft projects, wedding displays, photo props, shelves, and small sculptural pieces. Cleaning removes sand, salt, organic debris, insects, and surface mildew. Drying reduces the chance of mold and helps the wood hold a finish later.
Step 1: Brush Off Loose Dirt
Take the driftwood outside and use a stiff nylon brush to remove sand, mud, flaky bark, and soft material. A toothbrush works well for cracks and worm trails. Do not use a metal brush aggressively unless you want a more scraped, raw look. Driftwood’s beauty is in its worn surface, so treat it like an old map, not a driveway stain.
Step 2: Rinse With Fresh Water
Rinse the piece with a garden hose or in a large tub. Fresh water helps remove salt, dirt, and fine grit. Salt is especially important to remove from ocean driftwood because it can attract moisture from the air and interfere with finishes. For small pieces, soak them in a bucket of fresh water for 24 to 48 hours, changing the water at least once a day. Large pieces can be sprayed, scrubbed, and rinsed several times over a few days.
Step 3: Use a Mild Cleaning Solution When Needed
If the wood has visible mildew or a musty odor, scrub it with warm water and a small amount of mild dish soap. Rinse well. For stubborn mildew on decorative pieces that will not be used in aquariums, some DIYers use a diluted bleach solution, but safety matters. Work outdoors or in a very well-ventilated area, wear gloves, and never mix bleach with vinegar, ammonia, or other cleaners. Mixing cleaning products is not a shortcut; it is a chemistry experiment with terrible reviews.
After cleaning, rinse the wood thoroughly with clean water. If bleach was used, soak and rinse several times so residue is removed. This is especially important if the piece will sit near plants, pets, or food-serving areas. When in doubt, keep the cleaning process gentle and repeat water changes rather than attacking the wood with harsh chemicals.
Step 4: Dry It Completely
Drying is where many driftwood projects go wrong. A piece may feel dry on the outside while still holding moisture deep inside. Place the wood in a warm, airy spot out of direct rain. Elevate it on scrap wood, a rack, or bricks so air can circulate on all sides. Turn it every day or two. Small pieces may dry in a few days; thick branches and root sections can take several weeks.
Do not rush large pieces with high heat. Too much heat can crack the wood. Gentle sun, moving air, and time are better. If you are drying indoors, place the piece in a garage, covered porch, or utility area first. Once it no longer smells musty and feels dry throughout, it is ready for sanding or sealing.
Way 2: Sand and Seal Driftwood for Indoor Decor
If your goal is to preserve driftwood for wall art, a centerpiece, a lamp base, a mirror frame, or a shelf, sealing is the best option. A clear finish locks down dust, reduces splinters, deepens the color slightly, and makes the piece easier to clean. The trick is choosing a finish that protects the wood without making it look like plastic.
Step 1: Lightly Sand the Surface
Once the driftwood is clean and dry, sand only the areas that need smoothing. Use 120-grit sandpaper for rough spots, then 220-grit for a softer finish. Sand with the grain when you can, though driftwood often laughs at the idea of having one tidy grain direction. The goal is not to erase the weathered surface. You are simply removing splinters, sharp points, and loose fibers.
After sanding, vacuum the piece or wipe it with a dry microfiber cloth. Dust trapped under clear finish can leave cloudy patches. If the piece has deep cracks, use compressed air or a soft brush to remove hidden grit. Driftwood loves hiding sand in places you will discover only after setting it on a black table.
Step 2: Choose the Right Clear Finish
For indoor driftwood decor, water-based polyurethane, polycrylic, clear acrylic spray, paste wax, and tung oil are common choices. Each gives a different look. Water-based polyurethane and polycrylic stay relatively clear and are good when you want to preserve the pale gray tone. Oil-based polyurethane and oil finishes can add warmth, making the wood look richer and slightly amber. Paste wax gives a soft, low-sheen finish but offers less protection against moisture.
For driftwood that will sit outdoors, near a sunny window, on a porch, or in a bathroom, use an exterior-rated spar urethane or outdoor clear coat. Spar urethane is designed for wood exposed to sunlight, water, humidity, and temperature changes. It is a better match for outdoor driftwood than a standard interior-only finish.
Step 3: Apply Thin Coats
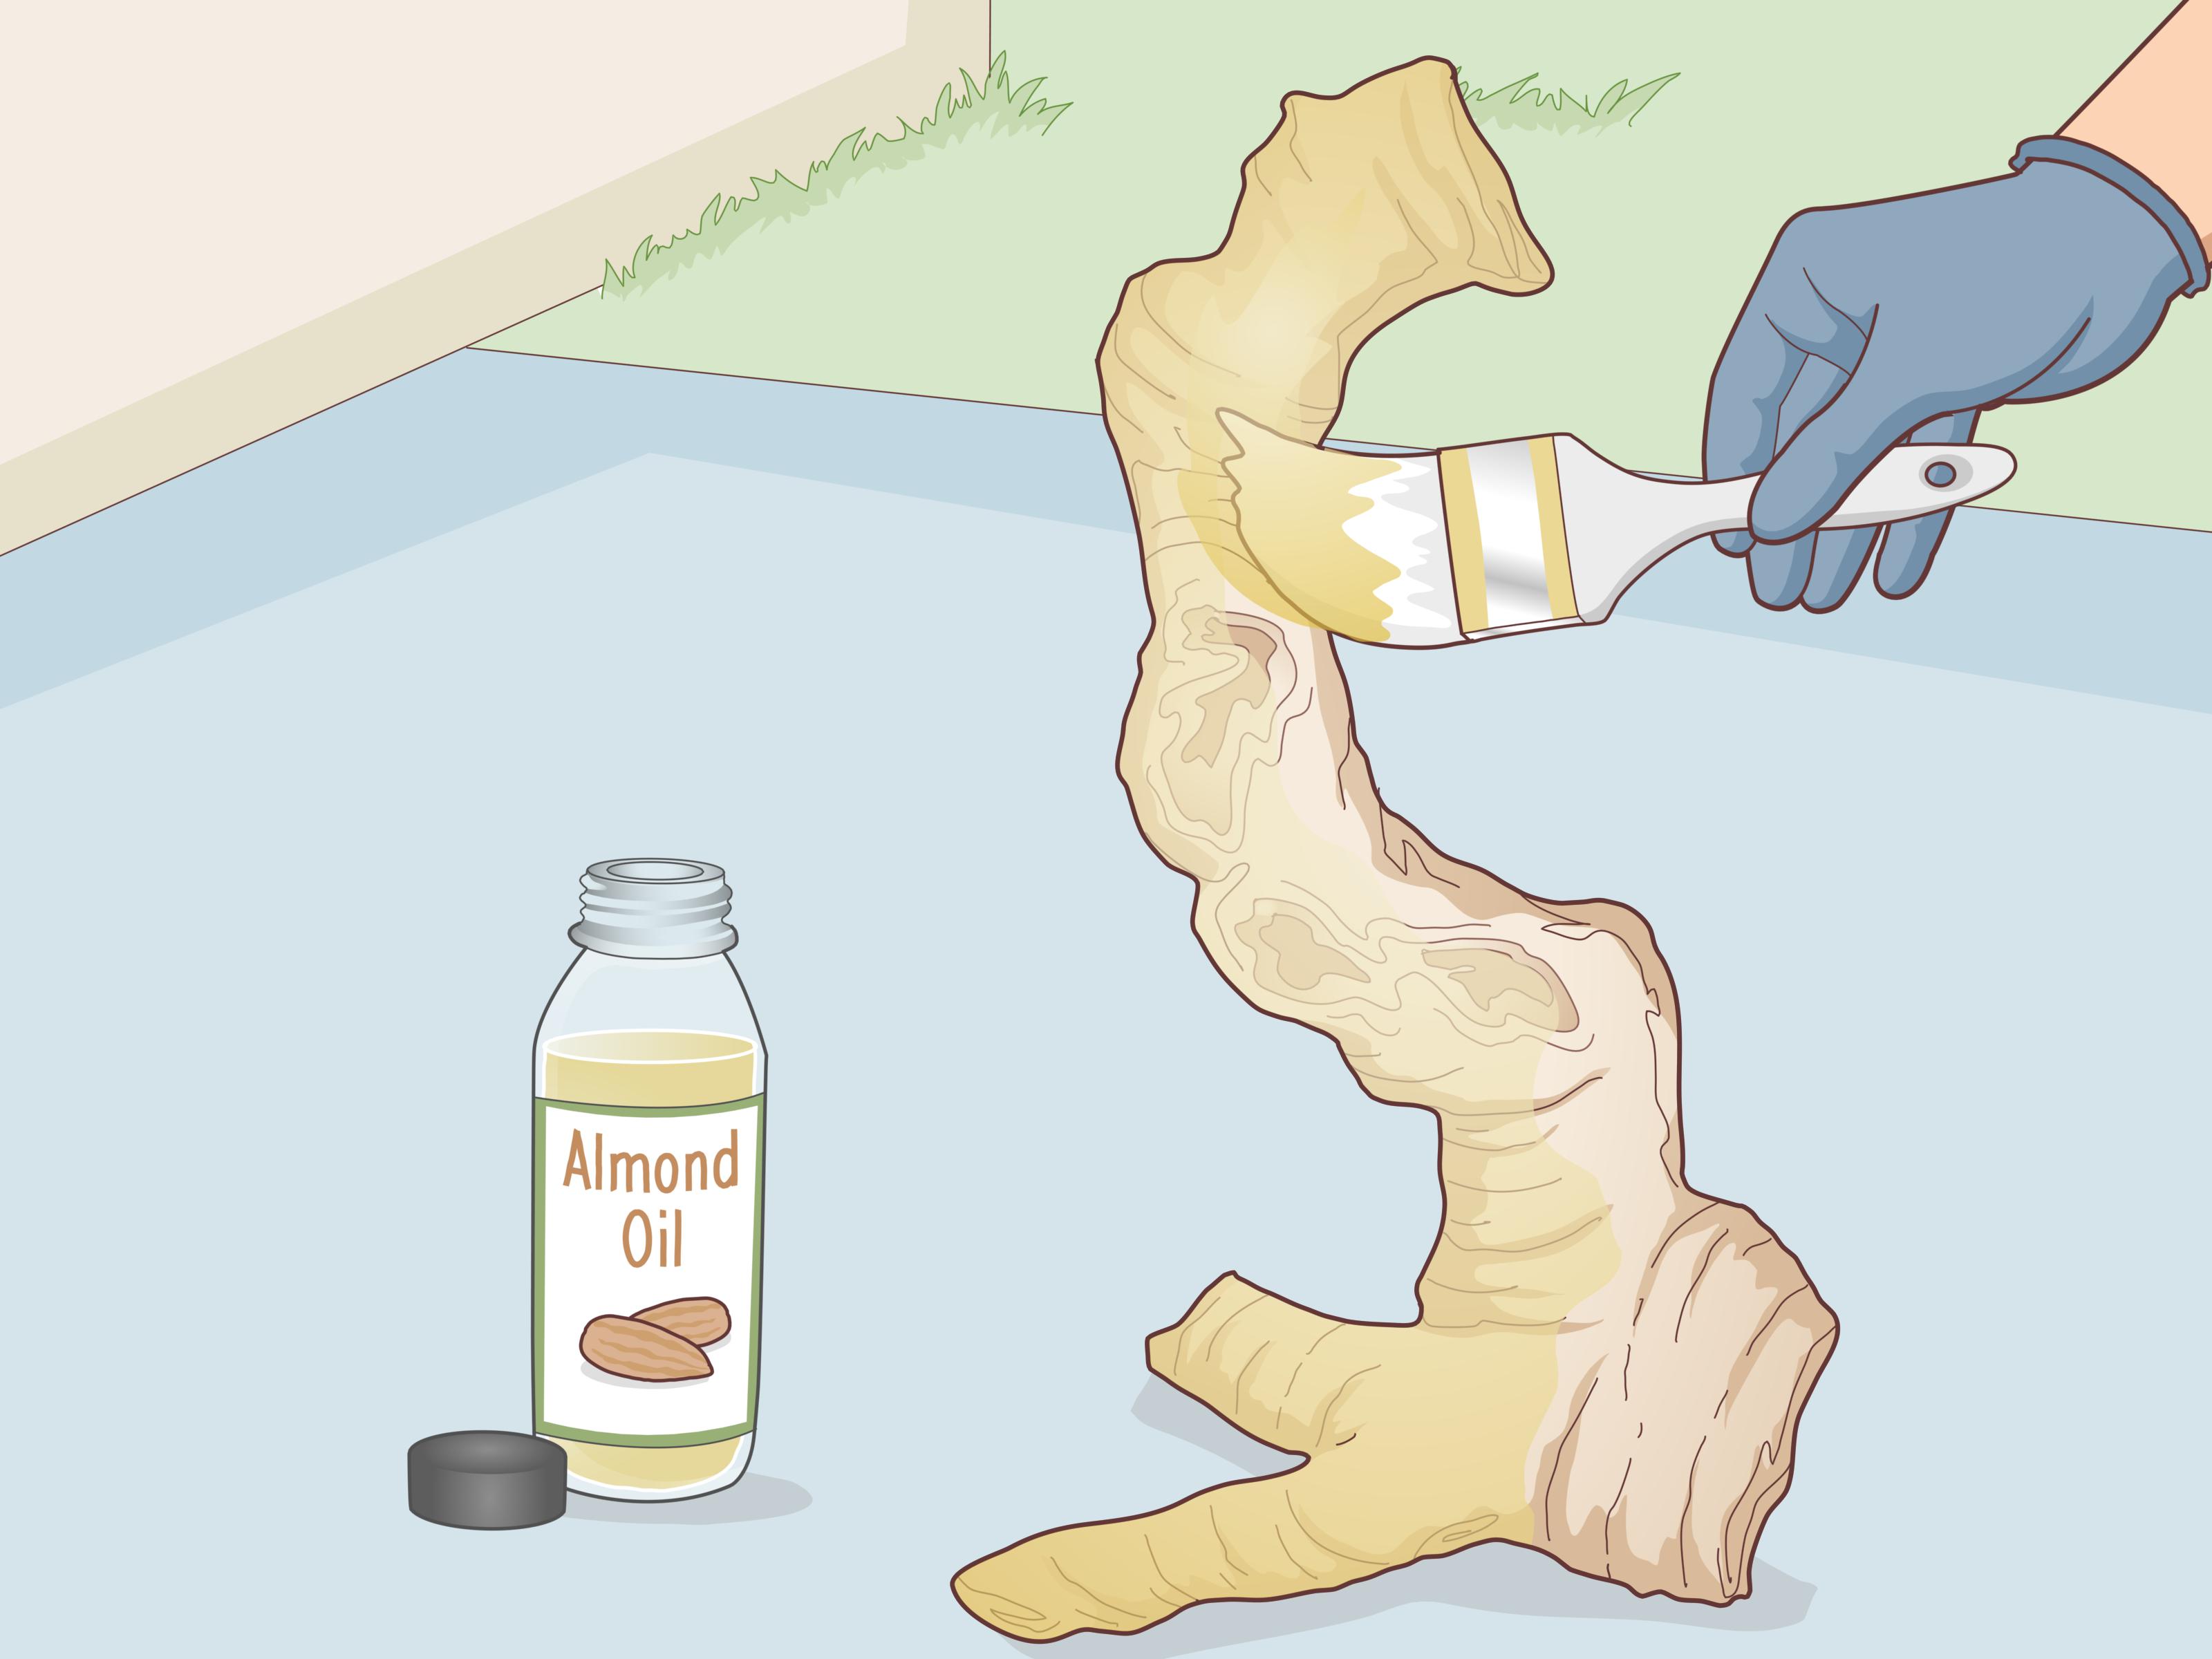
Thin coats are your friend. Thick coats drip, pool in cracks, create shiny blobs, and make driftwood look less natural. Use a small brush, foam brush, or clean lint-free cloth depending on the product. Apply along the grain and into crevices, then remove excess from low spots. Let each coat dry according to the product label.
For a natural look, one or two coats may be enough. For a more durable surface, apply three or more thin coats, lightly sanding with fine sandpaper between coats if the finish instructions recommend it. Always remove sanding dust before the next coat. Satin or matte sheens usually look more natural than gloss. High gloss can work for modern art pieces, but on rustic driftwood it sometimes says “beach treasure dipped in nail polish.”
Step 4: Cure Before Displaying
Dry to the touch does not always mean fully cured. Give the finished piece extra time before placing it on fabric, books, painted furniture, or a mantel in direct sun. Curing time varies by product, humidity, temperature, and number of coats. A little patience prevents tacky spots and finish marks.
Way 3: Preserve Driftwood for Aquariums or Moisture-Prone Displays
Driftwood for aquariums is a different project. You do not preserve it with polyurethane, wax, oil, or household sealers. Those finishes can leach unwanted substances into water and may harm fish, shrimp, snails, or plants. Aquarium driftwood should be cleaned, soaked, and sometimes boiled, not sealed like furniture.
Step 1: Use Aquarium-Safe Wood
The safest option is to buy driftwood sold specifically for aquariums, such as mopani, Malaysian driftwood, spider wood, cholla wood, manzanita, or other aquarium-approved varieties. Random beach or river wood can contain pollutants, pesticides, salt, parasites, or unknown species that break down too quickly. Softwoods, resinous woods, and pieces with bark can rot faster underwater.
Step 2: Rinse and Scrub
Rinse the wood under hot water and scrub away dirt, dust, and loose fibers. Do not use soap, bleach, detergent, furniture cleaner, or disinfectant on aquarium wood. Even tiny residues can cause problems in a tank. If the piece is too large for a sink, use a clean plastic tub reserved for aquarium use.
Step 3: Soak or Boil to Release Tannins
Many types of driftwood release tannins, natural compounds that turn water tea-colored. Tannins are not automatically harmful; some aquarists like the blackwater look, and certain fish benefit from softer, tannin-rich water. Still, if you want clearer water, soaking or boiling helps reduce tannins before the wood enters the tank.
Small pieces can be boiled for one to two hours if they fit safely in a pot. Larger pieces can be soaked in a clean bin for several days or weeks, with frequent water changes. Weigh the wood down with a clean rock if it floats. Soaking also helps waterlog the wood so it sinks. Some pieces sink quickly. Others behave like tiny wooden submarines that have not accepted their destiny yet.
Step 4: Expect Biofilm
New aquarium driftwood may develop a white or translucent film during the first few weeks underwater. This biofilm is common on new wood and is often harmless. Many shrimp and snails snack on it. If you dislike the look, gently scrub or siphon it away during water changes. The film usually fades as the tank stabilizes.
Common Mistakes When Preserving Driftwood
Sealing Wet Wood
Sealing damp driftwood traps moisture inside. That can lead to cloudiness, mildew, peeling finish, or a funky smell. Always dry the wood thoroughly before applying any finish.
Over-Sanding the Character Away
Driftwood is supposed to look weathered. If you sand until every curve is smooth and every mark is gone, you may end up with ordinary wood that simply had an adventurous vacation.
Using the Wrong Finish Outdoors
Indoor clear coats are not made for constant sun, rain, and humidity. For outdoor driftwood, choose an exterior-rated product with UV and moisture resistance, and expect to refresh the finish over time.
Putting Sealed Wood in Aquariums
Decorative sealers belong on dry displays, not inside fish tanks. Aquarium driftwood should be prepared with rinsing, soaking, boiling when appropriate, and patience.
Best Uses for Preserved Driftwood
Once preserved, driftwood becomes one of the most flexible natural materials in home decor. A long branch can become a curtain rod, hanging jewelry organizer, towel ladder, or wall sculpture. Flat pieces can be used as rustic shelves. Small pieces look great in bowls with shells, stones, air plants, or candles. Twisted root sections can become lamp bases or dramatic table centerpieces.
For outdoor spaces, preserved driftwood can decorate patios, garden beds, porch planters, and coastal-style entryways. Just remember that even sealed wood changes outdoors. Sunlight, moisture, and temperature shifts will slowly weather the finish. That is not failure; that is driftwood continuing to be driftwood.
Experience Notes: What Preserving Driftwood Teaches You
The first lesson of preserving driftwood is that the piece is always dirtier than it looks. A branch that appears clean on the beach can release sand for days. It can hide tiny stones, old bark, insect trails, salt crystals, and enough grit to make you wonder if it was personally sponsored by the shoreline. That is why the cleaning stage should never be rushed. The most satisfying projects usually begin with a boring bucket, clean water, and the patience to change that water until it stops looking like weak coffee.
The second lesson is that driftwood changes personality when it dries. A piece that looks dark and dramatic when wet may become pale, chalky, and soft gray after drying. This is not a problem. In fact, it is part of the charm. Before sealing, it helps to wipe a small area with a damp cloth. That temporary wet look gives you a preview of how oil-based finishes or some clear coats may deepen the color. If you love the pale sun-bleached look, choose a water-based clear finish in matte or satin. If you want the grain to pop, a warmer finish may be better.
The third lesson is that less finish often looks better. Many beginners keep adding coats because they assume more protection equals a better result. Technically, more coats can add durability, but visually, too much finish can bury the texture. The best driftwood decor usually keeps a little roughness. You want guests to think, “What a beautiful natural piece,” not “Why is that branch wearing lip gloss?”
Another real-world tip: protect your work surface. Driftwood has odd shapes, and clear finish runs into cracks, drips from hidden corners, and appears five minutes later exactly where you did not expect it. Set the piece on painter’s pyramids, scrap blocks, or cardboard strips so it does not glue itself to your table. Rotate it between coats. Check the underside. The underside is where drips gather to start a tiny varnish convention.
For large pieces, drying is the biggest test of patience. A thick root can feel dry outside while still holding moisture deep in the center. If you seal it too early, the finish may blush, peel, or trap odor. Let large driftwood sit longer than you think it needs. A covered porch, breezy garage, or sunny but protected corner works well. Turn the piece often and keep it off the floor. Good airflow is the quiet hero of driftwood preservation.
Finally, the best preserved driftwood projects respect the material. Do not force every piece to become furniture. Some pieces are perfect as simple sculpture. Some are better for aquariums. Some belong back where you found them, especially if local rules prohibit removal or wildlife is using them. Driftwood already has a story. Preserving it well simply gives that story a cleaner, safer, longer-lasting chapter in your home.
Conclusion
Preserving driftwood is simple when you match the method to the purpose. For most home decor, clean it, soak it, dry it fully, sand lightly, and apply a clear finish that protects without hiding the natural texture. For outdoor pieces, choose an exterior-rated spar urethane or clear coat that can handle sun and moisture. For aquariums, skip furniture finishes completely and rely on rinsing, soaking, boiling when appropriate, and water changes.
The real secret is patience. Driftwood has already survived waves, weather, rocks, rivers, and time. It does not need to be rushed through a weekend makeover. Give it a proper cleaning, let it dry, choose the right preservation method, and it can become a beautiful, durable piece of coastal decor that looks effortlesseven if you know there was a bucket, a brush, and a lot of suspicious brown water involved.
Note: This HTML contains only the body section, written in original American English for web publishing and based on practical driftwood preservation, wood finishing, cleaning safety, and aquarium preparation guidance.