
Dog paws are tiny miracle machines. They sprint across grass, tap-dance on kitchen floors, dig suspicious holes near your roses, and somehow locate every sharp pebble within a five-mile radius. So when your dog limps in with a cut paw pad, torn nail, scrape, or minor wound, knowing how to wrap a dog paw can help protect the injury until you can monitor it properly or get veterinary care.
This guide explains how to bandage a dog paw safely in 11 clear steps. The goal is simple: stop minor bleeding, keep the paw clean, prevent licking, and avoid the classic rookie mistake of wrapping too tightly. A dog paw bandage should be snug enough to stay on, but never so tight that it affects circulation. Think “secure sock,” not “medieval paw corset.”
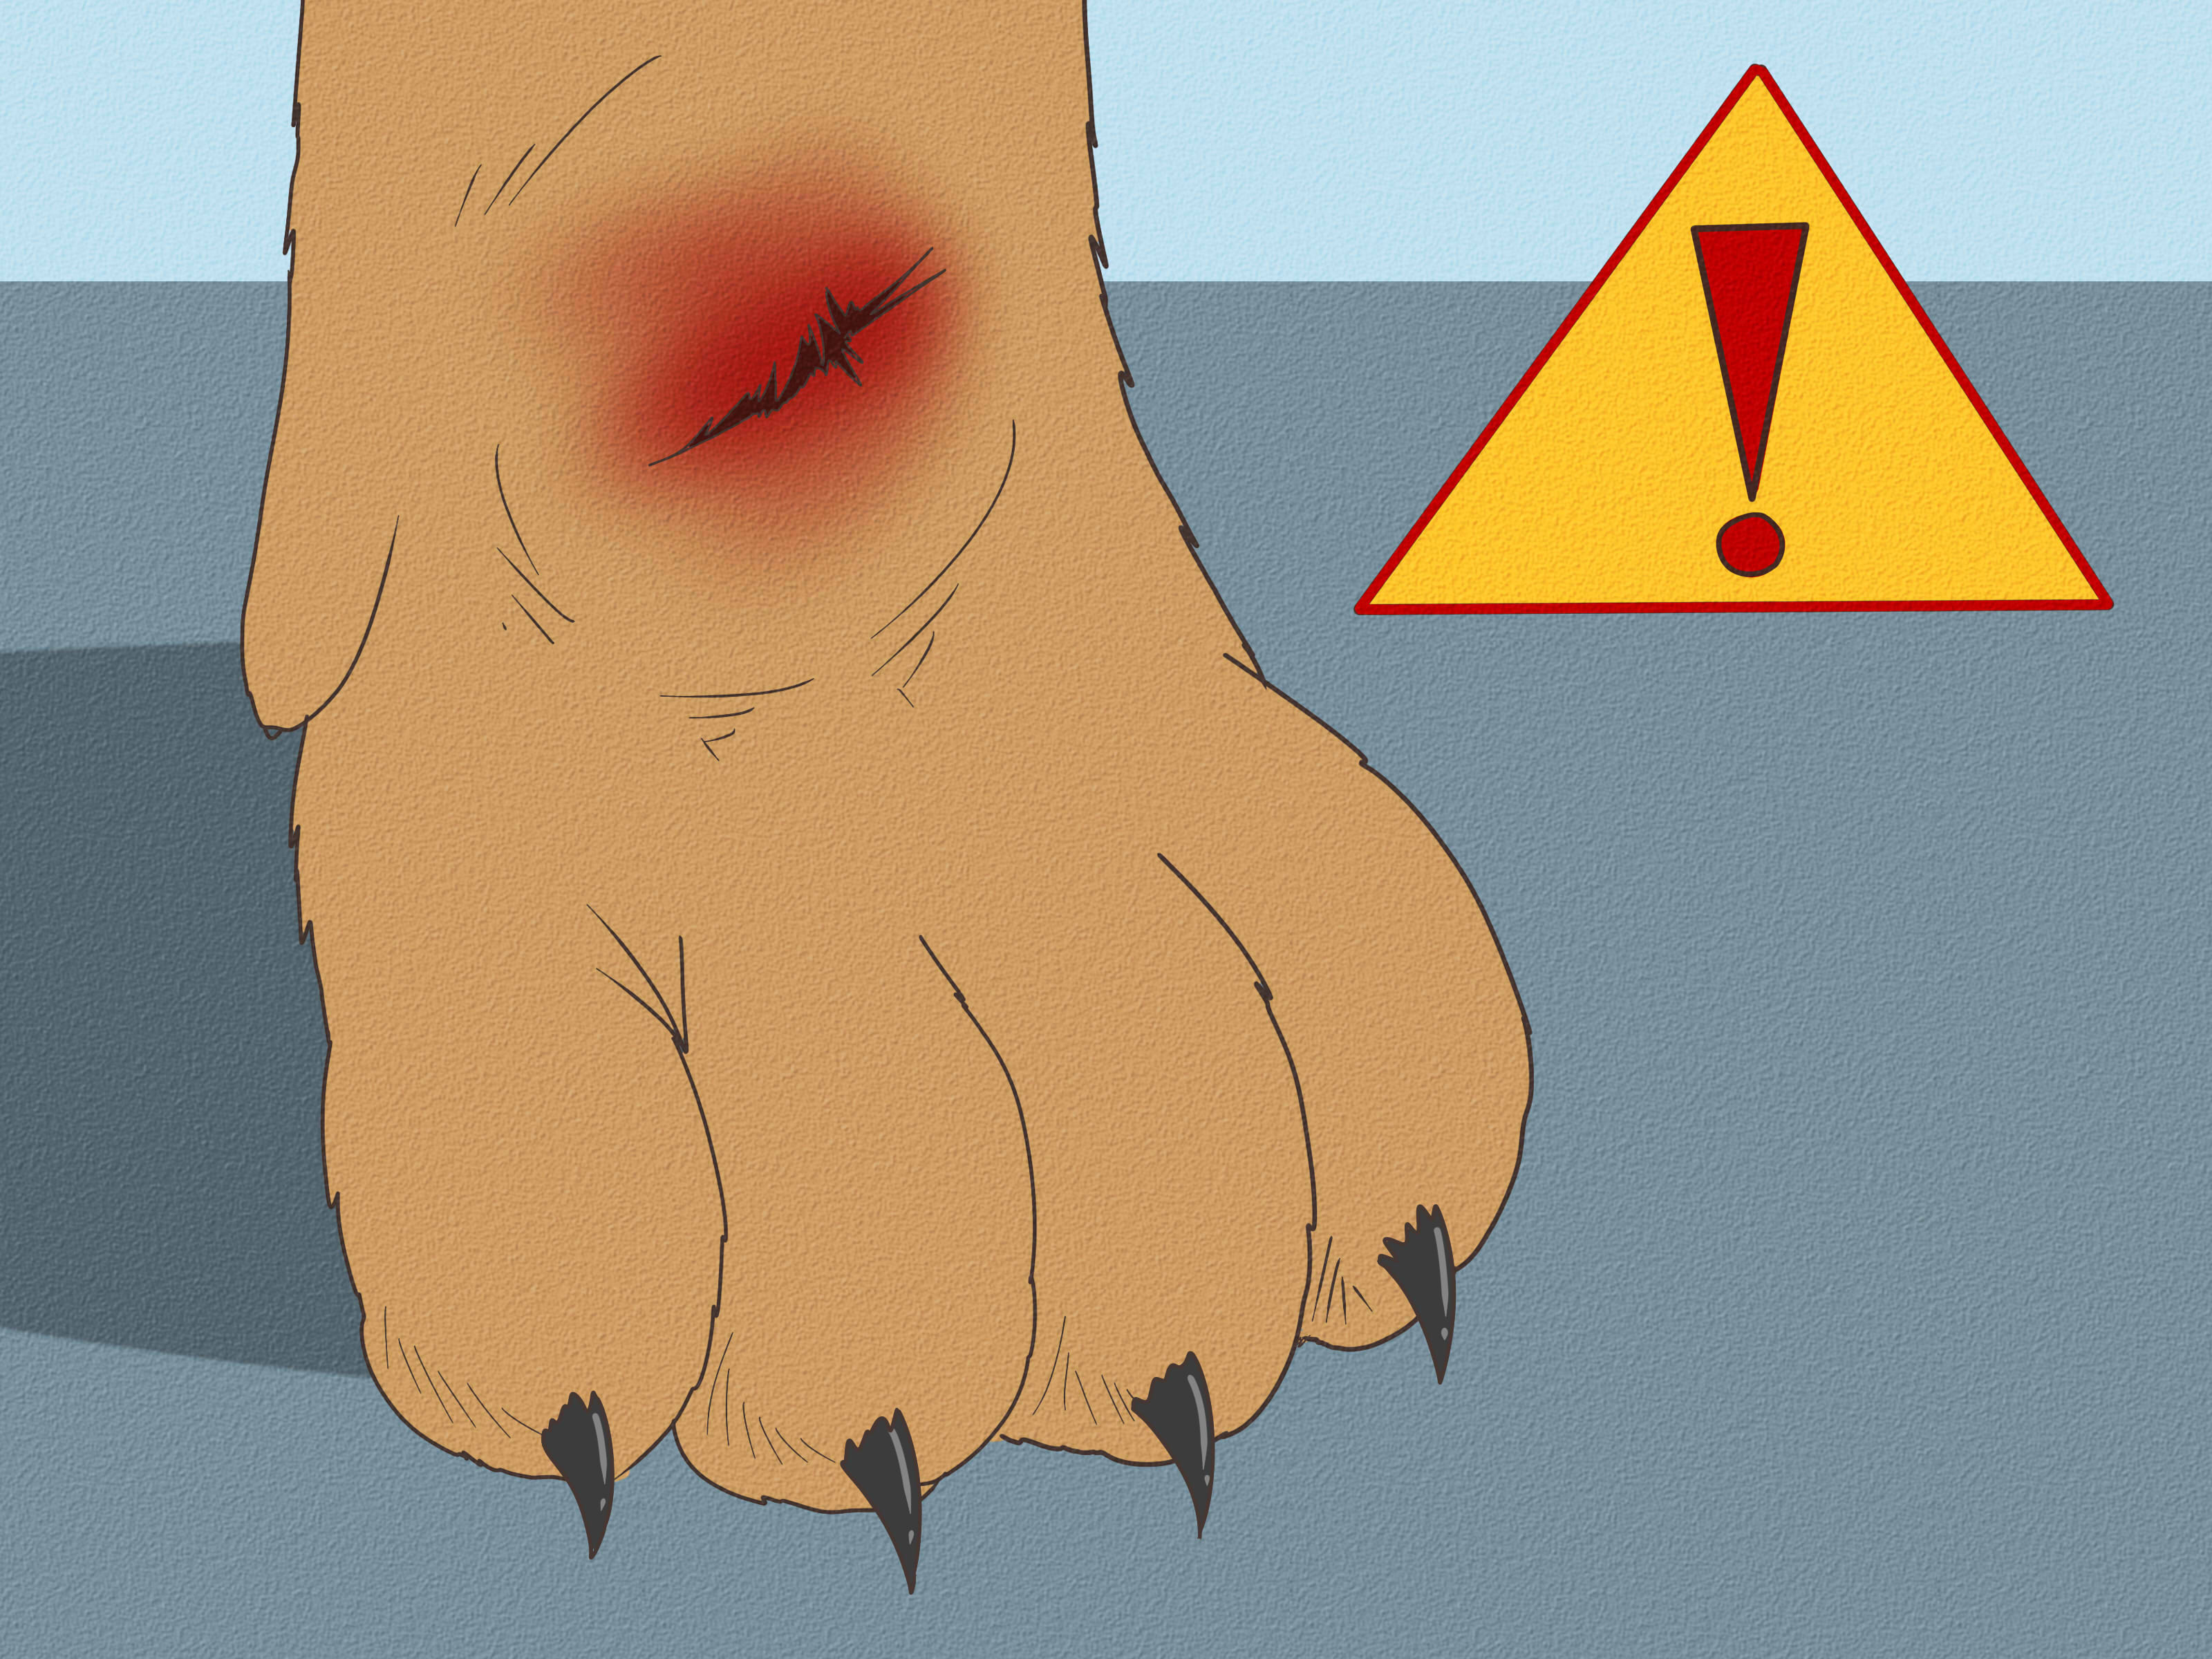
Important note: home bandaging is best for minor cuts, scrapes, small paw-pad abrasions, or temporary first aid while you contact your veterinarian. Deep cuts, heavy bleeding, exposed tissue, bite wounds, burns, suspected broken bones, swelling, pus, bad odor, or severe pain require professional veterinary care.
When Should You Wrap a Dog Paw?
You may need to wrap your dog’s paw if there is a minor paw pad cut, a shallow scrape, a torn nail that has stopped actively bleeding, a small abrasion from rough pavement, or a protected healing area your dog keeps trying to lick. A paw wrap can also help keep dirt and bacteria away from a wound during short bathroom breaks.
However, wrapping is not a substitute for a vet exam when the injury is serious. Paw pads are tough, but they also carry your dog’s full body weight. That means a wound on the bottom of the foot gets pressure every time your dog stands, walks, launches off the couch like a furry cannonball, or performs the sacred “mail carrier alert” ritual.
Supplies You Need to Bandage a Dog Paw
Before starting, gather everything within arm’s reach. Once your dog realizes you are doing “medical stuff,” you may have approximately seven seconds before the wiggle Olympics begin.
- Disposable gloves
- Clean towel or cloth
- Sterile saline or clean lukewarm water
- Pet-safe antiseptic solution, such as diluted chlorhexidine or diluted povidone-iodine, if recommended by your veterinarian
- Non-stick sterile gauze pad
- Rolled gauze
- Soft padding or cotton cast padding
- Self-adherent vet wrap
- Medical tape
- Blunt-tipped bandage scissors
- Elizabethan collar, recovery cone, or inflatable collar if your dog chews the bandage
- Plastic bag or waterproof bootie for short supervised outdoor potty breaks
A proper dog paw bandage usually has three layers: a contact layer over the wound, a padded layer to absorb fluid and protect the paw, and an outer layer to hold everything in place. Each layer has a job. Skip one, and the bandage may slide off, rub, trap moisture, or become a chew toy with medical ambitions.
How to Wrap a Dog Paw: 11 Safe Steps
Step 1: Stay Calm and Check the Injury
Start by gently examining the paw. Look at the paw pads, between the toes, around the nails, and along the top of the foot. Check for glass, thorns, gravel, bleeding, swelling, heat, torn skin, broken nails, or signs your dog is in serious pain. Speak softly and move slowly. Even the sweetest dog may snap or pull away when hurt, not because they are “bad,” but because pain turns everyone into a tiny thundercloud.
If bleeding is heavy, blood is spurting, the wound is deep, the paw pad is hanging as a flap, a foreign object is embedded, or your dog cannot bear weight, apply gentle pressure with a clean towel and contact a veterinarian or emergency clinic immediately.
Step 2: Restrain Gently and Ask for Help
Have another person hold your dog if possible. One person can comfort and steady the dog while the other cleans and wraps the paw. Small dogs may sit on a towel in your lap. Larger dogs may do better lying on their side on a non-slip surface. Avoid wrestling. A stressed dog will not become more cooperative because you negotiate louder.
If your dog growls, cries, trembles, pants heavily, or tries to bite, stop and call your veterinarian. Pain control may be needed before the paw can be treated safely.
Step 3: Stop Minor Bleeding
For mild bleeding, press a clean gauze pad or towel over the wound for several minutes. Use steady pressure instead of repeatedly lifting the cloth to “check.” Every time you peek too soon, you may disturb the forming clot. If bleeding does not slow after several minutes of firm pressure, or if the blood is soaking through the cloth quickly, seek veterinary care.
For a broken nail, styptic powder may help stop minor bleeding. Do not dig into the nail or paw pad. If the nail is torn near the base, dangling, or very painful, your veterinarian should handle it.
Step 4: Clean the Paw Carefully
Flush the area with sterile saline or clean lukewarm water to remove dirt and grit. If your veterinarian has approved it, you may use a properly diluted pet-safe antiseptic. Avoid harsh products such as alcohol or strong hydrogen peroxide on open wounds because they can irritate tissue and delay healing. The paw should look cleaner, not chemically surprised.
If debris is lightly sitting on the surface, you may remove it with clean tweezers. If something is deeply embedded, do not pull it out. Stabilize the paw, prevent licking, and go to the vet.
Step 5: Dry the Paw Completely
Pat the paw dry with clean gauze or a towel. This step matters more than many people realize. Moisture trapped under a bandage creates a cozy little spa for bacteria, and bacteria do not deserve a spa day. Make sure the area between the toes is dry, too.
If the fur is muddy or wet, clean and dry it before wrapping. If fur around the wound is long and getting into the bandage, ask your vet whether it should be trimmed. Do not use sharp scissors near a wiggly paw unless you enjoy adrenaline as a hobby.
Step 6: Place a Non-Stick Pad Over the Wound
Put a sterile non-stick gauze pad directly over the injured area. This is the contact layer. It protects the wound and helps prevent the bandage from sticking to healing tissue. For small scrapes, one pad may be enough. For paw pad cuts, make sure the pad covers the injured section without bunching.
Do not pack cotton directly into an open wound. Loose fibers can stick and make bandage changes uncomfortable. If your vet recommends an ointment, apply a thin layer only. More ointment is not more healing; it is usually just more temptation for your dog to lick the paw like it has been seasoned.
Step 7: Add Soft Padding Around the Paw
Wrap a layer of soft padding around the paw and slightly up the leg. Padding helps absorb moisture, reduce rubbing, and distribute pressure. It also helps keep the outer wrap from squeezing one narrow area too tightly.
Pay special attention to the spaces around the toes and dewclaw area. You do not want hard folds or bulky lumps. A good paw bandage should feel smooth and even. If it looks like a lumpy burrito, unwrap and try again.
Step 8: Wrap Rolled Gauze from Paw to Leg
Use rolled gauze to hold the pad and padding in place. Start near the toes, wrap around the paw, and continue slightly above the wrist or ankle joint. Overlap each pass by about half the width of the gauze. This helps the bandage stay secure without creating pressure lines.
If the injured area allows it, leave the two middle toes visible. Exposed toes help you monitor circulation. If the toes become swollen, cold, red, blue, or spread apart, the bandage may be too tight and should be removed or adjusted immediately.
Step 9: Apply Vet Wrap Lightly
Now add the self-adherent outer layer. Vet wrap is useful because it sticks to itself, but it is also sneaky. It tightens easily if stretched too much. Unroll it first, then place it with only mild tension. Wrap from the paw upward and back down if needed, keeping pressure even.
The bandage should be snug enough that it does not slide off after three steps, but loose enough that you can fit one or two fingers between the top of the bandage and your dog’s leg. Never wrap tightly around the leg like a tourniquet. Circulation problems can become serious quickly.
Step 10: Secure the End with Tape
Use a small piece of medical tape to secure the end of the wrap if needed. Avoid taping directly to fur whenever possible, especially on sensitive dogs. If tape must touch fur, use the least amount necessary. Your future self will thank you during removal.
Check that the bandage is not slipping, twisting, or pressing into the skin. Your dog should not be running, jumping, or playing after the paw is wrapped. The bandage is a medical helper, not a sports shoe.
Step 11: Monitor, Change, and Protect the Bandage
Check the paw bandage at least twice daily. It should stay clean, dry, and in place. Change it daily for a minor wound, or sooner if it becomes wet, dirty, loose, smelly, bloody, or chewed. Wet bandages are trouble. Remove and replace them because moisture can irritate the skin and encourage infection.
Use a cone or recovery collar if your dog licks or chews. For outdoor bathroom trips, cover the bandage with a plastic bag or waterproof bootie, supervise closely, and remove the cover as soon as your dog comes back inside. Never leave plastic over the paw indoors because it traps moisture.
How Tight Should a Dog Paw Bandage Be?
This is the most important safety question. A dog paw wrap should be secure but not tight. You should be able to slide one or two fingers under the top edge. If exposed toes look swollen, cold, red, blue, pale, or separated, remove the bandage and call your veterinarian. Also check above the bandage for swelling, chafing, redness, or discomfort.
Dogs cannot politely say, “Excuse me, my bandage is compromising circulation.” They will usually lick, chew, limp, whine, or act restless. If your dog suddenly becomes obsessed with the bandage after leaving it alone, take that seriously. The wrap may be too tight, painful, wet, or irritating.
Common Mistakes to Avoid
Wrapping Too Tightly
The biggest danger is making the wrap too tight. Stretchy bandage material can compress the paw and reduce blood flow. Always use light tension and monitor the toes.
Skipping the Padding
Padding is not decoration. It protects the paw from pressure points and helps the bandage stay comfortable.
Letting the Bandage Get Wet
A damp bandage can cause skin irritation and infection. Cover it only for short, supervised outdoor trips, then remove the waterproof cover indoors.
Ignoring Bad Smells or Discharge
A foul odor, pus, green or yellow discharge, increasing redness, or swelling can signal infection. Do not simply rewrap and hope for the best. Hope is lovely, but it is not an antibiotic.
Using Human Products Without Vet Guidance
Some human ointments, pain relievers, and disinfectants are unsafe for dogs. Never give human pain medication unless your veterinarian specifically instructs you to do so.
When to Call the Veterinarian
Contact your veterinarian if the wound is deep, wide, jagged, caused by a bite, caused by a burn or chemical exposure, still bleeding after pressure, or contains embedded debris. You should also call if your dog is limping severely, refusing to walk, crying, guarding the paw, or acting unusually tired.
During bandage care, call your vet if you notice swelling, heat, foul odor, discharge, a wet or dirty bandage, worsening redness, skin rubbing, or toes that look swollen or cold. If the wound is not clearly improving within a day or two, it deserves professional attention.
Aftercare Tips for a Wrapped Dog Paw
Keep your dog’s activity low while the paw heals. Short leash walks for bathroom breaks are usually better than backyard freedom, because “just a quick potty break” can become squirrel-chasing parkour in under four seconds. Keep your dog indoors as much as possible, provide a clean resting spot, and prevent rough play with other pets.
Take a photo of the wound at each bandage change. This helps you notice whether it is improving or getting worse. It can also help your veterinarian understand the healing timeline if you need an appointment.
Do not leave a homemade bandage on for several days without checking it. A bandage can hide swelling, infection, or rubbing. Clean, dry, and frequently inspected is the winning formula.
Experience Notes: What Paw Wrapping Is Like in Real Life
In real life, wrapping a dog paw is rarely as graceful as the diagrams suggest. The dog may be curious, offended, dramatic, sleepy, heroic, or all five within the same minute. One helpful trick is to prepare the supplies before bringing your dog over. Lay the gauze, padding, vet wrap, scissors, and tape in order. Open packages first. You do not want to be tearing plastic with your teeth while your dog slowly backs away like you have announced bath time.
Another practical lesson: treats are not bribery; they are project management. For a food-motivated dog, small treats can keep the experience positive. Give one treat when your dog lets you touch the paw, another after cleaning, and another after wrapping. For dogs who are too stressed to eat, use calm praise and pauses. A dog who refuses food during paw care may be telling you the pain or fear level is high.
It also helps to choose your location wisely. A slippery tile floor turns paw wrapping into a cartoon chase scene. A rug, yoga mat, or towel gives your dog traction and helps them feel more stable. For small dogs, a table may be useful only if you can keep them secure. For big dogs, the floor is usually safer. Nobody needs a 75-pound Labrador deciding mid-bandage that he has been called to another room.
Many owners discover that the first wrap is not perfect. That is normal. If the bandage looks uneven, slides down, or bunches between the toes, calmly remove it and start over. The goal is not to win a veterinary fashion contest. The goal is a clean, padded, secure wrap that protects the paw without squeezing it. If you are unsure, send a photo to your vet clinic if they offer that option, or schedule a quick bandage check.
One common experience is the “instant chew test.” You finish the bandage, feel proud, and your dog immediately tries to remove it with the dedication of a tiny demolition expert. This does not mean you failed. Dogs lick and chew because the bandage feels strange, the wound hurts, or both. A cone, inflatable collar, or recovery sleeve may be necessary. Some dogs act personally betrayed by cones at first, but a cone is far better than an infected paw.
Outdoor protection is another lesson learned quickly. Even a short walk through damp grass can soak the bandage. Use a plastic bag or bootie only while outside, then remove it right away indoors. Leaving waterproof covers on too long traps sweat and moisture, which can soften skin and slow healing. Think of the outdoor cover as a raincoat, not pajamas.
Finally, trust your instincts. If the paw smells bad, looks more swollen, bleeds again, feels hot, or your dog seems more painful, do not keep rewrapping and hoping. Paw injuries can worsen because dogs walk on them all day. A simple vet visit can prevent a small problem from becoming a long, expensive, cone-filled saga. Your dog may not appreciate your careful bandaging in the moment, but protecting that paw is one of those quiet pet-parent victories. The tail wag usually returns later.
Conclusion
Learning how to wrap a dog paw is a valuable first-aid skill for any pet parent. For minor cuts, scrapes, and temporary protection, a clean paw bandage can reduce contamination, discourage licking, and help your dog stay comfortable while healing begins. The safest method is to clean the paw, dry it well, apply a non-stick pad, add padding, wrap gently with gauze, finish with light vet wrap, and monitor the bandage closely.
Remember the golden rules: keep it clean, keep it dry, keep it loose enough for circulation, and call your veterinarian when anything looks serious or suspicious. Your dog’s paws carry them through every walk, zoomie, cuddle session, and snack investigation. A careful wrap helps those hardworking little feet get back to business safely.