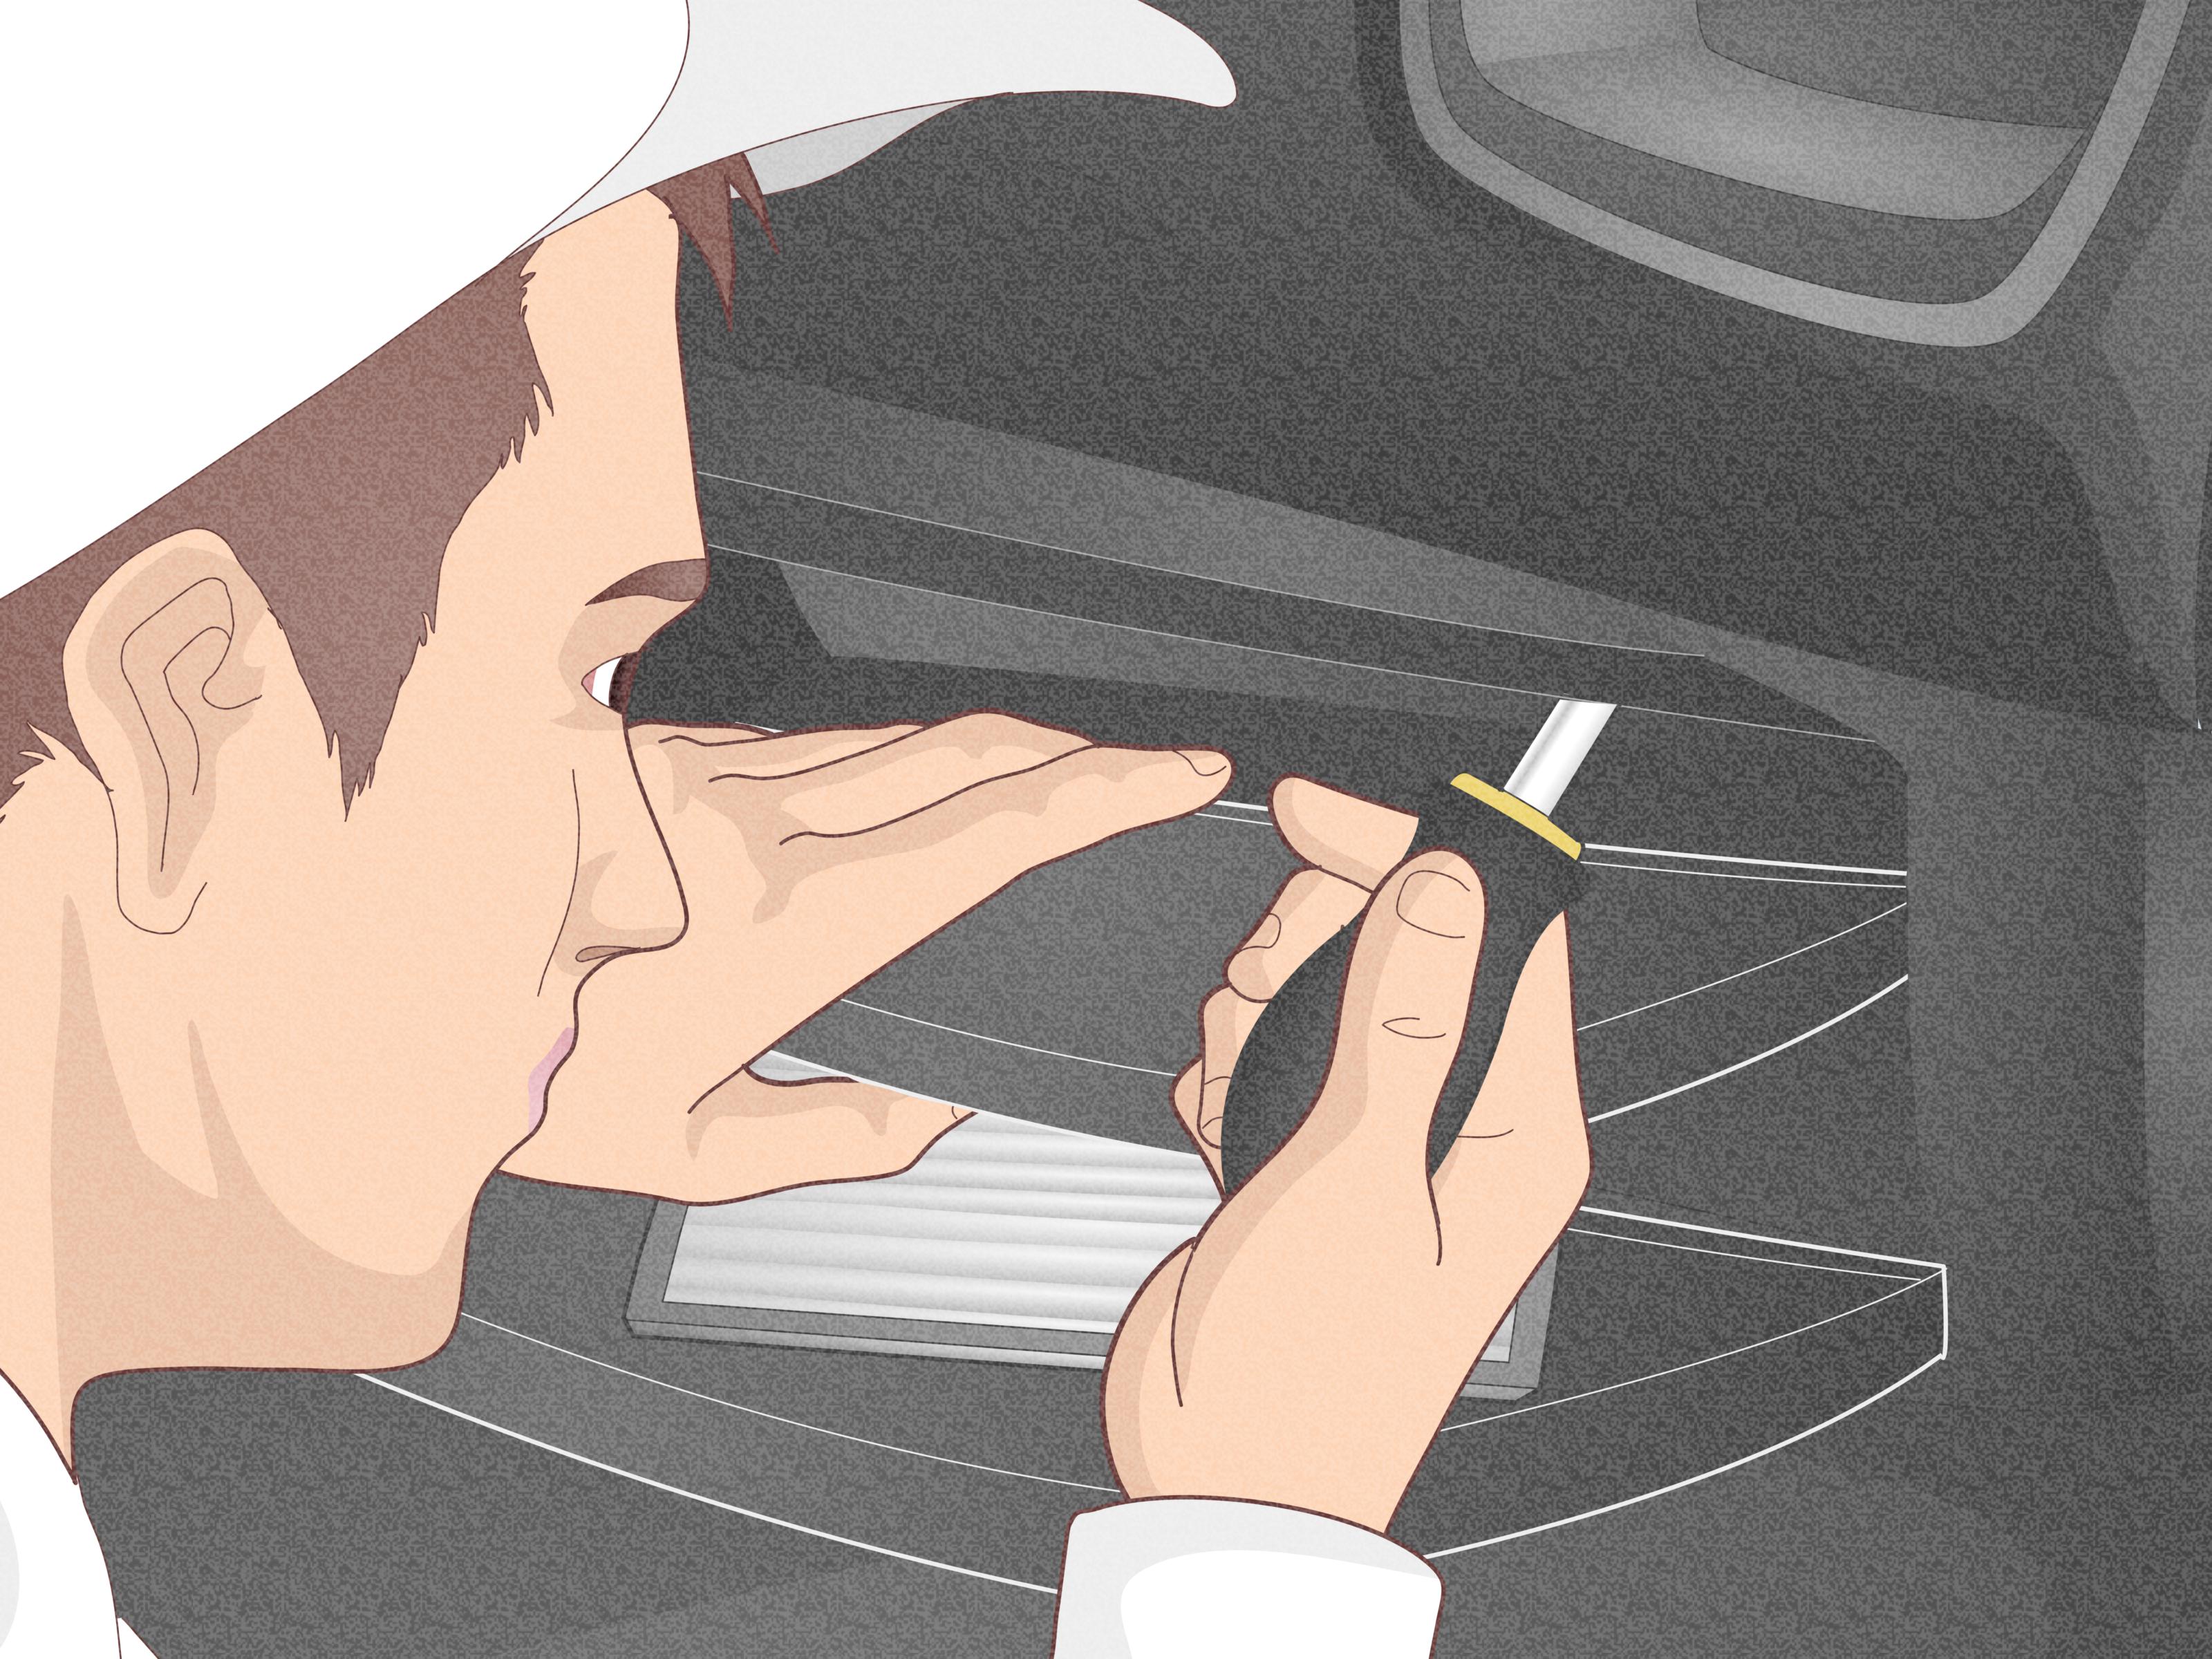

Dropped something into your car vent? Congratulationsyou have accidentally created the world’s smallest escape room. Whether it was a ring, a parking token, a pen cap, a child’s toy, a French fry with dreams of freedom, or the tiny screw you absolutely needed, the good news is that many items can be recovered without taking the entire dashboard apart.
The trick is to stay calm, avoid pushing the object deeper, and choose the right retrieval method for the type of item and vent location. This guide walks you through easy, realistic ways to retrieve something you dropped in your car vent, from simple flashlight-and-tweezer tricks to vacuum hacks, flexible grabbers, magnetic tools, vent removal, and knowing when it is time to call a mechanic.
Before You Start: Do These Three Things First
1. Turn the Fan Off Immediately
If the object is sitting near the vent opening, running the fan may vibrate it deeper into the ductwork. Turn off the A/C, heater, defroster, and fan before you start poking around. This is especially important if the item is small, light, or round, such as a bead, earring back, coin, or plastic game piece.
2. Identify Which Vent Swallowed the Item
Not all vents are created equal. A center dashboard vent may be easier to reach than a windshield defroster vent. Floor vents sometimes allow access from under the dash. Rear seat vents may connect through the center console. Before reaching for tools, figure out where the object entered and listen carefully when you gently tap the surrounding trim.
3. Avoid Random Poking
The universal rule of car vent rescue is simple: do not turn one problem into three problems. A stiff wire, screwdriver, or coat hanger can scratch the duct, damage vent fins, jam blend doors, or push your missing item farther away. Use soft, flexible, controlled tools whenever possible.
Tools That Can Help You Retrieve Items From a Car Vent
You do not need a professional garage to solve many vent mishaps. Start with simple tools you may already have at home:
- Flashlight or phone light
- Painter’s tape or masking tape
- Flexible grabber tool
- Long tweezers or hemostats
- Vacuum with crevice attachment
- Thin sock, mesh, or pantyhose for the vacuum trick
- Flexible magnetic pickup tool for metal objects
- Plastic trim removal tool
- Small inspection mirror
- Soft detailing brush
Plastic trim tools are especially useful because they are less likely to gouge dashboard panels than metal screwdrivers. Many vents and interior panels are held in place by clips, and plastic tools give you a better chance of removing trim without leaving your dashboard looking like it lost a fight with a raccoon.
Method 1: Use a Flashlight and Long Tweezers
This is the easiest method if the item is still visible near the vent opening. Shine a flashlight through the vent slats and adjust the louvers slowly. If you can see the object, use long tweezers, forceps, or narrow needle-nose pliers with taped tips.
Wrap a little painter’s tape around the metal tips to reduce the chance of scratching the vent. Move slowly and grip the item lightly at first. If you squeeze too hard, small objects can slip deeper into the duct. For rings, keys, and small toys, try to hook or lift rather than pinch aggressively.
Best for:
Visible coins, jewelry, paper clips, small plastic items, and objects resting close to the vent grille.
Avoid this if:
You cannot see the item. Blind grabbing often pushes things farther into the vent system.
Method 2: Try the Tape-on-a-Stick Trick
If the object is light and not too far inside, tape can be your best friend. Wrap painter’s tape or masking tape around the end of a thin, flexible tool with the sticky side facing out. A plastic straw, zip tie, soft craft stick, or flexible cable tie can work well.
Guide the sticky end gently into the vent and touch the object. Do not jab. Let the adhesive do the work. Once the item sticks, pull it out slowly. This method is surprisingly effective for paper, receipts, foam bits, wrappers, tiny toy accessories, and other lightweight escape artists.
Important tip:
Do not use duct tape if it might leave residue inside the vent. Painter’s tape is gentler and easier to control.
Method 3: Use a Vacuum With a Screen Barrier
A vacuum can help pull the object back toward the vent opening, but you do not want your wedding ring or tiny screw disappearing into the vacuum canister like it just booked a one-way ticket to Dust Island.
Here is the safe version: stretch a thin sock, pantyhose, or mesh fabric over the vacuum hose and secure it with a rubber band. Then place the hose near the vent opening. The suction may pull the item against the fabric without swallowing it.
Use the lowest effective suction setting if your vacuum allows adjustment. Move the hose slowly around the vent opening. If the object is very light, you may hear it shift. Stop immediately when you see or feel the item against the mesh.
Best for:
Small loose items near the opening, crumbs, lightweight plastic pieces, loose beads, and tiny accessories.
Be careful with:
Delicate jewelry, loose vent fins, or vents with fragile trim. Keep the hose outside the vent rather than forcing it inside.
Method 4: Use a Flexible Grabber Tool
A flexible grabber tool is one of the most useful gadgets for retrieving items from car vents. It usually has a bendable shaft and small claws at the end. Press the plunger, the claws open; release it, the claws close. It is basically a tiny mechanical hand, which is both useful and oddly satisfying.
Use a flashlight to guide the grabber. Feed it into the vent gently and avoid forcing it around tight corners. If the item is around a bend, rotate the tool slowly until the claws line up. Grab once, pull steadily, and resist the temptation to celebrate too early. Many objects fall off during the victory lap.
Best for:
Rings, keychains, coins, pen caps, small tools, toys, and objects that are visible but out of reach.
Pro tip:
Choose a grabber with a small head. Oversized claw tools may not fit through narrow vent slats.
Method 5: Use a Magnetic Pickup Tool for Metal Items
If the dropped object is magnetic, a flexible magnetic pickup tool can save the day. These tools are inexpensive and designed for retrieving screws, bolts, and metal parts from tight spaces. Slide the magnet into the vent slowly, then sweep gently near the object.
This works well for steel screws, some keys, small tools, and certain metal clips. It will not work on most gold jewelry, silver jewelry, aluminum coins, plastic items, or stainless parts that are not magnetic. If you are trying to retrieve a ring, test a similar piece of jewelry with a magnet first so you do not waste time fishing with false hope.
Best for:
Screws, bolts, steel clips, small magnetic tools, and some key rings.
Avoid this if:
The item is near electronics or sensors and you are unsure what is behind the panel. When in doubt, use a non-magnetic grabber or get professional help.
Method 6: Remove the Vent Grille Carefully
Some dashboard vents pop out with careful pressure. Others are screwed in from behind or integrated into larger trim panels. Before removing anything, search your vehicle’s owner’s manual or a model-specific repair guide. A 2012 compact sedan and a 2024 luxury SUV may treat vent removal very differently.
If the vent trim appears removable, use a plastic trim tool, not a flathead screwdriver. Work around the edges gradually. If one side resists, stop and look for hidden screws or clips. Pulling harder is not a repair strategy; it is how dashboard clips become modern art.
Once the vent grille is removed, you may be able to reach the object directly with tweezers, a grabber, or a vacuum with a mesh barrier. Take photos as you work so you remember how everything fits back together.
Best for:
Objects trapped just behind the vent face, larger items, and vehicles with simple pop-out vents.
Stop if:
You hear cracking, see airbag markings nearby, encounter electrical connectors, or need to remove large dashboard sections.
Method 7: Check the Glove Box and Cabin Air Filter Area
Many vehicles have a cabin air filter behind the glove box or under the dashboard. Depending on the HVAC layout, some debris or small objects may travel toward this area. This is especially worth checking if the item went into a passenger-side vent or defroster vent.
Open the glove box, remove the stops or dampener if your vehicle allows it, and inspect the cabin filter housing. Pull the filter carefully and look for the item or signs that it passed into the lower duct. While you are there, check the cabin filter. If it is gray, packed with leaves, or looks like it has been filtering air since the invention of cup holders, replace it.
Best for:
Passenger-side vents, defroster vents, light debris, and situations where airflow has become weak or noisy.
Method 8: Inspect From Under the Dashboard
For floor vents and lower dashboard vents, the best access may be from below. Slide the seat back, grab a flashlight, and look under the dash. You may see duct openings, plastic panels, or the lower HVAC case. Some lower trim panels come off with simple clips or screws.
Do not disconnect wiring, yellow airbag connectors, or unfamiliar modules. If you can clearly see the object, use a flexible grabber. If you cannot see it, do not start dismantling the HVAC box. That is the line between “easy DIY” and “why is my dashboard in the back seat?”
What If the Item Fell Into the Defroster Vent?
Defroster vents near the windshield are often the trickiest. They are narrow, awkwardly angled, and usually connected to ducts buried deep inside the dashboard. If you dropped something valuable into a defroster vent, start with a flashlight, inspection mirror, flexible grabber, and vacuum screen trick.
If the item is jewelry, a key, or something sentimental, do not run the fan and do not use compressed air. Compressed air may blow the object deeper into the system. If simple methods fail, a professional technician may need to remove trim panels or access the duct from below.
When You Should Stop and Call a Mechanic
DIY is great until the repair becomes more expensive than the object you dropped. Call a mechanic or dealership service department if:
- The object is valuable and no longer visible.
- You hear rattling when the fan runs.
- Airflow is blocked or weak from certain vents.
- The item may interfere with blend doors or HVAC controls.
- The object fell into a windshield defroster duct.
- You need to remove large dashboard panels.
- You see airbag labels, yellow connectors, or wiring harnesses.
- The vehicle is under warranty and you do not want to risk trim damage.
A mechanic may use borescopes, specialty trim tools, service diagrams, and safe disassembly procedures. Yes, paying for professional help is annoying. But paying to fix broken dashboard clips, a damaged vent actuator, or a scratched trim panel is even more annoying.
Things You Should Not Do
Some rescue attempts make the situation worse. Avoid these common mistakes:
- Do not blast compressed air into the vent if you are trying to recover a valuable item.
- Do not pour water, cleaner, oil, or lubricant into the vent.
- Do not use chewing gum as an adhesive. It sounds clever until it becomes part of the car.
- Do not force a screwdriver between soft-touch dashboard panels.
- Do not keep driving with a loud rattling object in the HVAC system.
- Do not remove panels marked with airbag warnings unless you know the proper procedure.
How to Prevent Things From Falling Into Car Vents Again
Once you retrieve the missing item, prevention becomes your new hobby. Keep small objects away from the dashboard, especially near windshield defroster vents. Avoid placing jewelry, coins, screws, beads, or parking cards on top of the dash. During repairs or phone mount installation, cover nearby vents with painter’s tape or a microfiber towel.
If you have kids, check the back seat vents regularly. Children have a mysterious talent for discovering openings and feeding them snacks, crayons, and toy parts. A rear vent can go from “nice comfort feature” to “tiny plastic treasure cave” in one road trip.
Real-World Experiences: What Usually Works Best
In real life, retrieving something from a car vent is rarely as dramatic as it feels in the first ten seconds. Most small objects do not instantly travel to the deepest, darkest corner of the HVAC system. Many stay near the vent opening, caught on a bend, a louver, a seam, or a ridge inside the duct. That is why the first move should always be slow inspection, not panic-powered tool stabbing.
One common experience involves coins. A coin slides across the dashboard during a turn, drops neatly into the vent, and makes a tiny metallic “clink” that sounds suspiciously expensive. In many cases, a vacuum with mesh over the hose can pull the coin back toward the opening. If the coin is wedged, a flexible grabber may work better. The key is to angle the vent slats fully open and approach from above, not straight in like you are trying to harpoon a fish.
Jewelry creates more stress because the emotional value is usually higher. Rings and earrings often require patience, light, and a tool that can hook rather than squeeze. A flexible grabber can work, but long tweezers with padded tips may provide better control if the jewelry is visible. If the jewelry falls into a defroster vent, many drivers try for a few minutes and then wisely stop. That is not giving up; that is protecting the dashboard from becoming a weekend demolition project.
Parents often deal with rear vent surprises. Small toys, snack pieces, beads, and mystery objects can end up in back seat vents. The first clue may be a rattle when the fan turns on or a child proudly announcing, “I put it in the hole.” Rear vents in the center console may be easier to access by removing a rear trim piece, but the clips can be fragile. A plastic trim tool and model-specific instructions make a big difference.
Another frequent situation happens during DIY repairs. Someone removes a phone mount, dash camera wire, trim piece, or radio panel, and a screw drops directly into a vent. For steel screws, a magnetic pickup tool is usually the hero. For non-magnetic screws, a flexible claw tool is safer. Before starting any dashboard project, cover vents with a towel. It is a two-second habit that can save an hour of fishing and several creative words not suitable for family websites.
Experience also shows that sound can help. If you hear the object rattling close to the vent, stop driving and retrieve it before it migrates. If the rattle changes when you switch from face vents to floor vents or defrost, the object may be near a moving blend door. That is a good time to stop experimenting. HVAC doors and actuators are not designed to chew on loose objects, even if the car sounds like it is trying.
The biggest lesson is simple: start gentle, stay organized, and know your limit. A flashlight, tape, vacuum screen, magnetic pickup tool, and flexible grabber solve many cases. But if the item is valuable, invisible, or buried behind dashboard panels, professional help is the cleanest path. Your dashboard should remain attached to the car. That is generally one of its best features.
Conclusion
Dropping something into a car vent is frustrating, but it is not automatically a disaster. Turn the fan off, inspect the vent, and begin with gentle retrieval methods. Use tweezers for visible items, tape for lightweight objects, a screened vacuum for loose pieces, a flexible grabber for deeper items, and a magnetic pickup tool for steel parts. If needed, carefully remove the vent grille with plastic trim tools or check the cabin air filter area.
The smartest approach is the one that retrieves the object without damaging the vent, dashboard, HVAC doors, or wiring. When the object is valuable, hidden, or stuck in a defroster duct, a professional mechanic may be the better bargain. After all, the goal is to recover the missing itemnot accidentally audition your car for a dashboard reconstruction show.