
Note: This guide is designed for young crafters and classrooms. For projects that require sharp craft blades, ask a trained adult to complete the cutting or choose a pre-cut alternative.
Curved paper designs look impressive because they seem complicated. A sweeping leaf shape, a looping monogram, or a tiny window in a handmade card can make a project feel polished instead of “I made this during homeroom with three minutes left.” The good news is that the most important part of clean craft cutting is not the blade. It is the planning.
When you map out a design carefully, choose materials that behave well, and use safer alternatives where possible, your project can still look crisp, intentional, and ready for its close-up. This guide explains how to prepare curved paper crafts, work with templates, prevent torn edges, and get help safely when a sharp cutting tool is needed.
Start With the Design, Not the Tool
A good-looking cut begins long before anything touches paper. The easiest way to avoid lopsided curves and accidental paper disasters is to sketch the design first. Use a pencil and keep the first draft light. Think of the pencil line as a rehearsal: it lets you make mistakes quietly, before the cardstock has a chance to make the mistake permanent.
For circles, arches, spirals, vines, or letterforms, begin with basic geometry. Draw a large circle around a cup, trace a coin for small round accents, or use a printed template. Curves do not have to be perfect to look good, but they should feel balanced. A wobbly line can look handmade in a charming way. A wobbly line next to a perfectly straight border can look like it lost a fight with a roller coaster.
Use Templates for Better Curves
Templates reduce guesswork. You can print shapes, trace them onto paper, or use pre-made stencils designed for crafts. For repeated designs, such as petals, stars, labels, or decorative borders, a template helps every piece match.
Choose a template slightly larger than your final design when you are practicing. Larger curves are easier to see and easier to refine. Once your layout looks balanced, you can scale it down for a card, scrapbook page, gift tag, or school project.
Choose Paper That Works With Your Project
Paper is not just paper. Thin printer paper bends easily, which can be useful for folding but frustrating for detailed shapes. Heavy cardstock stays firm and looks polished, but it may be harder to trim cleanly without adult help or professional cutting equipment.
For beginner-friendly projects, medium-weight craft paper is often the sweet spot. It is sturdy enough to hold a shape but not so thick that it becomes a cardboard wrestling match. Patterned paper can add personality, while plain paper is better for designs that need writing, drawing, stamping, or paint.
Test Before You Commit
Before making a final version, create a quick sample using scrap paper. Test the size of your lettering, the width of your border, or the space between decorative details. This little practice run can save you from discovering that your giant heart-shaped window covers every word in your message.
Scrap paper is also useful for checking how a design will fold. A cutout that looks perfect flat may disappear into a crease once the card closes. Planning the fold line first keeps your decorative work from landing in the wrong spot.
Safer Ways to Create Curved Craft Designs
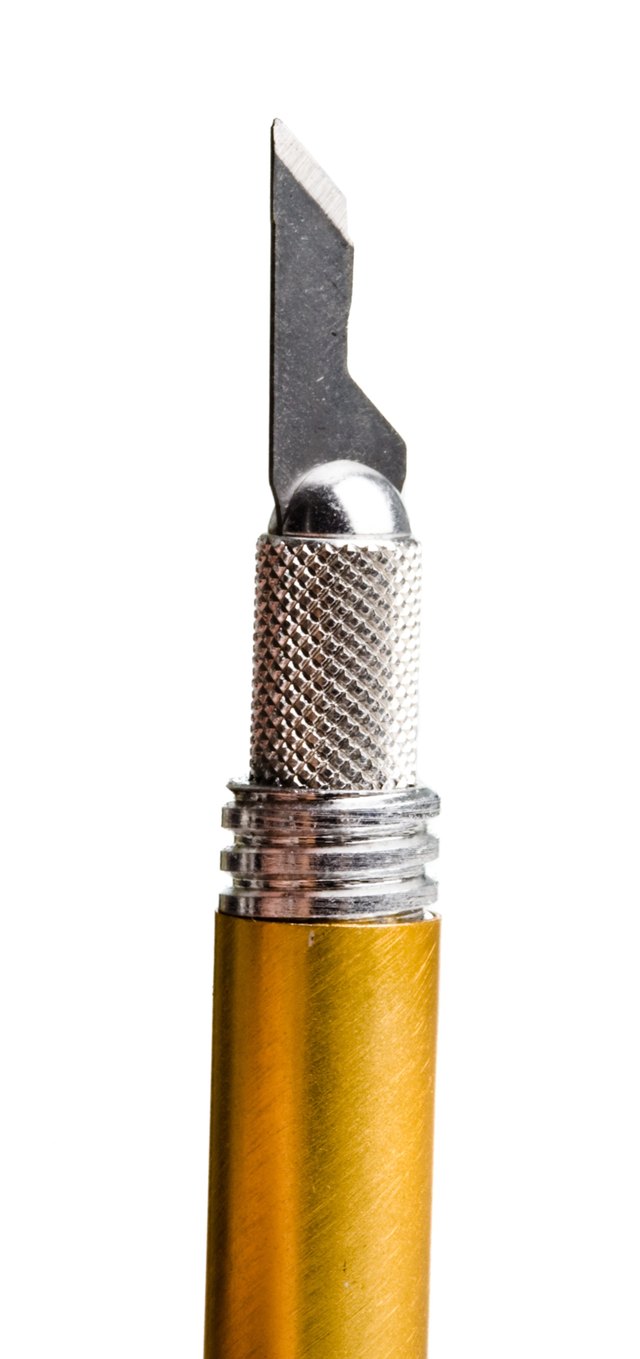
You do not need to personally handle a blade knife to make designs with curves, windows, and delicate outlines. Many projects can be adapted with safer options that still look professional.
Use Pre-Cut Shapes
Pre-cut paper shapes are a simple option for cards, journals, collages, and party decorations. Hearts, circles, flowers, letters, and seasonal designs are widely available in craft kits. Layering pre-cut pieces can create depth without requiring detailed cutting.
For example, instead of cutting a complicated floral border from one sheet, build the border from separate petals and leaves. Stack them, overlap them slightly, and add a small center circle. The finished design can look more dimensional than a flat cutout.
Try Tearing for an Artistic Edge
Torn-paper designs are especially useful when you want a handmade, textured style. Tear along a lightly drawn pencil line to create clouds, mountains, shorelines, abstract borders, or layered backgrounds. The edge will not be perfectly smooth, but that is the point. Torn paper has personality.
This technique works particularly well for collage art. Use different shades of blue for water, greens for hills, or warm colors for a sunset. By layering torn shapes, you can create a scene that looks intentional and expressive without requiring precision cutting.
Ask an Adult for Intricate Cutouts
Some projects need precise interior shapes, curved openings, or highly detailed outlines. Those are good moments to involve a trained adult. Bring them your finished template, clearly mark the sections that should be removed, and explain which areas must stay connected.
Clear planning makes adult assistance easier. Instead of saying, “Can you cut this somehow?” label the design. Use arrows, shade the parts to remove, and write notes such as “keep this bridge attached” or “cut inside this line.” A well-prepared template turns your idea into a quick, understandable task.
How to Make Your Template Easier to Follow
Detailed designs can become confusing fast, especially when there are many tiny spaces. Use a simple system before anyone begins the cutting stage.
- Shade areas that should be removed.
- Leave unshaded areas that should remain.
- Use arrows to show the direction of a curve.
- Mark fold lines with dashed lines.
- Write “front” and “back” on layered projects.
- Number separate pieces if they need to be assembled in order.
These notes may feel extra at first, but they prevent mistakes later. Think of them as subtitles for your craft project. They help everyone understand what is happening, including Future You, who may return to the project after snack time and wonder why there are seven green paper blobs on the desk.
Build Curved Designs in Layers
Layering is one of the easiest ways to make a craft look more advanced. Rather than trying to make one complicated sheet do everything, divide the design into separate parts.
A greeting card with a curved landscape, for instance, can include a sky background, a torn-paper hill, a pre-cut sun, and a few small paper trees. A birthday card can include a large circle as a balloon, narrow paper strips as strings, and tiny confetti pieces around the edge. None of these elements has to be complicated on its own. Together, they create a finished look.
Use Foam Adhesive for Dimension
Foam adhesive squares or strips can lift one layer slightly above another. This creates a shadow and adds depth. Use them behind large pieces, such as a flower, title, or central illustration, rather than behind every small decoration.
Too much dimension can make a card difficult to close or mail. A few raised elements look intentional. Twenty raised elements turn your envelope into a tiny mattress.
Prevent Smudges, Tears, and Crooked Results
Clean work comes from simple habits. Keep hands dry and free of glue before touching light-colored paper. Work on a clean table, especially when using white cardstock. A tiny smudge can somehow become the center of attention, even when no one else notices it.
Use a ruler for straight lines and a pencil for layout marks. Keep pencil lines light enough that they can be erased gently later. When gluing, use a small amount and spread it toward the edges. Too much adhesive can wrinkle paper or squeeze out from underneath, creating the classic craft-project look known as “why is this suddenly wet everywhere?”
Let Glue Dry Before Adding More Layers
Rushing is one of the main reasons paper projects wrinkle or shift. Give each glued layer a moment to settle before adding the next. Place a clean book or flat object on top of the project if the paper starts lifting, but protect the design with a sheet of scrap paper first.
Patience is not the most exciting craft supply, but it is one of the cheapest.
Ideas for Curved Paper Projects
Curved shapes work in nearly every kind of paper craft. Once you start noticing them, you will see that circles, arches, waves, clouds, and loops are everywhere.
- Greeting cards: Create layered rainbows, balloon clusters, flower wreaths, or window-style designs.
- Scrapbook pages: Use curved borders to frame photos or create soft background shapes.
- Bookmarks: Add rounded corners, clouds, moons, or simple decorative cutouts made with pre-cut pieces.
- School presentations: Use circular labels, curved arrows, and layered diagrams to make information easier to follow.
- Party decorations: Build garlands from circles, hearts, stars, or folded paper fans.
- Wall art: Create landscapes, abstract collages, or name signs using layered shapes.
Experience Notes: What Makes Curved Paper Crafts Easier
After working on enough paper projects, most crafters learn the same lesson: the project rarely goes wrong because the idea was bad. It goes wrong because someone tried to do five steps at once. A curved design looks simple when it is finished, but it often has a hidden order. First comes the sketch. Then the template. Then the test version. Then the final pieces. Skipping straight to the exciting part usually creates a paper pile that looks like it has been through a minor weather event.
One useful habit is to keep a “practice pile” beside the main project. Use it for testing colors, trying out fold positions, checking sizes, and deciding whether two shades actually work together. A color combination that looked beautiful in your head may look like a cartoon vegetable once it reaches the table. That is not failure. It is exactly why scrap paper exists.
Another practical lesson is that larger shapes often look more polished than tiny ones. Small details can be charming, but they also create more opportunities for uneven edges, misplaced glue, and design elements that disappear from three feet away. When in doubt, make the main curve larger and reduce the number of mini decorations around it.
It also helps to photograph your layout before you glue it down. Arrange the pieces, take a quick picture, then look at the image on your phone or computer. A photo makes spacing problems easier to notice. You may realize that a title sits too high, a flower cluster leans too far left, or one bright piece is stealing all the attention like it paid for front-row seats.
For group projects, assign jobs based on comfort levels. One person can trace templates, another can sort colors, another can glue layers, and an adult can manage any detailed cutting that requires sharp tools. This keeps the project moving while allowing everyone to contribute safely.
Finally, remember that handmade does not mean flawless. Slightly uneven curves, tiny differences between layered pieces, and small signs of the process can make a craft feel more personal. The goal is not to make your project look factory-produced. The goal is to make it look thoughtful, finished, and unmistakably yours.
Conclusion
Beautiful curved paper crafts begin with a strong plan, a clear template, and materials that match the project. You can create layered shapes, decorative windows, rounded borders, and eye-catching designs without personally handling sharp craft blades. Use pre-cut pieces, torn-paper techniques, careful layout, and adult help for detailed cutouts.
When your project is organized from the beginning, the final result looks cleaner, feels easier to assemble, and leaves more room for the fun part: choosing colors, adding personality, and proudly showing people what you made.