
Robin may be Batman’s sidekick, but a good Robin costume deserves to stand proudly in the spotlight. The bright red, green, yellow, and black color palette is instantly recognizable, the pieces are easy to find, and the whole outfit has that heroic “I made this myself and only glued my sleeve to the table once” charm.
This guide shows you how to make a Robin costume in 12 practical steps using affordable clothing, felt, fabric paint, foam, glue, and basic sewing if you want extra durability. The design works for Halloween, comic conventions, school spirit days, cosplay parties, theater projects, or a last-minute superhero emergency. You can keep it classic with a red tunic and yellow cape, modernize it with black leggings and green gloves, or make a kid-friendly version that is comfortable enough for running, candy collecting, and dramatic rooftop poses on the front porch.
Before we begin, one quick note: this tutorial is for personal DIY costume use. Robin is a copyrighted DC character, so avoid selling costumes, logos, or patterns that copy protected designs exactly. For your own party, however, you can absolutely channel the Boy Wonder with creativity, common sense, and a utility belt full of snacks.
Materials You’ll Need
Gathering supplies first will save you from the classic crafter’s fate: standing in the kitchen at midnight asking why you own seven glue sticks but no scissors. For a simple homemade Robin costume, you will need a fitted red shirt or tunic, green leggings or pants, green gloves, black boots or shoes, yellow felt or craft foam, black felt or craft foam, a yellow cape fabric, elastic, hook-and-loop tape, fabric glue, scissors, measuring tape, a pencil or fabric marker, and optional fabric paint.
If you want a no-sew Robin costume, choose felt, fleece, or knit materials because they fray less than thin cotton. If you prefer a polished cosplay costume, use cotton jersey, scuba knit, athletic spandex, or stretch faux leather for armor-like accents. For kids, prioritize soft fabrics, clear vision, safe fasteners, and a costume length that will not trip them while they sprint toward candy like Gotham depends on it.
How to Make a Robin Costume in 12 Steps
Step 1: Choose Your Robin Style
Robin has had several looks over the decades, so decide which version you want before cutting anything. The classic Robin costume usually includes a red top, green sleeves or pants, yellow cape, yellow belt, black mask, gloves, and boots. A modern Robin costume often adds black pants, armor panels, a darker cape, and sharper lines. A kid-friendly costume can be simplified with a red T-shirt, green leggings, felt belt, and foam mask.
For a recognizable DIY version, focus on the major visual cues: red torso, green lower half or sleeves, yellow cape or belt, black eye mask, and a bold “R” emblem. You do not need expensive armor or complicated sewing to make the costume read clearly. Robin is bright, athletic, and energetic, so the silhouette should feel light and easy to move in.
Step 2: Start With a Comfortable Base Outfit
The easiest homemade Robin costume begins with clothes you already own. Use a red fitted T-shirt, athletic top, or long-sleeve shirt as the base. Pair it with green leggings, joggers, shorts over tights, or slim pants. If the shirt is too plain, you can layer a red sleeveless tunic over a green long-sleeve top to create Robin’s classic color-blocked look.
Comfort matters more than screen accuracy. The person wearing the costume should be able to sit, walk, bend, and raise their arms without hearing fabric make that ominous “I am about to split” sound. If you are making the costume for a child, avoid tight neck openings, dragging hems, and stiff pieces around the waist.
Step 3: Create the Red Tunic
If you already have a red shirt, turn it into a tunic by adding a black or green lower trim. Cut a strip of green felt or fabric about 4 to 6 inches wide and attach it around the bottom hem using fabric glue, hand stitches, or fusible bonding tape. For a sharper superhero look, cut the bottom edge into small triangular points before attaching it.
If you want the costume to look more like armor, add black felt strips down the sides or across the shoulders. Keep the shapes symmetrical by folding paper in half, drawing one side of your pattern, and cutting it open. This gives you matching pieces without needing professional pattern-making skills. The result should look intentional, not like the shirt lost a fight with a pair of scissors.
Step 4: Add Green Sleeves or Gloves
Robin’s green elements help balance the red top. If your base shirt already has green sleeves, greatyou have saved yourself a step and earned a small heroic nod. If not, wear a green long-sleeve shirt underneath the red top. You can also use green compression sleeves, green gloves, or fabric tubes made from stretchy knit material.
For quick glove cuffs, cut two rectangles of green felt or craft foam, wrap them around the wrists, and secure them with hook-and-loop tape. This makes the gloves easier to remove and more comfortable than tight elastic. Add black or yellow trim for extra detail, especially if you want a comic-book finish.
Step 5: Make the Robin Emblem
The “R” emblem is small, but it does a big job. Cut a small circle or oval from yellow felt, foam, or iron-on vinyl. Then cut a black “R” from felt or draw the letter with black fabric paint. Attach the emblem to the upper left chest using fabric glue, iron-on adhesive, or a few hand stitches.
For a safer and more original approach, avoid copying an exact trademarked logo if you plan to publish, sell, or distribute your pattern. For personal costume use, a simple yellow badge with a bold “R” gives the right effect. Keep it clean and readable. If the letter looks like it was drawn during an earthquake, print a stencil first and trace it.
Step 6: Build a Yellow Utility Belt
No Robin costume feels complete without a utility belt. Use a real belt covered in yellow duct tape, yellow felt, or craft foam. You can also make a lightweight belt by cutting a long strip of yellow foam and fastening it with hook-and-loop tape at the back.
To create pouches, cut small rectangles from craft foam, fold them into simple pocket shapes, and glue them along the belt. They do not need to open unless you want them to hold tiny essentials like lip balm, safety pins, or emergency chocolate. Add black outlines with a permanent marker to make the pouches pop in photos.
Step 7: Make the Cape
A yellow cape gives the costume movement and instant superhero drama. Use yellow felt, fleece, satin, or a repurposed oversized T-shirt. For a no-sew cape, measure from the shoulders to the upper thigh or knee, then cut a rectangle or trapezoid shape. Round the bottom corners for a softer look.
Do not tie the cape tightly around the neck, especially for children. Instead, attach it to the shoulders of the shirt with hook-and-loop tape, snaps, or short elastic loops. A breakaway fastening is safer and more comfortable. If the wearer will be walking outdoors at night, add reflective tape along the cape edge or belt. Safety may not sound glamorous, but neither does tripping into a shrub while dressed as a crime-fighting acrobat.
Step 8: Shape the Black Eye Mask
Robin’s domino mask is one of the easiest pieces to make. Draw a mask shape on paper first, hold it up to the wearer’s face, and adjust the eye openings until visibility is clear. Then trace the pattern onto black craft foam, felt, or thin faux leather.
Cut the mask carefully and punch small holes at the sides for elastic. Tie or glue the elastic securely, making sure it is snug but not tight. For a more comfortable fit, add a tiny piece of felt to the inside bridge of the nose. If the costume is for a child, test the mask before the event. The eye holes should be wide enough for full vision, and the mask should not slide down during movement.
Step 9: Add Boots or Boot Covers
Black boots are the easiest choice, but black sneakers also work well. If you want boot covers, cut two pieces of black felt or faux leather large enough to wrap around each lower leg and shoe top. Secure the back with hook-and-loop tape or elastic straps under the shoe.
Keep boot covers short enough that they do not drag. If the wearer will walk a lot, skip slippery fabric under the soles. You want “agile superhero,” not “cartoon banana peel demonstration.” For children, sturdy shoes are much better than costume boots that look good but cause blisters before the first group photo.
Step 10: Upgrade With Armor Details
If you want a modern Robin cosplay, add foam armor panels. Craft foam is lightweight, inexpensive, and easy to cut. Create shoulder pieces, chest strips, gauntlets, or knee accents from black, red, green, or yellow foam. Heat shaping with a hair dryer can help foam curve slightly, but adults should handle heat tools.
Glue foam pieces onto the shirt only after testing placement while the shirt is worn or stuffed with a pillow. Stretchy fabric changes shape on the body, and armor glued flat on a table may sit strangely when worn. Use flexible fabric glue where possible and allow everything to dry fully before trying the costume on.
Step 11: Test the Fit and Movement
Before the big event, do a full costume test. Have the wearer walk, sit, reach, crouch, wave, and perform one heroic pose. Check that the cape stays attached, the mask does not block vision, the belt does not slide, and the shirt is not too hot.
This step is especially important for Halloween. Choose flame-resistant materials when possible, avoid long trailing fabric, and use reflective tape or glow accessories if the costume will be worn after dark. If you use face paint instead of a mask, test it on a small area of skin 24 to 48 hours ahead of time. Remove makeup before bed, because waking up with half a superhero face and one green eyebrow is funny only for the first three seconds.
Step 12: Style the Final Look
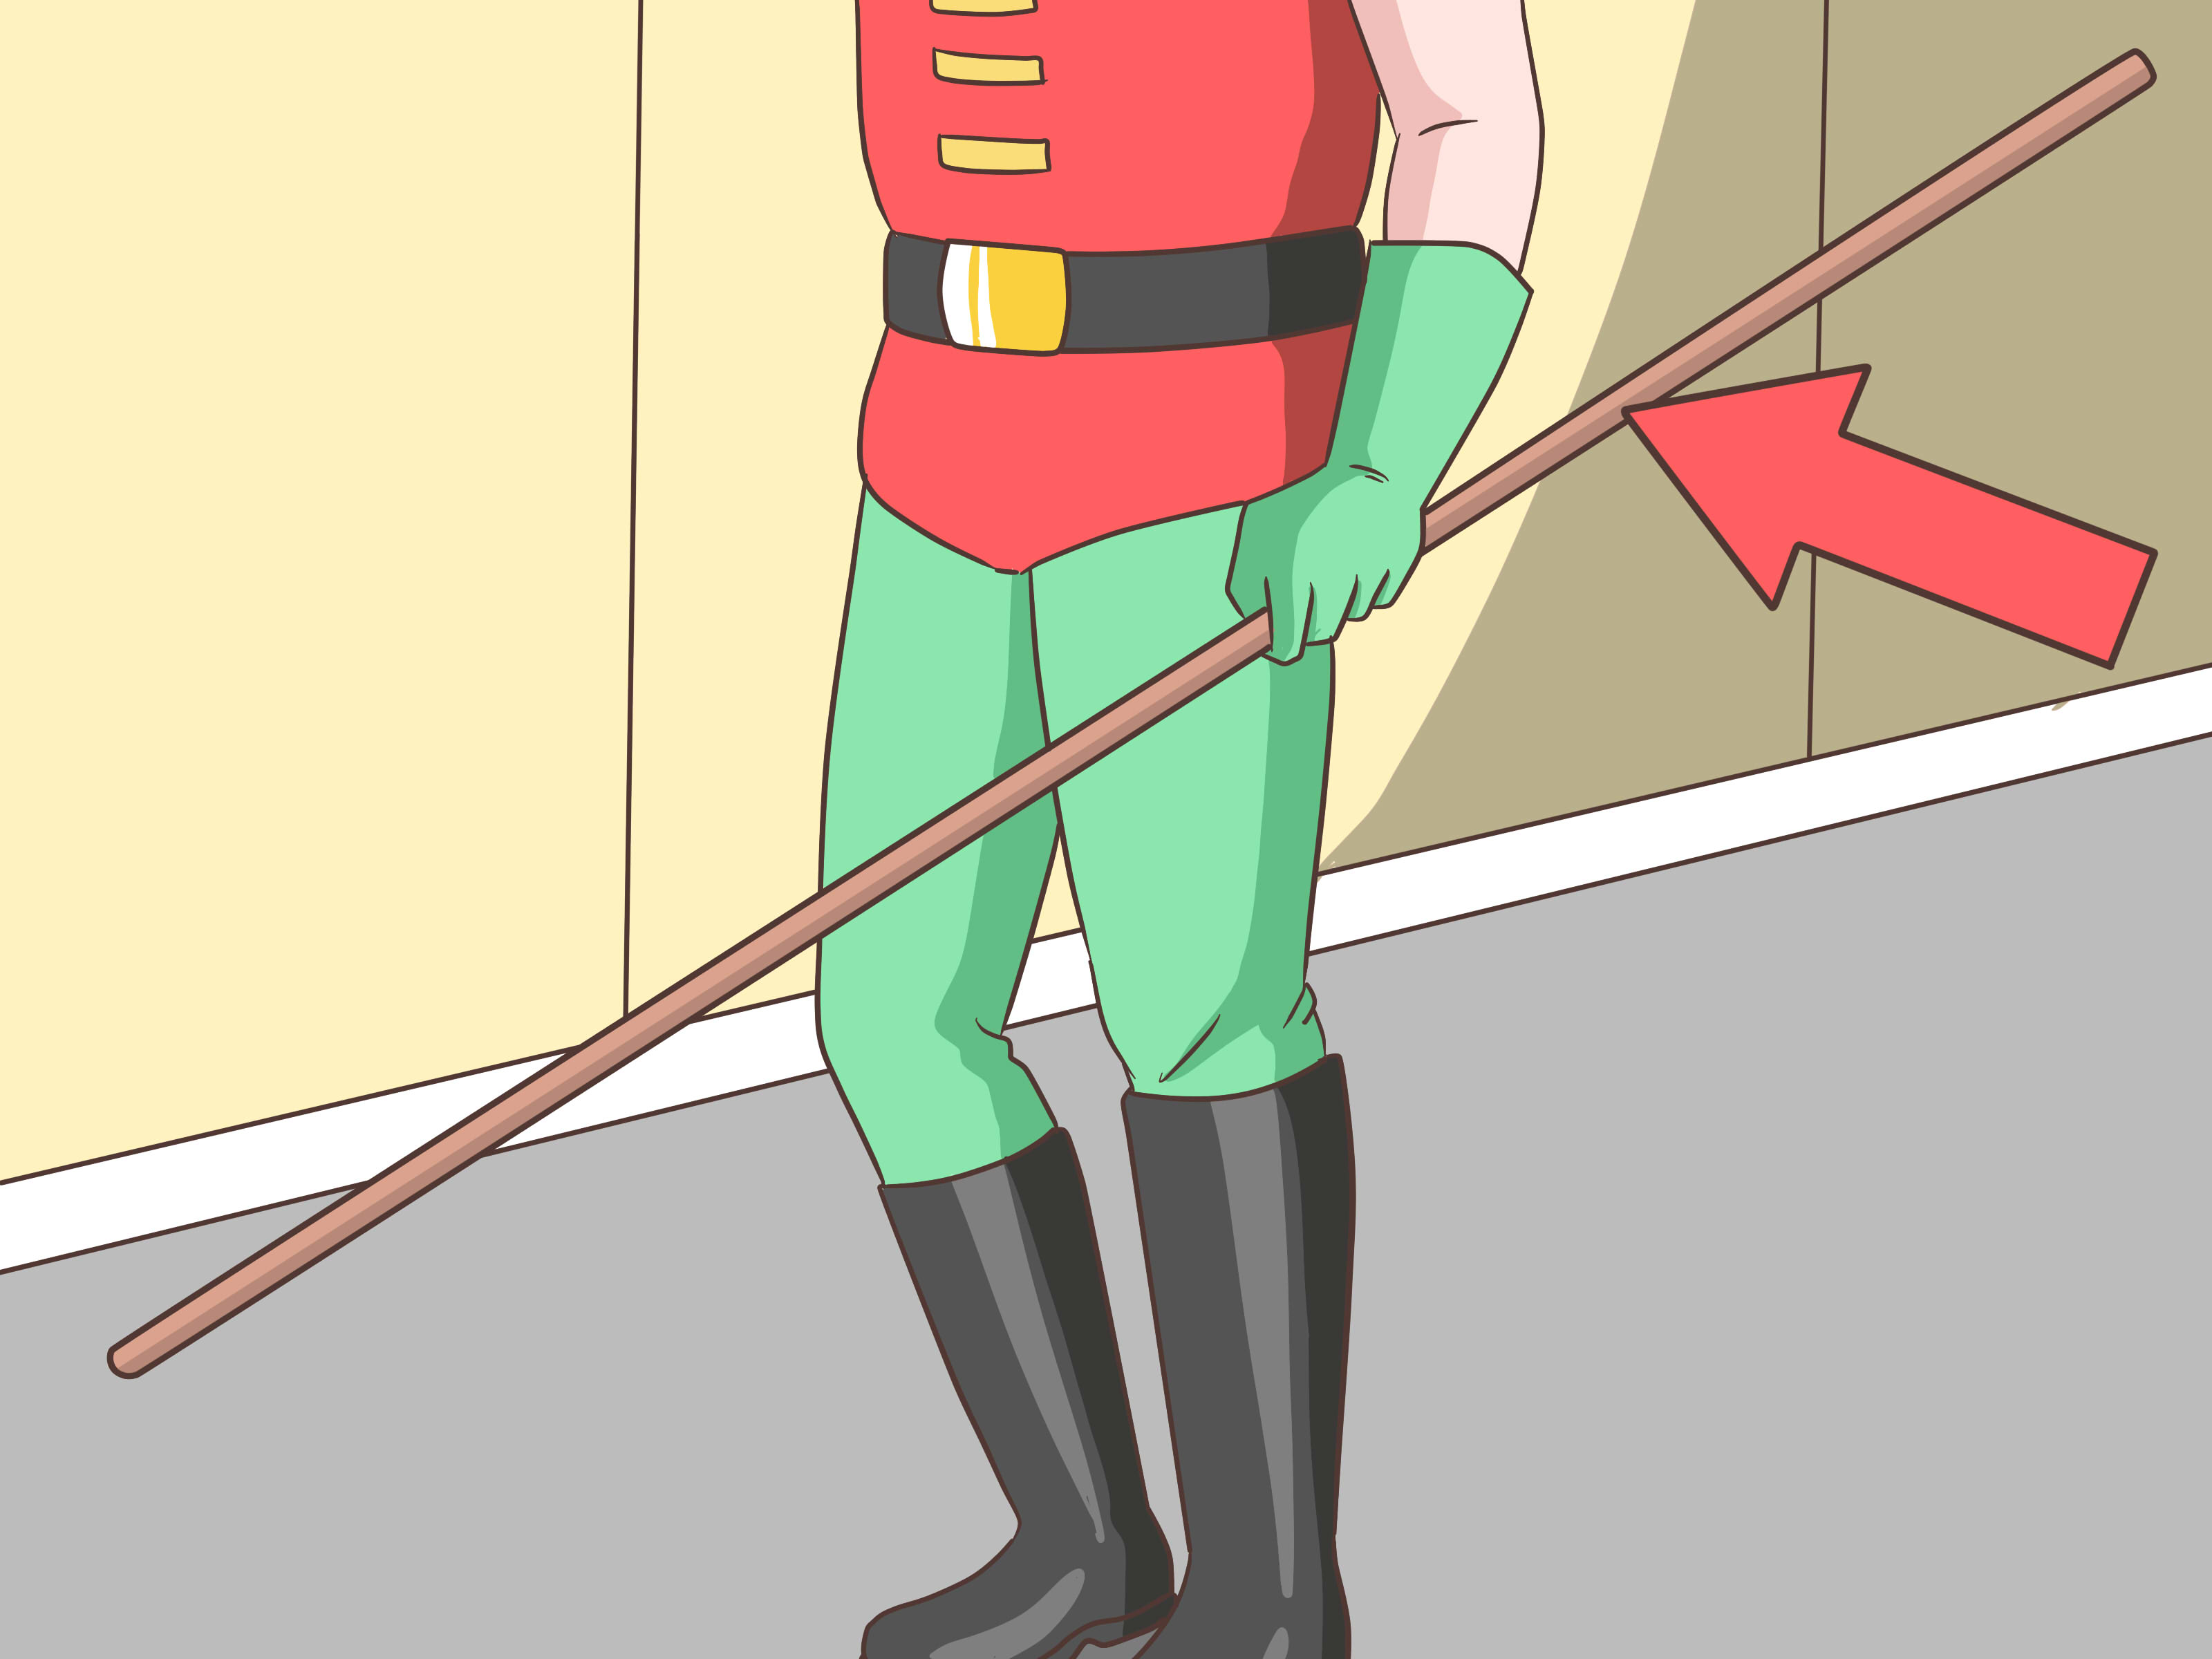
Once the main pieces are finished, style the outfit. Tuck in loose hems, smooth the cape, center the emblem, and adjust the belt. You can add black eyeliner around the mask area for photos, spike the hair slightly, or carry a toy bo staff made from foam pipe insulation. Avoid hard props for kids or crowded events.
Take photos in good lighting before the costume gets wrinkled, snack-covered, or mysteriously sticky. A plain wall, staircase, backyard, or city sidewalk makes a great backdrop. Robin’s colors are bold, so the costume photographs well even when made from simple materials.
No-Sew Robin Costume Option
If sewing is not your thing, you can still make a strong Robin costume. Use a red shirt, green leggings, a yellow felt belt, and a no-sew cape attached with hook-and-loop tape. Cut the emblem, cuffs, and mask from craft foam. Use fabric glue for soft pieces and hot glue only when an adult is handling it.
The no-sew method is best for one-night events, school dress-up days, and fast Halloween builds. Let glue dry overnight if possible. If you rush, the costume may shed pieces like a molting superhero bird. Press glued areas with a heavy book while drying to keep them flat and smooth.
Sewn Robin Costume Option
For a more durable costume, sew the green trim to the red shirt, hem the cape, and stitch the belt pouch details. Sewing is especially useful if the costume will be worn multiple times or used for cosplay. Stretch stitches or zigzag stitches work well on knit fabrics because they allow movement.
You do not need advanced tailoring. Even simple hand stitches at stress points can strengthen glued pieces. Reinforce the cape attachment, belt closure, and glove cuffs. These are the areas most likely to be pulled, twisted, or attacked by overexcited party guests asking, “Can I try on the mask?”
Common Mistakes to Avoid
The biggest mistake is making the costume uncomfortable. A Robin outfit should look athletic and easy to move in. Avoid heavy capes, stiff masks, scratchy seams, and belts that dig into the waist. Another common issue is using too many shiny fabrics. A little satin can look dramatic, but too much may make the costume feel more “gift bag” than “Gotham hero.”
Do not make the mask eye holes too small. Clear vision is more important than perfect shape. Also avoid capes that tie tightly at the throat. Shoulder attachments or breakaway closures are better choices. Finally, give yourself drying time. Fabric glue, paint, and foam all need time to set. If you finish the costume five minutes before leaving, you may spend the evening smelling like glue and regret.
Budget-Friendly Tips
Thrift stores are perfect for building a DIY Robin costume. Look for red athletic shirts, green leggings, yellow scarves, black belts, and plain boots. Old T-shirts can become capes, felt scraps can become emblems, and cardboard can help you draft patterns before cutting fabric.
If you are making costumes for a group, buy felt and foam in larger sheets. Create one paper pattern for the mask, emblem, belt pouches, and cuffs, then reuse it for each costume. This saves time and keeps the group looking coordinated. Batman may have the mansion, but Robin knows how to stretch a craft budget.
of Real-Life Experience: What Actually Helps When Making a Robin Costume
The best Robin costume experience usually comes from treating the outfit as clothing first and decoration second. A costume can look fantastic on a hanger and still be a disaster after ten minutes of real movement. In practice, the wearer will sit in a car, climb steps, bend to pick things up, wave at friends, and possibly run. That means the base layer should be soft, breathable, and flexible. A stretchy red athletic shirt is often better than a stiff homemade tunic because it moves naturally and does not bunch around the shoulders.
Another lesson from making superhero costumes is that small details create a big effect. The emblem, mask, belt, and cape sell the character more than complicated construction does. Even a simple red shirt and green pants can instantly become Robin when the yellow belt and black domino mask are added. If time is short, focus on those high-impact pieces first. Nobody at a Halloween party is going to inspect your seam allowance unless they are also a costume maker, in which case they will probably offer you thread and emotional support.
For kids, comfort testing is everything. Have the child wear the costume for at least 15 minutes before the event. Ask whether anything itches, squeezes, slips, or feels too hot. Children are honest reviewers; they will give your cape design one star immediately if it touches their neck the wrong way. Use soft closures, avoid scratchy foam edges, and keep accessories lightweight. If a child refuses gloves, do not fight the Battle of Gotham over it. Green wrist cuffs can suggest the same look with less fuss.
For adult cosplay, structure matters more. Foam armor panels, darker fabric, and neat edges can elevate the costume. However, it is still wise to keep the cape removable. Conventions and parties can get warm, and a removable cape makes eating, sitting, and walking through crowds much easier. A cape attached at the shoulders also photographs better than one tied at the neck because it spreads naturally and does not pull the collar upward.
One of the most useful tricks is to make paper templates before cutting fabric or foam. Paper costs almost nothing, and mistakes on paper do not cause despair. Trace the mask, belt pouches, emblem, and cape shape first. Hold them against the body, adjust the proportions, then cut your final materials. This makes the costume look planned rather than improvised, even if it was absolutely improvised while drinking coffee at midnight.
Finally, remember that a handmade Robin costume does not need to be perfect. In fact, a little handmade charm makes it more memorable. Clean colors, safe construction, good movement, and a confident pose will do more than expensive materials. When the wearer feels comfortable and heroic, the costume works. The goal is not to defeat every villain in Gotham. The goal is to create something fun, recognizable, wearable, and photo-ready without losing your mind in a pile of felt scraps.
Conclusion
Making a Robin costume is one of the most rewarding DIY superhero projects because the design is bold, flexible, and beginner-friendly. With a red top, green accents, yellow cape, utility belt, black mask, and a few smart safety choices, you can create a costume that looks energetic and polished without spending a fortune. Whether you choose a no-sew version for Halloween or a more detailed cosplay build, the key is to balance recognizable design with comfort and movement.
Start with simple clothing, add the iconic accessories, test the fit, and give your glue or paint enough time to dry. The finished costume should feel playful, heroic, and easy to wear. After all, Robin is quick, clever, and ready for actionnot trapped in a cape that keeps attacking his shoes.