
Note: This article is written for web publication in original language and based on real, current device and carrier guidance. Some newer iPhones sold in the United States use eSIM instead of a removable physical SIM, so always check your model before poking a paper clip at your phone like it owes you money.
Changing a SIM card in an iPhone sounds like one of those tiny jobs that should take 30 seconds and zero brainpower. In reality, it often turns into a mini-drama starring one paper clip, one mysteriously stubborn tray, and one human being wondering whether they are about to launch a tiny metal part into another dimension. The good news is that swapping a SIM card is usually very simple when you do it the right way.
If you are moving your phone number to a new iPhone, replacing a damaged SIM, switching carriers, or traveling with a temporary line, knowing how to change a SIM card in an iPhone is still useful. That said, there is one modern twist: many recent iPhone models in the U.S. rely on eSIM, which means there may be no physical SIM tray to remove at all. So before you start the operation, it helps to know whether your iPhone needs a physical nano-SIM, an eSIM setup, or both.
This guide breaks the job into four clear steps, explains what can go wrong, and shows you how to avoid the classic mistakes. No technical gymnastics. No weird jargon parade. Just practical advice, a little humor, and a much better chance of keeping your SIM tray out of the carpet forever.
Before You Begin: Know What Kind of iPhone Setup You Have
Before swapping anything, confirm whether your iPhone actually uses a physical SIM card. Many older iPhones and several current global models still use a nano-SIM tray. But many newer iPhones sold in the United States use eSIM, which is a digital SIM built into the device. If your iPhone uses eSIM only, there is no physical card to remove, and your setup process will happen in Settings or through your carrier’s activation system instead.
Here is the simple rule: if you can see a SIM tray on the side of your iPhone, you can probably change a physical SIM card. If you cannot find a tray, or your carrier told you to transfer service digitally, you are likely dealing with eSIM. This matters because trying to swap a physical card into an eSIM-only phone is like trying to insert a DVD into a toaster. Full confidence, zero results.
You should also make sure you have the right size card. iPhones that accept physical SIMs use a nano-SIM. If your new card came attached to a larger plastic frame, carefully pop out the nano-SIM size only. Do not try to trim a larger SIM by hand unless you enjoy bad decisions and unpredictable geometry.
Step 1: Power Down the iPhone and Get Your Tools Ready
The first step is gloriously low-tech: turn off your iPhone. While some people swap SIM cards with the phone on, shutting it down is the safer, cleaner move. It reduces the chance of detection glitches and gives your phone a fresh start when the new card goes in.
What you need
- A SIM eject tool, if you still have the one from the iPhone box
- Or a small straightened paper clip
- A clean, flat surface with decent lighting
- Your replacement nano-SIM card
Take off a bulky phone case if it blocks access to the SIM tray. On many iPhones, the tray is on the side of the device. If your case is acting like security at an exclusive nightclub, remove it first so the tray can slide out properly.
Also, take a quick second to inspect the new SIM card. Look for damage, dirt, scratches, or bent corners. A SIM card is small, but it is not magical. If it is cracked or visibly damaged, do not expect it to suddenly perform better because you believed in it very hard.
Step 2: Eject the SIM Tray Gently and Correctly
Now for the part people tend to overcomplicate. Locate the small hole next to the SIM tray. Insert the SIM eject tool or a straightened paper clip into that hole and press straight inward. The keyword here is straight. Not at an angle. Not with a dramatic twist. Not with the intensity of someone starting a lawn mower.
You should feel a small amount of resistance, and then the tray will pop outward slightly. If it does not move, do not force it. Check that you are pressing into the correct hole and not another opening on the phone. Also make sure your tool is firm enough and not bending like a noodle in a windstorm.
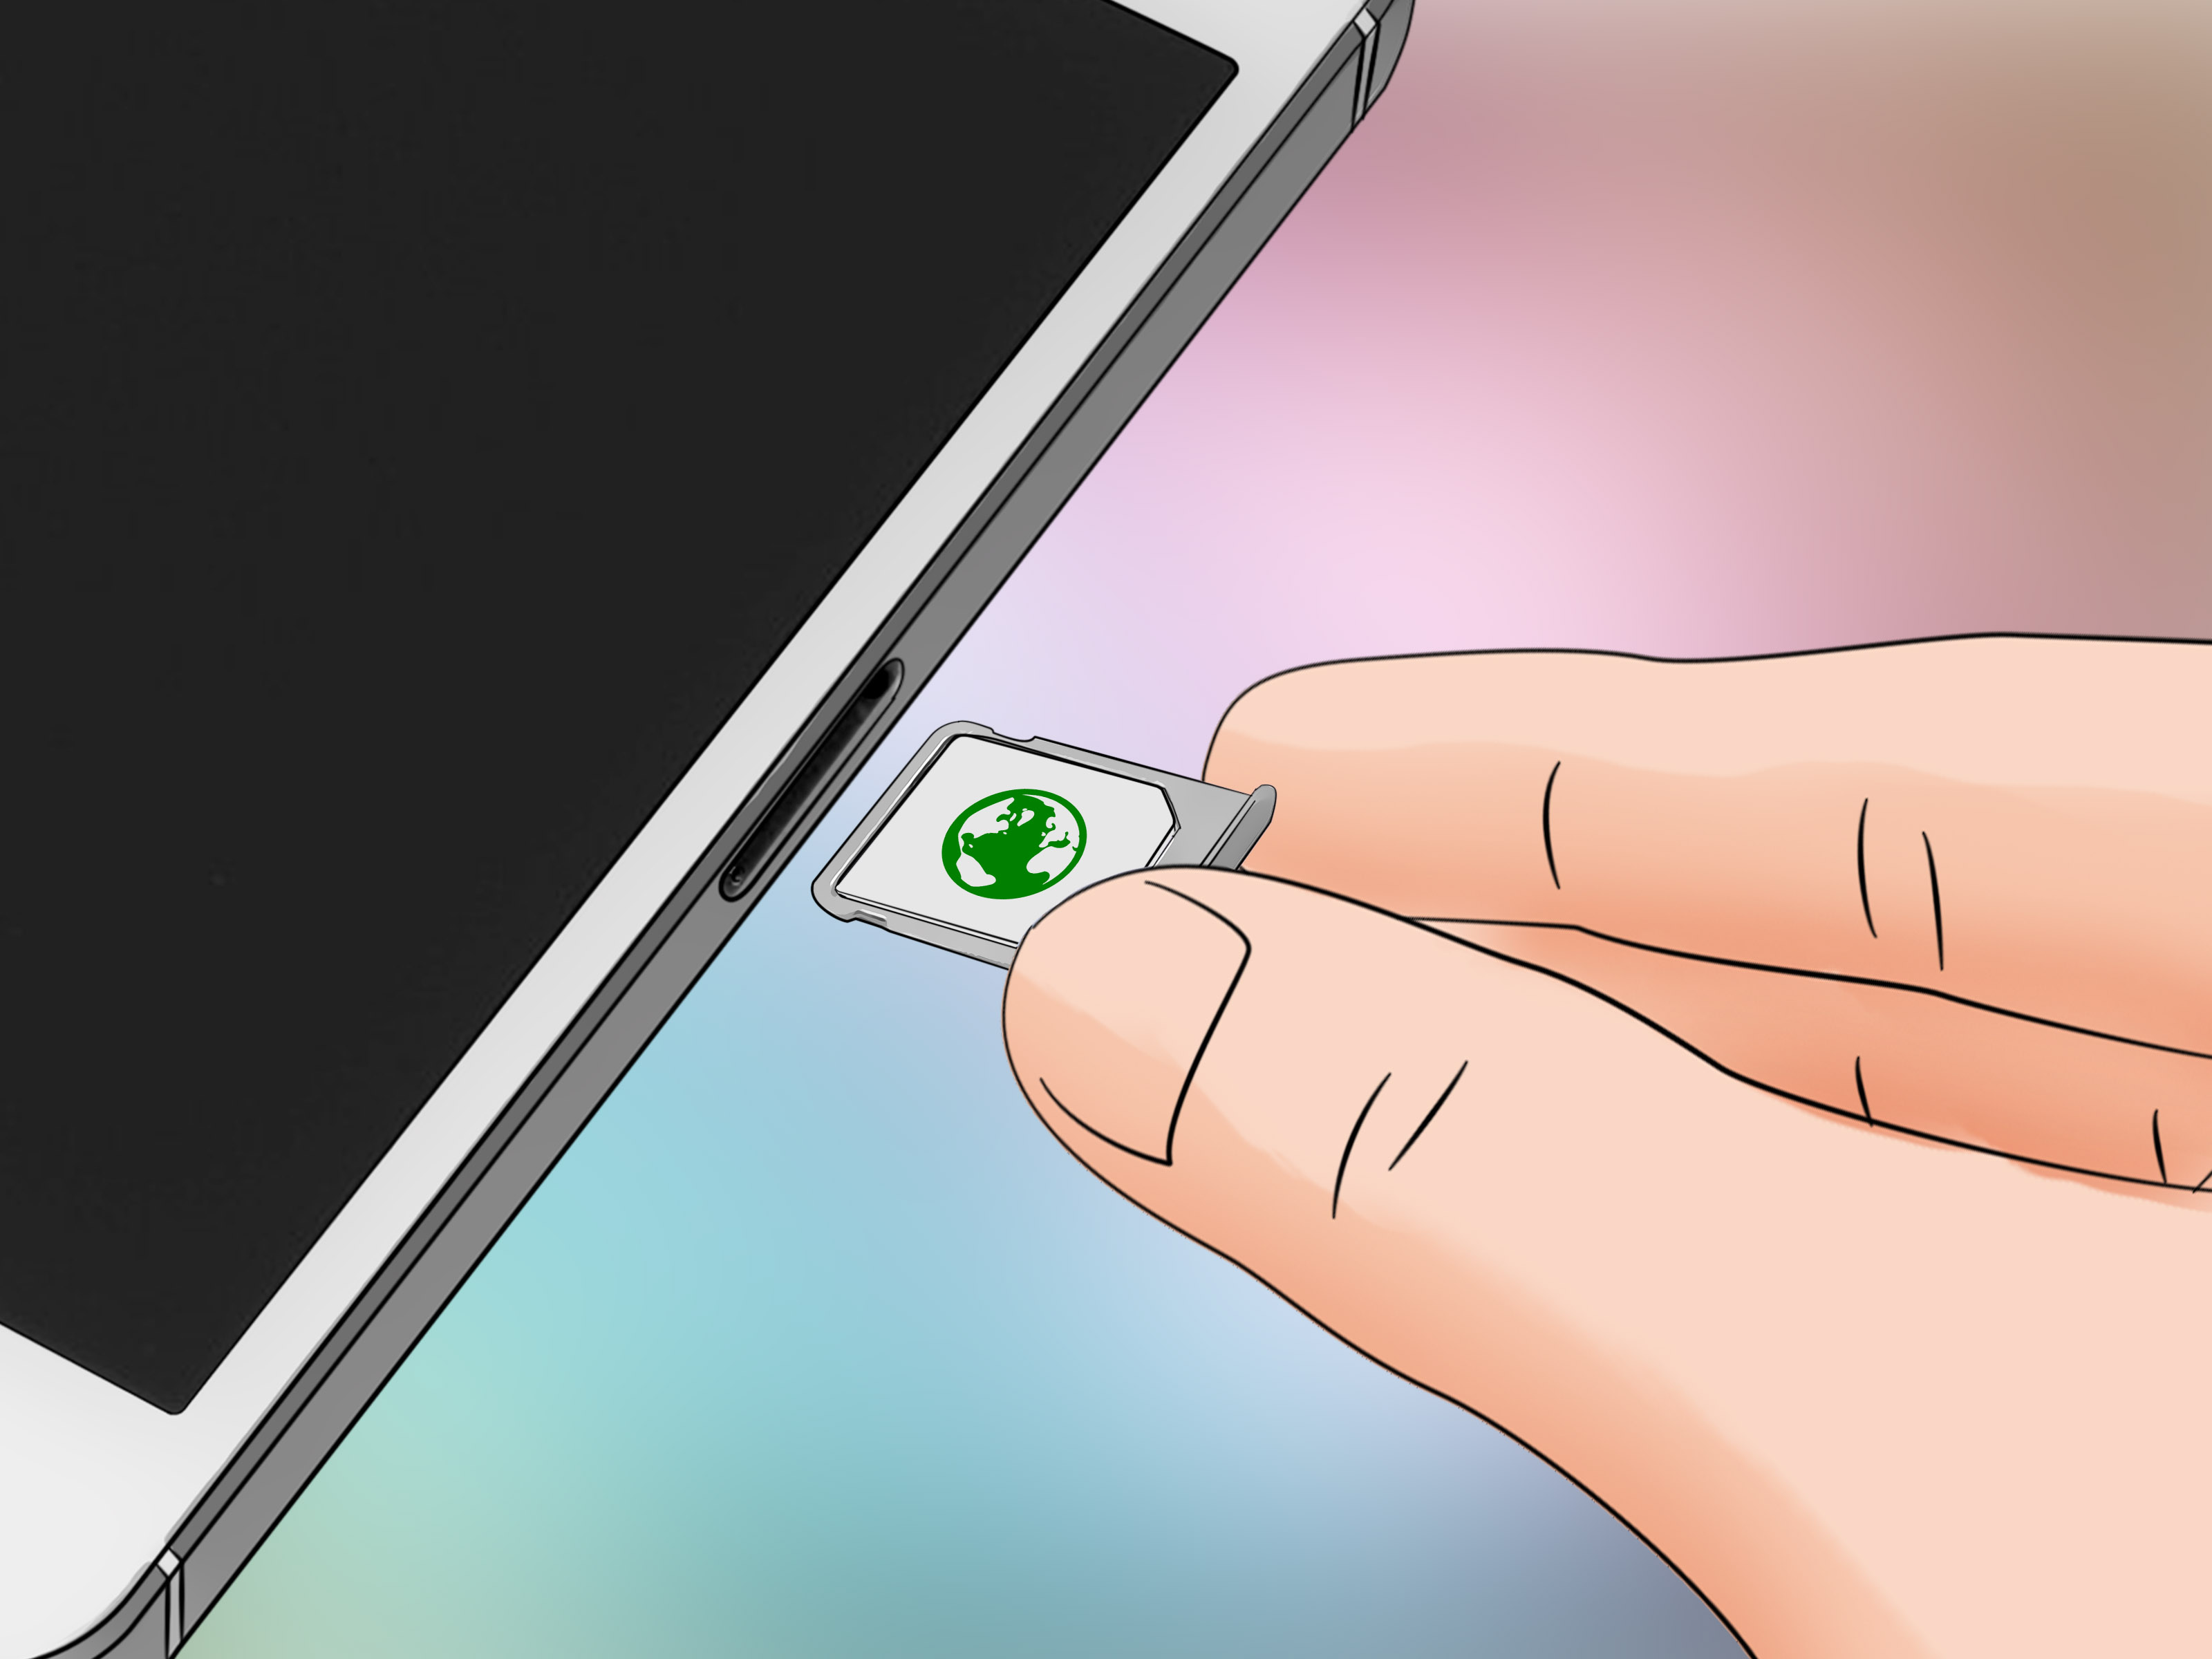
Once the tray pops out, pull it the rest of the way with your fingers. Set it on a flat surface and keep an eye on the orientation. The tray is shaped to fit the SIM one way, and life gets easier when you remember how it came out in the first place.
Common tray problems
- The tray will not open: Use a proper SIM tool or a sturdier paper clip, and push firmly but gently.
- The tool bends: Your paper clip may be too soft or too thick.
- You are not sure it is the SIM hole: Stop and recheck your model before pressing harder.
If the tray is still stubborn, this is not the moment to become an amateur blacksmith. Carrier stores and Apple support locations can help with stuck trays, and that is much better than turning a five-minute task into a repair bill.
Step 3: Remove the Old SIM and Place the New One in the Tray
Lift the old SIM card out of the tray carefully. Then place the new nano-SIM into the tray so it sits flat. Most trays have a notched corner that matches the SIM card, which means the card only fits correctly in one direction. That notch is your best friend here. If the card looks crooked, raised, or backwards, it is not ready to go back in.
This is also the right time to check for dust or debris. A quick gentle wipe of the tray area and the card can help. Do not use liquid cleaners, aggressive cloths, or your shirt after a long summer walk. The goal is clean, not suspiciously polished.
If you are switching from one carrier to another, keep in mind that the card swap alone may not complete activation. Some carriers let you move a SIM from one compatible phone to another with little fuss, while others may require an activation step, account verification, or digital transfer process. That is especially common when moving between physical SIM and eSIM service or when a carrier locks certain account changes behind app or website verification.
Good signs the SIM is seated properly
- The card lies flat inside the tray
- The notched corner lines up neatly
- The tray can slide in without resistance
- Nothing wiggles around when you move the tray
Step 4: Reinsert the Tray, Power On, and Test Your Service
With the new SIM seated correctly, slide the tray back into the iPhone in the same orientation you removed it. Push it in gently until it sits flush with the edge of the phone. Do not jam it. If it resists, pull it back out and check the SIM placement again. Forcing the tray is one of the fastest ways to turn a simple swap into an appointment with someone holding tiny screwdrivers.
Turn your iPhone back on and wait a minute or two. In many cases, the phone will detect the new SIM automatically. You may see signal bars appear, a carrier name show up, or a prompt asking you to complete activation.
After the phone turns on, test these things
- Can you see signal bars?
- Does the correct carrier name appear?
- Can you place a call?
- Can you send a text message?
- Does mobile data work when Wi-Fi is off?
If everything works, congratulations. You have successfully changed a SIM card in your iPhone and resisted the urge to overcomplicate it. If service does not appear right away, give it a few minutes, restart the iPhone once, and then check with your carrier for activation instructions.
What If Your iPhone Uses eSIM Instead?
This is where many people get tripped up. A lot of guides online still assume every iPhone has a physical SIM tray. That is no longer true for many newer devices sold in the U.S. If your iPhone uses eSIM, changing your line may mean scanning a QR code, using your carrier app, approving a transfer from another iPhone, or finishing setup in the cellular settings.
In other words, your “SIM swap” may happen without touching any hardware at all. That is not your phone being difficult. It is simply how modern activation works. If you are moving from a physical SIM to an eSIM, your carrier may instruct you to convert the line digitally and then remove the old physical SIM afterward. If you are transferring from one iPhone to another, you may also be able to use an iPhone-to-iPhone eSIM transfer feature.
The takeaway is simple: if your iPhone or carrier setup points you toward eSIM, follow that process instead of hunting for a tray that does not exist. Your paper clip deserves a day off.
Troubleshooting: Why the New SIM Card Might Not Work
If your new SIM card is not working, do not panic and do not immediately assume your iPhone is broken. The usual culprits are much less dramatic.
1. The SIM card is not activated yet
This is extremely common when you have a brand-new line, a replacement SIM, or a carrier switch. The card may need activation through the carrier website, app, customer support, or account settings.
2. The iPhone is carrier-locked
If your phone is locked to one network, it may reject a SIM from another carrier. This matters a lot when switching providers or using a travel SIM.
3. The SIM card is not seated correctly
Even a slightly crooked SIM can cause errors. Remove the tray, reseat the card, and try again.
4. The tray or card is dirty
Dust on the card contacts or tray can interfere with detection. Clean it gently and avoid anything abrasive.
5. You actually need eSIM setup
Some users try to solve an activation problem with a physical swap when the carrier has already assigned service digitally. If that sounds like your situation, check your carrier instructions and your iPhone’s cellular settings.
Practical Tips for a Smooth SIM Card Swap
- Back up your iPhone before making any account or carrier change.
- Keep your old SIM until the new one is fully working.
- Write down any carrier PIN or account info you may need for activation.
- Use a real SIM eject tool when possible for the cleanest fit.
- Do the swap on a table, not over a bed, couch, or carpet where tiny parts go to disappear forever.
Also remember that contacts, photos, and apps on modern iPhones are usually tied to your Apple account, cloud backups, and device storage, not the SIM card itself. A SIM card mainly handles cellular identity and connection to the network. So if you were hoping the SIM swap would also reorganize your home screen and improve your life choices, that is unfortunately outside its job description.
Real-World Experiences: What Changing a SIM Card in an iPhone Actually Feels Like
Here is the honest version nobody tells you: changing a SIM card in an iPhone is usually easy, but the experience depends less on the hardware and more on the situation around it. If you are simply moving an active nano-SIM from one compatible iPhone to another on the same carrier, it can feel wonderfully anticlimactic. Power off the phone, eject the tray, swap the card, power back on, and boom, you are back in business before your coffee cools down.
But other times, the experience feels like opening a tiny door into the world of carrier fine print. For example, someone switching to a new provider may complete the physical swap perfectly and still see “No Service” because the line has not been activated yet. That can be frustrating, especially when the card is in correctly and the phone itself is fine. In those moments, the issue is not the iPhone. It is the setup process that happens after the card is inserted.
Travelers often have their own version of the story. They land in a new country, buy a prepaid SIM, and suddenly become amateur phone technicians at an airport café. The physical swap itself is easy enough, but the stressful part is keeping track of the original SIM card. Lose that tiny chip and your normal number is suddenly taking an unplanned vacation. People who travel often usually learn one smart habit fast: keep the original SIM in a labeled envelope, a pill case, or the wallet slot they swear they will remember this time.
Then there is the classic “new phone day” experience. You are excited. You are upgrading. You feel technologically powerful. Then the SIM tray refuses to pop out, and your confidence leaves the room. In reality, most of these moments come down to angle and pressure. Once people realize the eject tool needs to go straight in and not sideways, the tray usually opens without a fight. It is less about strength and more about precision, which is a deeply annoying lesson when you were ready to solve the problem with enthusiasm.
Many people also discover that swapping a SIM card is not always necessary anymore. Someone with a newer U.S. iPhone may search for the tray, find nothing, and assume they are losing their mind. They are not. They are simply meeting the eSIM era face to face. That experience can be confusing at first, but it is also a reminder that “how to change a SIM card in an iPhone” now includes knowing when there is no physical card to change at all.
The best experience tends to happen when expectations are realistic. The hardware part should take only a few minutes. The service part may take a little longer depending on the carrier. Once people understand that difference, the entire process becomes much less stressful. It stops being a mysterious tech ritual and turns into what it really is: a small, practical task with a few modern wrinkles and one very easy-to-lose piece of plastic.
Conclusion
Learning how to change a SIM card in an iPhone is still a useful skill, even in a world increasingly obsessed with eSIM. The job itself is simple: power down the phone, eject the tray, replace the nano-SIM correctly, and reinsert the tray before testing service. The trick is knowing whether your iPhone still uses a physical SIM at all and whether your carrier requires extra activation after the swap.
If you stay patient, use the right tool, and resist the urge to force anything, the process is usually quick and painless. And if your iPhone turns out to be eSIM-only, you have not failed. You have simply arrived in the future, where even SIM cards are trying to go minimalist.
SEO Tags