
Editorial note: This guide is written for homeowners and renters who want a practical, safe, and non-mysterious way to stop a washer from shaking, banging, walking, or acting like it has joined a garage band.
A washing machine that thumps during the spin cycle can make a quiet laundry room sound like a bowling alley with plumbing. The good news? In many cases, you do not need a new washer, a dramatic appliance breakup, or a priest for the laundry room. You simply need to balance the washing machine drum, level the appliance, and check a few common causes of vibration.
When people search for how to balance a washing machine drum, they usually mean one of two things: the laundry load is uneven inside the drum, or the washer itself is not sitting evenly on the floor. Sometimes both are guilty, like roommates blaming each other for the dirty dishes. This guide walks you through 10 practical steps to fix an off-balance washing machine, reduce washer vibration, prevent walking, and protect the machine from unnecessary wear.
Why Washing Machines Go Off Balance
A washer spins at high speed to remove water from clothes. If the weight inside the drum is uneven, centrifugal force pulls harder on one side. That causes banging, shaking, slow spinning, error codes, wet clothes, and in some cases, a washer that scoots across the floor like it has somewhere important to be.
Common causes include overloaded drums, washing one bulky item by itself, uneven flooring, poorly adjusted leveling legs, shipping bolts left in a front-load washer, worn suspension rods, damaged shock absorbers, or a weak floor under the appliance. Manufacturer guidance from major washer brands consistently points to load balance, proper leveling, solid flooring, and shipping bolt removal as the first things to check before assuming the machine is broken.
Signs Your Washing Machine Drum Is Off Balance
Before grabbing tools, listen and observe. A washing machine may be off balance if it makes loud banging sounds during the spin cycle, shakes violently, stops before completing the spin, displays an unbalanced load error, leaves clothes unusually wet, or moves away from the wall. You may also notice the drum leaning to one side when empty, or the washer rocking when you press on opposite corners.
Some mild vibration is normal, especially during high-speed spin cycles. But if the machine sounds like it is trying to tunnel into the basement, that is not “normal appliance personality.” It is a sign that something needs attention.
Tools and Supplies You May Need
You do not need a professional repair kit for basic balancing. Useful items include a bubble level, adjustable wrench or pliers, flashlight, towel, work gloves, wood block or sturdy shim, anti-vibration pads, and the washer’s user manual. If you recently installed a front-load washer, you may also need the wrench supplied with the appliance to remove shipping bolts.
How to Balance a Washing Machine Drum: 10 Steps
1. Pause the Washer and Redistribute the Laundry
The fastest fix is also the most common: stop the washer and rearrange the clothes. Heavy items can clump to one side of the drum, especially towels, jeans, bedding, bath mats, hoodies, and blankets. Open the washer, loosen the pile, and spread items evenly around the drum.
For a top-load washer, place clothes evenly around the center agitator or wash plate. For a front-load washer, distribute the load loosely across the drum instead of letting everything sit in one heavy lump. Then restart the spin cycle and see whether the vibration improves.
2. Avoid Washing One Heavy Item Alone
A single soaked blanket or bath mat can become a spinning brick. The washer tries to balance it, fails, slows down, stops, or bangs loudly. Add a few similar-weight items, such as towels, so the drum has a more even load.
The key is balance, not just quantity. One king-size comforter plus three tiny washcloths is not balance; it is laundry theater. Wash bulky items according to the care label and your washer’s capacity. If the item barely fits when dry, it may be too large once soaked.
3. Do Not Overload the Drum
Overloading is another major cause of washer imbalance. Clothes need space to move. When the drum is packed too tightly, items cannot tumble, rinse, or spin properly. The washer may vibrate, fail to drain water from the load, or leave detergent residue behind.
A practical rule: loosely fill the drum without forcing items down. For front-load washers, leave room at the top of the drum. For top-load washers, avoid wrapping large items around the agitator. If you have to kneel, shove, and negotiate with the laundry to close the lid, the washer is overloaded.
4. Check Whether the Washer Is Level
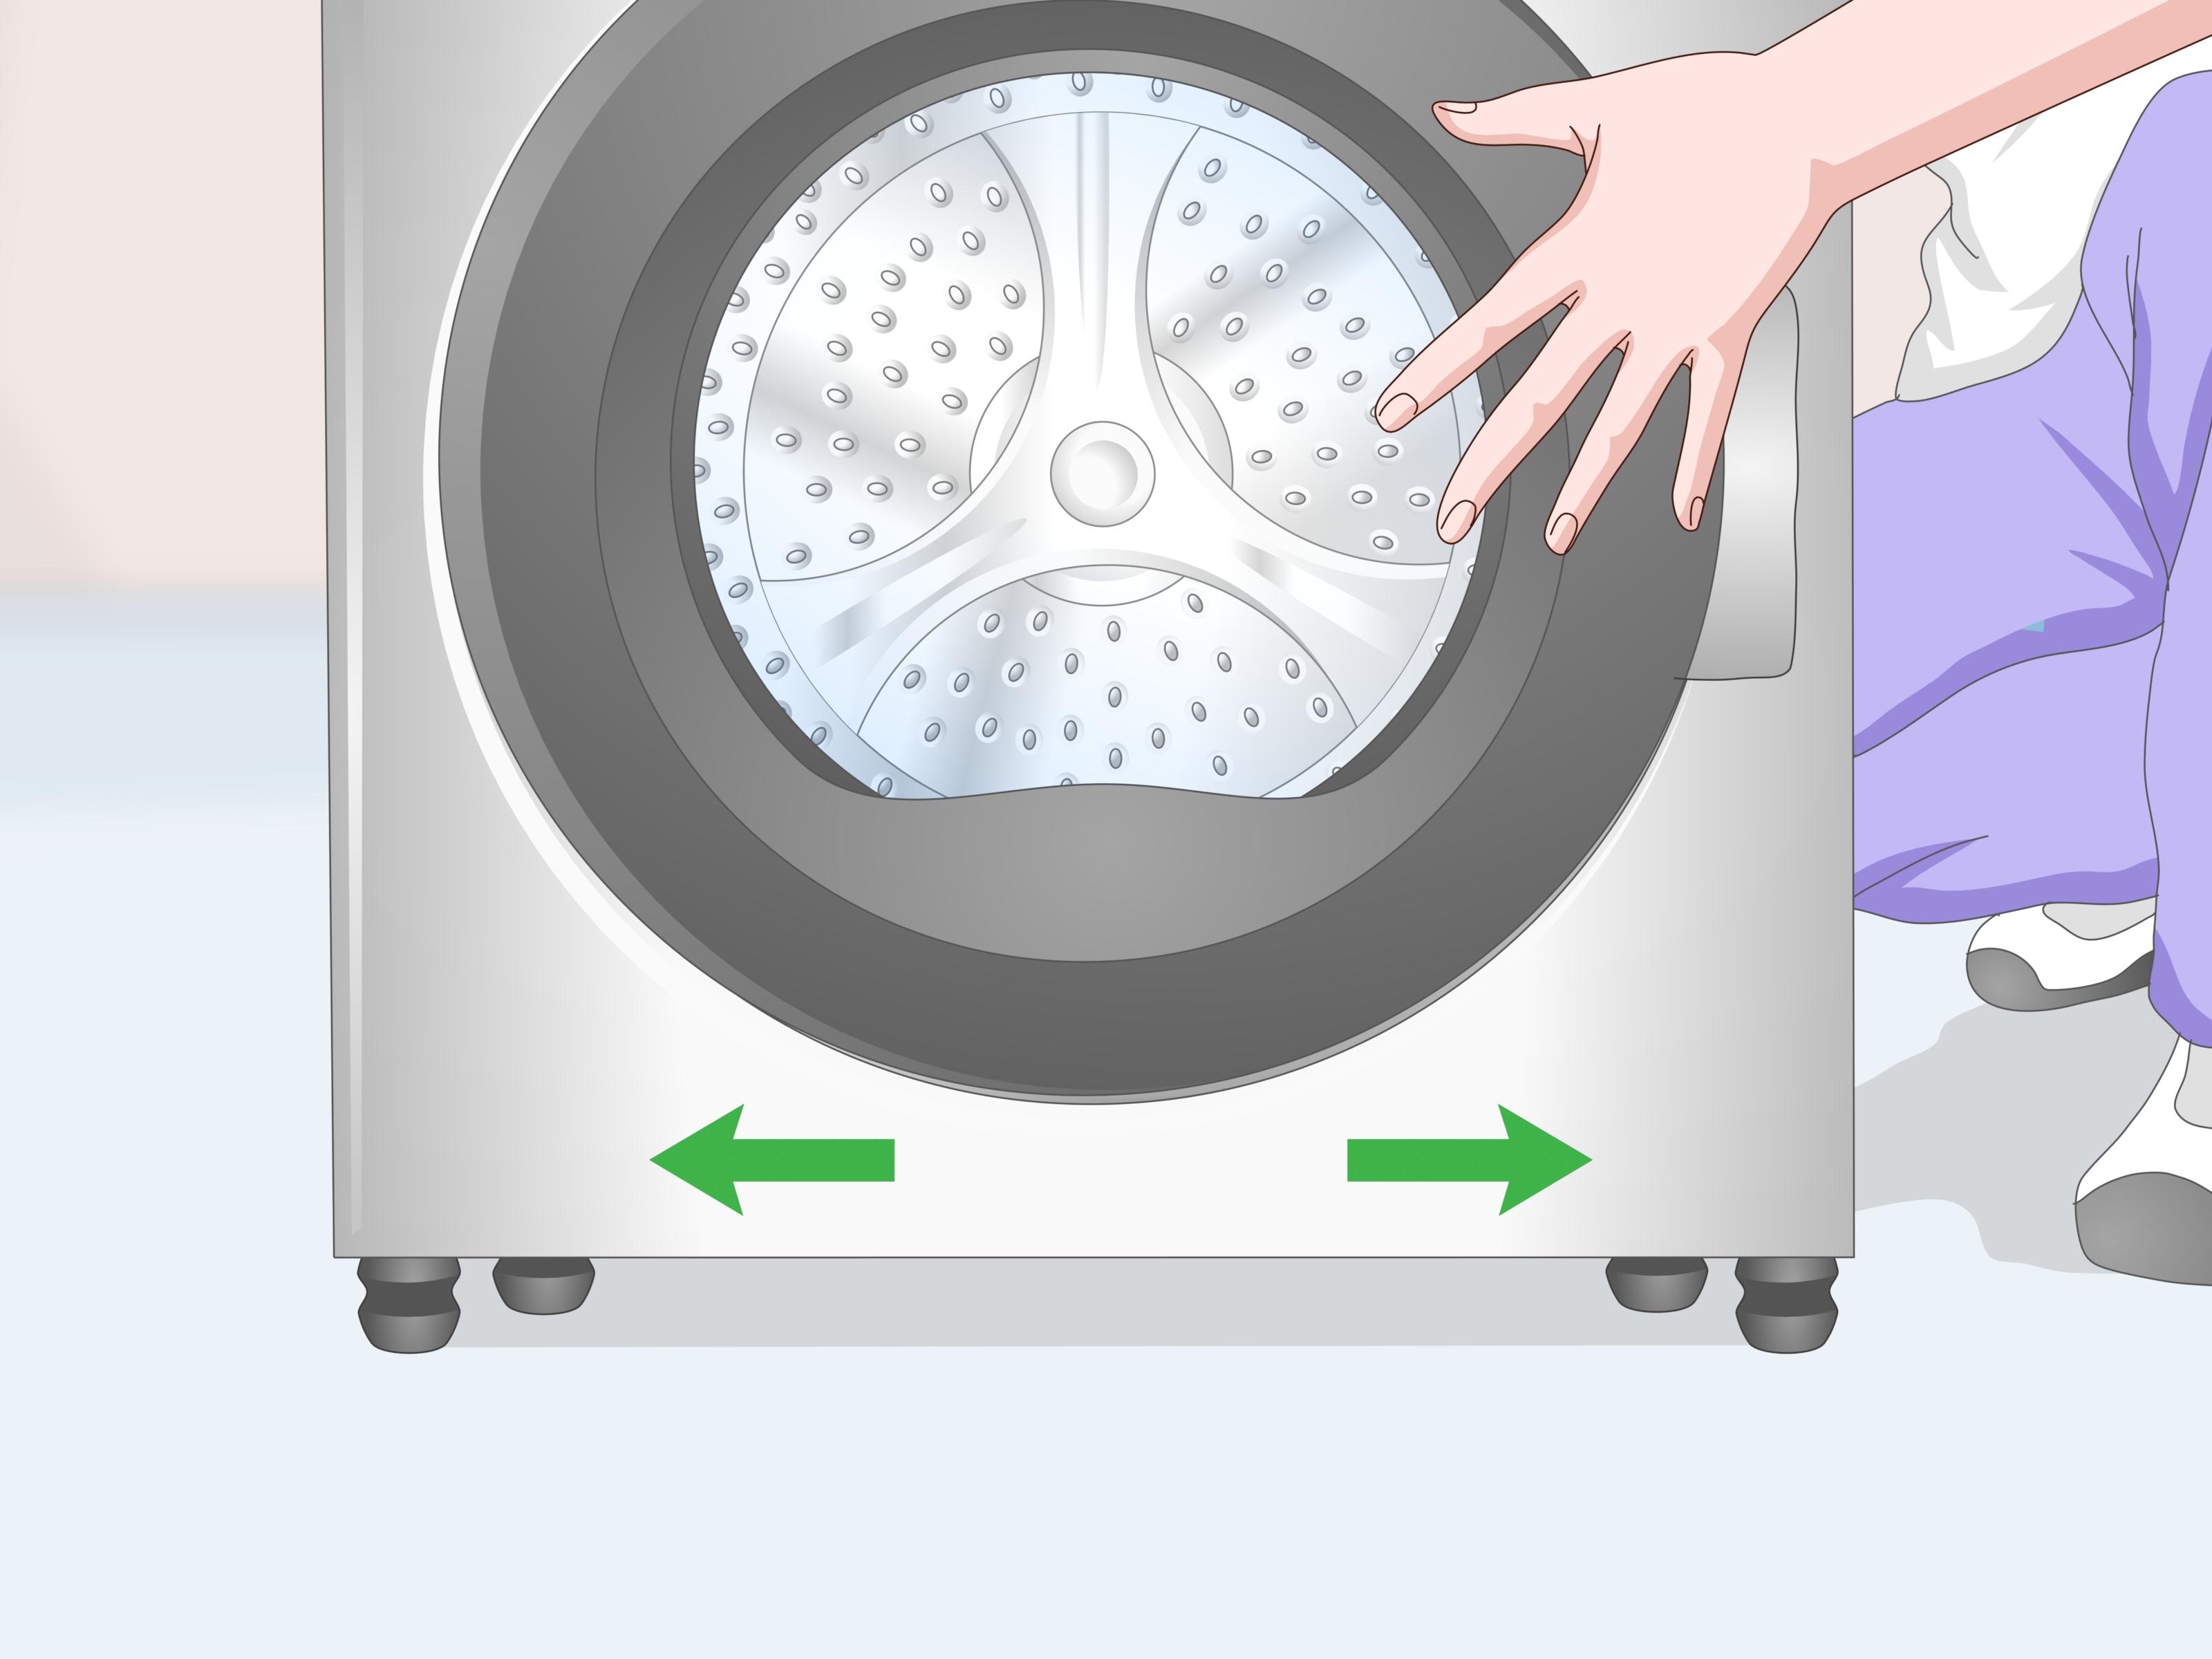
Place a bubble level on top of the washer from left to right, then front to back. The bubble should sit centered. Also press down on opposite corners of the washer. If it rocks, even slightly, the appliance is not stable enough for a high-speed spin cycle.
A washer can look level and still wobble. That tiny movement becomes a big problem during spin. Think of it like a shopping cart with one weird wheelfine at slow speed, chaos by aisle five.
5. Adjust the Leveling Legs
Most washing machines have adjustable feet. Turn the leveling legs clockwise or counterclockwise to raise or lower each corner. Use an adjustable wrench if needed. Make small changes, then check the level again.
All four feet must make firm contact with the floor. If one leg floats even a little, the washer can rock during operation. Once the machine is level, tighten the lock nuts against the washer base so the legs do not shift over time.
6. Check the Rear Self-Leveling Legs
Some top-load washers have self-leveling rear legs. If your model has them, carefully tilt the washer forward a few inches, then lower it back down. This may allow the rear legs to reset and settle evenly.
Do not yank the machine around by hoses or controls. Move it gently and ask another person for help if the washer is heavy. A washing machine is not a suitcase, even if it occasionally tries to travel.
7. Make Sure the Floor Is Solid
Even a perfectly leveled washer can shake if the floor flexes. This is common in upstairs laundry rooms, older homes, laundry closets, and areas with weak subflooring. A high-speed spin cycle can amplify small floor movement.
If the floor feels springy, place the washer on a firm, flat surface. In some cases, a properly secured plywood panel under the washer and dryer can help spread the weight and reduce vibration. Avoid unstable platforms or soft mats that let the appliance bounce.
8. Remove Shipping Bolts on Front-Load Washers
If your front-load washer is new or recently moved, check the back for shipping bolts. These bolts hold the drum steady during transport. They must be removed before normal operation. If left in place, the washer cannot absorb movement correctly and may shake violently.
Look at the rear panel for large bolts with plastic spacers. Follow the user manual to remove them and keep them for future moves. Do not throw them away unless you enjoy future moving-day regrets.
9. Inspect for Worn Suspension Parts
If the washer is level, the load is balanced, the floor is solid, and the machine still bangs like a drumline, internal parts may be worn. Top-load washers often use suspension rods or springs. Front-load washers commonly use shock absorbers and springs to stabilize the drum.
Warning signs include a drum that sags, bounces excessively when pushed, clunks even with small loads, or continues shaking during an empty rinse-and-spin test. At this point, the issue may be more than basic balancing. A qualified appliance technician can inspect suspension rods, shock absorbers, bearings, springs, and the tub assembly.
10. Test the Washer With an Empty Spin Cycle
After making adjustments, run a rinse-and-spin or drain-and-spin cycle with the washer empty. If it spins smoothly, the original problem was probably the load. If it still shakes badly when empty, focus on leveling, flooring, shipping bolts, or internal parts.
Then test with a small balanced load, such as several towels of similar weight. Stay nearby during the first spin. If the machine runs quietly, congratulations: your washer has returned from its brief career as a percussion instrument.
Front-Load vs. Top-Load Washer Balancing
Front-Load Washers
Front-load washers spin very fast, which helps remove more water but can make vibration more noticeable. The most important checks are shipping bolts, level feet, load size, floor strength, and shock absorbers. A front-load washer should sit solidly with all four feet touching the floor.
Top-Load Washers
Top-load washers are often sensitive to uneven distribution around the center. Avoid washing one bulky item alone, and do not wrap sheets or blankets around the agitator. If a top-loader repeatedly goes off balance, check the leveling legs and suspension rods.
Common Mistakes That Make Washer Vibration Worse
One common mistake is using anti-vibration pads before leveling the machine. Pads can help reduce noise, but they are not magic cookies for a crooked washer. Level first, then add pads if needed.
Another mistake is pushing the washer too close to the wall. If hoses are pinched or the machine touches surrounding surfaces, normal movement can become loud banging. Leave enough clearance for hoses and slight vibration.
Finally, do not ignore repeated off-balance errors. A washer that constantly struggles to spin can wear out parts faster. Fixing balance problems early is cheaper than replacing suspension components, flooring, or the machine itself.
When to Call a Professional
Call a technician if the washer shakes when empty, leaks water, smells burnt, trips a breaker, makes grinding noises, or has a visibly sagging drum. Also get help if the drum feels loose, the washer displays repeated error codes, or you suspect damaged shock absorbers, suspension rods, bearings, or springs.
Basic balancing is a safe DIY task. Internal repair is different. Unplugging, opening panels, and replacing mechanical parts may be reasonable for experienced DIYers, but many homeowners are better served by professional service, especially with newer machines still under warranty.
Extra Experience: Real-World Lessons From Balancing a Washing Machine Drum
Here is the experience most people have: the washer behaves perfectly for months, then one Saturday it suddenly starts banging during spin like it is mad about taxes. The first instinct is to assume something expensive has broken. In reality, many off-balance washer problems start with one innocent-looking load.
Towels are repeat offenders. A load of mixed towels may seem harmless, but once soaked, one beach towel can weigh much more than several hand towels. If that heavy towel sticks to one side of the drum, the washer may slow down, refill, retry the spin, or stop with an error code. Redistributing the towels usually solves it.
Bedding is another classic troublemaker. Sheets twist into ropes. Duvet covers swallow smaller items like laundry sea monsters. Pillowcases hide socks, because apparently socks enjoy mystery novels. When bedding tangles, the drum cannot balance the weight. The fix is to wash bedding loosely, avoid mixing too many large pieces, and pause the cycle if the washer begins thumping.
Leveling also teaches patience. Many people adjust one front leg and think the job is finished. Then the washer still rocks diagonally. A better method is to check all four corners, make tiny adjustments, and tighten the lock nuts. The final test is not just the bubble levelit is whether the washer feels planted when you push gently from different angles.
Flooring can be surprisingly important. A washer on concrete usually behaves better than a washer on a flexible upstairs floor. If your laundry room is on the second floor, even a good machine may vibrate more. A stable base, correct leveling, and properly balanced loads matter even more in that setup.
Another useful lesson: anti-vibration pads help most when the washer is already level. They can reduce transferred vibration and protect flooring, but they will not fix an overloaded drum, stuck shipping bolts, or broken suspension parts. Think of pads as sneakers, not surgery.
If your washer keeps going off balance with normal loads, take notes. Does it happen only with blankets? Only during high-speed spin? Only when the washer is full? Only when empty? These clues help separate user-correctable balance issues from mechanical problems.
Finally, do not underestimate the user manual. Yes, appliance manuals are not exactly beach reading, but they contain model-specific instructions for leveling, load size, shipping bolts, error codes, and maintenance. Five minutes with the manual can save an hour of guessing and several dramatic speeches aimed at an innocent washer.
Conclusion
Balancing a washing machine drum is usually a process of elimination: redistribute the load, avoid single bulky items, stop overloading the drum, level the washer, stabilize the floor, remove shipping bolts, and inspect suspension parts if the problem continues. Most washer vibration problems are fixable without panic, although a little patience helps.
A balanced washer runs quieter, spins better, protects your floor, and keeps laundry day from sounding like a construction site. Start with the simple fixes first. Your washing machine may not thank you, but your ears definitely will.
Safety note: Always unplug the washer before moving it significantly or inspecting parts. If the machine leaks, sparks, smells burnt, or continues shaking badly after basic troubleshooting, contact a qualified appliance technician.