
Note: Body-only HTML for easy publishing and copying.
If your Android contact list looks like it was organized by a caffeinated squirrel, you are not alone. One person has three numbers, another has no name, and somehow “Pizza Place Maybe?” still lives rent-free in your phone. The good news is that learning how to edit contacts on Android is usually quick, simple, and far less dramatic than people expect.
Whether you want to update a phone number, fix a misspelled name, add an email address, change a contact photo, or clean up duplicate entries, Android gives you several easy ways to manage your address book. The exact buttons may look slightly different depending on whether you use a Pixel, Samsung Galaxy, Motorola phone, or another Android device, but the overall process is very similar.
In this guide, you will learn the fast and easy steps to edit contacts on Android, plus how to fix common problems like read-only contacts, duplicate entries, wrong save locations, and missing numbers after switching phones. If you want a cleaner, smarter, and less chaotic contacts list, you are in the right place.
Why Editing Contacts on Android Matters More Than You Think
Most people do not think much about their contacts until something goes wrong. Maybe your friend changed numbers. Maybe you saved your boss under “Do Not Ignore.” Maybe your phone imported the same person from Google, SIM, and device storage and now they appear like a one-person flash mob.
A clean contacts list makes everyday life easier. It helps your phone app, Messages app, email suggestions, caller ID, video calls, and even emergency communication work better. It also saves you from texting the wrong Chris, which is occasionally funny but not always advisable.
When your contacts are stored in the right account and updated correctly, they sync more smoothly across devices, stay easier to recover, and create less clutter over time. In other words, five minutes of editing now can save you fifty minutes of “Wait, which number is current?” later.
How to Edit Contacts on Android: The Fastest Method
If you just want the basic answer, here it is. Open the Contacts app on your Android phone, tap the person you want to edit, tap Edit, update the information, and then tap Save. That is the core method on most Android phones.
Step-by-Step Instructions
- Open the Contacts app.
- Tap the contact you want to change.
- Tap Edit near the top of the screen.
- If your phone asks where to save the contact, choose the correct account.
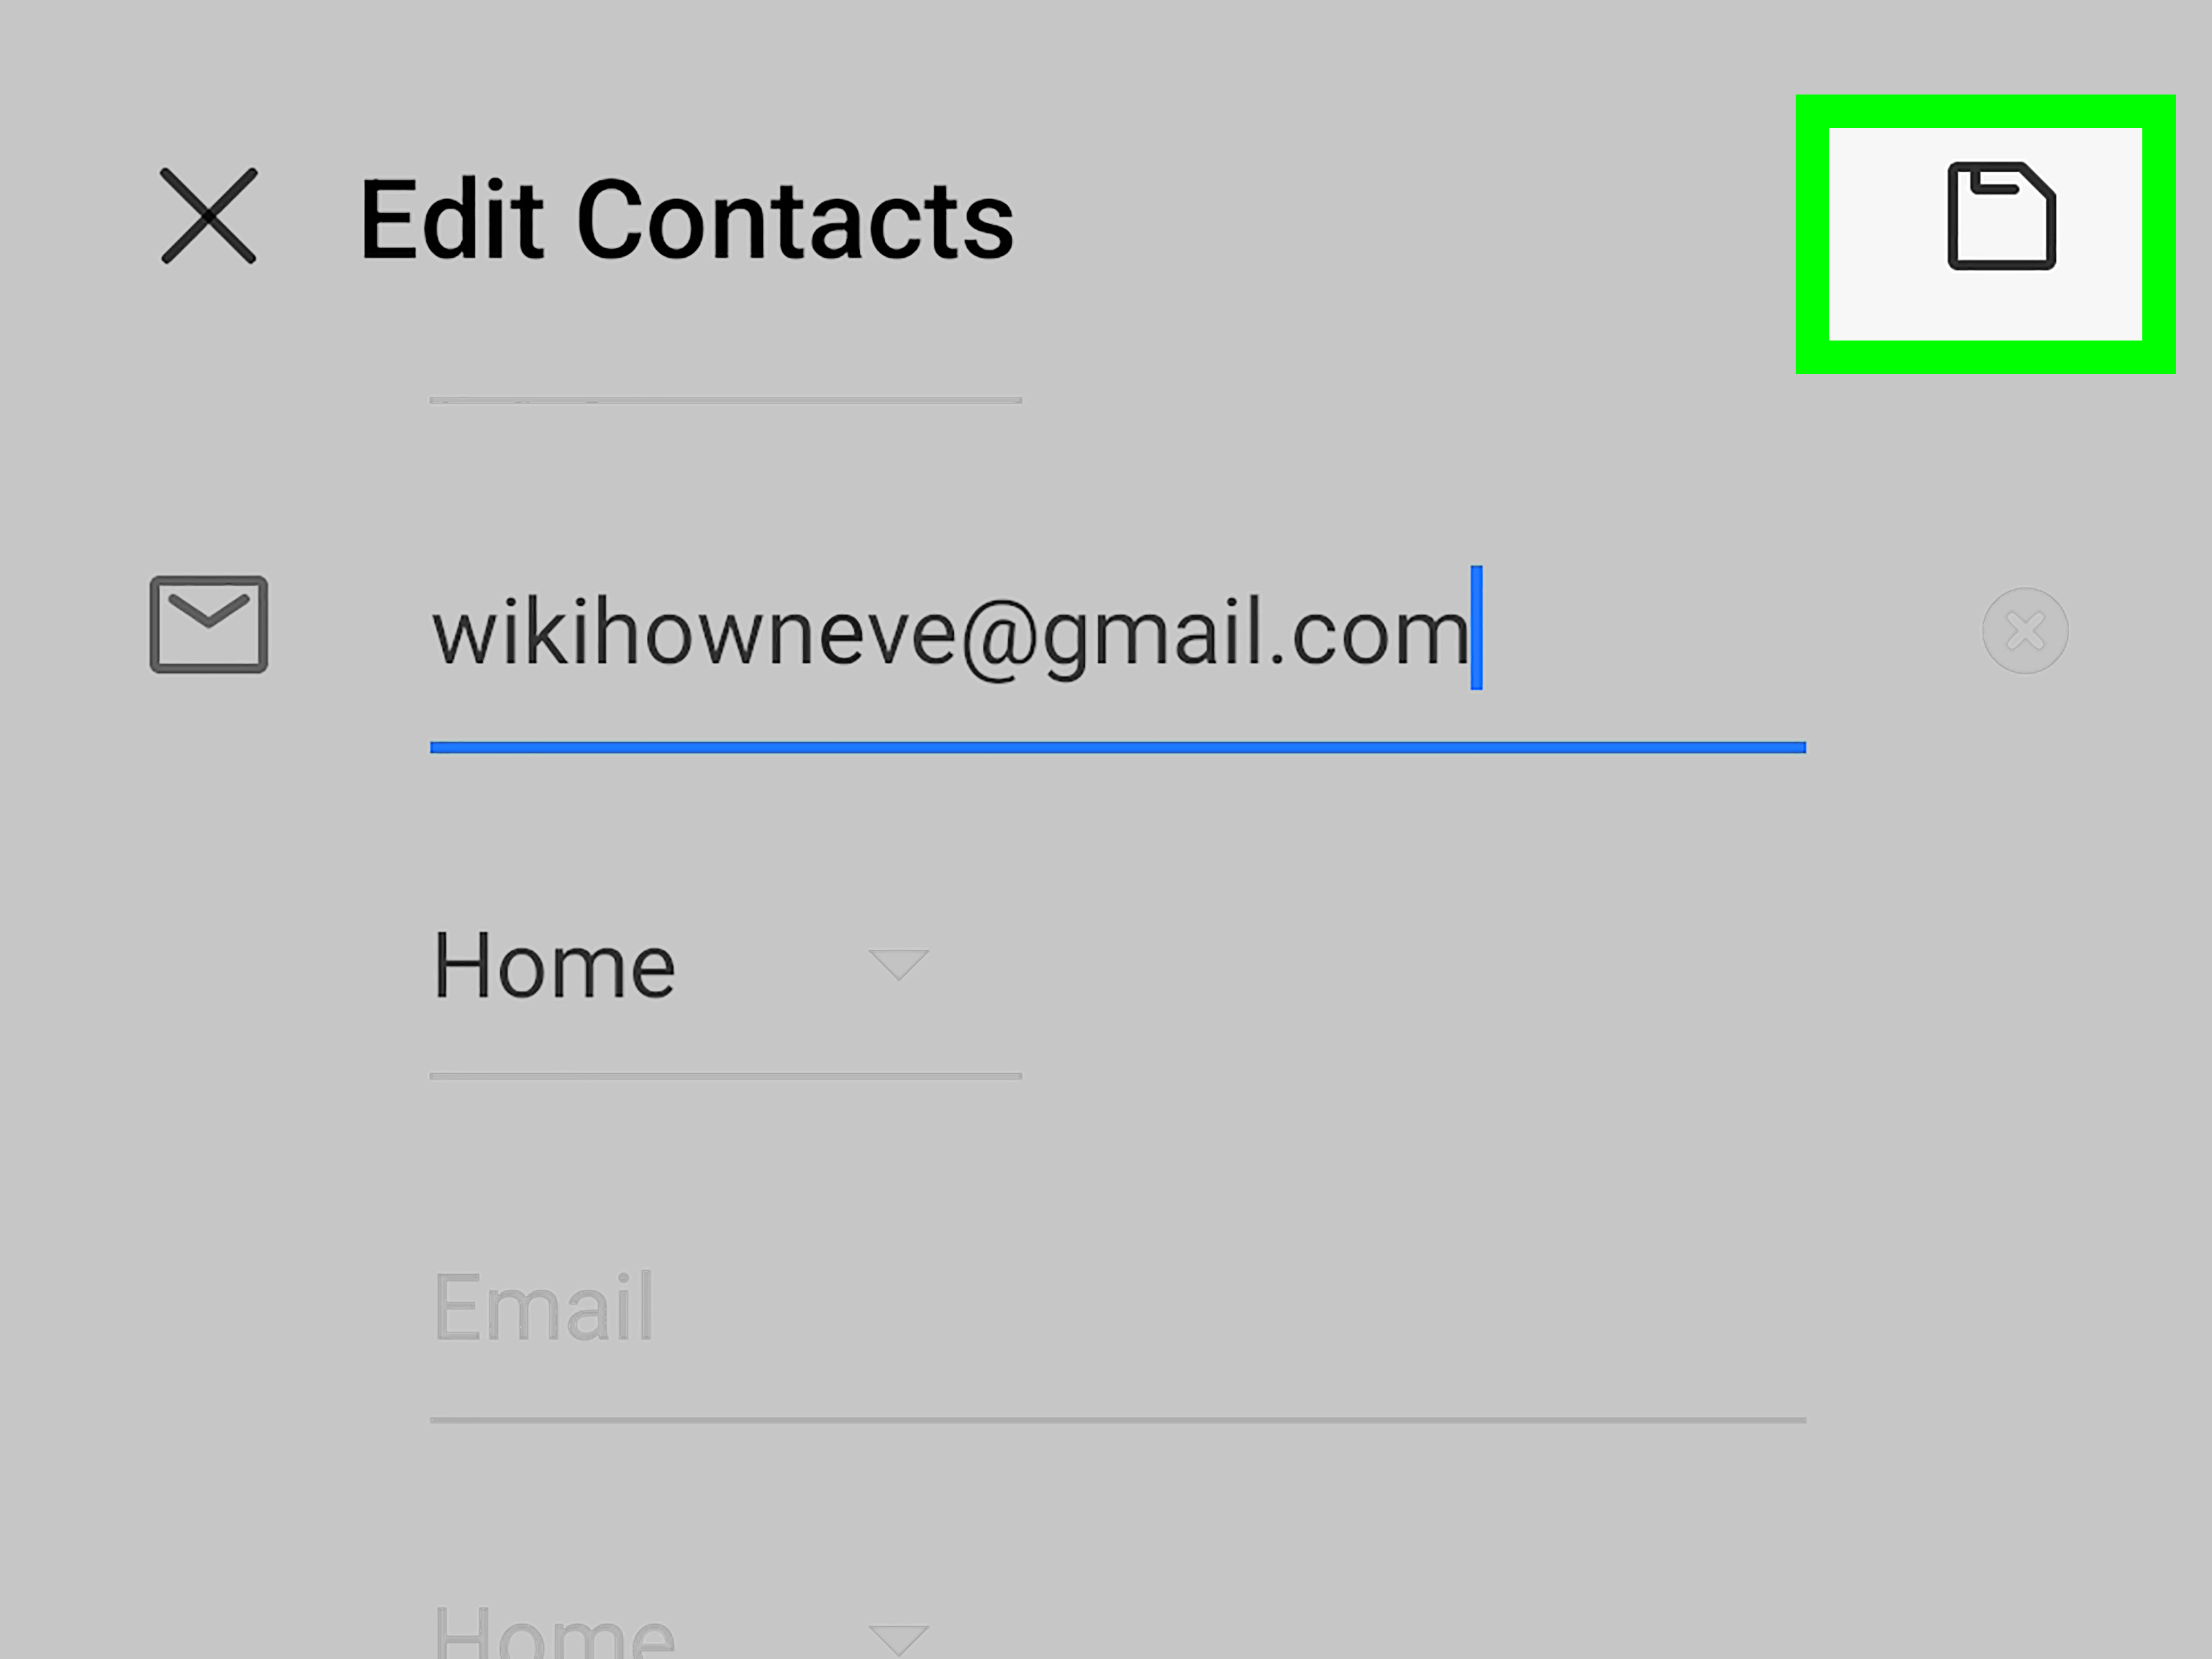
- Update the name, phone number, email, address, photo, company, notes, or other details.
- Tap Save.
That is the main workflow for editing contacts on Android. On some devices, you can also open the contact from the Phone app and then tap into the full contact details before editing. If you use Samsung, you may see options to add more numbers or remove fields with a minus icon. If you use a Motorola phone, you may even be able to create or extend a contact directly from a text message or recent call.
What Information You Can Change in an Android Contact
Many users assume they can only edit a name and a number, but Android contacts are more flexible than that. Depending on your device and app version, you can usually change:
- First and last name
- Phone numbers
- Email addresses
- Profile photo
- Company and job title
- Physical address
- Birthday
- Website
- Notes
- Labels such as home, work, or mobile
- Favorite status
If the field you want is not visible, look for Add fields. That button is the quiet hero of contact editing. It sits there calmly while everyone else panics.
Choose the Right Account Before You Save
One of the biggest reasons people get confused when editing contacts on Android is that the contact may not be saved where they think it is. Android contacts can live in several places, including your Google account, device storage, SIM card, work account, or a brand-specific account.
If your phone asks you to choose an account while editing, do not just tap randomly like you are defusing a movie bomb. Pick carefully. Saving contacts to your Google account is usually the best option because it makes syncing, restoring, and switching phones much easier.
Common Storage Locations
- Google account: Best for syncing and backup across Android devices.
- Device storage: Saved only on that phone unless backed up separately.
- SIM card: Useful for some transfers, but limited and less flexible.
- Work or other cloud accounts: May be managed by your employer or another service.
If a contact feels hard to edit, disappears after a phone change, or refuses to sync, the save location is often the culprit.
How to Move a Contact to Google for Easier Editing
If a contact is currently stored somewhere awkward, such as another account or device storage, moving it to Google can make future editing much easier.
- Open the Contacts app.
- Select the contact.
- Open Contact settings.
- Tap Move to another account.
- Choose your Google account.
This is especially helpful when you switch phones often, use multiple Android devices, or want your contact edits to sync consistently. Think of it as moving your contacts out of a tiny apartment and into a better neighborhood.
How to Edit Contacts on Samsung, Pixel, and Other Android Phones
The exact layout can vary slightly by brand, but the logic stays mostly the same. Here is what usually changes:
On Samsung Galaxy Phones
Open Contacts, tap the person, then tap Edit. Samsung often lets you add more numbers or emails using an Add option and remove fields with a minus icon. Some Samsung phones also let you access contact management features through the Phone app.
On Pixel Phones
Google’s Contacts app usually provides the cleanest version of the standard steps. Tap a contact, hit Edit, add or update fields, and save. Many Pixel users also rely on the Fix & manage section for duplicates, import tools, and Trash recovery.
On Motorola and Similar Devices
The Contacts app still handles most editing, but Motorola also supports adding contacts from unassigned text messages and other shortcuts. That is handy when a new number messages you and you want to save it before forgetting who it was. Because “Maybe Plumber?” is not a long-term strategy.
How to Fix Duplicate Contacts on Android
Duplicate contacts are one of the most common contact-management headaches on Android. They usually show up after importing numbers, syncing multiple accounts, or changing phones. The solution is often built right into Google Contacts.
- Open the Contacts app.
- Select the correct Google account if you use more than one.
- Tap Fix & manage.
- Tap Merge & fix or Merge duplicates.
- Review the suggestions and confirm the merge.
This feature can save a surprising amount of time. Instead of manually comparing every “Mom,” “Mom Cell,” and “Mom New Number For Real This Time,” Android can often detect likely duplicates and clean them up for you.
How to Import Contacts from a SIM Card or VCF File
If your contacts are saved on a SIM card or in a VCF file, Android can usually import them without much trouble.
Import from SIM
- Insert the SIM card into your Android phone.
- Open Contacts.
- Tap Organize.
- Tap Manage SIM.
- Select the contacts and choose the account where you want to save them.
- Tap Import.
Import from a VCF File
- Open Contacts.
- Tap Organize.
- Tap Import from file.
- Select the target account.
- Choose the VCF file.
If you are trying to edit a contact that came from a SIM card, consider importing it into your Google account first. That usually gives you more fields, better syncing, and fewer weird limitations.
How to Back Up and Sync Android Contacts
If you want your contact edits to stick across devices, backup and sync matter. A lot.
On many Android phones, you can turn on contact syncing through your device settings. Once enabled, your contacts can sync to your Google account and become much easier to restore if you lose your phone, upgrade devices, or accidentally delete a number during a sleepy cleanup session.
Backing up and syncing is one of those tasks that feels boring until the exact second it becomes heroic. Set it up before disaster, not after.
Why Syncing Is Worth It
- Your edited contacts appear on a new phone faster.
- Deleted contacts may be recoverable.
- Device and SIM contacts can be folded into your Google account.
- Your list stays more consistent across apps and devices.
How to Recover or Restore Deleted Contacts
If you deleted a contact by mistake, do not panic. Android gives you a few ways to recover contacts, especially if they were saved to Google.
Recover from Trash
In the Contacts app, go to Organize and then Trash. If the contact was deleted recently, you can often recover it from there. On many setups, deleted contacts stay available for up to 30 days before permanent removal.
Undo Recent Contact Changes
Some Android setups also let you undo recent contact changes through Contacts settings and Undo changes. That is useful when you accidentally overwrite details, merge the wrong entries, or make a full-contact-list mess that deserves a rewind button.
Restore from Google Backup
If you are switching phones or recovering after data loss, Android also offers a restore option through Google backup settings. You may be able to restore contacts from a previous phone, device storage, or SIM source depending on what was backed up.
Why You Might Not Be Able to Edit a Contact
If the edit button is missing, grayed out, or your changes do not stick, there is usually a reason. Here are the most common ones:
1. The Contact Is Saved in a Different Account
If it is stored in a non-Google account, you may have fewer edit options or different permissions.
2. It Is a Read-Only or Synced Contact
Some contacts from apps or managed accounts are not fully editable in the normal Contacts app. In that case, you may need to edit them in the original app or move them to another account first.
3. You Are Looking at a Merged View
Sometimes Android shows one combined contact card for data pulled from different places. It can look editable, but only part of it may actually be changeable.
4. Sync Is Off
If sync is off, changes may not appear everywhere, and recovery tools may be limited.
5. Your Android Version or App Layout Is Different
Some contact-management options vary by device maker, app version, and Android version. A few organization features may only show up on newer Android versions.
Best Practices for Keeping Your Android Contacts Clean
Once you learn how to edit contacts on Android, the next goal is keeping things tidy. Here are a few smart habits:
- Save new contacts to your Google account by default.
- Merge duplicates regularly.
- Update names clearly and consistently.
- Add labels like work, mobile, and home.
- Use notes for details you actually need, not your entire autobiography.
- Import SIM contacts into Google if you want better long-term control.
- Check backup and sync settings before changing phones.
A good contacts list should feel invisible. It should simply work, not surprise you with six entries for one cousin and a mystery number labeled “Don’t Answer???” from 2019.
Real-Life Experiences and Lessons from Editing Contacts on Android
One of the most common experiences people have with Android contacts starts with innocent optimism. You open your phone thinking, “I will fix this one number really fast,” and ten minutes later you are knee-deep in a digital family reunion. The same aunt appears three times. Your dentist is saved under a business name, a landline, and a random number that may or may not still exist. You begin the task wanting order and leave with a mild respect for chaos theory.
A lot of users also discover that editing contacts on Android is easy once they understand the account issue. Before that moment, it can feel like the phone is gaslighting you. You edit a number, save it, and later the old version pops back up like a movie villain who clearly did not get the memo. In many cases, the problem is not the edit itself. The contact was saved in device storage, on the SIM card, or inside another synced account while the user assumed everything lived in Google. Once they move the contact to the right place, the whole process becomes much smoother.
Another very real experience is the duplicate-contact avalanche after switching phones. Many people set up a new Android device, sign in, import a SIM, restore a backup, and then wonder why every person in their life now has twins. This is where Android’s merge tools become the cleanup crew nobody thanks enough. A quick pass through the duplicate suggestions can turn a bloated contact list into something civilized again.
There is also the emotional side of contact editing, which sounds dramatic but is surprisingly real. Contacts are tiny memory capsules. Updating an old coworker, removing an outdated landline, or finally labeling someone correctly can feel oddly satisfying. It is part productivity task, part life admin, part “wow, I really have not talked to that person since 2018.”
Many people also appreciate the smaller conveniences once their contacts are edited well. Caller ID looks cleaner. Text threads make more sense. Email suggestions stop guessing wildly. Favorite contacts become truly useful. And when someone asks for a number, you do not have to scroll past five versions of the same person while pretending you are definitely organized.
The biggest lesson from real-world use is simple: Android contact editing is not hard, but it works best when you slow down for a minute, choose the correct account, and clean things up as you go. A little maintenance prevents a lot of future confusion. Your contact list does not need to be perfect. It just needs to stop behaving like a junk drawer with ringtones.
Conclusion
If you were wondering how to edit contacts on Android, the fast answer is this: open the Contacts app, pick the person, tap Edit, update the details, and save. But the smarter answer goes a bit further. Save contacts to the right account, move important entries into Google, merge duplicates, import old numbers carefully, and turn on syncing so your edits are not trapped on one device forever.
Once you understand those basics, Android contact management becomes much easier. Instead of wrestling with clutter, missing numbers, and duplicate entries, you get a clean list that actually helps you. And honestly, that is the dream. Not a yacht. Not a private island. Just one contact list where “Mom” appears once and is definitely the right number.