
A laptop keyboard is a remarkable crumb-collection system that occasionally performs computer input. Dust, pet hair, skin oils, snack fragments, and mysterious particles that appear to have no known origin can gradually settle between and beneath the keys. Eventually, a key may feel sticky, sound crunchy, fail to register, or produce three letters when you asked for one.
Fortunately, you can clean under laptop keyboard keys without immediately dismantling the computer. The safest strategy is to begin with gentle, low-risk methods and increase the level of cleaning only when necessary. Most keyboards need nothing more dramatic than a soft brush, controlled compressed air, and a carefully dampened cotton swab.
This guide explains how to clean a laptop keyboard safely, when keycap removal may be appropriate, what to do after a spill, and which enthusiastic cleaning ideas belong in the same category as washing a smartphone in the dishwasher.
Research basis: Apple, Dell, Microsoft, ASUS, Samsung, and iFixit cleaning guidance.
Why Dirt Collects Under Laptop Keyboard Keys
Laptop keyboards have narrow gaps around their keycaps. Those gaps allow the keys to move, but they also give dust and debris a convenient entrance. Every time you type, small particles can be pushed farther beneath a key.
Most modern laptop keyboards use thin keycaps connected to delicate scissor mechanisms. Beneath each key, a rubber dome or similar component provides resistance and helps register the keystroke. The design is compact and comfortable, but it is not especially tolerant of cookie crumbs, dried soda, or aggressive prying.
Signs That Your Keyboard Needs Cleaning
A little dust on the surface does not necessarily require a deep cleaning. Pay closer attention when you notice one or more of these symptoms:
- A key feels sticky, slow, uneven, or unusually stiff.
- You hear a faint crunch when pressing a key.
- A key works only when pressed at a particular angle.
- The keycap does not return to its normal height.
- Visible crumbs, hair, or dust are trapped between keys.
- The keyboard has developed a shiny layer of finger oils.
- A drink or food spill occurred near the affected area.
Cleaning can resolve problems caused by physical debris. It will not repair a broken switch, torn membrane, damaged ribbon cable, corroded circuit, or software configuration problem. That distinction becomes important if the key remains unresponsive after the keyboard is clean.
Dell and HP distinguish debris-related sticking from keyboard faults that may require troubleshooting or service.
What You Need to Clean Under Laptop Keys
Gather your supplies before shutting down the laptop. You probably already own most of them, and no, a garden leaf blower is not on the list.
- A clean microfiber cloth
- A soft, clean brush, such as an electronics brush or small paintbrush
- A can of compressed air with a narrow straw
- Cotton swabs or foam cleaning swabs
- Isopropyl alcohol, used sparingly and according to manufacturer guidance
- A plastic opening pick, only if approved for your keyboard model
- A small flashlight
- Your laptop’s service manual or official support instructions
A rubber air blower designed for cameras can be a useful alternative to canned air. It provides controlled airflow without spraying liquid propellant. A cool-air electric duster may also work when used at a low setting and held a safe distance from the keyboard.
Products to Avoid
Do not use bleach, acetone, window cleaner, strong household solvents, abrasive powders, furniture polish, or dripping disinfectant wipes. Avoid stiff brushes and metal tools. Paper towels can leave fibers behind and may scratch glossy surfaces.
Manufacturers consistently advise users not to spray cleaning liquid directly onto a keyboard. Apply any approved solution to the cloth or swab instead, and keep it lightly damp rather than wet.
Lenovo, Samsung, Logitech, and ASUS warn against directly applying liquid and recommend soft, lint-free materials.
How to Clean Under Laptop Keyboard Keys Without Removing Them
Removing keycaps should not be your first move. The following method handles ordinary dust, crumbs, hair, and light stickiness while leaving the fragile key mechanisms in place.
Step 1: Check the Manufacturer’s Instructions
Search for the support page or service manual for your exact laptop model. Keyboard construction varies even within the same brand. A technique that works beautifully on one machine may launch the spacebar into another dimension on a different model.
Pay particular attention to warnings about removable keycaps, compressed air, cleaning solutions, waterproofing, and warranty coverage. Some manufacturers publish model-specific instructions for stuck keys or keyboard replacement.
Step 2: Shut Down and Disconnect Everything
Save your work and completely shut down the laptop. Do not merely put it to sleep. Disconnect the charger, USB devices, headphones, external displays, and other accessories. Remove the battery only when the model has a user-removable battery and its instructions recommend doing so.
Pressing the power button for several seconds after disconnection may help discharge residual electricity on some models, but follow the service manual rather than improvising.
Dell, Microsoft, ASUS, and Samsung recommend shutting down and disconnecting power before deeper cleaning.
Step 3: Loosen and Remove Large Debris
Open the laptop and hold it securely over a clean table. Tilt it so the keyboard faces downward at an angle. Gently tap the underside of the chassis or give the computer a very light shake.
The word “gently” deserves overtime pay here. Do not shake the laptop as though you are trying to determine whether it contains a prize. The goal is simply to let gravity remove loose particles.
Use a soft brush to sweep along the rows of keys. Work in several directions while changing the laptop’s angle. Brush debris outward instead of repeatedly pushing it into the center.
Step 4: Use Compressed Air Correctly
Attach the straw to the compressed-air can and keep the can upright. Hold the nozzle approximately half an inch from the keyboard unless your manufacturer specifies another distance. Use short, controlled bursts rather than a continuous blast.
Start at one side and move across the keyboard from left to right. Angle the airflow so particles travel out of the gaps instead of deeper into the laptop. Rotate the computer slightly to one side, repeat the process, and then rotate it toward the other side.
Never invert a canned-air container while spraying. Tilting it too far can release cold liquid propellant, which may damage surfaces or leave moisture where you definitely do not want moisture. Do not place the nozzle directly against a key or use excessive pressure.
Apple’s instructions for certain MacBook models use a roughly 75-degree laptop angle, a controlled left-to-right motion, and repeated passes from both sides. Similar directional techniques can help on other machines, but model-specific instructions should always take priority.
Apple specifies controlled compressed-air passes, a half-inch distance, and keeping the can upright; Acer publishes a similar directional technique.
Step 5: Clean the Edges of Sticky Keys
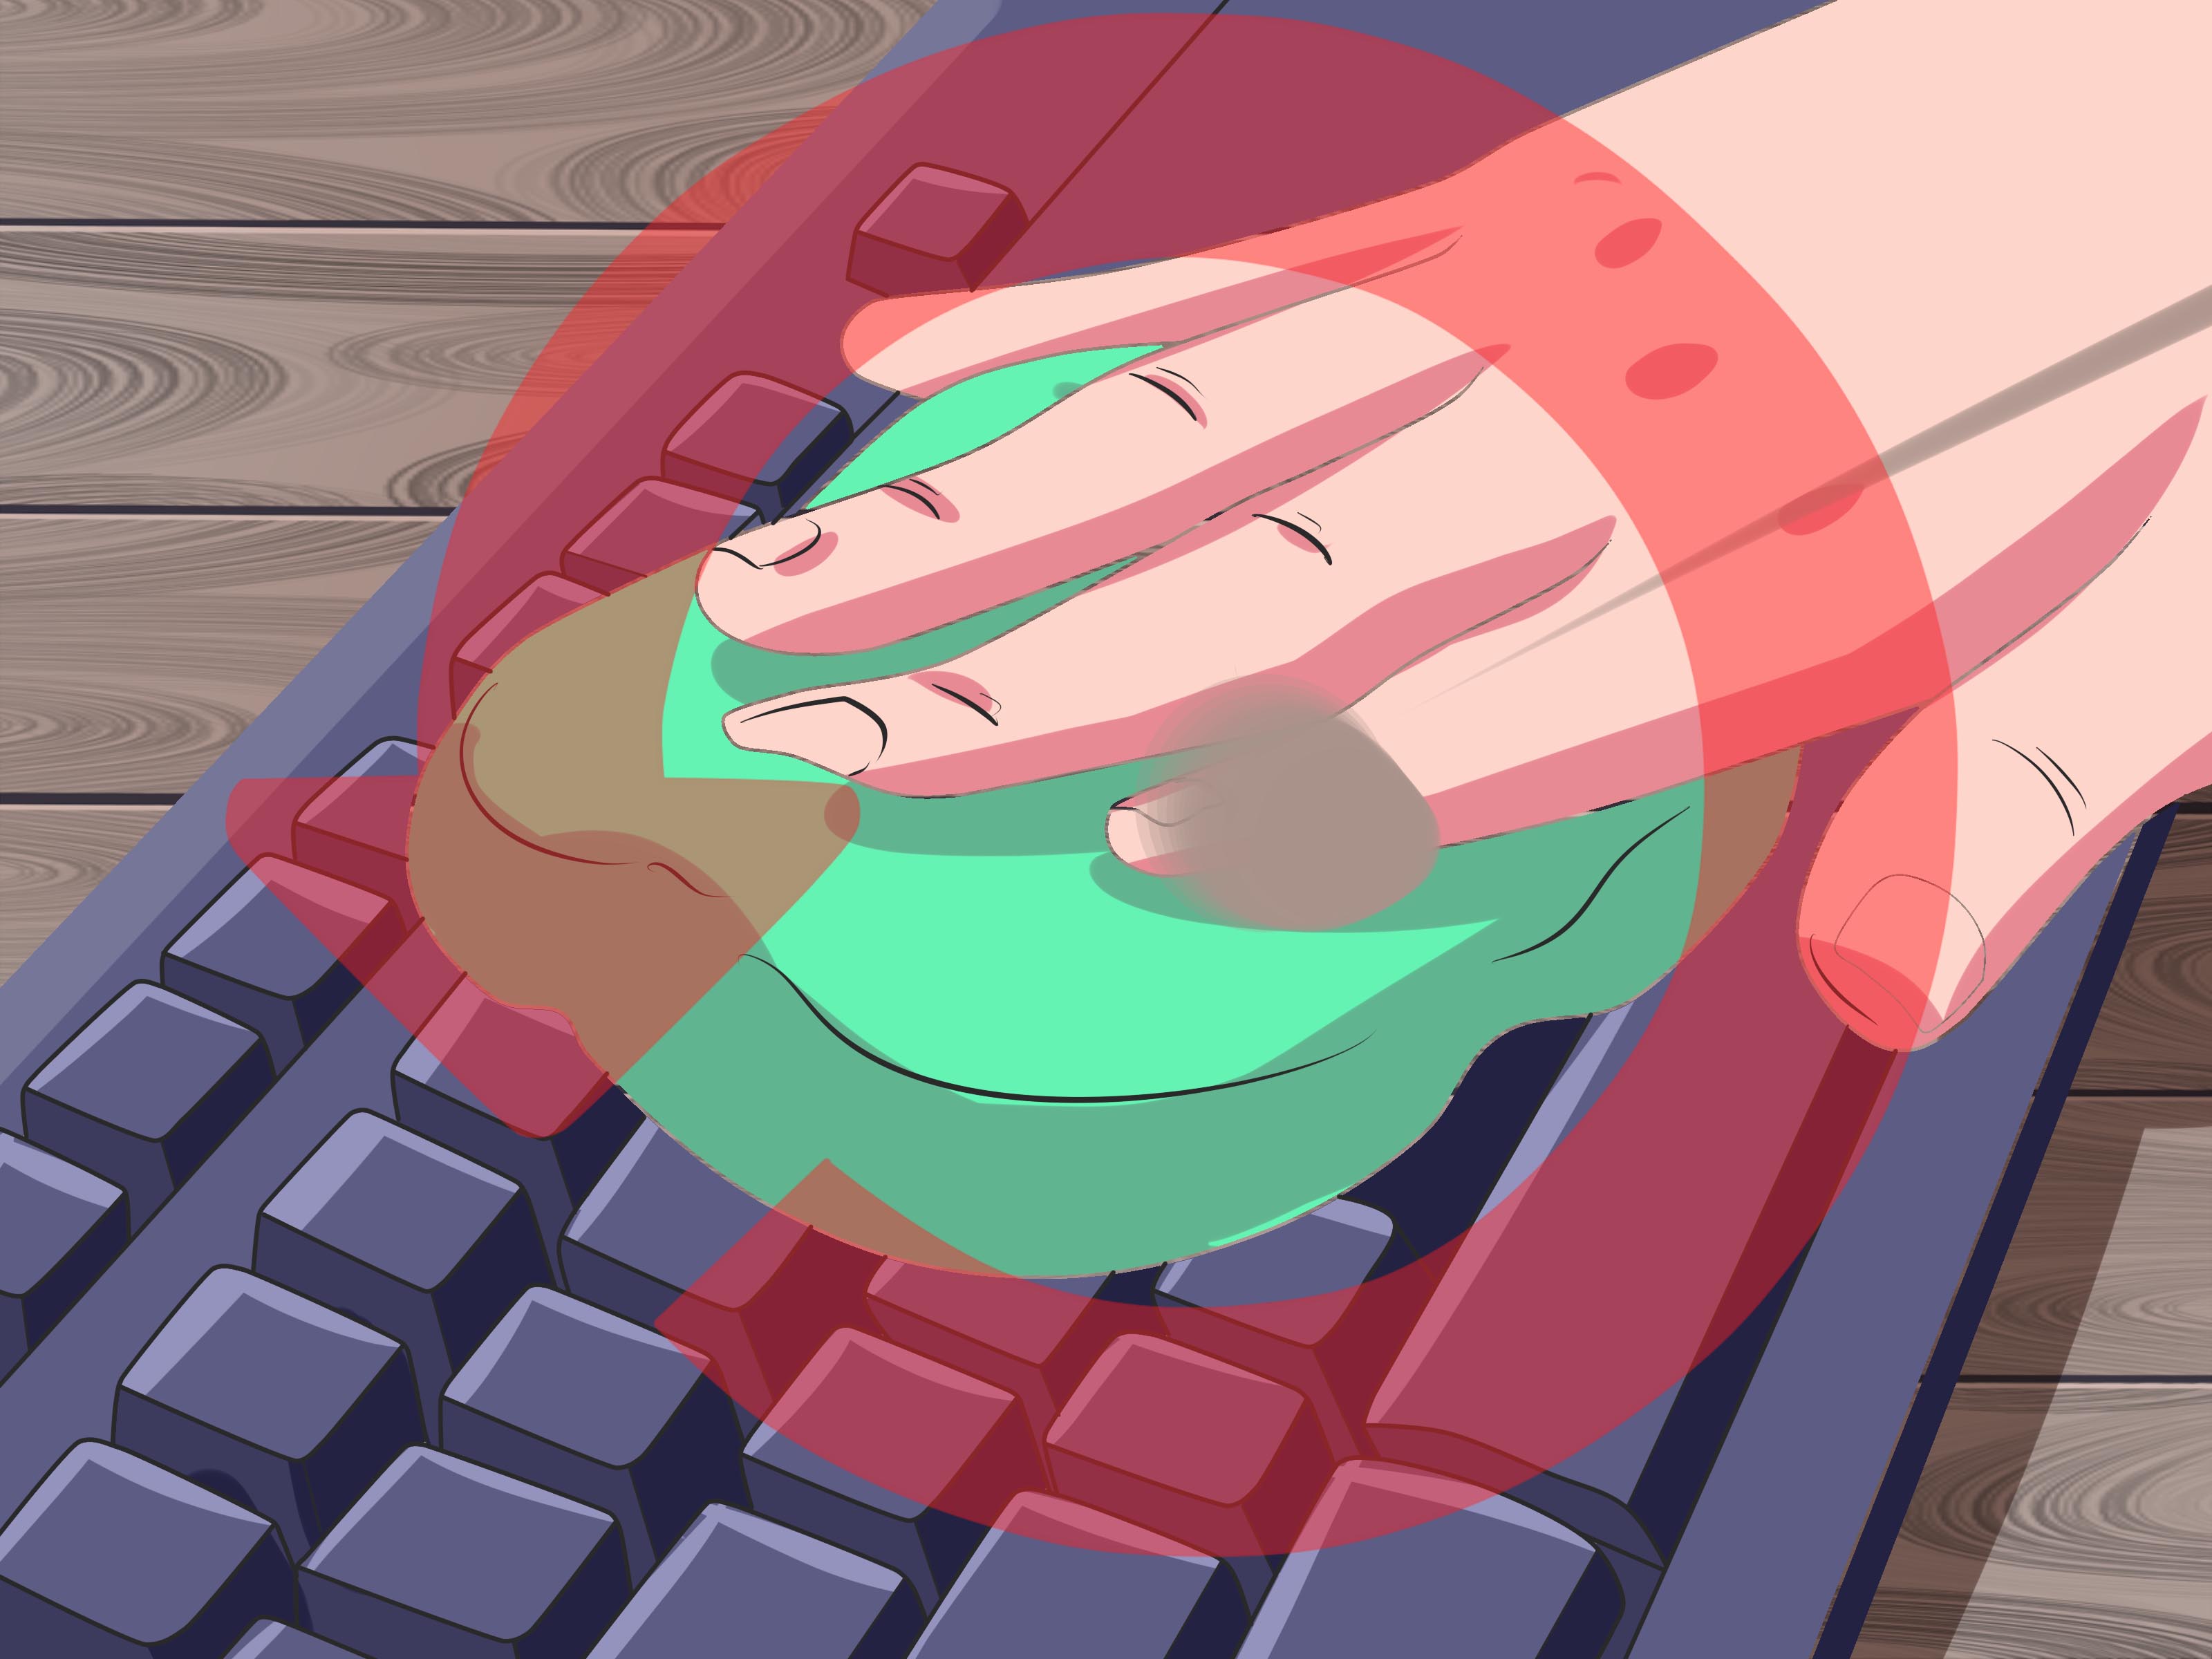
Place a small amount of manufacturer-approved isopropyl alcohol on a cotton swab. The swab should feel barely damp and must not drip when squeezed.
Run it around the outside edge of the affected key. Press the key repeatedly while cleaning each side so the swab can reach slightly beneath the keycap. Rotate to a fresh part of the swab as dirt transfers onto it.
For ordinary exterior cleaning, many manufacturers recommend approximately 70% isopropyl alcohol or a lightly dampened microfiber cloth. Repair guides sometimes favor higher-purity alcohol for exposed electronic areas because it evaporates quickly. Follow the recommendation for your specific laptop rather than assuming that a stronger solution is automatically better.
Let the keyboard dry completely before reconnecting power. Isopropyl alcohol evaporates quickly, but “quickly” is not permission to turn the laptop on while visible moisture remains.
Microsoft and HP discuss lightly moistened swabs or cloths, while iFixit recommends high-purity isopropyl alcohol for detailed keyboard cleaning.
Can You Remove Laptop Keyboard Keys for Cleaning?
Sometimesbut not automatically, and not because a five-minute video made it look easy.
Desktop mechanical keyboard keycaps are commonly designed for routine removal. Laptop keycaps are different. They are thinner and usually attach to tiny plastic clips and a scissor mechanism. These components can bend, detach, or snap with surprisingly little force.
Large keys such as the spacebar, Enter, Backspace, and Shift may also have stabilizer bars. Removing them can be more complicated than removing an ordinary letter key.
Remove a Keycap Only When All of These Are True
- The manufacturer or service manual confirms that the key is removable.
- You have instructions for that exact keyboard design.
- The laptop is powered off and disconnected.
- You are using a plastic tool rather than a screwdriver or knife.
- You understand where the retaining clips are positioned.
- You are prepared to stop if the key resists.
Before removal, photograph the key and surrounding keyboard. Insert the approved plastic tool at the recommended edge and apply minimal, even pressure. Never twist the keycap. If it does not release easily, stop.
Once the cap is off, inspect the scissor assembly without touching the central rubber dome. Use a soft brush or short burst of air to remove debris. A barely damp swab may be used around the key well if approved, but do not flood the mechanism.
To reinstall the key, confirm that the scissor assembly is flat, correctly connected, and undamaged. Align the keycap clips and press gently and evenly until it snaps into place. Do not repeatedly hammer it with your finger while whispering increasingly creative threats.
If the keycap, retaining clip, hinge, or scissor assembly is cracked, replacement parts or professional service may be required.
iFixit and Samsung document the delicate keycap, scissor assembly, clips, and reattachment process.
How to Clean a Sticky Laptop Key After a Spill
Dry dust and liquid spills require different responses. Coffee, soda, juice, and sweetened tea leave conductive or sticky residue beneath the keyboard. Even after the surface looks dry, residue may continue causing corrosion or inconsistent key behavior.
What to Do Immediately
- Shut down the laptop immediately.
- Disconnect the charger and all accessories.
- Remove the battery only if it is designed for user removal.
- Blot visible liquid with a microfiber cloth.
- Position the laptop so liquid can drain away from internal components.
- Do not restart the device merely to see whether it still works.
A small amount of plain water on the top surface may require only careful drying. A large spill, a sugary drink, or liquid that entered through the keys should be treated more seriously. Professional inspection is usually safer than repeatedly powering on the laptop.
Do not use a hot hair dryer, oven, space heater, or direct sunlight to accelerate drying. Heat can warp plastic, soften adhesives, and damage the display or battery. Putting the laptop in rice is also ineffective for removing sticky residue and may introduce additional dust.
Samsung advises immediate shutdown and disconnection after wet spills; AP reporting also emphasizes manufacturer-specific, moisture-minimizing electronics care.
Common Laptop Keyboard Cleaning Mistakes
Using a Household Vacuum
A powerful household vacuum may create static electricity and can pull loose keycaps or small components from the keyboard. Dell specifically recommends compressed air instead of a vacuum or blower that can create static. A low-powered electronics vacuum may be acceptable for certain devices, but only when the manufacturer approves it.
Spraying Cleaner Directly on the Keys
Liquid can run through the key gaps and reach the keyboard membrane, backlight, connectors, or motherboard. Spray the clothnot the laptop.
Using Too Much Compressed Air
High-pressure, continuous spraying can push debris deeper into the chassis. It may also release propellant if the can is tilted. Use short bursts and change the laptop’s angle so gravity helps remove particles.
Prying With Metal Tools
A screwdriver, knife, pin, or metal tweezer can scratch the case, break retaining clips, puncture a membrane, or create an electrical short. Use only the recommended plastic tool.
Removing Every Key Without Checking the Design
A full keycap removal is appropriate for many mechanical desktop keyboards, not for every laptop. Laptop key mechanisms are model-specific and considerably easier to damage.
Turning the Laptop On Before It Is Dry
Give all cleaned areas time to dry. After a significant liquid spill, surface dryness does not prove that the interior is dry or free of residue.
Dell cautions against static-producing vacuums, while Wired distinguishes removable mechanical-keyboard keycaps from other keyboard designs.
What If a Key Still Does Not Work?
Once the keyboard is clean and dry, reconnect the charger and start the laptop. Test the affected key in a plain text editor. Also test it with modifier keys such as Shift, Ctrl, or Fn when relevant.
If the key remains unreliable, consider these possibilities:
- The scissor mechanism is damaged or misaligned.
- The keycap clips are broken.
- The rubber dome or switch has failed.
- A liquid spill caused internal corrosion.
- The keyboard ribbon cable is loose or damaged.
- A software setting, accessibility feature, driver, or keyboard layout is responsible.
Restart the computer and test an external USB or Bluetooth keyboard. If the external keyboard works normally, the built-in keyboard may have a hardware problem. Manufacturer diagnostics can provide additional clues.
A single replaceable key may be inexpensive to repair. Widespread failures, spill damage, or problems involving the power button may require replacement of the entire keyboard or top-case assembly. On some thin laptops, the keyboard is integrated into a larger component, making professional repair the practical option.
How to Keep Debris From Returning
A five-minute maintenance routine is easier than performing keycap surgery while wondering where a microscopic plastic clip went.
- Keep drinks on the opposite side of your dominant hand.
- Avoid eating crumbly foods directly over the laptop.
- Wash and dry your hands before long typing sessions.
- Wipe the keyboard weekly with a dry microfiber cloth.
- Use a soft brush or controlled air every few weeks.
- Close the laptop when it is not in use.
- Carry it in a clean sleeve rather than loose in a dusty bag.
- Never place papers, cloths, or keyboard covers inside before closing the screen unless the manufacturer approves them.
Silicone keyboard covers can reduce crumbs and spills on compatible models, but they may affect typing feel, leave marks on the display, or interfere with cooling on some laptops. Confirm compatibility before using one.
Practical Experiences: What Actually Works Under Real Laptop Keys
The most useful lesson from cleaning many styles of laptop keyboards is that the gentlest method usually produces the best outcome. A key that feels slightly rough often does not need to be removed. Tilting the laptop, brushing along the key rows, and using two or three controlled passes of compressed air can restore normal movement. The dramatic approach is rarely the intelligent first approach.
One common example is the “crunchy spacebar.” Because the spacebar is large, users often assume it should be easy to pry off. In reality, it may contain stabilizer bars and several fragile attachment points. Cleaning around the spacebar while pressing one end and then the other is usually safer. A soft brush can loosen debris near the edges, and angled air can carry it outward. In many cases, the crumb eventually appears with the confidence of someone who has been living rent-free beneath the keyboard for six months.
Sticky letter keys require patience rather than force. A lightly dampened swab moved around the key’s perimeter can gradually soften surface residue. Pressing and releasing the key during cleaning helps expose different edges. Several careful passes are better than saturating the area once. When the swab becomes dirty, replace it instead of redistributing the grime.
Another practical lesson is that compressed air works best when gravity has been invited to participate. Spraying straight down while the laptop lies flat may simply move debris from one hidden location to another. Holding the keyboard at an angle and directing air toward an open edge gives particles somewhere to go. Short bursts also provide more control and reduce the chance of propellant discharge.
Keycap removal tends to go well only when the cleaner has model-specific instructions. On one keyboard, a letter key may release from the upper edge. On another, pulling from that same edge may break the retainer. Watching a generic tutorial is not enough because two keyboards that look nearly identical from above can use different clip arrangements underneath.
Spill cases provide the strongest argument for restraint. People frequently power the laptop back on every few minutes because they want reassurance. That repeated testing can turn a recoverable spill into electrical damage. The better experience is less satisfying in the moment: shut it down, disconnect power, blot the liquid, and arrange proper inspection when the spill was significant or sugary.
It is also worth separating dirt-related symptoms from software problems. Cleaning will not correct the wrong keyboard language, Num Lock behavior, Filter Keys settings, or a failed driver. Before dismantling anything, test the key in several applications and compare it with an external keyboard. When an external keyboard produces the same unusual behavior, the problem may not be beneath the key at all.
Finally, routine cleaning changes the entire experience. A quick weekly wipe prevents skin oils from building into stubborn grime. A monthly brush-and-air session keeps dust from becoming compacted beneath heavily used keys. These small habits reduce sticking, improve typing feel, and eliminate the need for emergency excavations during an important deadline.
The winning formula is simple: power down, begin gently, control moisture, respect the key mechanism, and stop before confidence turns into improvisation. Your keyboard does not need to look surgically sterile. It needs to be clean, dry, functional, and still attached to the laptop when you finish.