
A broken ceiling fan pull chain has a talent for choosing the worst possible moment to fail. One final tug, one tiny metallic snap, and suddenly the fan is stuck on hurricane modeor the light refuses to come on at all. Fortunately, you may not need to replace the entire ceiling fan. In many cases, replacing a ceiling fan pull chain switch is an affordable repair that can restore normal operation without turning the room into a major renovation zone.
The correct repair depends on what actually broke. Sometimes only the visible chain or connector has failed. In other cases, the internal two-wire light switch, multi-speed fan switch, or complete switch housing must be replaced. A compatible remote or wall control can also eliminate the pull chain altogether.
This guide explains four practical ways to fix the problem, how to identify the correct replacement part, and when the safest tool in your toolbox is a qualified electrician.
First, Confirm That the Pull Chain Switch Is the Problem
A broken chain does not always mean the switch itself has failed. Before ordering parts, determine which of these situations you have:
- The decorative chain extension has separated, but a short chain still hangs from the fan.
- The chain has disappeared inside the switch housing.
- The chain moves, but the switch no longer clicks.
- The switch clicks, but the fan speed or light does not change.
- The fan operates at only one or two speeds.
- The fan or light does not operate at all.
If a short factory chain remains visible and the switch still clicks normally, you may need only a connector or extension chain. If the chain broke inside the switch, or the mechanism feels jammed, the internal switch probably needs replacement.
When the switch clicks but the fan does not respond correctly, troubleshoot before assuming the switch is guilty. Loose wiring, a tripped breaker, a receiver problem, a neutral reverse switch position, or a failing capacitor can produce similar symptoms. Hunter and other fan specialists recommend checking the breaker, wire connections, remote receiver, pull-chain setting, and reverse switch during diagnosis.
Tools and Supplies You May Need
- A stable stepladder appropriate for the ceiling height
- A non-contact voltage tester or suitable electrical tester
- Phillips and flat-head screwdrivers
- Needle-nose pliers
- Wire cutters and wire strippers
- Approved wire connectors
- Painter’s tape and a permanent marker
- A phone or camera for reference photos
- The correct replacement switch or switch housing
- Safety glasses
Use a self-supporting ladder on a level, dry surface. Avoid stretching sideways to reach the fan; reposition the ladder instead. The American Ladder Institute emphasizes selecting the proper ladder for the job, while fan manufacturers commonly list a ladder or step stool among the basic tools needed for maintenance.
How to Choose the Correct Ceiling Fan Pull Chain Switch
Pull chain switches may look nearly identical while operating completely different circuits. Buying one because it is “about the same size” is how a five-minute repair becomes an afternoon of muttering at the ceiling.
Light Switches Versus Fan-Speed Switches
A ceiling fan light switch is usually a two-wire on/off device. Some light kits use a three-wire switch to control multiple lighting settings. Westinghouse, for example, offers both two-wire on/off fan-light switches and three-wire fan-light switches, each with different electrical functions and ratings.
A typical three-speed fan switch uses four positions: high, medium, low, and off. It often has four terminals marked L, 1, 2, and 3, although markings vary. Leviton lists separate pull switches for three-speed/four-position and two-speed/three-position applications, showing why the number of settings matters.
Match More Than the Wire Count
For the safest and most reliable repair, match the original switch by:
- Manufacturer and model number
- Number of wires or terminals
- Terminal labels
- Switching sequence
- Voltage and amperage rating
- Mounting-thread diameter and length
- Physical size and available housing space
Do not assume that two four-wire switches are interchangeable. Different switches may connect the capacitor and motor windings in different sequences. A mismatched switch can create incorrect speeds, humming, overheating, or a motor that refuses to start.
Look for the fan’s model label on top of the motor housing, inside the canopy, or in the instruction manual. Manufacturer parts databases are especially useful because replacement components can vary within the same brand. Hunter recommends identifying the fan model before ordering parts or requesting support.
Before Using Any of the Four Replacement Methods
- Turn the fan and light off.
- Wait until the blades stop completely.
- Switch off the correct circuit breaker or remove the appropriate fuse.
- Place a note on the electrical panel so another person does not restore power.
- Test the fan wiring to verify that power is off.
- Remove bulbs and detachable glass shades to reduce weight and prevent breakage.
- Photograph the assembled fan and every wiring connection before disconnecting anything.
Do not rely solely on a wall switch. A fan may contain more than one switched conductor, and someone could accidentally turn the control back on. CPSC safety guidance repeatedly advises shutting off power at the circuit breaker when exposed fan wiring may be present.
Way 1: Replace Only the Broken Pull Chain or Connector
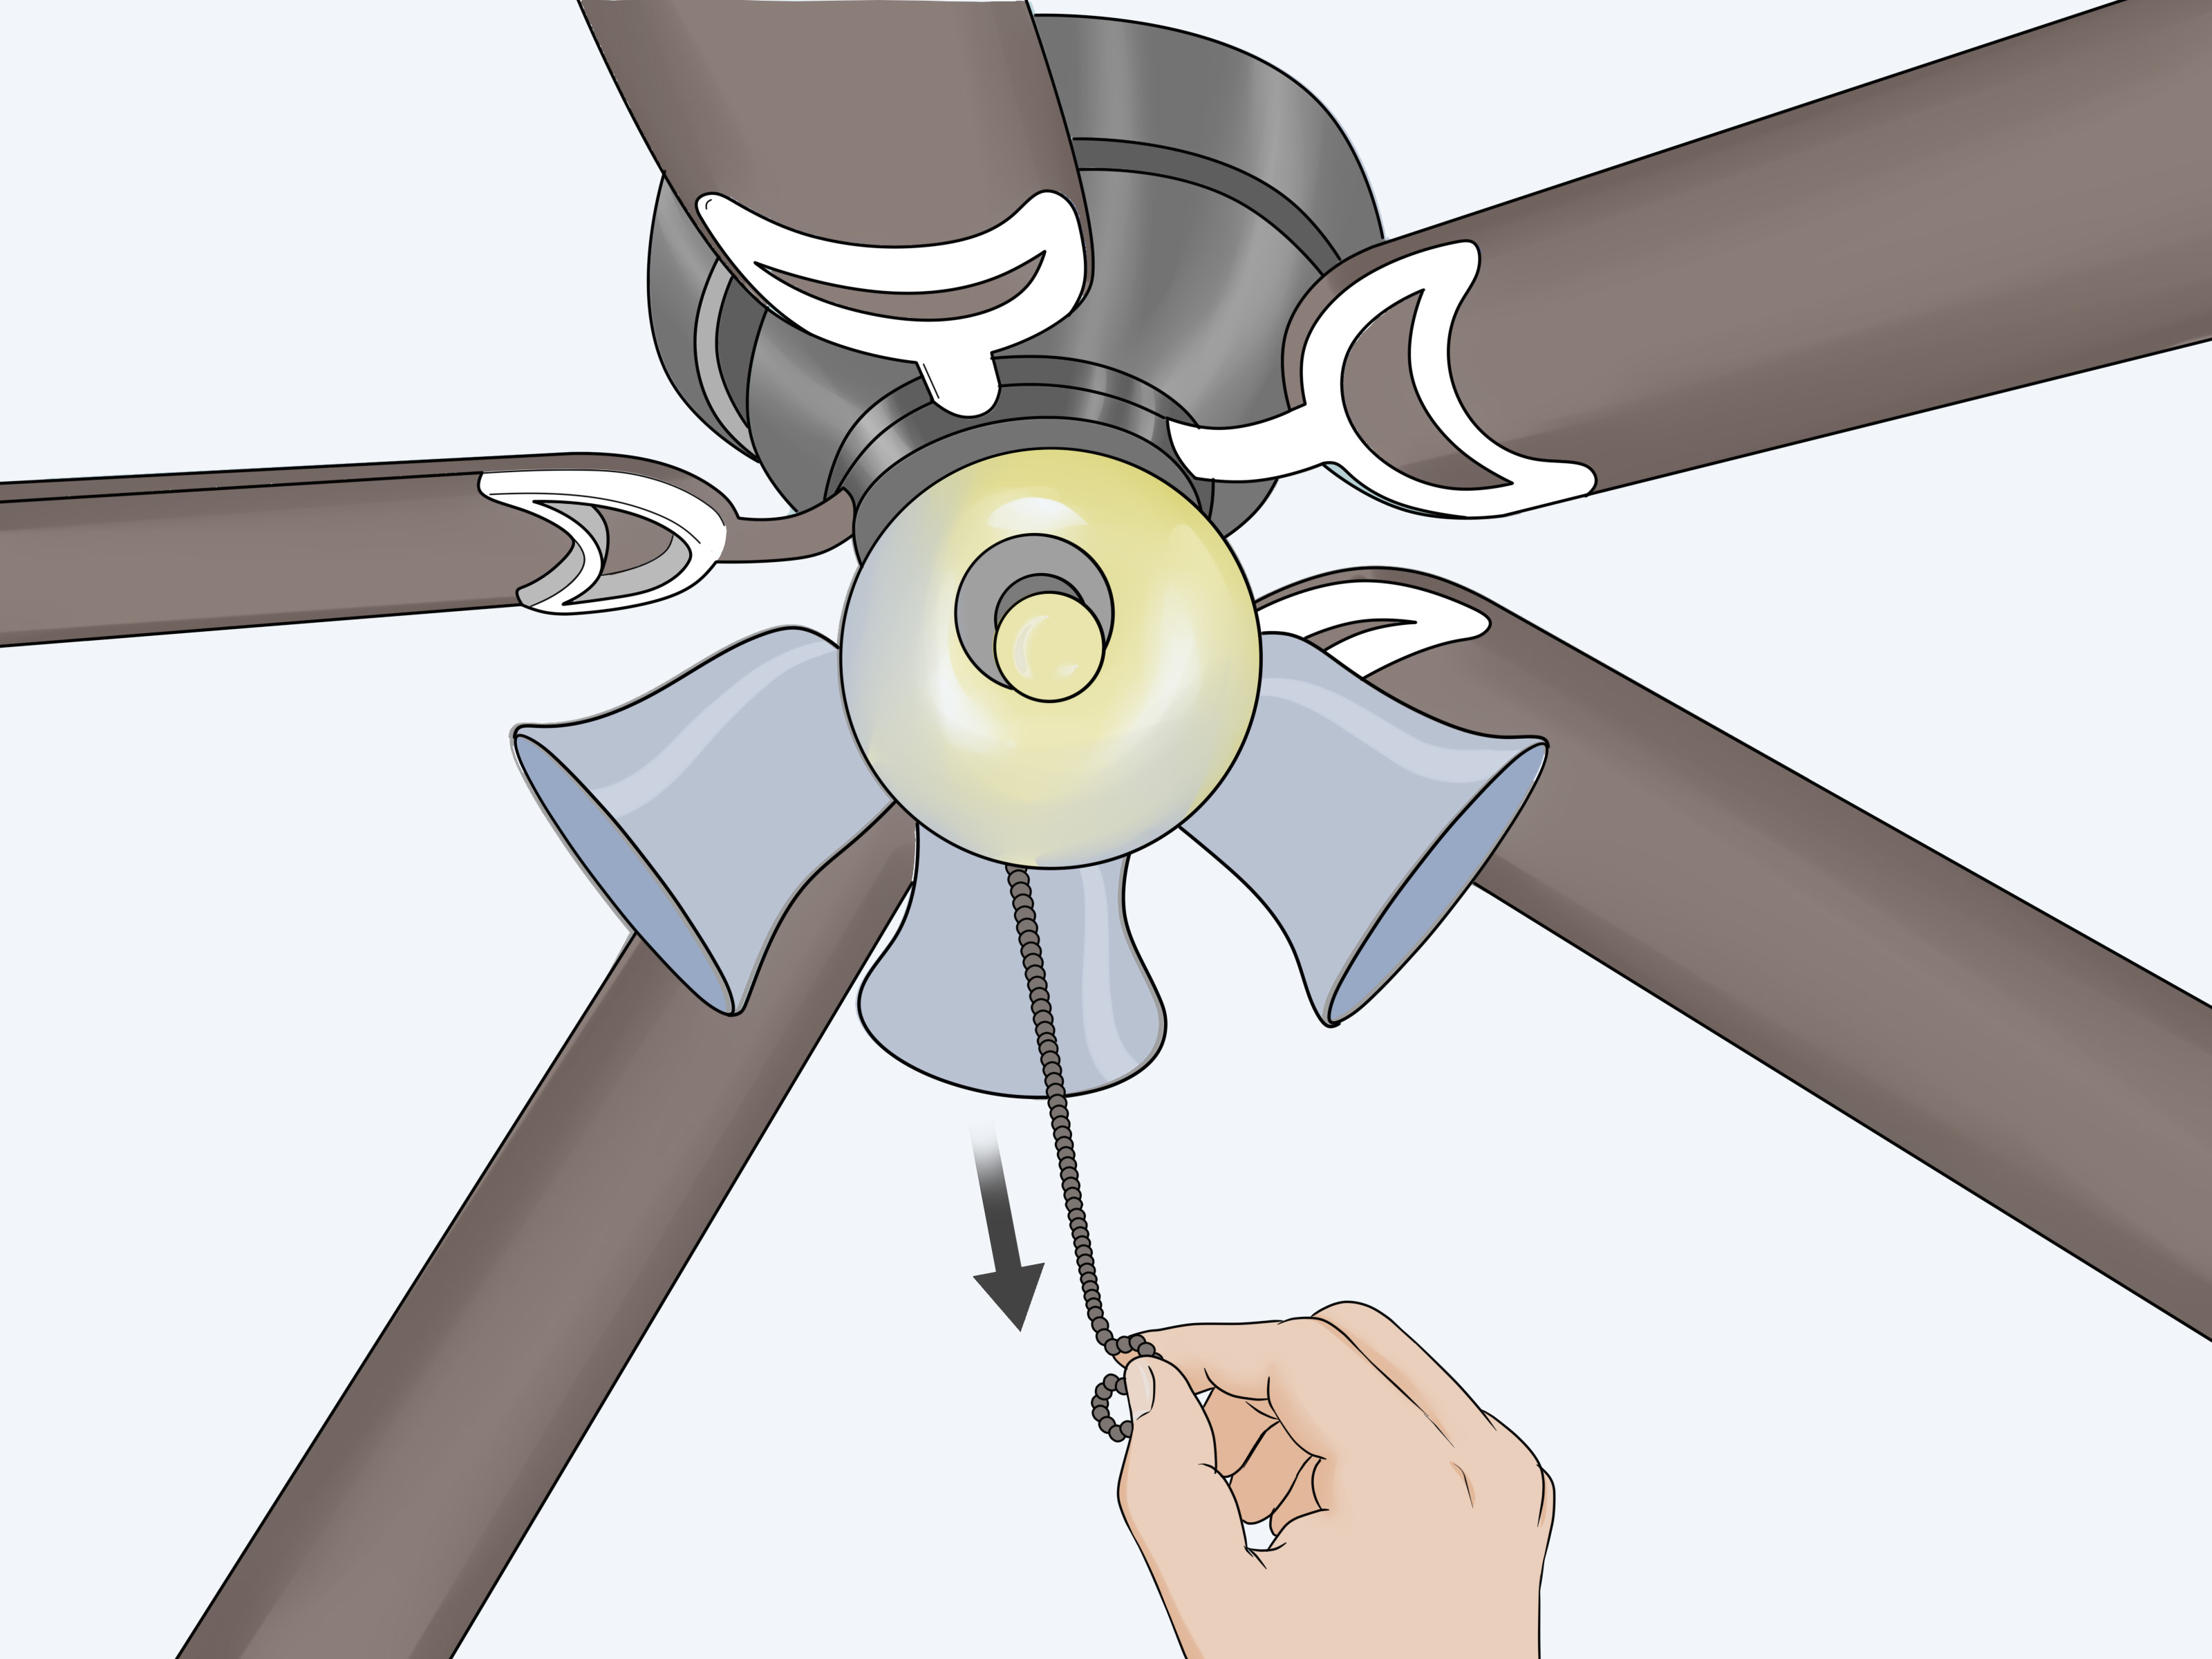
This is the easiest solution when the internal switch still works and a small section of beaded chain remains outside the fan.
How to Do It
- Turn off the breaker and verify that the fan cannot start.
- Inspect the chain emerging from the switch opening.
- Remove any damaged connector still attached to the chain.
- Attach a new beaded-chain connector to the remaining factory chain.
- Add an extension long enough to reach comfortably without excessive pulling.
- Restore power and test the switch using a gentle, straight downward pull.
Replacement chains and connectors are commonly sold separately from electrical switches. They can restore access to a working control without opening the wiring compartment. Lowe’s and Home Depot both distinguish decorative pull chains and connectors from internal replacement switches.
When This Method Will Not Work
An extension cannot repair a chain that has broken flush with or inside the switch. It also cannot fix a mechanism that spins freely, refuses to click, or remains stuck in one setting. In those cases, move to one of the internal switch replacement methods below.
Avoid yanking the new chain sideways. Pull slowly and release it under control. Some fan manuals specifically recommend a slow pull and release to prevent the chain from snapping back toward the blades or separating at a breakaway connector.
Way 2: Replace a Two-Wire On/Off Light Pull Chain Switch
If the fan operates normally but the light no longer responds to its chain, the light switch may be the failed component. A basic two-wire pull chain switch opens and closes the light circuit and is usually simpler to replace than a multi-speed fan switch.
Step-by-Step Instructions
- Open the light or switch housing. Remove the glass shade, bulbs, and screws holding the lower housing. Support the housing as you lower it because wires may still connect it to the fan.
- Locate the light pull switch. Follow the broken chain to the small switch mounted through the side of the housing.
- Photograph the wiring. Take clear pictures showing both switch leads and every nearby connector.
- Label the wires. Mark the two switch leads before separating them from the fan wiring.
- Remove the retaining nut. Unscrew the decorative nut or collar from the chain opening while holding the switch inside the housing.
- Disconnect the old switch. Depending on the design, remove wire connectors or cut the switch leads one at a time, leaving as much fan wire as possible.
- Install the replacement. Insert the threaded neck through the housing and tighten the retaining nut by hand, followed by a small additional turn. Do not crush a plastic housing by overtightening.
- Reconnect the wires. Strip only the length recommended for the connector. Join each replacement lead to the same circuit conductor used by the original switch.
- Check the connections. Gently tug each wire to confirm it is secure. No bare copper should remain outside a connector.
- Reassemble and test. Carefully tuck the wires into the housing, reinstall the cover and light components, restore power, and test the chain.
Many replacement fan-light switches are designed as two-wire on/off units, but their ratings still must meet or exceed the original component’s requirements. Westinghouse identifies its two-wire fan-light switch as a replacement for broken ceiling fan light switches, while major home-improvement retailers list similar switches as alternatives to replacing the entire fan.
Way 3: Replace a Three- or Four-Wire Fan-Speed Pull Chain Switch
A multi-speed switch routes power through different portions of the fan’s speed-control circuit. Because the terminal arrangement matters, this method demands careful labeling and an exact or manufacturer-approved replacement.
Identify Every Terminal Before Disconnecting Wires
After opening the switch housing, photograph the switch from several angles. Record the model number and terminal labels. Make a simple table such as:
| Old Switch Terminal | Wire Color | Replacement Terminal |
|---|---|---|
| L | Black | L |
| 1 | Gray | 1 |
| 2 | Brown | 2 |
| 3 | Purple | 3 |
The colors above are only an example. Ceiling fan wire colors are not universal, so copy the arrangement from your actual fan. Terminal markings and the manufacturer’s wiring diagram are more dependable than color alone.
Transfer the Wires One at a Time
- Remove the old switch’s retaining nut.
- Keep the old and new switches oriented the same way.
- Release one wire from the old switch.
- Insert that wire into the matching terminal on the new switch.
- Confirm that the conductor is fully seated.
- Repeat the process for each remaining wire.
- Mount the new switch and reinstall the switch housing.
Some switches use push-in terminals that require a small release tool or pick. Do not pull so hard that the conductor breaks inside the terminal. When release is impossible, the safer option may be an approved replacement switch with preinstalled leads, connected using appropriate wire connectors.
Test the Complete Speed Sequence
Once the fan is reassembled, restore power and pull the chain through every position. A common sequence is high, medium, low, and off, though some fans provide additional speeds. One Westinghouse fan manual, for example, documents a four-pull sequence of high, medium, low, and off.
Turn the breaker off again if the fan hums without turning, runs only on one speed, operates in the wrong sequence, smells hot, or behaves differently from its original design. Those symptoms may indicate an incorrect switch pattern, wiring error, failing capacitor, or motor problemnot a fan that simply needs “a few minutes to get used to it.”
Way 4: Replace the Switch Housing or Upgrade to a Compatible Control
Sometimes the best pull chain switch replacement is not another loose switch. A model-specific switch housing, wiring harness, wall control, or remote-control kit may provide a cleaner and more dependable solution.
Option A: Install a Complete Switch Housing Assembly
Choose this option when the switch is integrated into a plug-in harness, the original wires are too short or damaged, or the manufacturer sells the lower housing as a complete service part.
- Find the fan’s exact model number.
- Order the manufacturer-approved housing or harness.
- Turn off and verify power.
- Remove the existing housing and disconnect its plug or labeled connectors.
- Install the new assembly according to the model-specific manual.
- Reassemble and test all fan and light functions.
This approach reduces guesswork because the switches, capacitor connections, plugs, and wire lengths are already configured for the fan. It can also be preferable to modifying a factory assembly with a switch that merely appears similar.
Option B: Add a Compatible Remote Receiver
A universal remote kit can control fan speed and lighting without frequent pull-chain use. Compatibility depends on the fan design and the space available for the receiver. Westinghouse notes that downrod-mounted fans are generally more likely to have receiver space than low-profile or flush-mount fans.
Before installing many accessory remote controls, the mechanical fan chain must be placed at its highest speed and the light chain placed in the on or brightest position. The remote then becomes the normal control. Both Westinghouse and Hunter provide this instruction for compatible pull-chain fans.
Option C: Install a Fan-Rated Wall Control
A wall control can eliminate the daily tugging that wears out mechanical chains. Use a control specifically rated for a ceiling fan motornot an ordinary light dimmer. Leviton manufactures dedicated multi-speed ceiling fan controls with stated motor-load ratings and separate on/off functions.
Wall-control installation may require particular conductors in the wall box and may be regulated by local electrical codes. Call an electrician when new wiring must be run, when the fan and light need independent control, or when the existing conductors cannot be positively identified.
Common Mistakes to Avoid
Buying a Switch Based Only on Appearance
Two switches can have identical housings and completely different internal contact patterns. Match the model, ratings, terminals, and speed sequence.
Disconnecting Everything Before Taking Pictures
A clear photograph is inexpensive insurance. Capture terminal labels, wire colors, connectors, capacitor markings, and the routing of the wires before moving anything.
Assuming Wire Colors Are Universal
Internal fan wiring differs by manufacturer and model. Transfer wires according to terminal position and verified documentation rather than relying only on color.
Testing the Fan While the Housing Is Open
Reassemble the protective housing before restoring power. Loose wires, exposed terminals, or unsupported components create unnecessary shock and short-circuit risks.
Using the Wrong Wall Control
A standard incandescent dimmer is not automatically suitable for a fan motor. Use a listed fan-speed control that is compatible with the fan’s motor type and electrical load.
Ignoring Heat, Odors, or Discoloration
Blackened connectors, melted insulation, buzzing, or a burned odor can indicate a more serious electrical fault. Stop using the fan and arrange a professional inspection.
Forcing Wires Into a Crowded Housing
Arrange conductors carefully so they are not pinched by screws, metal edges, or the housing cover. Keep bare conductors completely inside approved connectors. Remote-control instructions likewise warn against leaving bare wires exposed outside connectors.
When to Call an Electrician
A pull chain switch is a small component, but the wiring around it is still connected to a permanently installed 120-volt household circuit. Professional help is appropriate when:
- You cannot verify that power is off.
- The breaker trips after the repair.
- The switch housing contains burned or melted parts.
- The wiring insulation is cracked, brittle, or heat-damaged.
- The fan hums but does not start.
- The motor or switch housing becomes unusually hot.
- The ceiling fan is loose, wobbling severely, or mounted to an unsuitable box.
- The replacement switch does not exactly match the original circuit.
- The home contains unfamiliar or modified wiring.
- You need to add new wall-control wiring.
A loose or incorrectly supported ceiling fan is not merely an annoying vibration problem. CPSC recall notices document both impact hazards from falling fans and shock hazards from exposed wiring. Home Depot also recommends checking that a fan is attached to a fan-rated outlet box and properly supported.
How to Help the New Pull Chain Switch Last Longer
- Pull the chain straight down rather than sideways.
- Use a comfortably sized extension so nobody has to jump or jerk the chain.
- Release the chain gently instead of letting it snap back.
- Correct fan wobble that causes the chain to swing into the housing.
- Keep oversized ornaments away from rotating blades and light shades.
- Use a compatible remote or wall control when the fan is operated frequently.
- Do not use the chain as a toy, handle, or convenient place to hang objects.
Wobbling may result from warped blades, loose screws, uneven blade positions, or faulty installation. Fixing the underlying vibration reduces noise and prevents the chain from repeatedly striking the housing.
Practical Experiences and Lessons From Real-World Pull Chain Repairs
The most useful lesson from common ceiling fan repairs is that diagnosis saves more time than enthusiasm. A homeowner may see a broken chain, order the first four-wire switch online, and assume the hard part is finished. Then the new switch arrives with the same number of terminals but a different internal switching pattern. The fan runs on low when it should run on high, skips a speed, or simply hums. The inexpensive part was not defective; it was the wrong part wearing a convincing disguise.
A better approach is to delay disassembly long enough to collect information. Photograph the fan’s model label, the switch body, the terminal markings, and the complete wiring layout. Write down the order of the fan speeds before removing the old switch. If the original switch still clicks, count its positions. These small details are far more useful at a hardware store or manufacturer support desk than saying, “It is a brown fan, probably from the early 2000s.”
Another frequent experience involves the retaining nut. It looks harmless, so people tighten it as though it were holding an automobile wheel in place. The threaded neck on many pull switches is plastic or thin metal. Overtightening can crack the switch, deform the housing, or make the new chain bind. The nut needs to hold the switch securely, not survive a rocket launch. Hand-tightening followed by a modest final adjustment is usually enough.
Wire management also determines whether a repair remains successful. The switch housing may contain a capacitor, connectors, lighting wires, and a reverse-switch harness in a surprisingly small space. When the housing is pushed back into place, a wire can slip beneath a screw or rest against a sharp metal edge. The fan may work during the first test and fail later when vibration damages the insulation. Taking a minute to fold and position wires neatly is less exciting than pulling the chain for the grand finale, but it is considerably more important.
Broken chain extensions provide another good lesson: replace only what is broken. If the internal switch still produces a firm click and operates correctly when the remaining chain is pulled, opening the electrical housing creates work without adding value. A new connector and extension can complete the repair in minutes. Conversely, gluing a decorative pull onto a chain that has broken inside the switch is not a repair. It is arts and crafts performed near an electrical appliance.
Testing should be deliberate. After restoring power, move through every fan speed and allow the motor to run briefly at each setting. Test the light separately. Listen for new humming, clicking, or scraping. Watch for wobble and confirm that the housing remains secure. Turn the power off immediately if the breaker trips, the motor stalls, or an electrical odor appears.
Finally, experienced DIYers learn that stopping is a legitimate repair skill. A model-specific switch replacement can be straightforward, but charred wiring, mystery splices, a hot motor, or an unsupported ceiling box changes the project. At that point, hiring an electrician is not admitting defeat. It is choosing not to troubleshoot household voltage while standing on a ladder with your face six inches from the evidence.
Conclusion
There are four sensible ways to address a failed ceiling fan pull chain switch: replace only the external chain, install a new two-wire light switch, replace the exact multi-speed fan switch, or install a compatible switch housing, remote, or fan-rated wall control. The correct choice depends on the failed component and the fan’s original design.
The central rule is simple: identify first, disconnect second. Turn off the breaker, verify that the circuit is dead, document every connection, and match the replacement part by function and rating rather than appearance. A careful repair can give an otherwise healthy ceiling fan many more years of serviceand spare you from controlling room temperature with a broom handle.
Research note: This article was developed from current electrical-safety guidance, manufacturer support materials, product specifications, installation manuals, and troubleshooting resources published by CPSC, ESFI, Home Depot, Lowe’s, Hunter Fan, Westinghouse Lighting, Leviton, UL Solutions, Del Mar Fans & Lighting, Bob Vila, ENERGY STAR, and the American Ladder Institute.