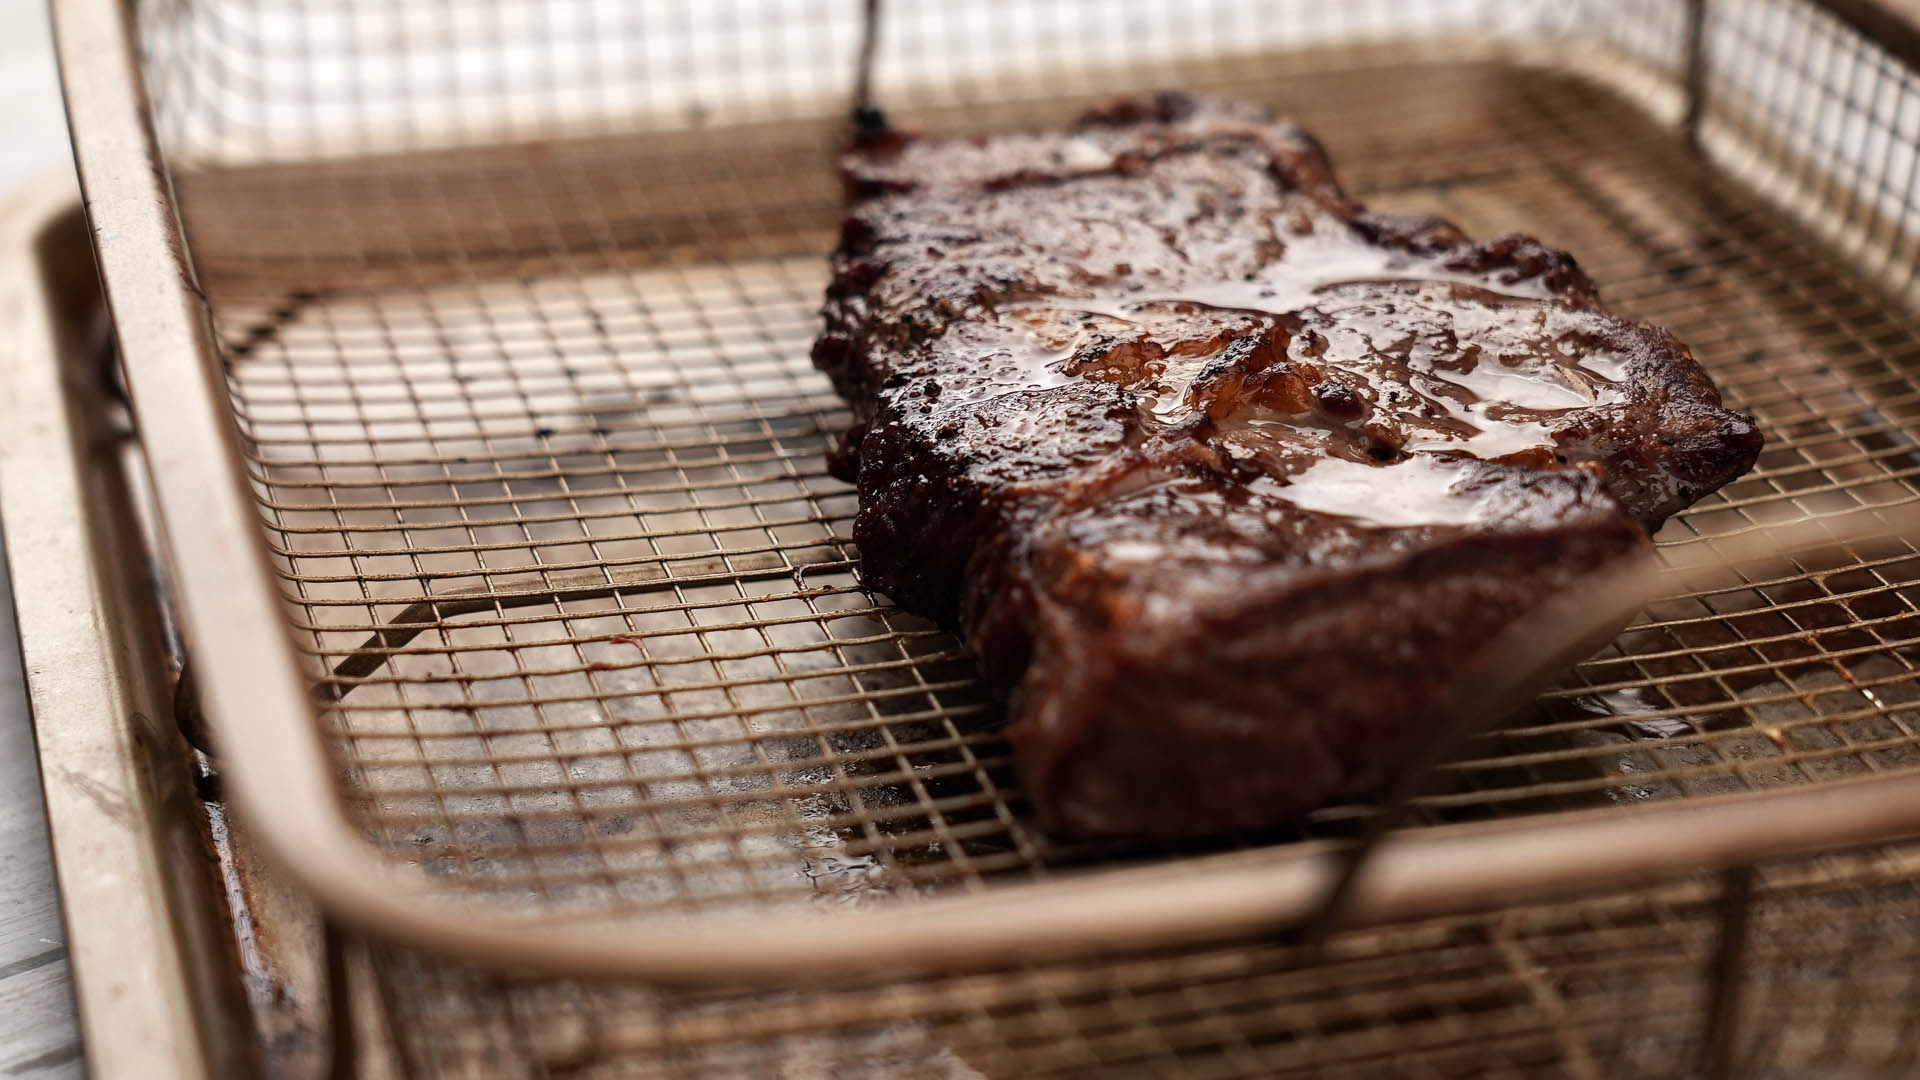

Seasoning a steak sounds simple until you are standing in front of a beautiful ribeye, holding a salt shaker like it is a tiny culinary grenade. Too little seasoning and your steak tastes like it spent its life avoiding commitment. Too much seasoning and dinner becomes a salt lick with grill marks. The good news? Learning how to season a steak is not complicated. It is a skill built on a few reliable rules: use the right salt, season at the right time, dry the surface, respect the cut, and let beef taste like beef.
This guide breaks steak seasoning into 12 clear steps, from choosing your cut to finishing with flaky salt, herbs, butter, or a bold dry rub. Whether you are cooking a New York strip in a cast-iron skillet, grilling a ribeye over high heat, or pan-searing filet mignon for date night, these steak seasoning tips will help you build better flavor, a deeper crust, and a juicier bite.
And yes, we will talk about salt. A lot. Salt is not just “white kitchen dust.” It is the main character, the flavor amplifier, and the quiet little wizard that helps transform a raw steak into something worthy of dramatic silence at the dinner table.
Why Steak Seasoning Matters
A good steak already has flavor, especially if it has strong marbling and a quality grade. But seasoning brings that flavor forward. Salt helps beef taste more intensely beefy, pepper adds bite, and optional spices or herbs can create a crust with personality. The goal is not to bury the steak under a spice avalanche. The goal is to enhance the meat.
Seasoning also affects texture. When salt sits on the surface of a steak long enough, it draws out moisture, dissolves, and then moves back into the meat. This process, often called dry brining, improves internal seasoning and helps dry the exterior. A dry exterior is important because moisture is the enemy of a strong sear. Water steams. Dry steak browns. Your skillet wants drama, not a sauna.
How to Season a Steak: 12 Steps
Step 1: Choose the Right Steak for Your Method
Before seasoning, look at the steak itself. Ribeye, New York strip, porterhouse, T-bone, filet mignon, sirloin, flank, skirt, and hanger steak all behave differently. A thick ribeye can handle generous salt, heavy pepper, garlic, and high-heat searing. A delicate filet may need a gentler hand because it is lean and mild. Flank and skirt steak often benefit from marinades or bold dry rubs because they have longer muscle fibers and a stronger chew.
For beginners, a steak between 1 and 1 1/2 inches thick is forgiving. It gives you enough time to build a crust before the inside overcooks. Very thin steaks cook quickly, so seasoning and heat control become more important. Very thick steaks are excellent but may need reverse searing or oven finishing.
Step 2: Pat the Steak Completely Dry
Before adding seasoning, remove the steak from its packaging and pat it dry with paper towels. This tiny step makes a big difference. Surface moisture blocks browning and encourages steaming. A dry steak develops better crust, better color, and better flavor.
Do not rinse steak under the faucet. Washing raw meat can spread bacteria around the sink and nearby surfaces. Cooking to a safe internal temperature is what matters. Your steak does not need a shower. It needs a paper towel and confidence.
Step 3: Pick the Best Salt
Kosher salt is the steakhouse favorite for a reason. Its larger crystals are easier to pinch, distribute, and see. That makes it less likely you will accidentally overdo it. Fine table salt is much denser by volume, so a teaspoon of table salt can taste saltier than a teaspoon of coarse kosher salt. If you switch salt types, adjust carefully.
For most home cooks, kosher salt is the best everyday steak seasoning salt. Flaky sea salt is wonderful as a finishing salt after cooking, but it is usually too expensive and delicate to use as the main pre-cooking salt. Save the fancy flakes for the final flourish, when you want your steak to sparkle like it just got promoted.
Step 4: Use Enough Salt, But Do Not Panic
Steak is thick, dense, and rich. It needs more salt than you may expect. A light sprinkle may season the surface, but it will not do much for the center. For a 1-inch to 1 1/2-inch steak, season all sides evenly, including the edges. If the steak has a fat cap, season that too. Fat carries flavor beautifully.
A useful visual rule is to create a light, even coating across the surface. You should see salt distributed everywhere, but the steak should not look like it rolled through a snowbank. For very thick steaks, season more generously. For thinner steaks, use a lighter hand because there is less interior meat to balance the salt.
Step 5: Season From Above for Even Coverage
Hold your hand 8 to 12 inches above the steak and sprinkle the salt from that height. This helps the seasoning fall evenly rather than landing in salty little clumps. Turn the steak and repeat on the other side. Then season the edges.
Even seasoning is one of the simplest ways to make steak taste professional. It prevents one bite from being bland and the next from tasting like the ocean filed a complaint. If you are using pepper or a dry rub, apply it evenly as well.
Step 6: Know When to Salt the Steak
Timing matters. For the best crust and deeper seasoning, salt your steak at least 45 minutes before cooking. Even better, salt it several hours ahead or overnight and let it rest uncovered on a rack in the refrigerator. This dry-brining method allows salt to move into the meat while the surface dries.
If you do not have that much time, season immediately before cooking. What you generally want to avoid is salting the steak and then letting it sit for only 10 to 30 minutes at room temperature. During that window, salt draws moisture to the surface, but the liquid may not have enough time to reabsorb. The result can be a wetter surface and a weaker sear.
So remember the easy rule: salt early or salt right before cooking. The awkward middle zone is where crust dreams go to nap.
Step 7: Decide Whether to Add Black Pepper Before or After Cooking
Freshly cracked black pepper is classic for steak seasoning. It adds sharpness, aroma, and a subtle heat that balances beef fat. However, pepper can burn over very high heat, especially in a ripping-hot cast-iron pan or over intense grill flames.
If you like a bold pepper crust, apply coarse black pepper before cooking and accept a little charred flavor. For a cleaner pepper taste, add some before cooking and finish with more after slicing. For steak au poivre style, press cracked peppercorns into the meat and cook with intention, because that dish celebrates pepper rather than treating it as background music.
Step 8: Keep It Simple for Premium Cuts
High-quality ribeye, strip steak, porterhouse, and filet mignon often need only kosher salt and freshly ground black pepper. That is not laziness. That is restraint. When the beef is well-marbled and flavorful, simple seasoning lets the steak shine.
A ribeye has rich fat and deep flavor. A strip steak has a firm bite and bold beefiness. A filet is tender and mild. Adding six spices to every steak can make them all taste the same. Start simple, then add more only when it improves the experience.
Step 9: Use Garlic, Onion, and Paprika Carefully
Garlic powder, onion powder, smoked paprika, chili powder, mustard powder, cayenne, rosemary, thyme, and brown sugar can all work in steak seasoning blends. The key is balance. Garlic powder and onion powder add savory depth. Smoked paprika adds color and gentle smoke. Cayenne adds heat. Dried herbs add aroma.
Be careful with sugar in dry rubs. Sugar helps browning, but it can burn quickly over high heat. If you are grilling over direct heat or searing in cast iron, use very little sugar or save sweet sauces for the end. A burnt sugar crust is not “caramelized.” It is a tiny edible warning sign.
Step 10: Match Seasoning to the Cooking Method
For grilling, salt and pepper are reliable because they handle high heat well. You can add garlic powder or smoked paprika, but avoid thick wet coatings that may drip and burn. For cast-iron steak, a simple dry seasoning creates excellent contact with the pan. Add butter, garlic cloves, and herbs near the end for basting rather than at the beginning, because butter and fresh herbs can burn if exposed to high heat too long.
For reverse-seared steak, season early and let the meat rest uncovered in the refrigerator. Cook it gently first, then sear at the end. This method gives salt more time to work and helps produce a very dry surface for crust formation. For thin steaks, season right before cooking and use very high heat for a fast sear.
Step 11: Let the Steak Rest After Cooking
Seasoning does not end when the steak leaves the heat. Resting is part of the flavor process. After cooking, let the steak rest for 5 to 10 minutes, depending on thickness. This gives juices time to redistribute and helps the final texture feel more tender.
Food safety guidance commonly recommends cooking whole cuts of beef to 145°F with a 3-minute rest. Many steak lovers prefer lower doneness levels such as medium-rare, but anyone cooking for children, older adults, pregnant people, or immunocompromised guests should be especially careful with safe temperatures. A reliable instant-read thermometer is the best way to know where your steak stands. Guessing is fun for carnival games, not dinner.
Step 12: Finish With Flavor
After resting, taste a small slice if possible. If the steak needs a final lift, add a pinch of flaky sea salt, a crack of black pepper, a spoonful of herb butter, or a drizzle of good olive oil. You can also finish with chimichurri, compound butter, roasted garlic, lemon zest, or a pan sauce.
The finishing touch should enhance the steak, not hide it. A little flaky salt on sliced steak adds crunch and brightness. Herb butter melts into the crust. Chimichurri adds acidity and freshness, especially for richer cuts. Steak sauce is fine if you love it, but if you seasoned and cooked the steak well, you may not need it.
Best Steak Seasoning Blend for Beginners
If you want a simple homemade steak seasoning, start with this balanced blend:
- 2 tablespoons kosher salt
- 1 tablespoon coarse black pepper
- 1 tablespoon garlic powder
- 1 tablespoon onion powder
- 1 teaspoon smoked paprika
- 1/2 teaspoon dried thyme
- 1/4 teaspoon cayenne pepper, optional
Mix the ingredients and store the blend in an airtight jar. Use it lightly at first because it already contains salt. For thick steaks, apply it 45 minutes before cooking. For thin steaks, apply right before cooking. This blend works well for sirloin, strip steak, ribeye, and grilled steak tips.
Dry Brine vs. Marinade: Which Is Better?
When to Dry Brine
Dry brining is ideal for thick, tender cuts such as ribeye, New York strip, porterhouse, T-bone, and filet mignon. It improves seasoning and crust without adding surface moisture. To dry brine, salt the steak, place it on a wire rack over a tray, and refrigerate uncovered for several hours or overnight.
When to Use a Marinade
Marinades are better for cuts such as flank, skirt, hanger, and sirloin flap. These steaks often benefit from acid, oil, salt, and aromatics. A good marinade might include soy sauce, olive oil, lime juice, garlic, black pepper, and a little brown sugar. Do not marinate too long with strong acids, or the surface can become mushy.
For tender premium cuts, skip heavy marinades. You paid for beef flavor, not a mystery bath.
Common Steak Seasoning Mistakes
Using Too Little Salt
The most common mistake is underseasoning. A steak has a lot of interior meat, and the seasoning must carry each bite. If the outside tastes good but the middle tastes flat, you probably needed more salt or more time.
Seasoning Unevenly
Sprinkling from too close can create patches. Season from above and rotate the steak. Do not forget the sides, especially on thick cuts.
Cooking a Wet Steak
Moisture prevents browning. Pat the steak dry before seasoning, and if dry brining, let it rest uncovered on a rack in the refrigerator.
Burning Delicate Seasonings
Fresh garlic, fresh herbs, butter, and sugar can burn over high heat. Add them near the end of cooking or use them as finishing ingredients.
Skipping the Rest
Cutting a steak immediately after cooking sends flavorful juices onto the board instead of into your mouth. Let it rest. The steak has worked hard. Give it a tiny vacation.
Specific Examples for Different Steak Cuts
Ribeye
Use kosher salt and coarse black pepper. Dry brine for at least 45 minutes or overnight. Because ribeye has plenty of fat, it can handle bold seasoning and high heat. Finish with garlic herb butter if you want steakhouse flavor.
New York Strip
Season generously with kosher salt and pepper. Add a small amount of garlic powder if desired. Strip steak has a strong beef flavor, so simple seasoning works beautifully.
Filet Mignon
Use salt, pepper, and maybe a touch of garlic powder. Filet is lean and tender but mild, so it pairs well with compound butter, pan sauce, or a bacon wrap. Avoid overcooking.
Sirloin
Sirloin benefits from a slightly bolder seasoning blend. Try salt, pepper, garlic powder, onion powder, and smoked paprika. Slice against the grain for tenderness.
Flank or Skirt Steak
Use a marinade or a bold rub. These cuts love acid, garlic, chili, cumin, lime, soy sauce, and herbs. Cook quickly over high heat and slice thinly against the grain.
How Much Seasoning Should You Use?
The exact amount depends on steak thickness, salt type, and personal taste. As a general guideline, use about 3/4 to 1 teaspoon of kosher salt per pound of steak. For very thick steaks, you may need a little more. For thin cuts, use less. If using a salty store-bought seasoning blend, read the label and start lightly.
Remember that you can add finishing salt after cooking, but you cannot remove salt once it has taken over. Season confidently, not recklessly. There is a difference between “bold” and “the Dead Sea with grill marks.”
Experience-Based Tips for Better Steak Seasoning
After cooking many steaks at home, one lesson becomes obvious: the best steak seasoning is not always the most complicated one. The first time many home cooks try to “upgrade” steak, they reach for every jar in the spice cabinet. Garlic powder? Sure. Paprika? Why not. Cumin? It was standing there. Cinnamon? Absolutely not, but somehow it gets invited. The result is often a steak that tastes busy instead of better.
The real improvement usually comes from timing, dryness, and heat. A steak seasoned with only kosher salt and black pepper can taste incredible if it is salted early, dried well, cooked over strong heat, rested properly, and sliced correctly. Meanwhile, a steak covered in twelve spices can still taste disappointing if it hits the pan wet and cold.
One practical experience is to season two steaks differently on the same night. Salt one steak 45 minutes before cooking and salt the other right before cooking. Cook them the same way. You will notice how the earlier-salted steak often develops a better crust and more even flavor. This small experiment teaches more than reading ten recipes because you can taste the difference yourself.
Another useful habit is keeping notes. Steak cooking changes based on thickness, pan type, grill heat, salt brand, and cut. A 1-inch sirloin does not behave like a 2-inch ribeye. A cast-iron skillet holds heat differently than a thin stainless pan. A gas grill may cook more predictably than charcoal, but charcoal adds smoky character. Write down what worked: how long you salted, how much seasoning you used, when you flipped, and what temperature you pulled the steak from the heat. It sounds nerdy, but delicious nerdy is still delicious.
Do not underestimate finishing salt. Many steaks that taste “almost there” after slicing only need a few flakes of salt and a little fat or acid. A pinch of flaky sea salt can wake up the crust. A squeeze of lemon can balance a fatty ribeye. A spoonful of chimichurri can brighten grilled skirt steak. Herb butter can make a lean filet feel luxurious. Finishing is where you adjust the final bite, like tuning a guitar before the solo.
Finally, trust your senses. Look for an even seasoning layer. Listen for a strong sizzle when steak hits the pan. Smell the crust as it browns. Feel the firmness as it cooks, but use a thermometer for accuracy. Taste a slice before serving if you can. Great steak seasoning is not about memorizing one magic formula. It is about understanding what salt, pepper, time, heat, and fat are doing together.
The more you practice, the more relaxed you become. At first, seasoning a steak may feel like defusing a very expensive meat bomb. Eventually, it becomes second nature: dry the steak, salt it well, give it time, cook it hot, rest it, finish it, and enjoy the kind of dinner that makes everyone at the table suddenly very quiet.
Conclusion
Learning how to season a steak is one of the simplest ways to improve your cooking. Start with kosher salt, season evenly, choose the right timing, dry the surface, and use pepper, herbs, garlic, or dry rubs with purpose. For premium cuts, keep the seasoning simple and let the beef lead. For tougher or thinner cuts, consider marinades or bolder spice blends.
The best steak seasoning method is not about showing off. It is about building flavor from the outside in and creating a crust that makes the first bite memorable. Master these 12 steps and you will no longer stare nervously at a raw steak. You will know exactly what to doand your dinner guests may start calling you “chef,” which is legally not binding but emotionally very satisfying.