
A basic candle sconce can be perfectly pleasant, yet still look as though it arrived at your house without a personality. Adding a decorative plaque behind it changes that. The plaque creates scale, introduces color or texture, and turns a small metal candleholder into a substantial piece of custom wall decor.
This candle sconce upgrade is also wonderfully flexible. A carved wooden plaque can create an antique European look. A smooth rectangular board can feel modern and architectural. Distressed paint brings farmhouse charm, while black and brass can make the same project look surprisingly expensive. Best of all, you do not need a cabinetmaker’s workshop or a television crew dramatically gasping at the reveal.
The key is to treat the plaque as more than decoration. It becomes the structural backplate supporting the sconce, the hanging hardware, and the overall visual composition. That means proportion, fastening, wall anchors, finish preparation, and candle safety all deserve attention.
Why Add a Plaque Behind a Candle Sconce?
A plaque gives a small sconce greater visual weight. On a large wall, a narrow candleholder may appear lost, especially beside substantial furniture, mirrors, or artwork. A plaque frames the fixture and helps it occupy enough space to look intentional.
It also makes mismatched pieces cooperate. Perhaps the sconce is black metal, but your room contains warm wood tones. A stained wooden plaque connects the two. Perhaps the sconce has an ornate shape, but your decor is simpler. A clean painted board can calm it down. Think of the plaque as a diplomatic negotiator for home accessories.
Other advantages include:
- Covering old wall holes or paint marks
- Creating a matched pair from two slightly different sconces
- Adding architectural detail without permanent remodeling
- Making an inexpensive thrift-store find look custom
- Providing a stronger mounting surface for the sconce
- Allowing the entire assembly to be removed as one piece
Choose the Right Plaque and Sconce
Start With Proportion
The plaque should extend beyond the sconce on every side. As a practical design starting point, leave approximately 2 to 4 inches of visible plaque around the widest parts of the candleholder. Ornate plaques may need more breathing room because carved edges visually compete with the metalwork.
Before buying or cutting anything, place the sconce on a piece of cardboard. Draw several plaque shapes around it and cut them out. Hold each mock-up against the wall. This ten-minute experiment can prevent the classic DIY mistake of building something beautifully, then discovering it has the proportions of a postage stamp wearing a chandelier.
Consider the Plaque Material
Solid wood is attractive, easy to paint, and strong enough to accept screws. Medium-density fiberboard, commonly called MDF, provides a smooth painted finish but should stay indoors and away from moisture. Plywood is stable and practical, although exposed edges may need trim or edge banding. A metal plaque can work well for industrial decor and is preferable when heat resistance is a concern.
If you plan to use a real flame, remember that wood and MDF are combustible. The National Fire Protection Association recommends keeping burning candles at least 12 inches from anything that can burn, using sturdy holders, and extinguishing candles whenever you leave the room or go to bed. For a wall-mounted project with a decorative wooden plaque, a quality flameless candle is generally the safer and more practical choice.
Inspect the Sconce
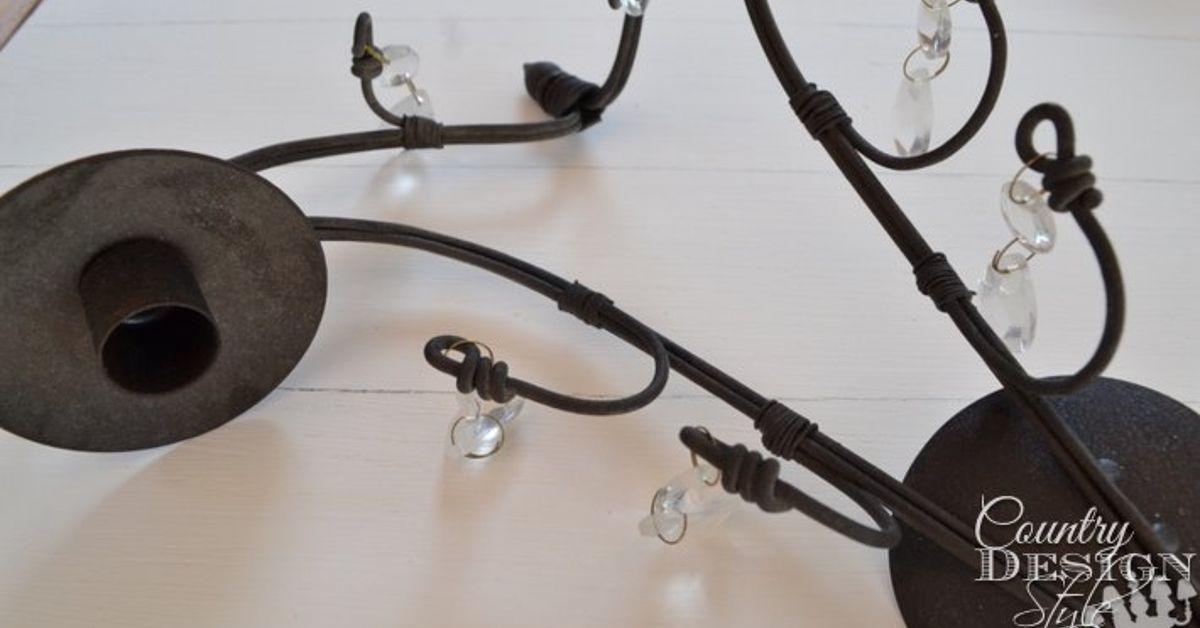
Look for existing screw holes, mounting tabs, brackets, or a flat backplate. The easiest sconces to upgrade are those that already have holes through which screws or small bolts can pass.
A vintage sconce may have rust, bent candle cups, sharp edges, or weakened welds. Light surface rust can often be cleaned and refinished, but cracked metal or loose structural joints require repair before installation. Decorative optimism is not a substitute for sound hardware.
Tools and Materials
Gathering everything before you begin keeps the project moving and reduces the chance that you will wander through the house holding a drill while asking where the tape measure went.
- Candle sconce
- Wooden, MDF, plywood, or metal plaque
- Tape measure and pencil
- Level or combination square
- Drill and appropriately sized drill bits
- Screwdriver
- Stud finder
- Sandpaper in medium and fine grits
- Cleaning cloths
- Primer and paint, stain, or clear finish
- Small screws, machine bolts, washers, and nuts as needed
- D-rings, keyhole hangers, or a small French cleat
- Wall screws and anchors rated for the finished weight
- Painter’s tape
- Safety glasses and work gloves
- Flameless LED candle
How to Upgrade a Candle Sconce With a Plaque
Step 1: Clean and Inspect Both Pieces
Remove dust, wax, oil, and grime from the sconce and plaque. Painted furniture and decor should be cleaned before sanding or priming because grease and residue can interfere with adhesion. Rinse away cleaner residue and allow everything to dry thoroughly.
If the metal has loose paint or rust, remove unstable material with a wire brush, sanding sponge, or suitable sandpaper. Wear eye protection. Check the candle cup and mounting points for movement. Tighten screws or repair loose components before adding a new finish.
Step 2: Plan the Layout
Set the plaque faceup on a protected work surface. Position the sconce on top and measure from both sides, the top, and the bottom. Do not trust your eyes alone. Human vision is excellent at appreciating sunsets and surprisingly bad at centering hardware by an eighth of an inch.
Use painter’s tape to mark the vertical centerline of the plaque. Mark the horizontal location of the candle cup as well. If you are making two sconces, create a paper template showing every screw hole. Flip or duplicate the template for the second plaque so the pair matches.
Also confirm that the candle can be inserted and removed easily. Leave enough space above the cup for the candle, chimney, or glass hurricane you plan to use.
Step 3: Prepare the Plaque
Sand bare wood in the direction of the grain. Smooth rough edges, soften sharp corners, and remove all sanding dust before finishing. For stained wood, proper preparation helps the color absorb more evenly. A clear protective topcoat can improve durability after the stain dries.
For a painted plaque, fill dents and unwanted holes with wood filler. Sand the repairs flush, then apply a suitable primer. Primer is especially helpful when painting MDF, laminate, glossy finishes, dark colors, or wood with visible knots and tannins.
Popular finish ideas include:
- Matte black for a modern or Gothic look
- Warm white with lightly distressed edges
- Walnut stain paired with black iron
- Navy blue with antique brass
- Sage green for cottage-inspired rooms
- Glossy lacquer for a dramatic, contemporary finish
- Layered paint with dry brushing to emphasize carved details
Finish the front, edges, and back whenever possible. Coating both sides helps the plaque look polished and reduces uneven moisture absorption. Let the finish cure according to the product instructions rather than merely waiting until it feels dry to the touch.
Step 4: Refinish the Metal Sconce
If the existing metal finish works with your decor, leave it alone. A little age can be charming. If it looks less “antique treasure” and more “forgotten garage bracket,” refinishing will help.
Clean and sand the metal enough to remove loose material and dull glossy surfaces. Use a primer designed for the metal’s condition. Clean or lightly rusted metal can use a clean-metal primer, while heavily rusted steel may need a rust-specific primer. Apply several light paint coats rather than one thick coat that drips like frosting on a hot cupcake.
Metallic spray paint can coordinate an inexpensive sconce with brass, bronze, nickel, or copper accents elsewhere in the room. Primer and adequate curing time improve adhesion and durability.
Step 5: Attach the Sconce to the Plaque
Once both finishes have cured, return the sconce to its marked position. Mark each mounting hole and drill pilot holes into the plaque. A pilot hole reduces the risk of splitting solid wood and helps screws enter straight.
Use mechanical fasteners rather than relying solely on glue. Short wood screws may work when the sconce has flat mounting tabs and the plaque is thick enough. Stop before the screw tip breaks through the back.
For a stronger connection, drill completely through the plaque and use small machine bolts with washers and locking nuts on the back. Countersink or recess the hardware when necessary so the plaque can sit flat against the wall. Washers spread the load and help protect the wood from crushing.
If the sconce has no usable mounting holes, attach discreet metal clips or brackets around its frame. Avoid drilling brittle cast metal unless you have the correct equipment and know the material can tolerate it.
Do not place soft foam, hot glue, ribbon, or other heat-sensitive materials near a candle cup. Even when you plan to use an LED candle, building the assembly properly makes it safer and more durable.
Step 6: Add Hanging Hardware
Weigh the completed plaque and sconce together. Choose hanging hardware with a capacity comfortably above that weight. Two D-rings are convenient for medium-size plaques, while keyhole plates create a close-to-the-wall appearance. A small French cleat offers excellent stability for a wide or heavy assembly.
Mount the hanging hardware into solid portions of the plaque. Use screws short enough that they do not emerge through the decorative face. Position D-rings equally from the top so the plaque hangs level.
Adhesive picture-hanging strips may support certain lightweight decorative plaques when used exactly as directed, but their weight and surface limitations matter. Some products require cured paint, clean surfaces, and a waiting period before loading. For a projecting sconce that may be touched while inserting a candle, screws or a cleat usually provide greater confidence.
Step 7: Mount the Finished Sconce on the Wall
Use a stud finder to locate framing. Whenever practical, fasten at least one mounting point into a wall stud. If the position does not align with a stud, select anchors designed for the wall material and rated for more than the project’s total weight.
Drywall, plaster, brick, block, and concrete require different fasteners. Check both the anchor rating and its compatibility with the wall. Secure wall-mounted items with level marks and appropriate hardware rather than choosing an anchor because it happens to be the mysterious plastic object at the bottom of the toolbox.
Before drilling, consider whether pipes or electrical wiring may be hidden behind the intended location. Mark the top and center of the plaque with painter’s tape, install the screws or cleat, and check everything with a level before tightening.
Step 8: Add the Candle and Final Details
Place the candle in the cup and gently test the assembly. Nothing should wobble, tilt, or scrape the plaque. Confirm that the candle fits securely and does not make the sconce top-heavy.
Battery-powered wax candles are ideal for this project because they provide flickering light without placing an open flame near wood, paint, wall coverings, curtains, or artwork. Salvaged sconces and flameless candles are also commonly paired in budget-friendly decorating projects.
Choose a warm-white LED candle with a timer or remote control. A timer is particularly useful when the sconce is mounted high enough that turning it on manually would require a ladder and an unnecessarily adventurous evening routine.
Design Variations to Try
Antique European Style
Use an arched or shield-shaped wooden plaque, dark walnut stain, and an aged brass sconce. Add a subtle glaze around carved details. A narrow gold line near the edge can make the plaque resemble an old architectural fragment.
Modern Minimalist Style
Choose a plain rectangular board with crisp edges. Paint the plaque and sconce the same matte color so they read as one sculptural object. Black, charcoal, cream, and deep olive are strong choices.
Farmhouse Style
Paint a beadboard or routed plaque warm white, then lightly sand the raised edges. Pair it with a black iron sconce and an ivory flameless taper. Keep distressing restrained; the goal is “gently aged,” not “escaped from a raccoon-operated workshop.”
Coastal Style
Use pale blue, weathered gray, or whitewashed wood. A brushed nickel or white sconce keeps the look fresh. Avoid attaching rope close to the candle cup, particularly if there is any chance a real flame will be used.
Seasonal Style
Keep the main plaque neutral and change removable decorations during the year. Small wreaths, greenery, ribbons, or floral picks can be attached lower on the plaque, safely away from the candle. Flameless candles make seasonal embellishments much easier to use safely.
Common Problems and Simple Fixes
The Sconce Sits Crooked
Loosen the fasteners slightly, place a level against the vertical section of the sconce, adjust it, and retighten. If the mounting holes are oversized, add washers to prevent movement.
The Plaque Rocks Against the Wall
Protruding bolt heads or nuts may be preventing the back from sitting flat. Recess the hardware or add equal-size felt bumpers near all four corners. Bumpers also protect the wall from scratches.
The Paint Scratches Easily
The finish may not have cured fully, or the surface may have been glossy, oily, or insufficiently primed. Allow additional curing time. For serious adhesion failure, sand the affected area, clean it, apply the correct primer, and repaint.
The Candle Looks Too Small
Try a taller taper, a small glass chimney, or a wider LED pillar if the holder supports it. The candle should relate to the scale of the plaque without overwhelming the metal cup.
The Entire Piece Feels Too Busy
Simplify one component. Pair an ornate sconce with a plain plaque or an elaborate plaque with a restrained candleholder. When the plaque, metalwork, paint finish, candle, ribbon, and surrounding wall art are all demanding applause, nobody wins.
Maintenance and Safety
Dust the plaque and sconce with a soft cloth. Avoid abrasive cleaners that can damage painted or metallic finishes. Check the wall mounting, plaque hardware, and candle cup periodically, especially if the candle is frequently removed or the fixture is located near a door that causes vibration. Routine inspection and gentle cleaning help wall sconces remain secure and preserve their finish.
Replace damaged LED candles and inspect their battery compartments. Button or coin batteries can present a serious ingestion hazard, so choose products with secure battery compartments and keep loose batteries away from children.
When using a real candle, follow the candle and sconce manufacturers’ instructions, keep the flame at least 12 inches from combustible materials, and never leave it unattended. Do not mount a burning candle near curtains, bedding, paper decorations, open shelving, drafts, children, or pets. A decorative wooden backplate and a real flame are rarely an ideal combination; a flameless candle delivers the atmosphere without turning your wall decor into an emergency anecdote.
Practical Experience Notes From This Type of Sconce Upgrade
The most valuable lesson from upgrading a candle sconce with a plaque is that the glamorous part takes approximately five minutes. Choosing paint colors, imagining antique finishes, and holding the pieces together for a preview are delightful. The less glamorous workmeasuring, cleaning, sanding, drilling pilot holes, and waiting for finishes to cureis what makes the final piece look professional.
A common early surprise is how much larger the plaque needs to be. When the sconce is lying on a table, a narrow border may appear sufficient. Once the piece is placed on a wall, especially above a console or beside a mirror, that same plaque can look undersized. Cardboard templates solve this problem better than measurements alone. Testing three silhouettes often reveals that the boldest option looks the most balanced from across the room.
Another useful experience is learning that centering the entire sconce is not always the same as centering its candle cup. Some decorative sconces contain scrolls or leaves that extend farther on one side. Centering the outermost metalwork may leave the candle looking oddly misplaced. In many cases, aligning the candle cup with the plaque’s centerline produces a more visually stable result, even when the ornamental frame is slightly asymmetrical.
Finishing also rewards restraint. Distressing looks convincing when it appears where natural wear would occuralong raised edges, corners, and carved details. Sanding random patches across the middle can make a plaque look less like an antique and more like it lost an argument with an orbital sander. Starting with subtle wear is wise because more can always be added. Putting paint back is considerably less entertaining.
Spray-painting the sconce separately from the plaque usually creates the cleanest result. Painting them after assembly may seem faster, but it can leave heavy buildup around the contact points and make future repairs difficult. Separate finishing also allows contrasting colors and prevents accidental overspray from turning stained wood into a sparkly metallic fog bank.
Hardware decisions often become the hidden turning point. Glue may feel convenient, particularly when the sconce is lightweight, but a wall-mounted candleholder projects outward and experiences leverage whenever someone inserts or removes a candle. Screws, bolts, washers, and properly rated wall anchors create a much more dependable assembly. Mechanical fastening may not be glamorous, but neither is watching your handcrafted sconce descend from the wall during dinner.
It is also helpful to assemble the project completely before choosing the wall hardware. The plaque may feel light on its own, while the metal sconce, candle, bolts, and decorative additions noticeably increase the total weight. Selecting anchors from the completed weight avoids undersizing the hardware.
Wall placement deserves a full-size test. Tape the cardboard plaque template to the wall and stand back from several locations. Check the view from the doorway, the sofa, and the adjacent room. A sconce beside artwork may need to align with the artwork’s center, while a pair flanking a mirror usually looks best when both pieces share the same height and distance from the frame.
For paired sconces, measure from a fixed architectural feature rather than from nearby furniture that may move. Use the mirror edge, fireplace opening, door casing, or wall centerline as the reference. A laser level is helpful, but a standard level and careful measurements work perfectly well. The crucial ingredient is resisting the urge to say, “That looks close enough,” because paired wall decor has a special talent for announcing tiny differences.
Flameless candles improve the experience more than expected. Besides reducing fire concerns, they eliminate melted wax, smoke marks, soot, and the need to reach the sconce with a lighter. Timer-equipped candles can switch on automatically each evening, making the finished project feel like permanent ambient lighting rather than decor that requires daily negotiations.
The final practical lesson is to stop at the right moment. Once the plaque, finish, sconce, and candle work together, extra embellishment may not improve the design. A small ribbon, transfer, stencil, medallion, or strip of molding can be effective, but adding all five is how an elegant sconce becomes a craft-store traffic jam.
Conclusion
Adding a plaque behind a candle sconce is a manageable DIY upgrade with a large decorative payoff. The plaque improves proportion, supports the candleholder, connects the fixture to the room’s color palette, and gives an inexpensive sconce the presence of custom wall decor.
The best results come from planning the scale with a cardboard template, preparing each surface carefully, using mechanical fasteners, and choosing wall anchors for the completed weight. Finish the project with a flameless LED candle for warm ambiance without placing an open flame against a combustible backplate.
Whether your style is farmhouse, traditional, coastal, industrial, or modern, the same simple combinationa plaque, a sconce, thoughtful hardware, and a good finishcan create a wall accent that looks far more elaborate than the project actually is.
Note: This article synthesizes established U.S. guidance on candle safety, wall mounting, surface preparation, wood finishing, metal priming, and decorative sconce installation. Always follow the instructions and weight ratings supplied with your specific candle, paint, fasteners, anchors, and hanging hardware.