
A disabled iPod touch can make an ordinary afternoon feel like a tiny digital disaster. One minute you are trying te device is disabled, unavailable, or unwilling to cooperate with civilization.
The good news is that a disabled iPod touch is not necessarily broken. In most cases, the device has temporarily locked itself after too many incorrect passcode attempts. You may be able to regain access by waiting and entering the correct code. When the passcode is truly forgotten, however, Apple’s official solution is to erase the iPod and set it up again.
This guide explains four practical ways to unlock a disabled iPod touch using the passcode timer, a Mac, a Windows PC, or Find My. It also covers backups, recovery mode, Activation Lock, common restoration errors, and a few lessons learned from real-world troubleshooting.
What Does “iPod Is Disabled” Mean?
An iPod touch becomes disabled after several incorrect passcode attempts. Depending on the software version and the number of failed entries, the screen may display a waiting period, a disabled message, or a prompt to connect the device to a computer.
The lockout is a security feature rather than a software glitch. It helps prevent someone from repeatedly guessing a passcode until the device opens. Apple’s iPod touch documentation states that repeated failed passcode attempts can lock the user out and that a forgotten passcode must be removed by erasing the device. article mainly applies to the iPod touch. Older iPod classic, nano, and shuffle models use different software and may not display the same disabled-device messages.
Before You Try to Unlock the iPod
Confirm whether you know the passcode
If you remember the correct passcode, stop guessing random combinations. Additional mistakes may extend the lockout or trigger an automatic erase if that security option was previously enabled.
Look for an existing backup
When a passcode has been forgotten, the restoration process removes the iPod’s current information and settings. A previous iCloud or computer backup may allow you to recover photos, app data, settings, and other stored information afterward.
On a Mac, backups can be managed through Finder. On a Windows PC, they can be viewed through the Apple Devices app or iTunes. Apple also provides specific locations for finding locally stored backup folders. pare the essentials
- A compatible USB or Lightning cable that supports data transfer
- A Mac or Windows PC for the computer-based methods
- The Apple Account previously used on the iPod
- A stable internet connection for downloading restoration software
- Enough time to complete setup and restore a backup
Way 1: Wait for the Lockout Timer and Enter the Correct Passcode
This is the only method that may unlock a disabled iPod without erasing it. It works only when the screen displays a temporary waiting period and you genuinely know the correct passcode.
How to use the waiting-period method
- Leave the iPod powered on and avoid entering more passcodes.
- Wait until the countdown or lockout period ends.
- Carefully enter the correct passcode once.
- If the device opens, create a backup immediately.
Do not treat the timer as an invitation to continue experimenting. “Maybe it was the dog’s birthday” is not a recovery strategy. If you are uncertain, write down the likely passcodes before attempting another entry and verify them against any password records you keep.
When this method will not work
Waiting does not reveal or reset a forgotten passcode. It also will not help if the device permanently instructs you to connect to a computer. At that point, you will need to erase and restore the iPod using one of the next three methods.
Way 2: Restore the Disabled iPod with Finder on a Mac
On a Mac running macOS Catalina or later, Finder manages connected iPods. Restoring through Finder erases the passcode, reinstalls the latest compatible software, and allows the device to be set up again.
Step 1: Turn off the iPod touch
- Disconnect the iPod from the Mac.
- Press and hold the top button until the power slider appears.
- Drag the slider to turn off the device.
- Wait about one minute so the iPod shuts down completely.
Step 2: Put the iPod into recovery mode
The correct recovery-mode button depends on the model:
- iPod touch 7th generation: Use the Volume Down button.
- iPod touch 6th generation or earlier: Use the Home button.
- Open a Finder window on the Mac.
- Press and hold the correct button on the iPod.
- While continuing to hold the button, connect the iPod to the Mac.
- Keep holding until the recovery-mode or connect-to-computer screen appears.
Apple’s official passcode-recovery instructions identify the Volume Down button for the seventh-generation iPod touch and the Home button for earlier models. p 3: Select Restore in Finder
- Select the iPod in the Finder sidebar.
- When Finder offers the choices to update or restore, choose Restore.
- Allow the Mac to download the required software.
- Keep the iPod connected while the device is erased and restored.
- When the welcome screen appears, set it up as new or restore an available backup.
Choosing Restore reinstalls the operating software and erases the device’s existing information, including the forgotten passcode. t if the download takes too long?
If the software download takes more than approximately 15 minutes, the iPod may exit recovery mode. Let the download finish, turn off the device again, and repeat the recovery-mode steps. You usually do not need to restart the entire download.
Way 3: Restore the iPod with Apple Devices or iTunes on Windows
Windows users can perform the same basic recovery through the Apple Devices app. iTunes may still be used on computers where Apple Devices is not installed or where an older configuration requires it.
Prepare the Windows computer
- Install or update the Apple Devices app from the Microsoft Store.
- If you use iTunes instead, install the newest available version.
- Restart the computer after updating Apple software.
- Use a cable that supports both charging and data transfer.
Apple’s current instructions recommend Windows 10 or later with the Apple Devices app or iTunes installed. er recovery mode
- Turn off and disconnect the iPod.
- Open Apple Devices or iTunes on the PC.
- Hold Volume Down on a seventh-generation iPod touch, or Home on an earlier model.
- Connect the iPod while continuing to hold the appropriate button.
- Release the button only after the recovery screen appears.
Restore through Apple Devices
- Select the iPod in the Apple Devices sidebar.
- Open the General section.
- Select Restore.
- Follow the onscreen instructions.
Restore through iTunes
- Select the small device button near the upper-left corner of iTunes.
- Choose Summary.
- Click Restore iPod.
- Confirm the erase and wait for the process to complete.
The Apple Devices app and iTunes both provide official factory-restoration controls. A factory restore removes the existing information and settings before reinstalling the appropriate device software. Windows does not recognize the iPod
Try another USB port, preferably one built directly into the computer rather than a keyboard or hub. Inspect the cable for damage and confirm that it supports data, not only charging. Restart both the computer and the iPod before repeating recovery mode.
A disabled iPod may not display the usual “Trust This Computer” prompt. Recovery mode is designed to allow restoration when normal communication with the device is blocked. Apple notes that a connected iPod should appear in Finder, Apple Devices, or iTunes when the software and connection are working correctly. 4: Erase the Disabled iPod Remotely with Find My
If Find My was enabled before the iPod became disabled, you may be able to erase it remotely through another Apple device or the Find Devices service on iCloud.com. This method is useful when you cannot immediately connect the iPod to a computer.
Requirements for remote erasing
- Find My must have been enabled on the iPod beforehand.
- The iPod must appear under your Apple Account.
- You must know the Apple Account password.
- The iPod needs to connect to the internet before the erase can complete.
Erase through Find Devices on iCloud.com
- Open Find Devices on iCloud.com using a phone, tablet, or computer.
- Sign in with the Apple Account connected to the iPod.
- Select the disabled iPod from the device list.
- Choose the option to erase the device.
- Confirm the request with your Apple Account credentials.
Erase through the Find My app
- Open Find My on another Apple device signed in to the same account.
- Select the Devices tab.
- Choose the disabled iPod.
- Select Erase This Device.
- Complete the confirmation steps.
If the iPod is offline, the erase request remains pending and runs the next time the device connects to the internet. ember Activation Lock
Erasing an iPod does not automatically make it available to a different owner. If Find My and Activation Lock were active, the iPod may request the Apple Account and password previously associated with it during setup.
Activation Lock is designed to prevent an erased device from being reactivated without the owner’s permission. If you cannot remember the associated Apple Account password, reset it through Apple’s official account-recovery process. Owners who have valid proof of purchase may also be able to submit an Activation Lock support request. to Recover Your Data After Unlocking the iPod
Once the restoration finishes, the iPod displays the setup screen. During setup, you can choose to configure it as a new device or recover information from a backup.
Restore from an iCloud backup
- Connect the iPod to Wi-Fi.
- Proceed through the setup assistant.
- Select the option to restore from an iCloud backup.
- Sign in with your Apple Account.
- Choose the most relevant backup by date and size.
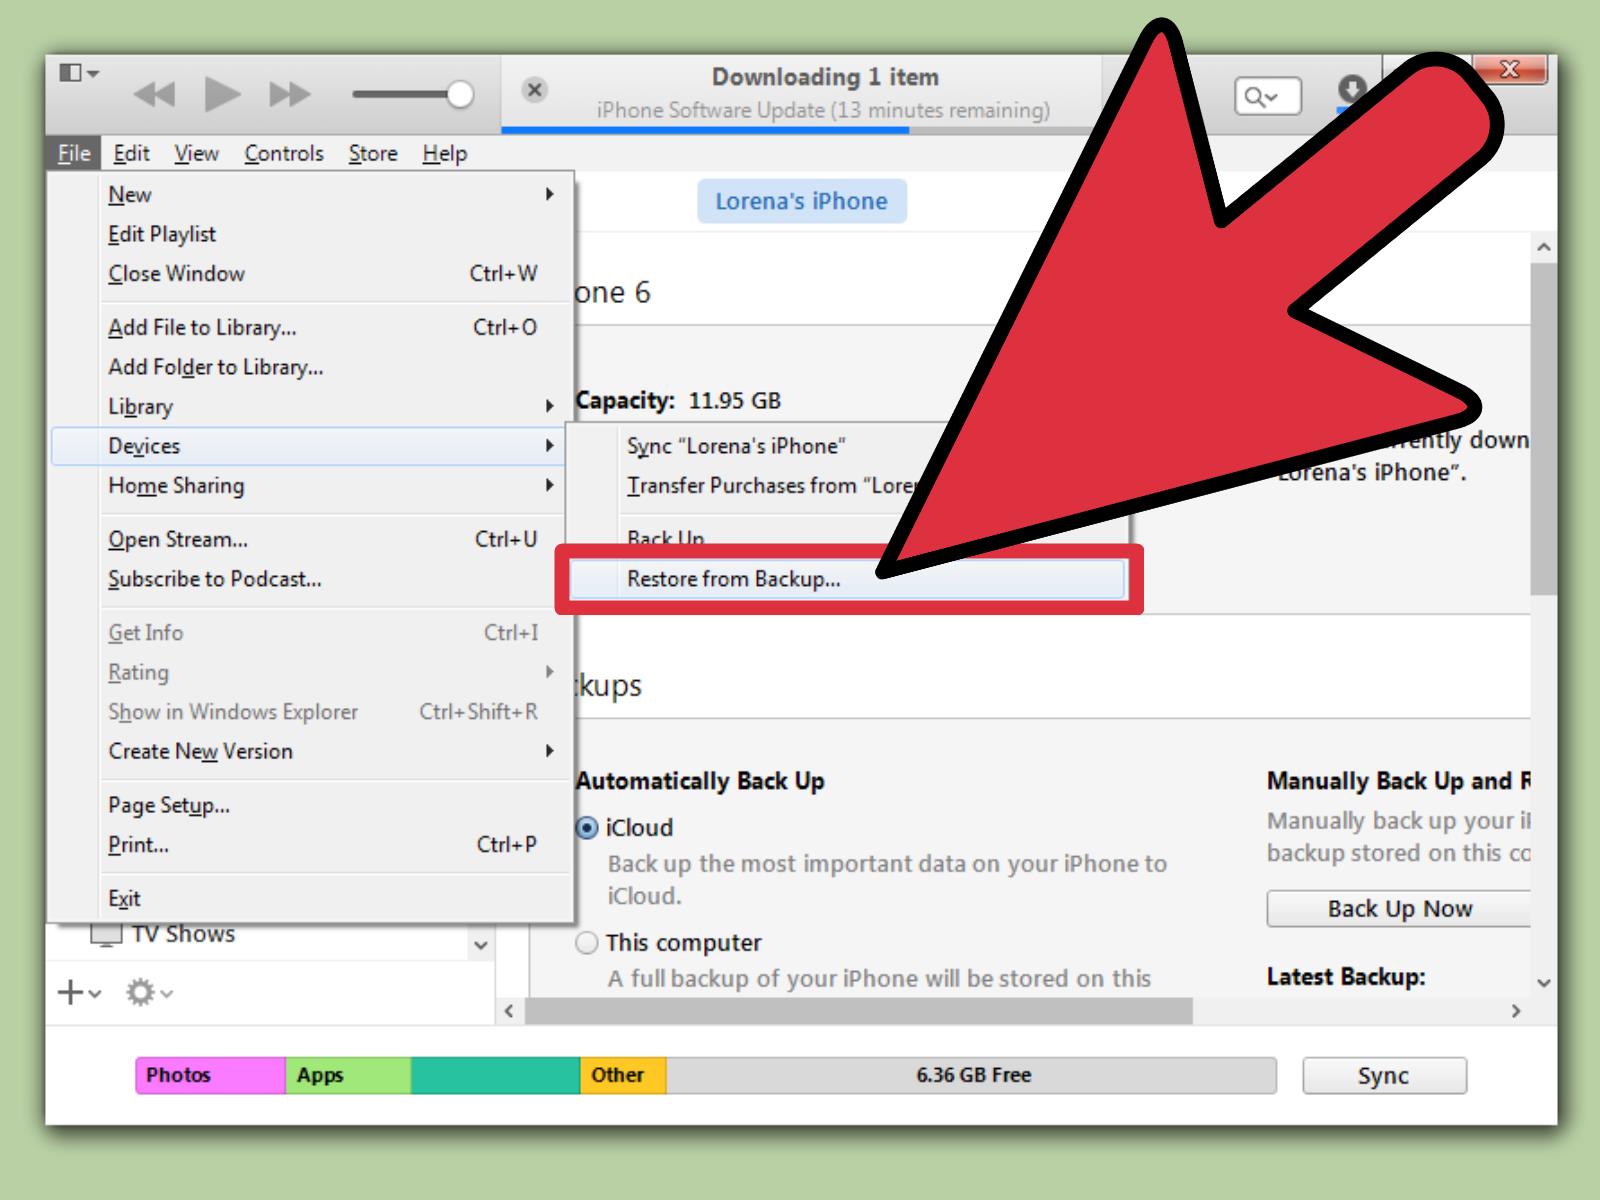
Restore from a computer backup
- Connect the iPod to the Mac or PC containing the backup.
- Open Finder, Apple Devices, or iTunes.
- Select the iPod.
- Choose Restore Backup.
- Select the desired backup and enter its encryption password when required.
An encrypted computer backup requires its separate backup password. The iPod’s old screen passcode is not the same thing as the encrypted-backup password, and forgetting one does not reveal the other. mon Problems During an iPod Restore
The iPod keeps leaving recovery mode
Allow the computer to finish downloading the software, then repeat the button sequence. A slow connection can cause the download to outlast the temporary recovery-mode session.
The computer reports an unknown error
Update macOS, Windows, Apple Devices, or iTunes. Try a different data cable and USB port. Temporarily disconnect unnecessary USB accessories. Security software, connection problems, or unstable hardware can interrupt a restore.
The device still asks for someone else’s Apple Account
This means Activation Lock is still associated with the previous owner. Ask that owner to remove the iPod from their account. A factory reset, recovery-mode restore, or third-party utility cannot legitimately remove ownership verification.
The iPod does not power on
Charge it for at least 30 minutes with a known-good charger and cable. Then retry the recovery-mode sequence. A deeply discharged battery can make a perfectly recoverable iPod look impressively deceased.
No computer is available
Try Find My if it was previously enabled. Otherwise, borrow a compatible computer or visit an Apple Store or Apple Authorized Service Provider. Apple’s official iPod passcode guidance recommends professional assistance when a computer cannot be obtained. uld You Use Third-Party iPod Unlocking Software?
Be cautious with programs claiming to unlock an iPod instantly, preserve all data without the passcode, remove Activation Lock, or perform other feats normally associated with movie hackers and suspicious progress bars.
Some utilities simply automate Apple’s standard recovery process while charging a fee. Others request Apple Account credentials, install questionable drivers, or make promises they cannot reliably fulfill. No legitimate tool can guarantee recovery of unbacked-up encrypted data after the passcode has been forgotten.
The safest approach is to use Finder, Apple Devices, iTunes, Find My, or an authorized Apple service provider. These options may be less dramatic, but boring and trustworthy is an excellent combination when personal data is involved.
Frequently Asked Questions
Can I unlock a disabled iPod without deleting anything?
Only when the lockout is temporary and you know the correct passcode. If the passcode has been forgotten, Apple’s supported recovery procedure requires erasing the iPod.
Can Apple tell me the forgotten passcode?
No. The passcode is not retrievable through Apple support. Apple can guide an authorized owner through erasing, restoring, account recovery, or Activation Lock support.
Will restoring the iPod remove the disabled message?
Yes. A successful factory restoration removes the existing passcode and disabled state. The device can then be configured again, although Activation Lock may require the associated Apple Account.
Does recovery mode remove Activation Lock?
No. Recovery mode removes the local passcode by erasing the device, but it does not remove Apple’s ownership protection.
Can I recover photos after the iPod is erased?
You can recover photos that were included in an iCloud backup, a computer backup, iCloud Photos, or another synchronized service. Photos stored only on the locked iPod may not be recoverable after erasing it.
Why does my iPod charge but not appear on the computer?
The cable may support power without supporting data. Try another Apple-certified or high-quality data cable, change USB ports, update the computer software, and repeat recovery mode.
Conclusion
The best way to unlock a disabled iPod depends on what you still know and what tools are available. When the correct passcode is known, waiting for the timer is the only non-destructive solution. When it is forgotten, use Finder on a Mac, Apple Devices or iTunes on Windows, or Find My to erase the device and begin again.
Restoring a disabled iPod is usually straightforward once recovery mode is entered correctly. The real difference between a minor inconvenience and a personal-data tragedy is whether a recent backup exists. After regaining access, enable automatic backups, verify your Apple Account recovery information, and store the new passcode somewhere secure.
Experiences and Lessons from Unlocking Disabled iPods
One of the most common experiences during an iPod recovery is the belief that the device is not entering recovery mode. Usually, the problem is timing. People press the Home or Volume Down button after connecting the cable, release it when the Apple logo appears, or hold the wrong button for their model. The successful sequence feels slightly unnatural: begin holding the correct button, connect the cable while still holding it, ignore the Apple logo, and continue until the recovery screen appears.
Another recurring lesson is that not every cable is equal. A cable may charge an iPod perfectly while failing to carry data. This creates a wonderfully confusing situation in which the battery icon says everything is fine while Finder or Windows behaves as though no device exists. Switching to a known data-capable cable often solves the problem faster than reinstalling five applications and questioning every decision made since breakfast.
Slow software downloads also cause unnecessary restarts. A user enters recovery mode, selects Restore, waits, and then notices that the iPod has returned to its ordinary disabled screen. This does not necessarily mean the restoration failed. The download may simply have taken longer than the recovery-mode window. Allowing the download to finish and then repeating the recovery-button procedure is usually more effective than canceling everything.
Backups provide the largest difference in the final outcome. Two people can perform exactly the same factory reset and have completely different experiences. The first signs in, selects a recent backup, and watches familiar settings, photos, and applications return. The second discovers that the last backup was created when dinosaurs still had headphone jacks. The restoration procedure cannot recover information that was never backed up or synchronized elsewhere.
Apple Account credentials are another frequent obstacle. Some users successfully erase the iPod and assume the difficult part is over, only to encounter Activation Lock during setup. Before restoring, it is wise to confirm the account email address, test the password, and update trusted phone numbers when possible. Completing account recovery before erasing can prevent a freshly restored iPod from becoming a beautifully polished paperweight.
Secondhand devices create their own complications. An iPod bought at a yard sale or online marketplace may be erased but still linked to the previous owner. The seller must remove it from their Apple Account. A receipt from an informal transaction may not provide the same documentation Apple requires for an Activation Lock support request, so buyers should verify that a used iPod reaches the setup screen before paying.
The final lesson is preventive: create backups while the device is working. A disabled iPod is stressful mainly because the owner is uncertain about what will disappear. Regular iCloud or computer backups turn an erase from a catastrophe into an inconvenience. After restoring the device, use a memorable but secure passcode, maintain current account-recovery details, and test the backup system occasionally rather than assuming the digital safety net is attached.