
Baking in a halogen oven feels a little like giving your countertop a tiny spaceship with a cake mission. It glows, it whirs, it cooks quickly, and if you treat it exactly like a full-size oven, it may reward you with cookies that look confident on the outside and confused in the middle. The good news? Once you understand how heat, airflow, pan size, rack position, and timing work, a halogen oven becomes a surprisingly useful baking tool.
A halogen oven uses a heating element and a fan to circulate hot air around food inside a compact glass bowl. That means it behaves more like a small convection oven than a traditional oven. It heats fast, browns efficiently, and often needs a lower temperature or shorter cooking time than standard recipes suggest. For busy home cooks, small kitchens, RVs, dorm-style cooking setups, or anyone who does not want to heat the entire kitchen for six muffins, this appliance can be a quiet little hero.
This guide explains how to bake in a halogen oven in 11 practical steps, with examples for cakes, cookies, biscuits, casseroles, bread, frozen pastries, and savory bakes. Bring your oven-safe pan, a little patience, and possibly a backup cookie for emotional support.
What Makes Baking in a Halogen Oven Different?
A regular oven heats a large chamber, usually from the bottom, top, or both. A halogen oven concentrates heat in a smaller space and circulates air constantly. This moving heat can brown food faster, dry the surface more quickly, and shorten baking times. That is great for crisp edges, golden toppings, and quick weeknight cooking. It can be tricky for delicate cakes, custards, and thick loaves if the temperature is too high.
The secret is not to fight the appliance. Instead, bake with its strengths: use lower temperatures, leave room for airflow, choose shallow pans when possible, and check doneness early. Your goal is even heat, not a dramatic countertop volcano.
How to Bake in a Halogen Oven: 11 Steps
1. Read Your Halogen Oven Manual First
Before baking anything more ambitious than toast, read the manual for your specific model. Halogen ovens vary by wattage, bowl size, rack height, temperature range, lid design, and whether they include an extender ring. Some models run hotter than the dial suggests, while others need a little extra time to stabilize.
Check whether your model recommends preheating, which rack to use for baking, what cookware is safe, and whether the glass bowl can be lined with foil. Never guess with glass lids, electrical parts, or hot surfaces. The manual is not thrilling beach reading, but neither is “Why My Brownies Smell Like Melted Plastic.”
2. Choose the Right Bakeware
Use oven-safe bakeware that fits comfortably inside the glass bowl without touching the sides, lid, heating element, or fan area. Good choices include small metal cake pans, ceramic ramekins, oven-safe glass dishes, silicone molds rated for oven use, and shallow nonstick pans.
For best airflow, avoid oversized pans that block heat from circulating. A pan that barely squeezes into the bowl may technically fit, but it can prevent the hot air from moving around the food. That often leads to pale bottoms, over-browned tops, and a mood best described as “snack betrayal.”
For cookies, biscuits, pastries, and roasted-style bakes, low-sided pans usually work better than deep pans because air can reach the food more easily. For cakes and quick breads, use a pan with enough depth for rise but not so much mass that the center stays underbaked.
3. Use the Low Rack for Most Baking
Most cakes, muffins, casseroles, quick breads, and brownies bake better on the low rack. The low rack keeps food farther from the intense heat at the top and gives the center more time to cook before the surface browns too much.
The high rack is better for browning, crisping, melting cheese, reheating pizza, or finishing foods that need a golden top. If you bake cookies or pastries on the high rack, watch them closely because they can go from “perfectly golden” to “archaeological artifact” quickly.
If your halogen oven includes an extender ring, use it for taller items such as cakes, bread rolls, or casseroles with toppings. The extra height helps reduce aggressive top browning and improves air circulation.
4. Preheat When Baking Needs Structure
Some halogen ovens heat so quickly that preheating is optional for simple foods. However, for baking recipes that depend on oven spring, structure, or even rising, preheating is helpful. Cakes, muffins, biscuits, scones, puff pastry, and yeast rolls usually perform better when placed into a hot, stable environment.
Preheat for about 3 to 5 minutes unless your manual says otherwise. Because the chamber is small, it usually reaches temperature faster than a full-size oven. Still, do not skip preheating for delicate baked goods unless you enjoy surprise textures.
5. Lower the Temperature from Standard Oven Recipes
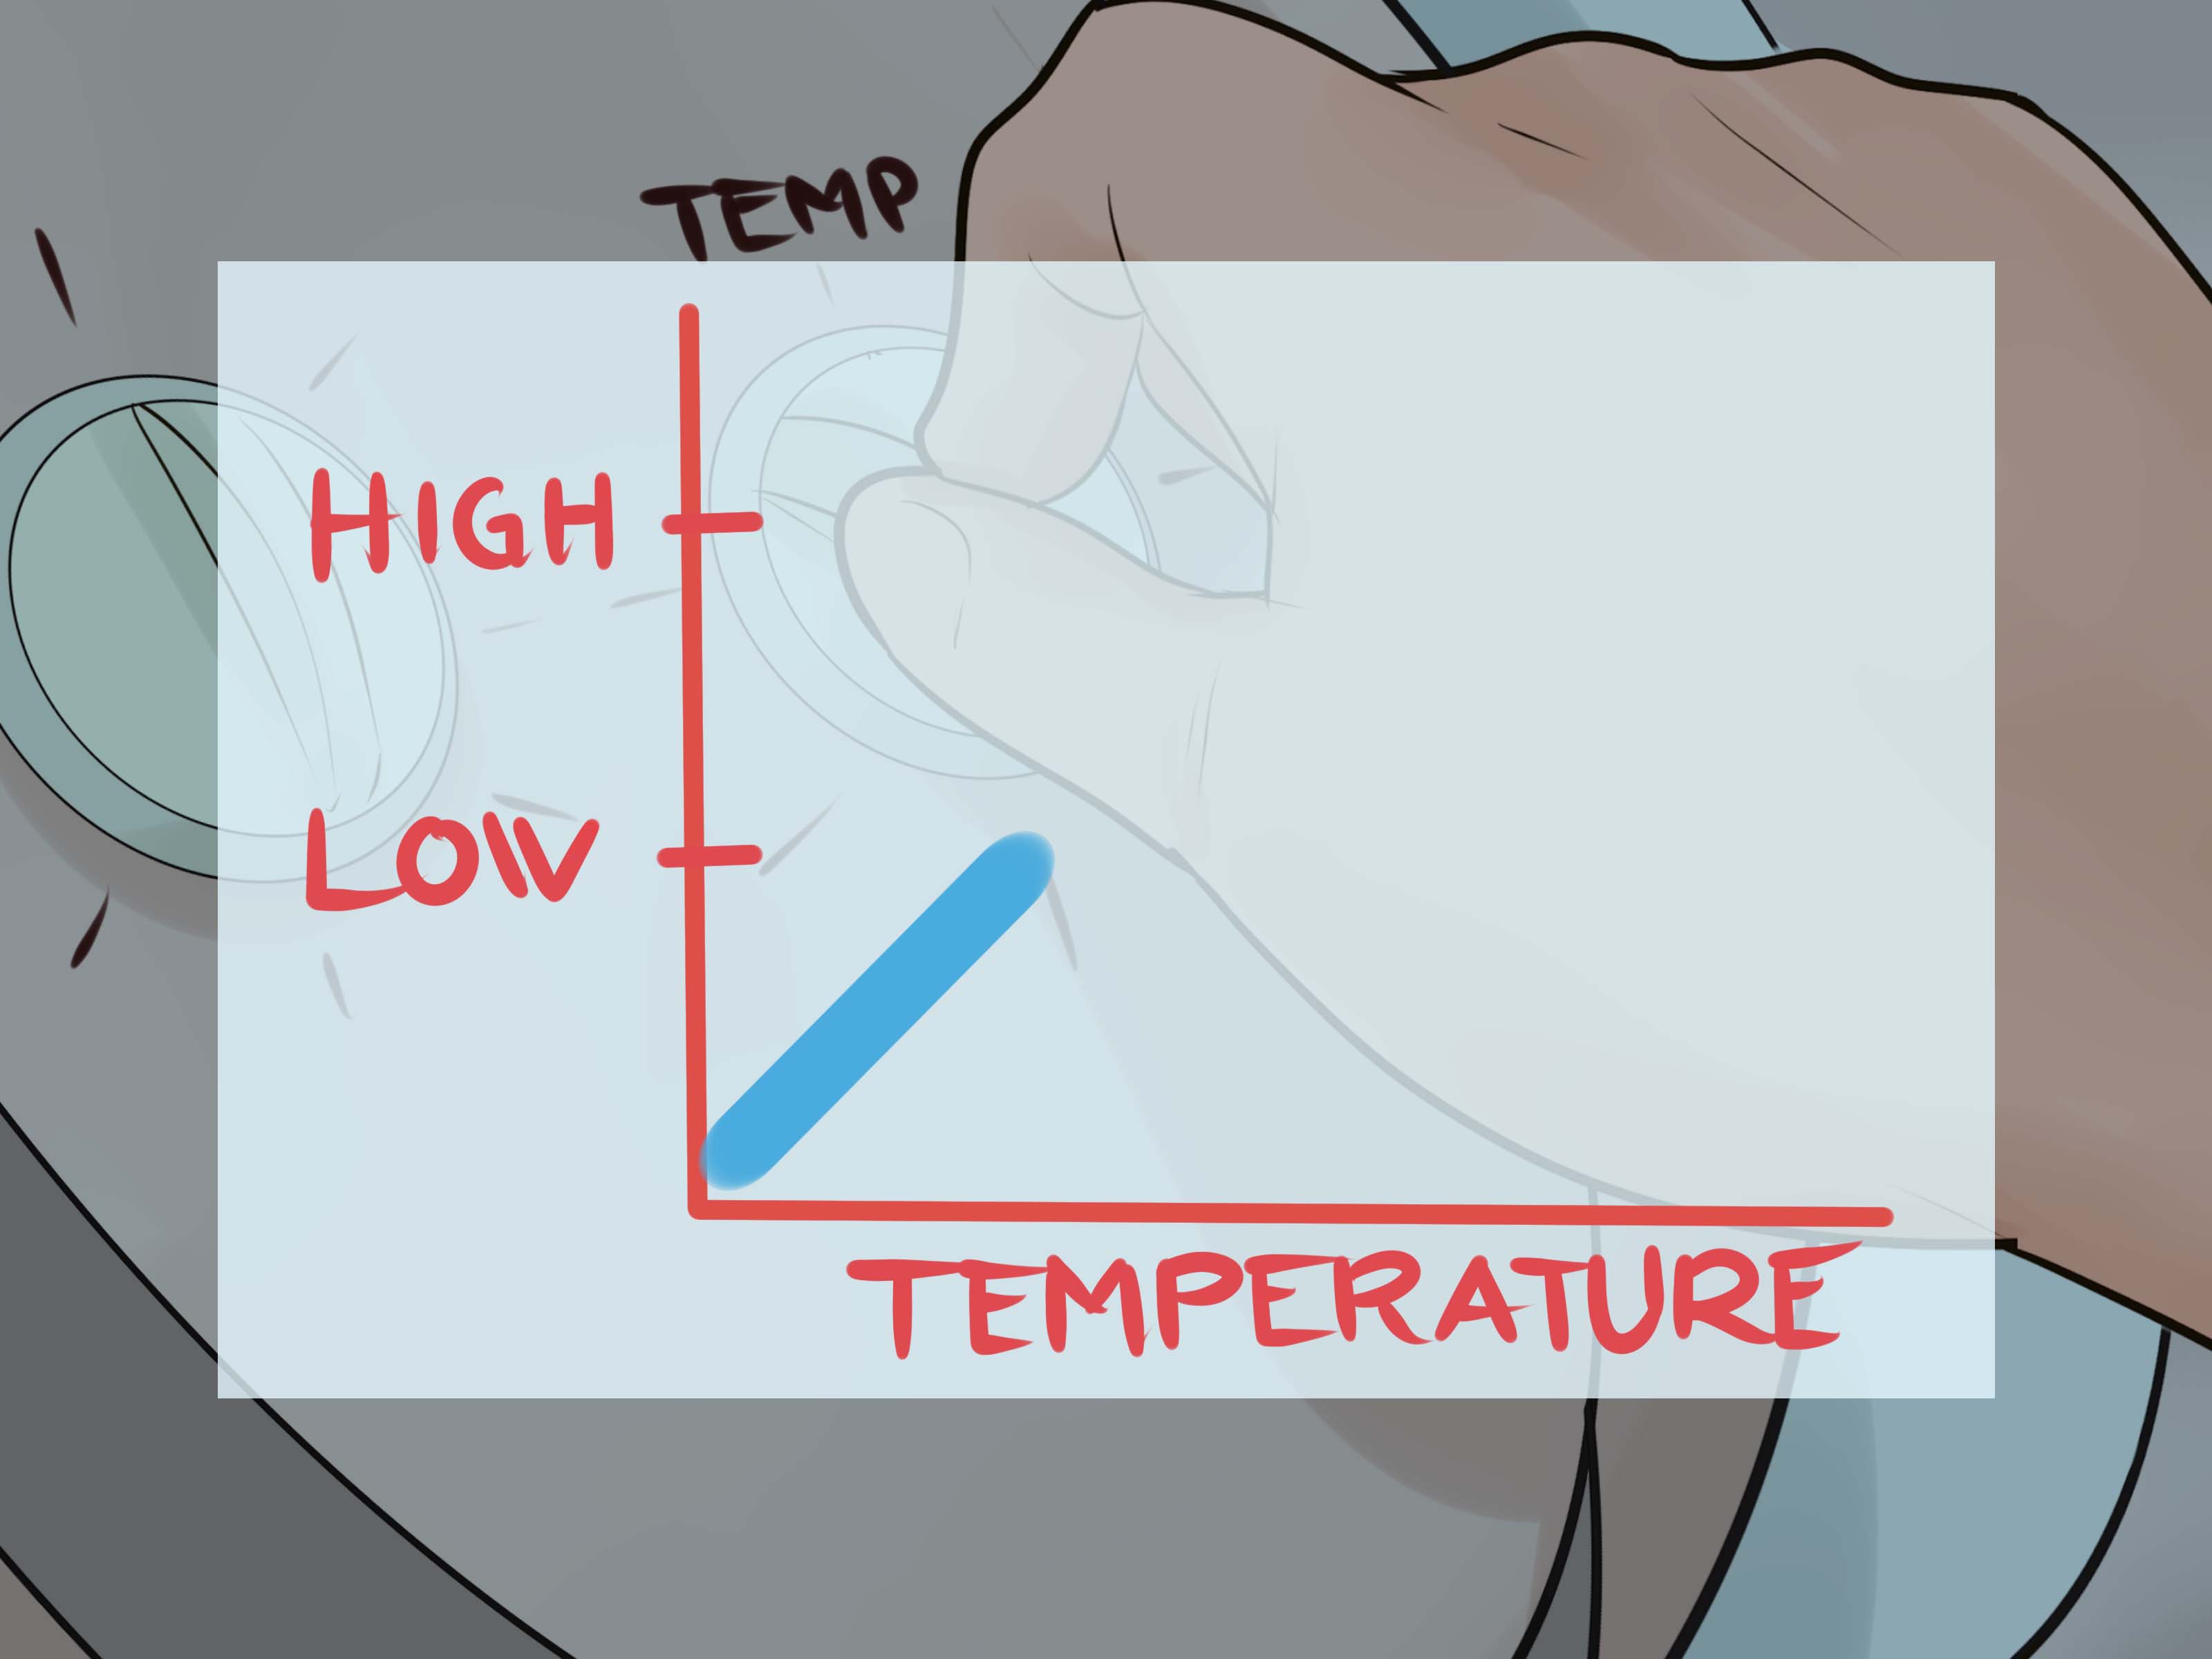
Because a halogen oven acts like a compact convection oven, reduce the temperature for many standard oven recipes. A practical starting point is to lower the recipe temperature by about 25°F. For example, if a cookie recipe calls for 350°F in a conventional oven, try 325°F in the halogen oven.
For delicate cakes or items that brown too fast, reduce the temperature by 30°F to 50°F and add a few extra minutes if needed. For dense casseroles, lasagna, or savory bakes, you may only need a small reduction. Every model behaves a bit differently, so keep notes as you test recipes.
6. Shorten the Baking Time and Check Early
Halogen ovens often cook faster than standard ovens. Start checking food at least 20 percent earlier than the recipe states. If a recipe says to bake muffins for 20 minutes, begin checking around 15 or 16 minutes. If brownies normally take 30 minutes, look at them around 23 to 24 minutes.
Do not rely only on the timer. Look for visual and texture clues: cakes should spring back lightly, cookies should have set edges, biscuits should lift easily, and casseroles should bubble in the center. For savory dishes containing meat, poultry, eggs, or leftovers, use a food thermometer to confirm safe internal temperature.
7. Leave Space for Airflow
Airflow is the engine of halogen oven baking. Arrange food in a single layer when possible, and leave space between pieces. If you are baking cookies, do not crowd them like they are waiting for a subway during rush hour. Leave room for spreading and air movement.
When using ramekins or muffin cups, space them evenly on the rack or tray. If air cannot circulate, the food may steam instead of bake. This is especially important for biscuits, pastries, and frozen snacks that need crisp edges.
8. Cover Delicate Foods if the Top Browns Too Quickly
The top heat in a halogen oven can be strong. If a cake, quick bread, pie, or casserole begins browning before the center is done, loosely cover it with foil. Do not seal the foil tightly, and make sure it cannot lift into the fan or heating element. The goal is to shield the surface while allowing air to continue moving.
For cakes, you can also lower the temperature and bake longer. For casseroles, bake covered first, then uncover near the end to brown the cheese or crumb topping. This gives you control instead of leaving the top crust to make all the decisions.
9. Rotate the Pan for Even Browning
Even with a fan, small ovens can have hot spots. Rotate the pan halfway through baking if your food is browning unevenly. Use oven mitts, move carefully, and avoid touching the glass bowl or lid.
For cookies and biscuits, rotating once can make a big difference. For cakes, rotate only if needed and do it gently after the structure has started to set. Opening the lid too early can cause some cakes to sink, which is disappointing unless your design theme is “edible crater.”
10. Test Doneness the Right Way
Different baked foods need different doneness tests. For cakes, insert a toothpick into the center; it should come out clean or with a few moist crumbs. For muffins, the tops should spring back lightly. For cookies, the edges should be set while the centers may still look slightly soft. They firm up as they cool.
For savory bakes, check the center, not just the surface. Egg casseroles should be set, not watery. Meat-based casseroles and reheated leftovers should reach safe internal temperatures. Poultry-based dishes should reach 165°F. Ground meat dishes should reach 160°F. Leftovers should be reheated to 165°F. A thermometer is less dramatic than guessing, but it has a much better success rate.
11. Cool, Clean, and Take Notes
After baking, let food cool on a rack when possible. Cooling allows structure to finish setting. Cakes, brownies, cookies, and breads all benefit from a little patience. Cutting too early can make them gummy or crumbly.
Once the oven cools, clean the glass bowl, rack, and lid area according to your manual. Wipe up grease, crumbs, and sugar drips before they become a mystery fossil. Finally, write down what worked: temperature, time, rack position, pan type, and whether you used foil. Halogen oven baking improves quickly when you keep simple notes.
Best Foods to Bake in a Halogen Oven
A halogen oven can handle more than reheated pizza and emergency toast. It is especially good for small-batch baking and foods that enjoy circulating heat.
Cookies and Biscuits
Cookies bake well in small batches. Lower the temperature slightly, use parchment only if your manual allows it, and check early. Biscuits can rise beautifully when the oven is preheated and the pan is not crowded.
Muffins and Cupcakes
Muffins and cupcakes work well in silicone cups or a small muffin tray that fits the bowl. Use the low rack and avoid overfilling the cups. If the tops brown too quickly, reduce the temperature next time.
Casseroles and Pasta Bakes
Small casseroles, baked ziti, mac and cheese, and vegetable gratins are excellent choices. Cover first if the dish is thick, then uncover near the end to brown the top.
Frozen Pastries and Snacks
Frozen turnovers, puff pastry bites, garlic bread, and small pies can come out crisp and golden. Reduce the package temperature slightly and check early because frozen foods often brown faster in moving hot air.
Small Cakes and Quick Breads
Small cakes can bake well, but they need gentle heat. Use the low rack, consider an extender ring, reduce the temperature, and watch the top. Quick breads may need foil once the crust sets.
Common Halogen Oven Baking Mistakes
Using a Pan That Blocks Airflow
A pan that is too wide can block circulating heat. Choose a smaller pan with space around the sides.
Baking at Full Conventional Temperature
Many baked goods brown too fast at standard oven temperatures. Start lower and adjust after testing.
Opening the Lid Too Often
Peeking is tempting, but constant opening releases heat and may affect rise. Look through the glass when possible.
Ignoring Carryover Heat
Cookies, brownies, and casseroles continue to set after removal. Pull them when they are just done, not when they are already dry.
Forgetting Food Safety
A golden top does not guarantee a safe center. Use a thermometer for meat, poultry, egg dishes, and leftovers.
Simple Temperature Conversion Guide
Use this as a starting point, then adjust for your model and recipe:
- Conventional oven recipe at 375°F: try 350°F in a halogen oven.
- Conventional oven recipe at 350°F: try 325°F.
- Conventional oven recipe at 325°F: try 300°F to 310°F.
- For delicate cakes: reduce by 25°F to 50°F and bake a little longer.
- For cookies: reduce by about 25°F and check 2 to 4 minutes early.
- For casseroles: reduce by about 25°F and check the center for bubbling or safe temperature.
Remember, conversion charts are helpful, but your actual oven is the bossy roommate in this situation. Learn its habits.
Example: Baking Chocolate Chip Cookies in a Halogen Oven
If your regular chocolate chip cookie recipe calls for 350°F for 10 to 12 minutes, preheat the halogen oven for 3 to 5 minutes and set it to about 325°F. Place a small tray on the low rack with spaced cookie dough portions. Bake for 7 to 9 minutes, rotating once if needed. Remove the cookies when the edges are set and the centers still look slightly soft. Let them rest on the tray for a few minutes before moving them to a cooling rack.
The first batch is your test batch. This is not failure; this is research with snacks.
Example: Baking a Small Cake in a Halogen Oven
For a small round cake, grease an oven-safe pan that fits easily in the bowl. Preheat the oven and use the low rack. If the standard recipe calls for 350°F, try 300°F to 325°F. Bake until the cake springs back and a toothpick comes out clean. If the top browns too quickly, loosely cover it with foil after the surface has set.
Let the cake cool before removing it from the pan. Small cakes can be delicate, and impatience has ruined more cakes than gravity wants to admit.
Practical Experience: What Baking in a Halogen Oven Teaches You
The first real lesson of baking in a halogen oven is humility. A halogen oven looks simple: temperature knob, timer knob, glass bowl, glowing lid. You think, “I understand ovens. I have met ovens before.” Then your first batch of biscuits comes out with golden tops and bottoms so pale they look like they spent the whole bake hiding from responsibility. That is when you learn that rack position, pan choice, and airflow matter more in a halogen oven than they do in a large conventional oven.
Small-batch baking is where this appliance shines. If you want six cookies after dinner, the halogen oven feels wonderfully efficient. There is no long preheat, no hot kitchen, and no giant oven roaring to life for a snack that will disappear in four minutes. Cookies usually need a slightly lower temperature and a careful eye. The best results often come from pulling them early, while the centers still look a touch soft. Letting them sit on the warm tray finishes the job without drying them out.
Casseroles are another pleasant surprise. A small dish of baked pasta, leftover chicken and rice, or vegetables with cheese can bubble beautifully in a halogen oven. The trick is to protect the top until the center catches up. Covering the dish loosely for the first part of baking helps prevent scorched cheese. Then, during the last few minutes, removing the foil lets the top brown into that irresistible golden layer people pretend they are not picking at with a fork.
Cakes require the most patience. A halogen oven can bake a cake, but it prefers small cakes, lower heat, and enough headroom. Tall cakes placed too close to the heating element may brown before the middle is done. Using an extender ring, choosing a smaller pan, and lowering the temperature can make the difference between a tender cake and a dessert with a toasted roof and pudding basement.
Frozen pastries and garlic bread are almost too easy. The moving heat crisps edges quickly, so the main job is not wandering away. A halogen oven does not care that you only checked your phone for “one second.” It will brown pastry with the urgency of a competitive sport.
The biggest practical habit is keeping notes. Write down the pan, rack, temperature, and time for each recipe. After three or four attempts, patterns appear. Maybe your oven runs hot. Maybe cookies prefer the low rack. Maybe muffins need foil after 10 minutes. These little observations turn the halogen oven from a mysterious glowing bowl into a reliable baking partner. It may not replace a full-size oven for big holiday baking, but for everyday portions, quick desserts, and weeknight comfort food, it earns its counter space.
Conclusion
Baking in a halogen oven is all about working with fast-moving heat. Use oven-safe bakeware, leave room for airflow, lower the temperature, check early, and protect delicate tops from overbrowning. Once you understand those basics, the halogen oven becomes a flexible tool for cookies, muffins, casseroles, pastries, small cakes, and quick savory bakes.
Think of it as a compact convection oven with a dramatic glow-up. It is quick, efficient, and surprisingly capable when you give it the right setup. Start with small recipes, take notes, and adjust as you go. Before long, you will know exactly how your halogen oven behavesand your countertop baking game will be much stronger for it.