
A wet basement has a special talent for ruining your day. One minute you are storing holiday decorations, old textbooks, and maybe a treadmill you swear you will use again. The next minute, everything smells like a swamp wearing a musty sweater. That is where a basement French drain can become the quiet hero of your home.
A basement French drain, often called an interior drain tile system or interior perimeter drain, is designed to collect water that seeps in around the foundation and guide it toward a sump pit, where a sump pump can send it safely away from the house. It does not magically erase groundwater, but it gives water an easier, controlled path than your finished flooring, storage boxes, or newly painted walls.
This guide explains how to make a basement French drain in seven practical steps, including planning, cutting concrete, digging the trench, laying pipe, backfilling with gravel, patching the floor, and testing the system. It is written for informed homeowners who want to understand the process before deciding whether to DIY or hire a pro. Spoiler: jackhammering concrete is not exactly a spa day.
What Is a Basement French Drain?
A basement French drain is a drainage channel installed below the basement floor, usually along the inside perimeter of the foundation walls. The system typically includes a trench, washed drainage stone, perforated pipe, filter fabric, and a sump basin. Water enters the gravel bed, flows into the perforated pipe, and moves toward the sump pump or approved drainage outlet.
The goal is not to “seal” water forever behind the wall. Water is persistent, patient, and deeply annoying. Instead, the drain relieves pressure by collecting water before it spreads across the basement floor. This is especially useful when water appears at the wall-floor joint, after heavy rain, during snowmelt, or when the water table rises.
Interior vs. Exterior French Drain
An exterior French drain is installed outside the foundation and can stop water before it reaches the wall. However, exterior systems require digging around the home, disturbing landscaping, and sometimes working around patios, walkways, decks, utilities, and very stubborn tree roots. An interior basement French drain is installed from inside the house, making it less disruptive outdoors, though it does require breaking and replacing part of the concrete slab.
In many homes, an interior French drain works best when combined with good exterior water management: clean gutters, extended downspouts, soil that slopes away from the house, sealed cracks, and a dependable sump pump. Think of it as a team sport. The drain may be the star player, but gutters and grading still need to show up for practice.
Before You Start: Safety, Permits, and Planning
Before cutting into a basement slab, check local building rules and permit requirements. Some municipalities regulate sump pump discharge, and many do not allow groundwater to be pumped into sanitary sewer lines. You may need to discharge water to a storm drain, dry well, daylight outlet, or approved yard location. When in doubt, ask your building department before the concrete saw starts singing.
You should also inspect the basement carefully. If water is entering through a large structural crack, bowing wall, failed footing, sewer backup, or plumbing leak, a French drain may not be the first or only fix. Serious foundation movement, sewage, mold growth, or repeated flooding deserves professional evaluation.
Tools and Materials You May Need
- Concrete saw or jackhammer
- Hammer drill and masonry tools
- Shovel, trenching spade, buckets, and wheelbarrow
- Safety glasses, hearing protection, gloves, knee pads, and respirator
- HEPA vacuum or wet dust-control setup
- Perforated drain pipe, usually 4-inch pipe
- Washed drainage gravel or crushed stone
- Nonwoven drainage fabric or filter fabric
- Sump basin, sump pump, check valve, and discharge pipe
- Concrete mix, trowel, level, and measuring tape
Cutting concrete can create hazardous dust, so use wet-cutting methods, dust collection, ventilation, and appropriate respiratory protection. This is not the time to “tough it out.” Your lungs are not replacement parts from the hardware aisle.
How to Make a Basement French Drain: 7 Steps
Step 1: Identify the Water Problem and Choose the Drain Route
Start by finding where water enters the basement. Look for damp streaks, white mineral deposits, peeling paint, wet corners, puddles along the wall-floor joint, and areas that smell musty after storms. Mark these problem areas with painter’s tape or chalk.
Most interior French drains run around the inside perimeter of the basement, close to the foundation wall. In many installations, the trench is cut roughly 8 to 18 inches from the wall, depending on the footing, slab thickness, obstacles, and drain design. The pipe should lead to the sump basin at the lowest practical point. If your basement already has a sump pit, inspect it to see whether it is large enough and correctly located for the new system.
Also plan the discharge route. The sump pump should send water away from the foundation, not back into the soil right beside the house. Otherwise, you have created a very expensive basement water carousel.
Step 2: Prepare the Basement and Cut the Concrete
Move stored items, appliances, flooring, trim, and finished wall materials away from the work zone. Cover anything that must remain in the basement. Concrete work is noisy, dusty, and rude to everything nearby.
Mark two parallel cut lines for the trench. A common trench width is about 8 to 12 inches, wide enough for the pipe, gravel, and working space. Use a concrete saw with dust control to score the slab, then break out the concrete between the lines with a jackhammer or demolition hammer. Remove the broken concrete in manageable chunks.
Be careful near the footing. You want to remove the slab, not damage the structural support of the home. If you are unsure where the footing begins, stop and get professional guidance. Foundation repairs cost much more than patience.
Step 3: Dig the Trench and Sump Basin Area
After the concrete is removed, dig the trench deep enough to hold a gravel base, perforated pipe, and more gravel above the pipe. Many interior systems place the top of the pipe below the bottom of the slab so water can collect beneath the floor and move freely to the sump pit.
The trench should slope gently toward the sump basin. In basement systems, the slope may be subtle because water can also move through the gravel bed, but the pipe should still be set to encourage flow. Use a level, laser level, or string line to check the route. Avoid high spots where water can sit and leave sediment behind.
Dig the sump basin hole slightly larger than the basin itself. The basin should sit low enough to receive water from the drain pipe. Place gravel beneath and around the basin for stability and drainage, and make sure the lid can be sealed or fitted properly after installation.
Step 4: Add Filter Fabric and a Gravel Base
Line the trench with nonwoven drainage fabric if your system design calls for it. The fabric helps separate soil from the stone and pipe, reducing the chance of clogs. Leave enough extra fabric on both sides so it can fold over the gravel later like a drainage burrito. A neat burrito, not the kind that falls apart in your lap.
Add a base layer of washed drainage gravel or stone. Avoid dusty fill, sand, or soil. Clean stone creates voids that allow water to move freely. Pea gravel is sometimes used in landscaping, but larger washed stone is often preferred for drainage because it is less likely to compact tightly.
Spread the gravel evenly and check the slope again. The base should support the pipe without sharp dips, humps, or awkward bends.
Step 5: Lay the Perforated Pipe and Connect It to the Sump Pit
Place the perforated pipe on the gravel bed and run it along the trench toward the sump basin. Many installers position the perforations downward or slightly angled downward so groundwater can enter from below and around the pipe. Follow the pipe manufacturer’s instructions because product designs vary.
Use fittings for corners instead of forcing tight bends. A smooth path helps water and small sediment move toward the sump pit. Connect the drain pipe to the basin through a properly cut inlet hole. The connection should be secure enough to keep gravel and debris out of the basin while allowing water to enter.
If the basement has multiple wet walls, the pipe may wrap around several sides of the basement. Some systems also include inspection ports or cleanouts, which make future maintenance easier. Cleanouts are not glamorous, but neither is tearing up concrete twice.
Step 6: Cover the Pipe With Gravel and Patch the Floor
Once the pipe is in place, cover it with more washed drainage gravel. The gravel should surround the pipe so water can move into it from the sides and bottom. Fold the filter fabric over the top if you lined the trench. This helps keep soil and concrete fines from entering the drainage stone.
Leave enough space at the top of the trench for a concrete patch. Before pouring concrete, confirm that the pipe slopes to the sump pit, the basin is set correctly, and the pump can be installed and serviced. This is the moment to fix mistakes, not after the floor has hardened into a gray monument to regret.
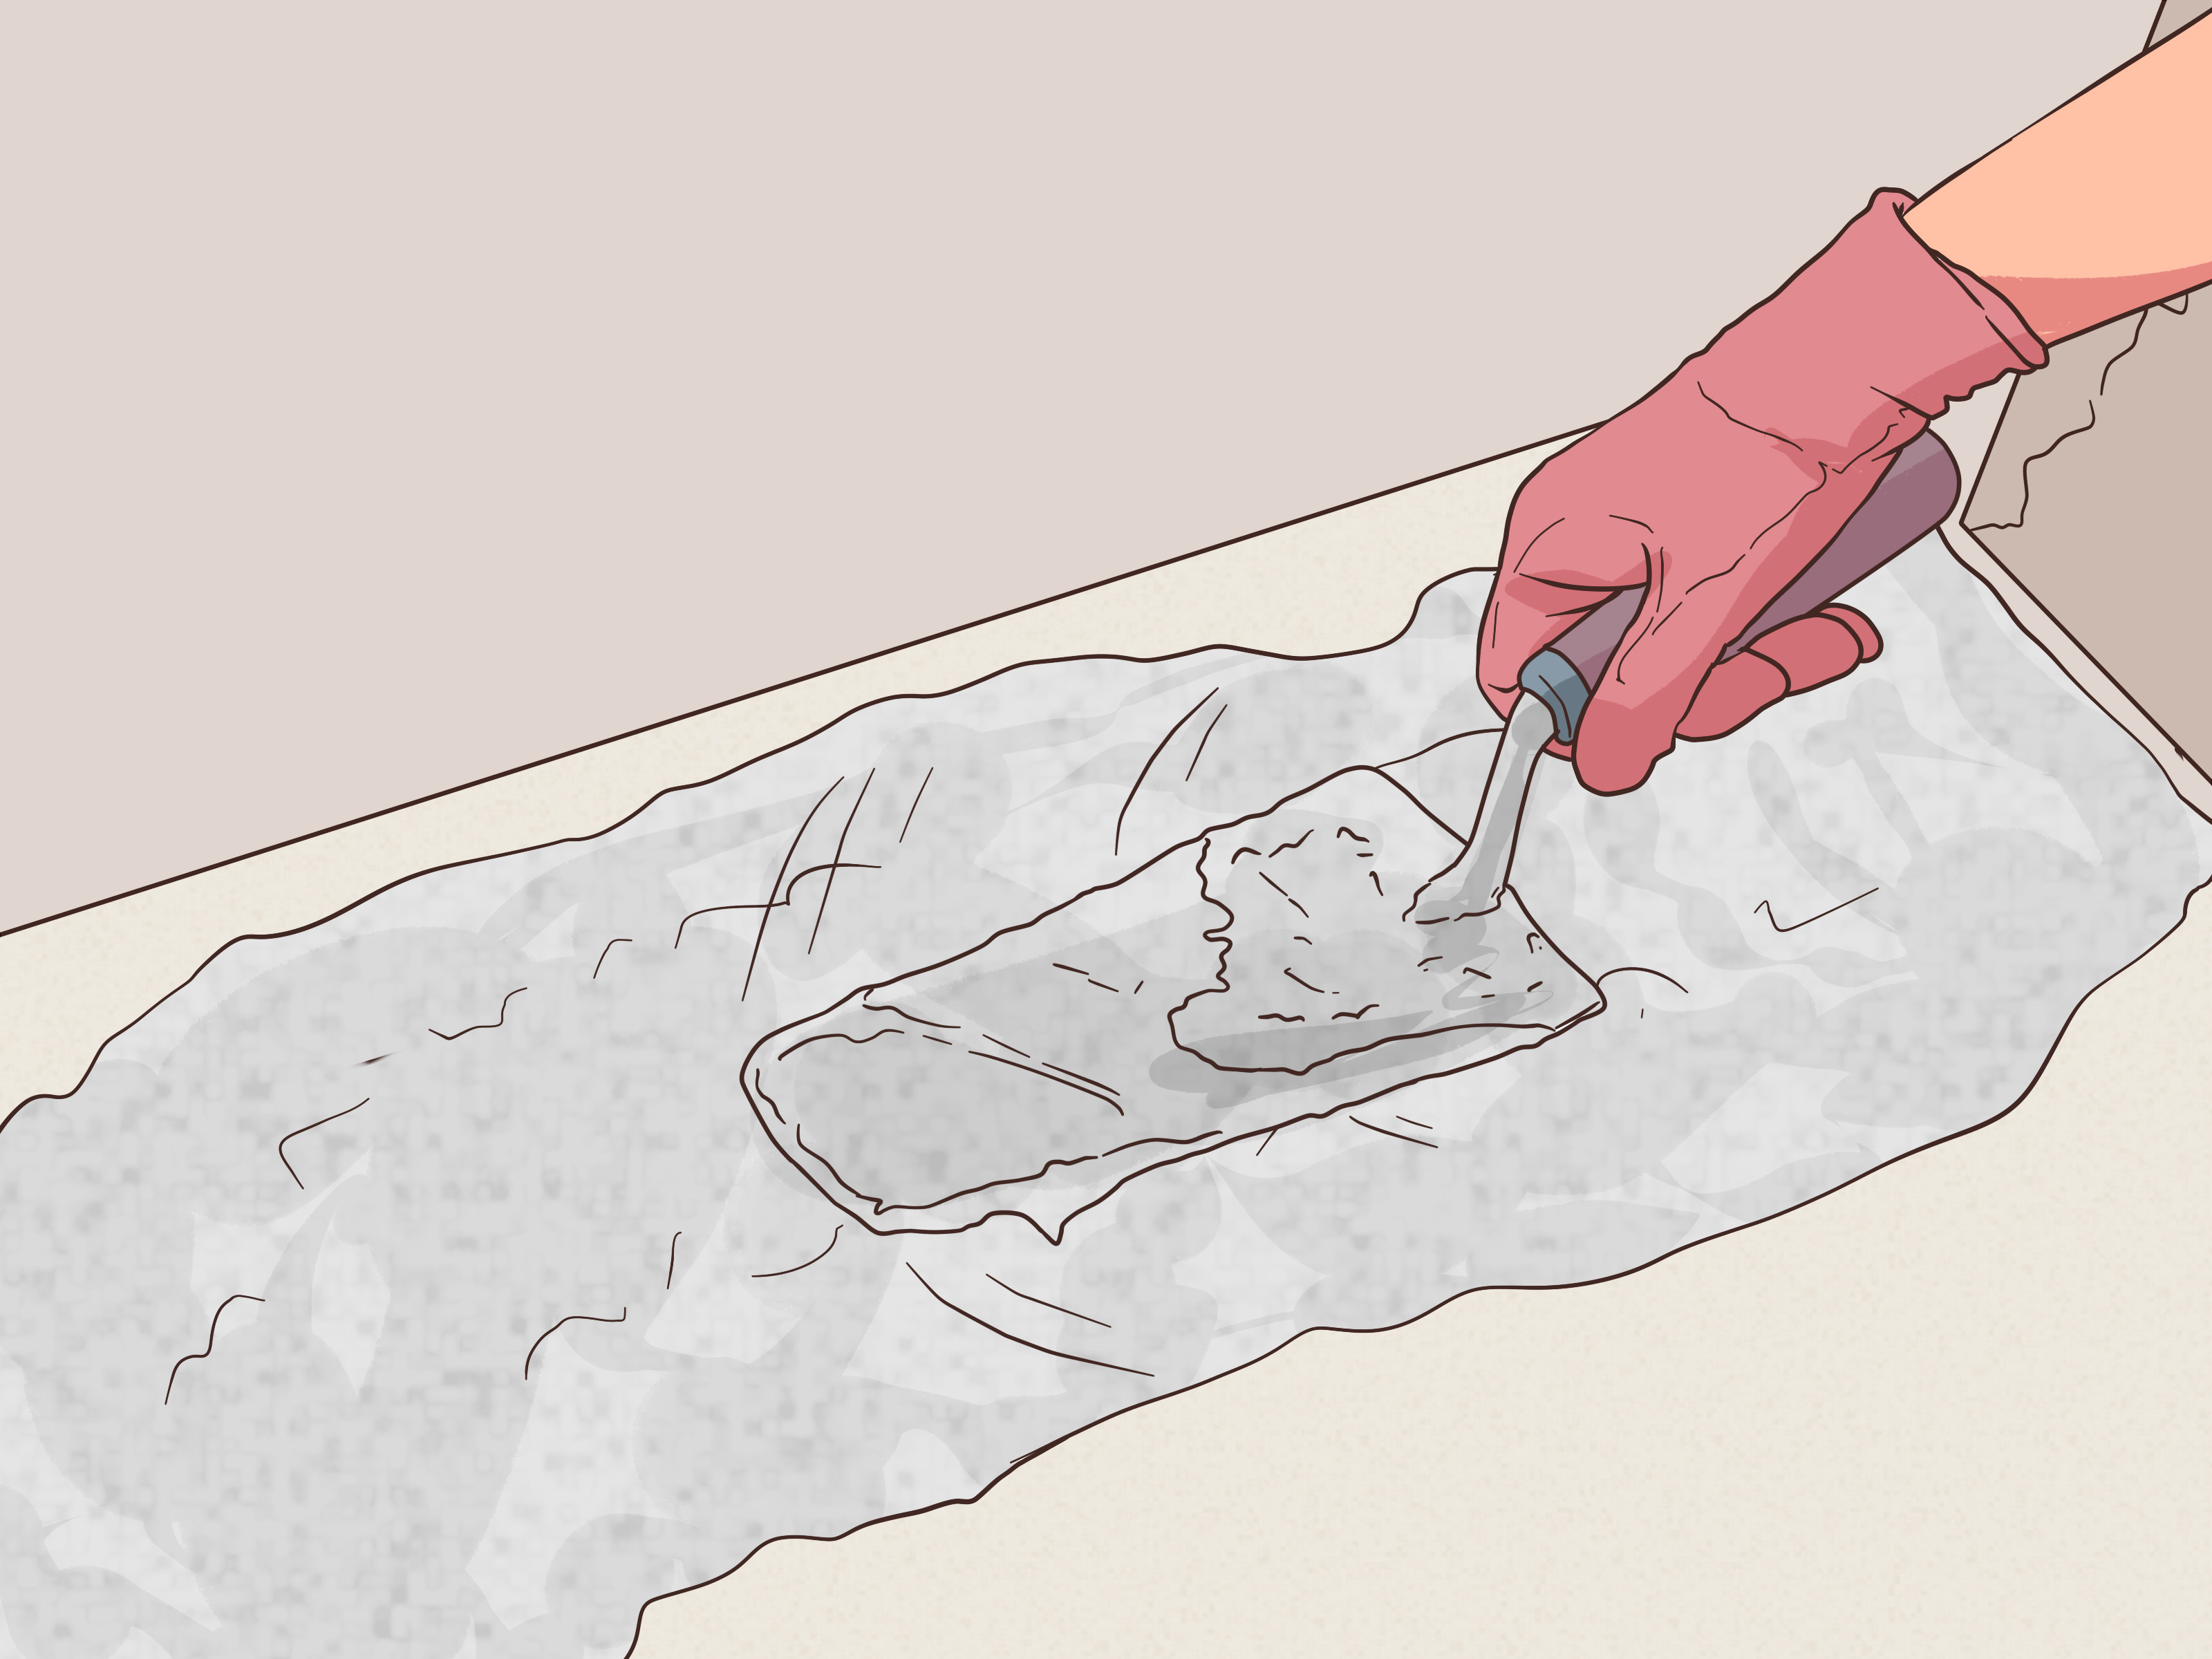
Mix and place concrete over the trench, feathering it into the surrounding slab. Keep the patch level with the existing floor unless your system uses a narrow open drainage channel by design. Allow the concrete to cure according to the product instructions before reinstalling flooring or heavy storage.
Step 7: Install, Test, and Maintain the Sump Pump System
Install the sump pump inside the basin, attach the discharge pipe, and add a check valve to reduce backflow. The discharge line should carry water to an approved location away from the foundation. In cold climates, protect the discharge line from freezing, because a frozen pipe can make a sump pump about as useful as a chocolate teapot.
Test the system by pouring water into the sump basin and confirming that the pump starts, discharges water, and shuts off properly. Also check for leaks at pipe joints and make sure the float switch moves freely.
Long term, inspect the sump pump before rainy seasons, clean the basin when needed, test backup power if you have it, and keep the discharge outlet clear. A basement French drain is low drama when maintained, but it should not be ignored forever.
Common Mistakes to Avoid
Ignoring Outdoor Water First
If gutters overflow, downspouts dump water beside the foundation, or soil slopes toward the house, fix those problems before or alongside the interior French drain. Otherwise, the drain may work harder than necessary. Good drainage starts outside.
Using the Wrong Fill Material
A French drain depends on open space in the stone bed. Dirty gravel, soil, or compacted fill can slow water movement and clog the system. Use clean, washed drainage stone and proper filter fabric.
Skipping the Sump Pump Plan
A basement drain needs somewhere to send the water. If gravity cannot carry water to a legal outlet, a sump pump is usually required. Plan the basin, pump size, discharge pipe, check valve, and backup power before the trench is finished.
Covering Up Structural Problems
A French drain can manage groundwater, but it does not repair a failing foundation. Bowed walls, wide cracks, sinking slabs, and repeated muddy water intrusion should be inspected by a qualified professional.
How Much Does a Basement French Drain Cost?
The cost depends on basement size, slab thickness, labor rates, sump pump needs, disposal, permits, and whether finished walls or flooring must be removed. A small DIY project may cost far less in materials, but professional interior French drain installation can run into several thousand dollars because of concrete cutting, excavation, drainage materials, pump installation, and floor restoration.
The smartest way to compare costs is to separate the project into parts: demolition, trenching, drain pipe, gravel, sump basin, pump, discharge line, concrete repair, cleanup, and finishing work. If a quote looks suspiciously cheap, ask what is included. A bargain that skips the discharge plan or uses poor materials is not a bargain; it is a future puddle with paperwork.
When Should You Hire a Professional?
Consider hiring a basement waterproofing contractor if the basement floods often, the slab is thick or reinforced, the foundation shows movement, the sump discharge route is complicated, or the basement is finished and expensive to restore. You should also call a pro if you are not comfortable cutting concrete or managing silica dust.
DIY can make sense for experienced homeowners with the right tools, a simple layout, and a clear discharge plan. However, interior French drain work is physically demanding. It involves noise, dust, heavy debris, kneeling, hauling buckets, and making decisions that become permanent once the concrete patch cures.
Real-World Experience: Lessons From Basement French Drain Projects
The first lesson homeowners usually learn is that water tells the truth, but not always politely. A basement may look dry for weeks, then reveal every weak spot during one long rainstorm. That is why observation matters. Before installing a basement French drain, it helps to photograph wet areas after several storms, note where water appears first, and check whether the problem happens only during heavy rain or even during light rain. These clues can separate groundwater pressure from gutter overflow, poor grading, plumbing leaks, or window well problems.
The second lesson is that preparation saves backs, floors, and tempers. Concrete debris is heavier than it looks. Buckets fill quickly. Dust travels like it has a personal mission. Homeowners who create a clean work path, rent the right demolition tools, protect doorways with plastic, and plan debris removal before starting usually have a much smoother project. A wet/dry vacuum, extra buckets, contractor bags, and good knee pads can feel like luxury items by hour three.
Another practical experience: do not underestimate the sump pump. The drain collects water, but the pump is the part that actually removes it from the basement. A reliable pump, a properly placed float switch, a check valve, and a discharge line that does not freeze or recycle water back to the foundation are essential. In areas with power outages during storms, a battery backup or water-powered backup pump may be worth serious consideration. Rainstorms and power failures love to arrive as a couple, usually at 2 a.m.
Homeowners also learn that “good enough” slope can become “not good enough” once the floor is patched. Checking the trench grade multiple times is boring but important. Small low spots can collect sediment and slow the system. The same goes for clean stone and fabric. It may be tempting to use whatever gravel is available, but drainage systems depend on open space. Clean, correctly sized drainage stone helps water move freely and reduces clogging.
Finally, the best basement French drain projects are part of a whole-house moisture plan. Extend downspouts, clean gutters, seal obvious cracks, improve grading, and keep storage off the floor in vulnerable areas. Add a dehumidifier if humidity remains high. A French drain is powerful, but it is not a permission slip to ignore every other water problem. Treat the basement like a system, and it will be much more likely to stay dry, usable, and pleasantly boring.
Conclusion
Learning how to make a basement French drain starts with one big idea: water needs a controlled path. When installed correctly, an interior French drain collects groundwater at the basement perimeter and directs it to a sump pump or approved outlet before it spreads across the floor. The seven basic steps are simple to understand: diagnose the water problem, plan the route, cut the slab, dig the trench, add fabric and gravel, install perforated pipe, patch the floor, and test the sump system.
The work itself is not light. It requires planning, safety gear, concrete demolition, drainage knowledge, and respect for local codes. But whether you do it yourself or hire a professional, understanding the process helps you ask better questions, avoid weak shortcuts, and build a system that keeps your basement drier for years. Your basement may never become a luxury lounge, but it also does not have to keep auditioning for the role of indoor pond.
SEO Tags