
A brake booster is one of those parts you rarely think about until your brake pedal suddenly feels like it belongs on a gym leg press machine. When everything works correctly, the booster uses vacuum assist to multiply the force from your foot, helping the vehicle slow down smoothly without requiring superhero calf strength. When it fails, braking can become harder, stopping distance can increase, and your daily drive can turn into a very serious guessing game.
Learning how to test a brake booster can help you separate a true booster problem from other brake system issues, such as a damaged vacuum hose, faulty check valve, weak engine vacuum, or master cylinder trouble. The good news is that several basic diagnostic tests can be done without removing the booster from the vehicle. The better news is that these tests do not require a professional-grade scan tool, a lift, or a secret handshake from a master mechanic.
Before grabbing tools, remember this: brakes are a safety-critical system. If your brake pedal is extremely hard, the vehicle takes longer to stop, the engine stalls when braking, or the brake warning light is on, do not keep driving as if the car is simply “having a mood.” Park it safely and have the system inspected by a qualified technician.
What Does a Brake Booster Do?
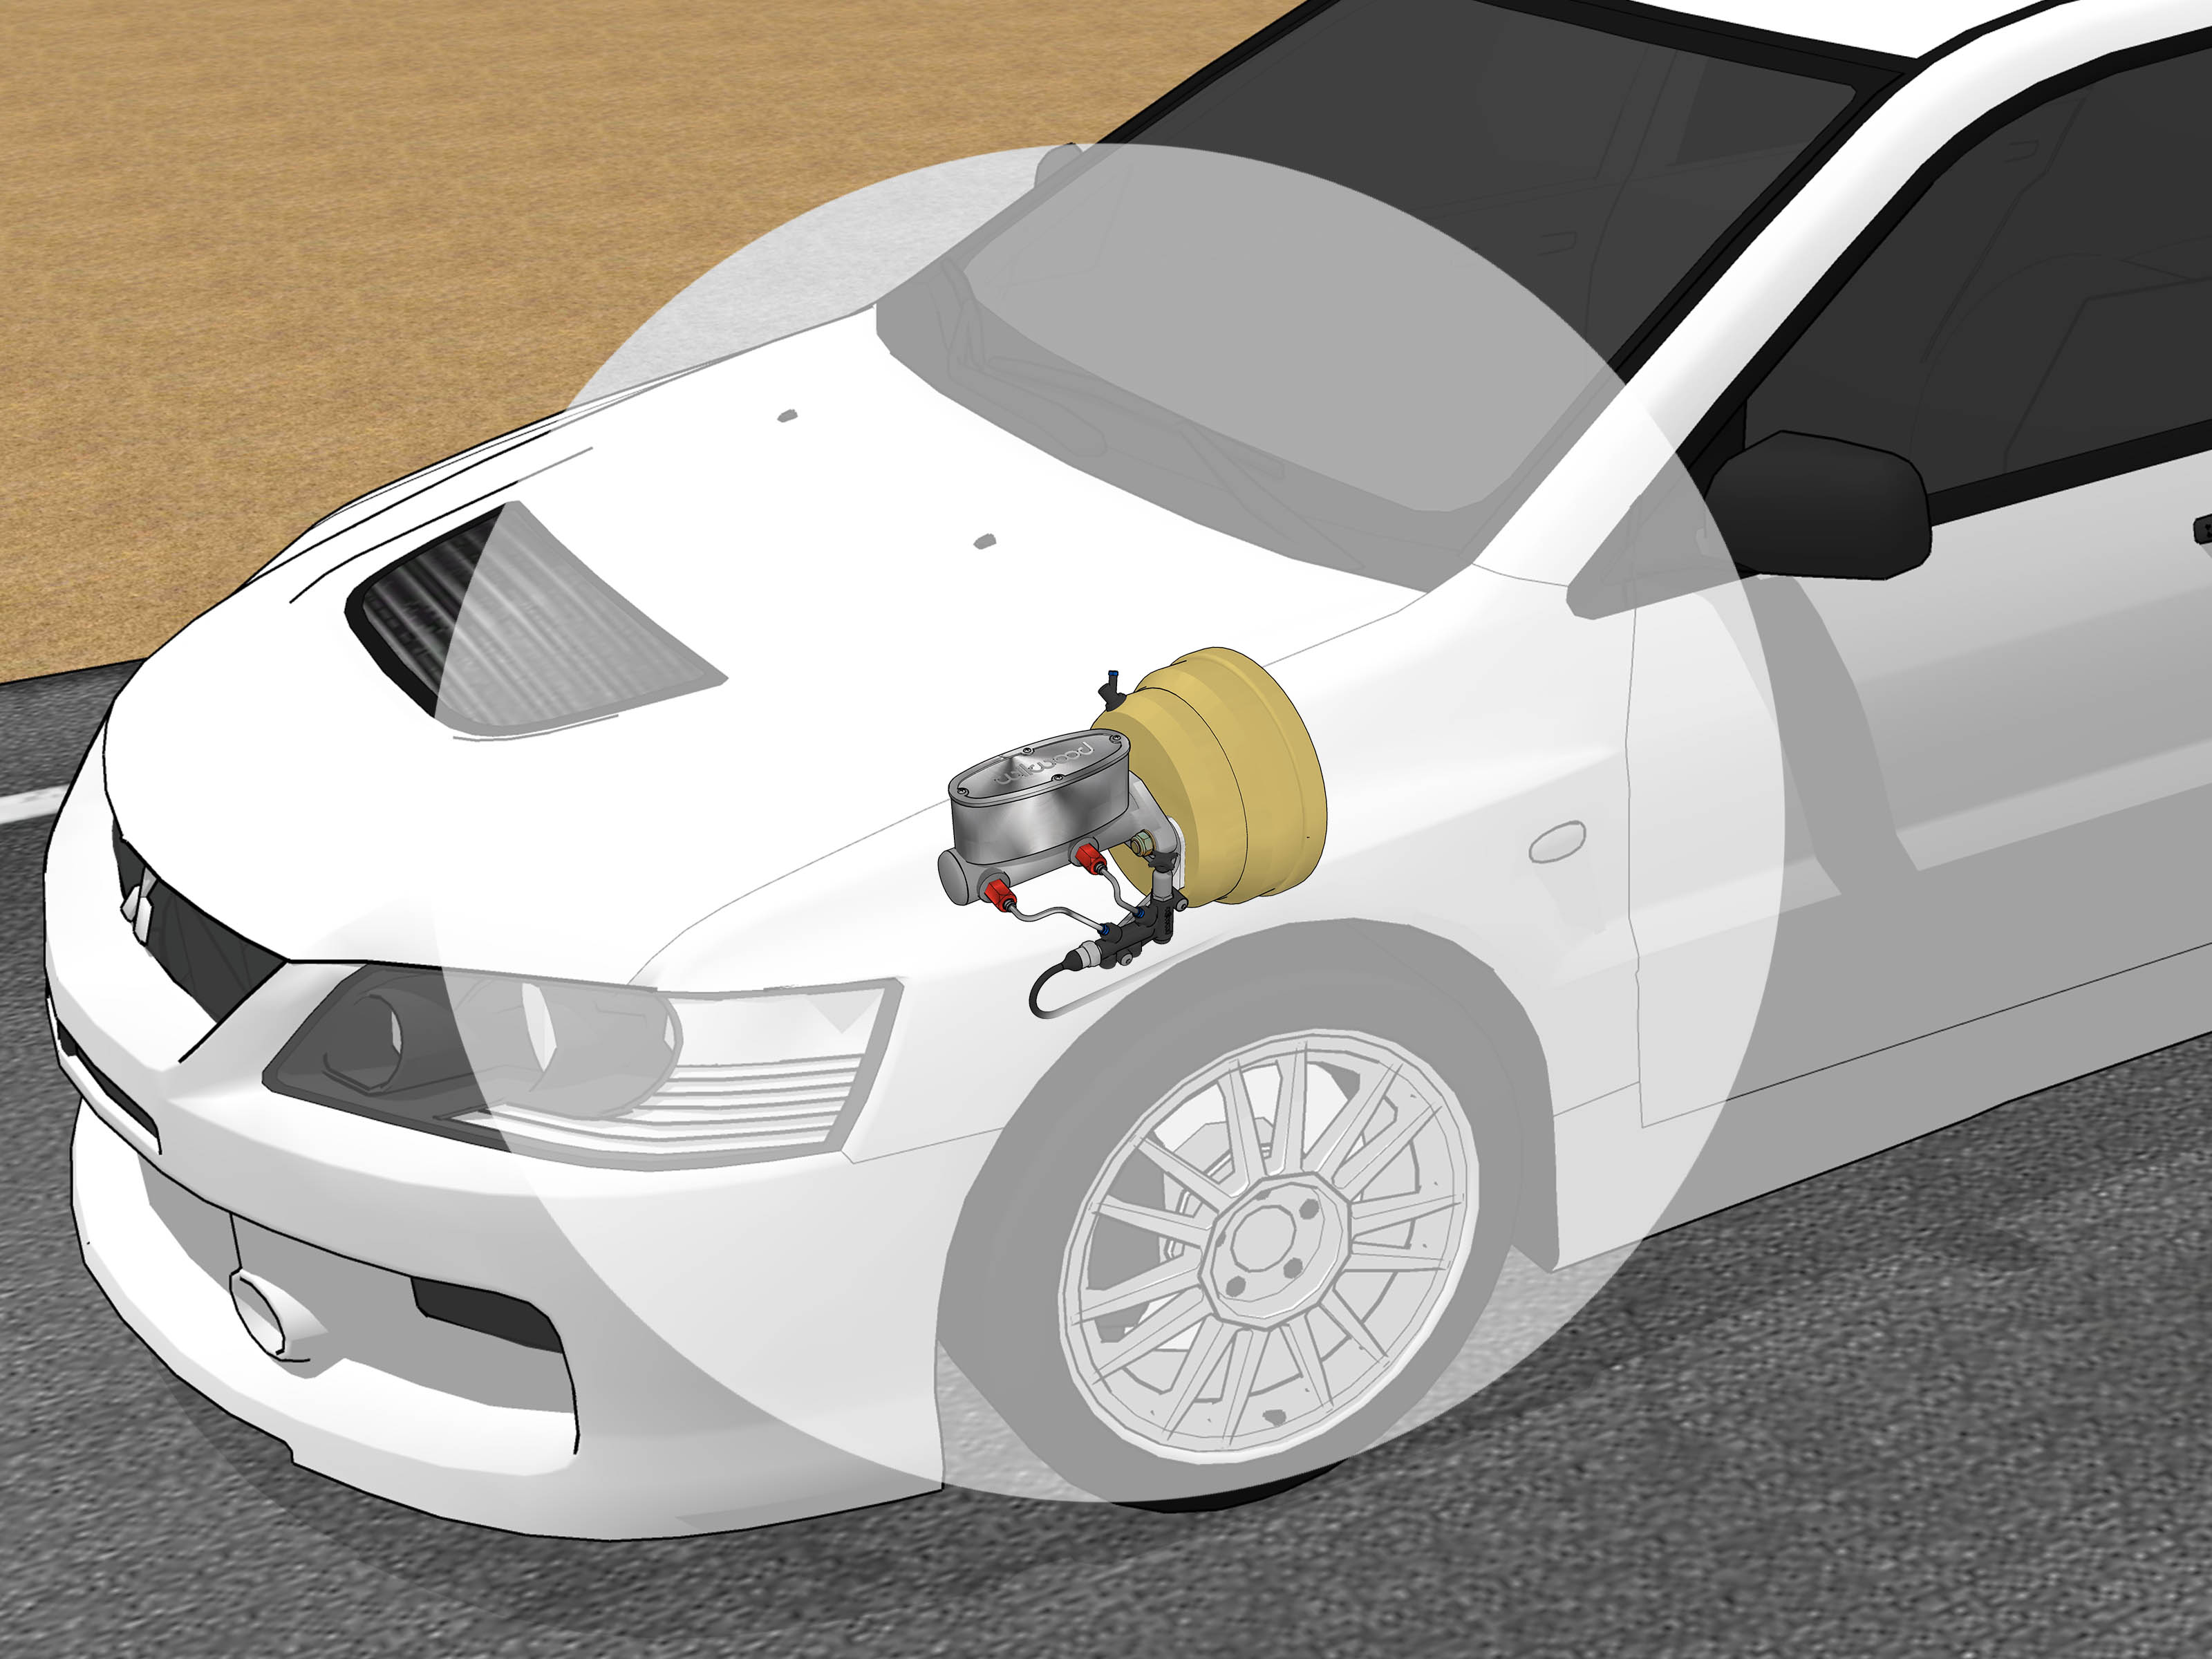
Most passenger vehicles use a vacuum brake booster mounted between the brake pedal and the master cylinder. Its job is to reduce the amount of physical effort needed to apply the brakes. When you press the brake pedal, the booster uses engine vacuum on one side of an internal diaphragm and atmospheric pressure on the other side to add force to the master cylinder pushrod.
In simple terms, your foot starts the braking process, but the booster gives it backup. Without that assist, the hydraulic brakes may still work, but the pedal can feel stiff and require much more pressure. This is why a bad brake booster often feels dramatic right away. The vehicle may still stop, but it may not stop comfortably, quickly, or predictably.
Common Signs of a Bad Brake Booster
A failing brake booster can mimic other problems, so symptoms should be interpreted carefully. Still, several warning signs often point toward the booster or its vacuum supply.
Hard Brake Pedal
The classic symptom is a brake pedal that feels unusually hard to press. If the booster cannot provide assist, your leg has to do far more work. A hard pedal is especially noticeable during low-speed braking, parking maneuvers, or repeated brake applications.
Longer Stopping Distance
When brake assist is weak or missing, the vehicle may require more distance to stop. This can be dangerous because the change may not be obvious until you need a quick stop. If the pedal feels hard and the car does not slow as expected, treat the situation seriously.
Hissing Noise Near the Pedal or Engine Bay
A hissing sound when pressing or holding the brake pedal can indicate a vacuum leak. The leak may come from a cracked vacuum hose, loose fitting, damaged check valve, failed seal, or torn diaphragm inside the booster.
Rough Idle or Engine Stalling When Braking
A leaking vacuum booster can allow unmetered air into the engine. That extra air can disturb the air-fuel mixture, causing rough idle, stumbling, high idle, or even stalling when the brake pedal is pressed. If your engine behaves badly only when you brake, the booster circuit deserves attention.
Brake Warning or Check Engine Light
Some vehicles monitor brake booster vacuum or related engine data. A vacuum leak can trigger a check engine light, lean condition code, misfire code, or brake-related warning. A scan tool can help, but physical testing is still important.
Safety First: What to Check Before Testing
Before you test the brake booster, do a quick visual inspection. Make sure the vehicle is parked on level ground, the transmission is in Park or Neutral, and the parking brake is applied. Keep loose clothing and hands away from belts, fans, and hot engine parts.
Open the hood and locate the brake booster. It is usually a large round black metal housing mounted on the firewall behind the master cylinder. Inspect the vacuum hose running from the engine intake manifold or vacuum pump to the booster. Look for cracks, oil saturation, collapsed sections, loose clamps, disconnected fittings, or obvious damage.
Also check the brake fluid reservoir. Low brake fluid, leaks, air in the brake lines, or master cylinder failure can cause brake symptoms that are not booster-related. A hard brake pedal often points toward the booster or vacuum supply, while a soft, spongy, or sinking pedal usually suggests hydraulic problems.
Tools You May Need
- Flashlight
- Vacuum gauge or hand vacuum pump
- Basic pliers or hose clamp tool
- Spray bottle with mild soapy water
- Safety glasses and gloves
- Vehicle repair manual or service information
You can perform the first two tests with no tools at all. The vacuum gauge tests provide stronger confirmation and help prevent replacing an expensive brake booster when the real villain is a cracked hose worth far less money. Your wallet will appreciate the investigation.
Test 1: The Engine-Off Pedal Reserve Test
This simple test checks whether the brake booster stores vacuum after the engine is shut off. A healthy booster should usually provide a small amount of assisted braking for the first few pedal presses after shutdown.
How to Do It
- Start the engine and let it idle for about 30 seconds.
- Turn the engine off.
- Wait a few seconds, then press the brake pedal several times.
- Pay attention to how the pedal feels with each press.
What a Good Result Looks Like
On many vehicles, the first one or two pedal applications should feel assisted, then the pedal should gradually become firmer as stored vacuum is depleted. This means the booster was holding some vacuum reserve.
What a Bad Result Looks Like
If the pedal is rock-hard immediately after shutdown, the booster may not be holding vacuum. Possible causes include a leaking booster diaphragm, bad check valve, damaged vacuum hose, or poor vacuum supply.
This test is useful, but it is not the final verdict. Think of it as the “something smells suspicious” stage of diagnosis, not the courtroom confession.
Test 2: The Engine-Start Booster Assist Test
This is one of the most common brake booster diagnostic tests because it quickly shows whether assist begins when engine vacuum is created.
How to Do It
- With the engine off, press the brake pedal several times until it becomes firm.
- Keep steady, moderate pressure on the brake pedal.
- Start the engine while holding the pedal down.
- Watch and feel what happens to the pedal.
What a Good Result Looks Like
If the brake booster is working, the pedal should drop slightly as the engine starts and vacuum assist builds. The drop may be small or fairly noticeable depending on the vehicle, but you should feel the pedal become easier to hold.
What a Bad Result Looks Like
If the pedal stays hard and does not move downward at all, the booster may not be receiving vacuum or may not be using it properly. The next step is to test the vacuum supply and check valve before blaming the booster itself.
A common mistake is replacing the brake booster immediately after this test fails. That can be expensive and unnecessary. A disconnected hose, cracked plastic fitting, or faulty one-way check valve can create the same symptom.
Test 3: The Vacuum Supply Test
The brake booster can only work if it receives enough vacuum. Gasoline engines commonly use intake manifold vacuum, while some diesels and turbocharged engines may use a separate vacuum pump. Either way, low vacuum supply can make a perfectly good booster act like a bad one.
How to Do It
- Turn the engine off.
- Locate the vacuum hose connected to the brake booster.
- Disconnect the hose carefully from the booster or from a convenient test point.
- Attach a vacuum gauge to the hose.
- Start the engine and read the gauge at idle.
What a Good Result Looks Like
Many vacuum brake booster systems need roughly 18 to 21 inches of mercury at the booster supply line, though the exact specification can vary by vehicle. Always compare your reading with service information for your specific year, make, model, and engine.
What a Bad Result Looks Like
If vacuum is low or unstable, the problem may be upstream of the booster. Look for a cracked hose, collapsed hose, loose connection, intake manifold leak, weak vacuum pump, engine mechanical issue, or restriction in the vacuum source.
If the engine produces good vacuum at the hose but the booster still fails the assist test, the booster or check valve becomes more suspicious. Diagnosis is a process of elimination, not a game of throwing parts at the car until the problem gives up out of boredom.
Test 4: The Brake Booster Check Valve Test
The brake booster check valve is a one-way valve that helps hold vacuum inside the booster. It allows vacuum to enter the booster but prevents it from escaping back toward the engine. A failed check valve can cause a hard pedal, especially shortly after shutdown or during repeated brake use.
How to Do a Basic Check
- Run the engine briefly, then shut it off.
- Locate the check valve where the vacuum hose enters the booster.
- Carefully remove the hose or valve from the booster.
- Listen for a whooshing sound as stored vacuum releases.
A noticeable whoosh can indicate that the booster was holding vacuum. If there is no sound at all, the check valve may be leaking, the booster may not be storing vacuum, or vacuum may never have reached the booster in the first place.
How to Test With a Hand Vacuum Pump
- Remove the check valve from the booster hose.
- Apply vacuum to the booster side of the valve with a hand pump.
- Check whether the valve holds vacuum.
- Try blowing gently through the valve in both directions.
Air should pass in only one direction. If air flows both ways, the valve is faulty. If air does not flow at all, the valve may be blocked. Either condition can interfere with brake booster operation.
Bonus Test: Listen for Vacuum Leaks
A hissing sound is not always easy to locate, but it can be a major clue. With the engine idling, listen near the brake booster, vacuum hose, check valve, and under the dashboard near the brake pedal. Press and release the brake pedal while listening for changes.
A mild momentary sound may be normal on some vehicles, but a steady hiss, especially one paired with rough idle or a hard pedal, suggests a leak. Some technicians use smoke machines for a more accurate vacuum leak test. A DIY method is lightly spraying soapy water around suspected external leak areas and watching for changes, but use caution around hot components and electrical parts.
Brake Booster vs. Master Cylinder: Do Not Mix Them Up
A brake booster problem usually causes a hard pedal. A master cylinder problem more often causes a sinking pedal, low pedal, or loss of hydraulic pressure. However, the two parts are mounted together, so symptoms can overlap.
If brake fluid is found inside the booster vacuum hose or between the master cylinder and booster, the rear seal of the master cylinder may be leaking. Brake fluid can damage the booster diaphragm, so replacing only the booster without addressing the master cylinder can lead to another failure. That is the automotive equivalent of mopping the floor while the sink is still overflowing.
What Causes Brake Booster Failure?
Brake boosters can fail for several reasons. Age and heat can harden rubber seals and diaphragms. Vacuum hoses can crack, soften, collapse, or disconnect. Check valves can stick or leak. Brake fluid contamination from a leaking master cylinder can damage the internal diaphragm. On some vehicles, a weak vacuum pump or poor engine vacuum can reduce assist even when the booster itself is fine.
Vehicle design also matters. Turbocharged engines, diesel engines, hybrids, and vehicles with advanced driver-assistance systems may use different booster designs or electronic vacuum assistance. The basic symptoms may be similar, but test procedures can vary. Always use vehicle-specific repair information before replacing parts.
Can You Drive With a Bad Brake Booster?
Technically, a vehicle with a failed vacuum booster may still have hydraulic braking, but it can require much more pedal force. That does not make it safe to drive. In an emergency stop, the extra effort and longer stopping distance can create a dangerous situation.
If you suspect a bad brake booster, avoid normal driving until the system is diagnosed and repaired. If the pedal is extremely hard, the engine stalls when braking, or the vehicle does not stop properly, have it towed. A tow bill is annoying. Brake failure is worse.
When to Call a Professional Mechanic
Basic brake booster testing is useful for narrowing down the problem, but some situations require professional help. Call a technician if you find brake fluid leaks, the pedal sinks to the floor, warning lights stay on, vacuum readings are abnormal, the engine stalls, or the vehicle has electronic brake assist systems that require scan tool calibration.
Brake booster replacement can also involve removing the master cylinder, disconnecting the booster pushrod under the dashboard, adjusting pedal free play, and bleeding the brake system. Incorrect pushrod adjustment can cause dragging brakes, delayed braking, or poor pedal feel. This is not the place for “close enough” workmanship.
Practical Example: Diagnosing a Hard Brake Pedal
Imagine a vehicle comes in with a hard brake pedal and a faint hiss under the hood. The owner assumes the brake booster is bad. Before replacing it, you perform the engine-start assist test. The pedal does not drop. Suspicious, yesbut not enough.
Next, you connect a vacuum gauge to the booster supply hose. The gauge reads only 10 inches of mercury at idle, far below the expected range. You inspect the hose and discover a collapsed section near the intake manifold. After replacing the hose, vacuum returns to normal and the pedal assist comes back.
In this example, the booster was innocent. The hose was guilty. A few minutes of testing saved the owner from buying a part they did not need. That is exactly why proper diagnosis matters.
of Real-World Experience: What Brake Booster Testing Teaches You
One of the most useful lessons from brake booster diagnosis is that the pedal tells a story. A hard brake pedal is not just an inconvenience; it is a clue. When drivers describe the pedal as “stiff,” “wooden,” “high,” or “like stepping on a brick,” the conversation should immediately move toward vacuum assist, not brake pads. Worn brake pads can cause noise, vibration, or reduced stopping performance, but they usually do not make the pedal suddenly feel like a locked door.
In real garage situations, the simplest tests often reveal the most. The engine-start test is a favorite because it is quick and surprisingly informative. Pump the pedal with the engine off, hold pressure, start the engine, and feel for the pedal drop. That small movement can save a lot of confusion. When the pedal drops, the booster is at least responding to vacuum. When it does not, the diagnostic path becomes vacuum supply, check valve, hose, and then booster.
Another experience-based tip: never ignore the vacuum hose. It may look boring, but it works hard. Heat, oil vapor, age, and engine movement can turn a once-flexible hose into a cracked, collapsed, or loose troublemaker. Many brake booster complaints are not caused by the booster at all. The hose or check valve fails first, and the booster gets blamed because it is the biggest part in the neighborhood. Bigger does not always mean guiltier.
The sound of a vacuum leak is also worth respecting. A steady hiss when the brake pedal is pressed can be a strong clue, especially if the engine idle changes at the same time. A driver may report that the car nearly stalls at stoplights or idles rough only when braking. That detail matters. It suggests the brake booster circuit may be pulling unmetered air into the intake system. In other words, the brake problem can look like an engine problem, and the engine problem can lead you right back to the brakes.
Experience also teaches patience with parts replacement. Installing a new booster without checking vacuum supply is like replacing a lamp before checking whether it is plugged in. A vacuum gauge is inexpensive, easy to use, and extremely helpful. If the booster is not getting enough vacuum, even a brand-new part will not perform correctly. This is especially important on vehicles with vacuum pumps, turbocharged engines, or modified engines with low idle vacuum.
Finally, brake booster testing reinforces a rule every DIYer should keep close: confidence is good, but brakes deserve humility. If the test results are unclear, if fluid is leaking, if the pedal feel changes dramatically, or if the vehicle does not stop normally, bring in a professional. A good diagnosis protects your money, but more importantly, it protects everyone sharing the road with you. That is a pretty solid return on a few careful tests.
Conclusion
Testing a brake booster does not have to be mysterious. Start with the engine-off pedal reserve test, then perform the engine-start assist test, check vacuum supply with a gauge, and inspect the check valve. These four simple diagnostic tests can help you identify whether the booster is failing or whether another part of the vacuum system is causing the problem.
A hard brake pedal, hissing noise, rough idle when braking, or longer stopping distance should never be ignored. The brake booster is part of the system that helps turn your foot pressure into safe, controlled stopping power. When it stops helping, your vehicle may still move just finebut stopping is the part that really matters.
Note: This article is for educational purposes only. Brake systems are safety-critical. If you are unsure about any test result or repair step, have the vehicle inspected by a qualified mechanic before driving.