
Swag hooks are tiny hardware heroes. They hold hanging plants, pendant lights, wind chimes, macramé baskets, lanterns, and all those “I saw it on Pinterest at 1 a.m.” décor ideas. The best part? Installing one is usually simple. The important part? Installing it correctly, because gravity has absolutely no sense of humor.
Whether you are hanging a leafy pothos in a sunny corner or moving a plug-in pendant light over a dining table, the right installation method depends on what is above your ceiling surface. A swag hook screwed into solid wood is not the same as one mounted in hollow drywall. A lightweight adhesive ceiling hook is not the same as a heavy-duty toggle bolt. And a hook meant for party streamers should never be asked to hold a giant fern that drinks water like a golden retriever after a walk.
This guide explains four practical ways to install a swag hook: into a ceiling joist, into hollow drywall with a toggle bolt, into exposed wood or masonry, and with no-drill options for lightweight décor. You will also learn how to choose the right location, avoid common mistakes, and make the finished hook look clean instead of “I attacked the ceiling with a drill.”
What Is a Swag Hook?
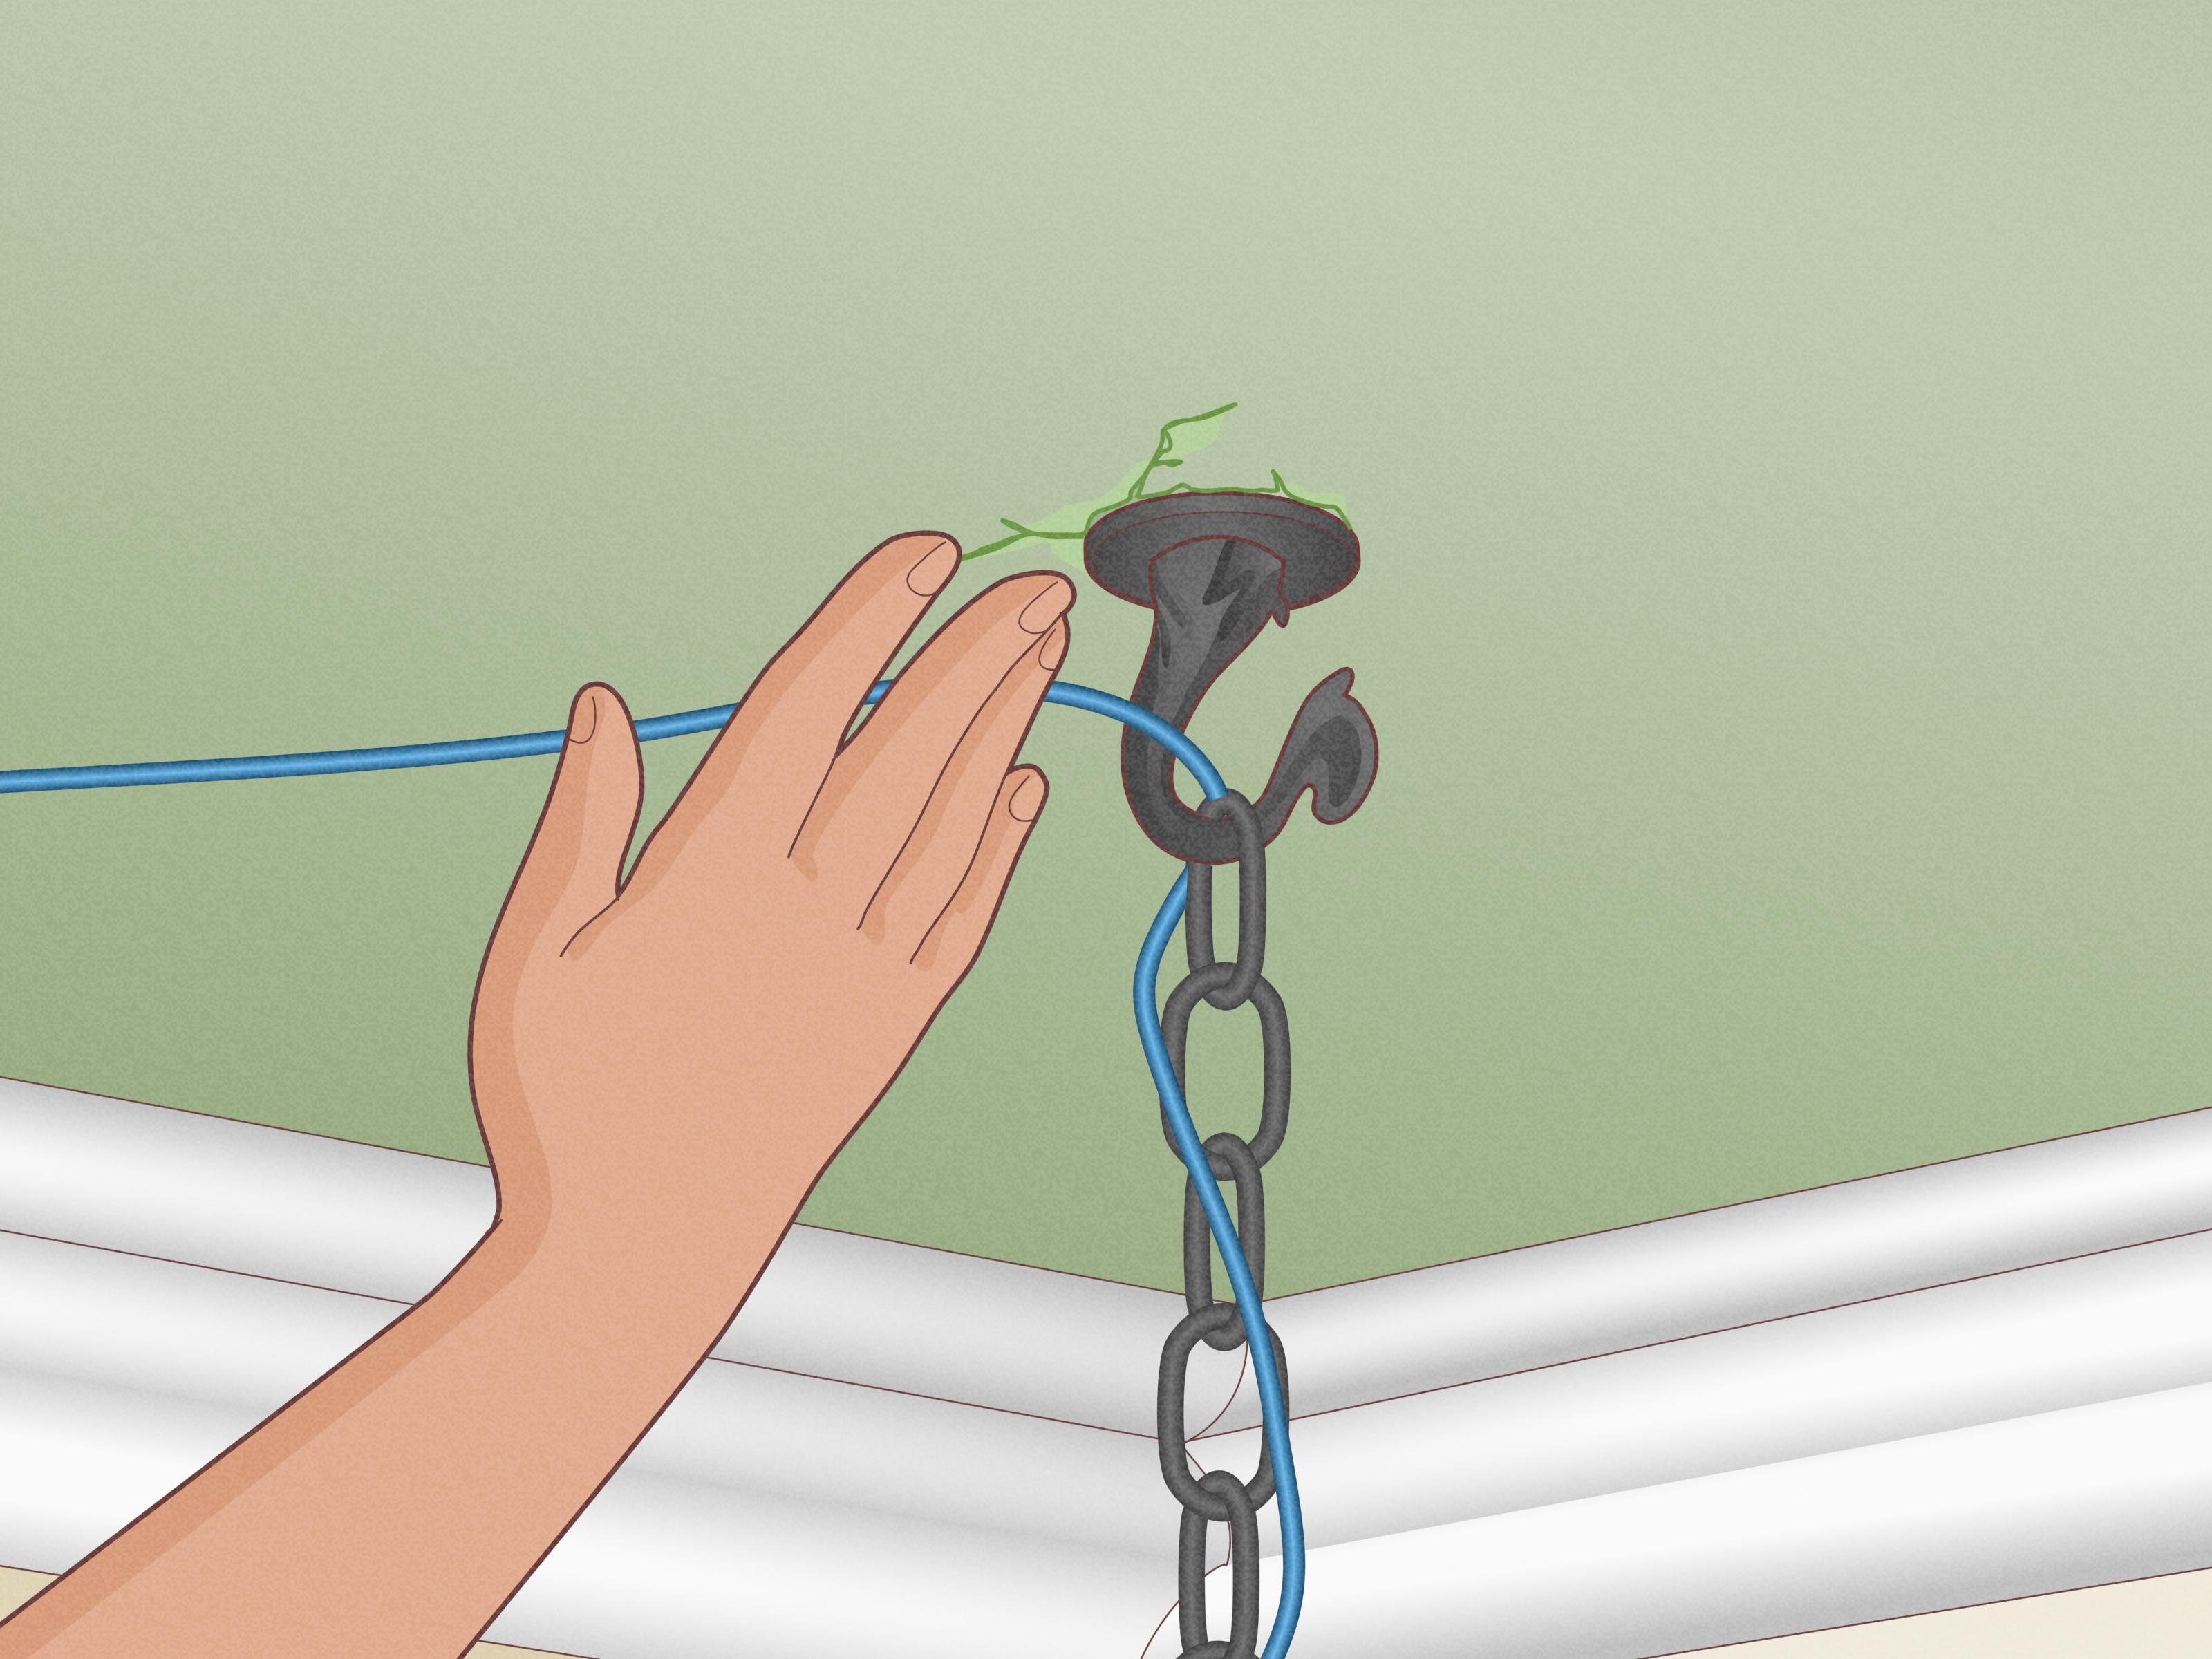
A swag hook is a decorative ceiling or wall hook designed to support hanging objects. It is commonly used for plug-in pendant lights, hanging planters, baskets, lanterns, and decorative chains. Most swag hook kits include the visible hook plus two types of mounting hardware: a wood screw for solid framing and a toggle bolt or similar anchor for hollow wall or ceiling areas.
The word “swag” often refers to draping or looping a cord, chain, or fabric. In home décor, a swag hook lets you shift a hanging item away from its original power source or mounting point. For example, a plug-in pendant lamp can be hung over a reading chair, while the cord “swags” over to a nearby outlet. It is a small piece of hardware with a surprisingly large design impact.
Before You Start: Tools, Safety, and Planning
Tools You May Need
- Swag hook kit
- Stud finder
- Pencil
- Drill and drill bits
- Screwdriver
- Tape measure
- Ladder or step stool
- Safety glasses
- Toggle bolt, wood screw, or masonry anchor, depending on the surface
Check the Weight First
Before drilling anything, weigh the item you want to hang. For plants, include the pot, soil, hanger, water, and the plant itself. A dry hanging basket may feel harmless, but after watering, it can gain several pounds. For lights, include the chain, cord, shade, bulb, and any decorative hardware.
Always compare the total weight with the hook’s rated capacity and the anchor’s rated capacity. The lower number wins. If the hook says it holds 50 pounds but the ceiling material is weak, damaged, or questionable, do not treat that number like a dare.
Look for Hidden Hazards
Ceilings can hide electrical wiring, plumbing, ductwork, and radiant heating systems. Avoid drilling near light fixtures, outlets, switches, ceiling fans, bathroom plumbing routes, or any place where you suspect pipes or wires may run. If you are installing a swag hook for a light fixture, use plug-in fixtures as intended and do not attempt electrical hardwiring unless you are qualified. When in doubt, call a professional. It is cheaper than repairing a surprise indoor waterfall.
Method 1: Install a Swag Hook Into a Ceiling Joist
The strongest everyday method is to install the swag hook directly into a ceiling joist. A joist is a solid structural framing member above the ceiling. When you screw into it, the hook is supported by wood rather than by drywall alone. This is the preferred method for heavier hanging plants, plug-in pendant lights, baskets, and décor that people may bump into.
Step 1: Choose the Location
Stand back and decide exactly where the object should hang. For a pendant light, center it over a table, reading chair, or kitchen nook. For a plant, consider sunlight, walking paths, furniture, and whether dripping water could land on electronics or wood surfaces. Mark the spot lightly with a pencil.
Step 2: Find the Joist
Use a stud finder that works on ceilings, or tap gently and listen for a change from hollow to solid. Many ceiling joists are spaced 16 or 24 inches apart, but do not rely on guessing alone. Once you think you have found the joist, mark the center. The center matters because the edge of a joist gives less bite for the screw.
Step 3: Drill a Pilot Hole
Choose a drill bit slightly smaller than the threaded part of the wood screw included with your swag hook. Drill straight into the joist at your mark. The pilot hole helps prevent wood from splitting and makes the hook easier to twist in. If the drill suddenly feels like it entered empty space, you may have missed the joist. Stop and reassess before turning the ceiling into Swiss cheese.
Step 4: Screw in the Hook
Thread the wood screw end of the swag hook into the pilot hole. Turn it clockwise until the base sits snugly against the ceiling. Do not overtighten. If you crush the drywall surface or strip the hole, the hook may lose holding strength.
Step 5: Test Before Hanging
Give the hook a firm downward pull with your hand. It should not wiggle, shift, or loosen. Then hang the item carefully and observe it for a few minutes. A properly installed hook in solid wood should feel secure and clean.
Method 2: Install a Swag Hook in Drywall With a Toggle Bolt
If your ideal location does not line up with a joist, a toggle bolt can make a hollow drywall or plaster ceiling usable. Toggle bolts have spring-loaded wings that pass through a drilled hole and open behind the ceiling surface. Once tightened, the wings spread the load over a larger area.
This method is common for swag hooks because many hook kits include a threaded rod and spring toggle. It is especially useful for hanging a plant or plug-in light exactly where you want it instead of where the joist happens to be. Interior design rarely says, “Please place the lamp four inches awkwardly to the left.”
Step 1: Confirm the Ceiling Is Hollow
Use a stud finder to make sure you are not drilling into a joist, pipe, or wire. The toggle bolt needs open space behind the ceiling so the wings can expand. If the ceiling contains insulation, lath, plaster keys, or unusual materials, the toggle may not open cleanly.
Step 2: Mark and Drill the Hole
Mark your desired location. Check the swag hook package for the required hole size. Many toggle bolts require a larger hole than a regular screw because the folded wings must fit through. Drill straight and avoid widening the hole by wobbling the bit.
Step 3: Assemble the Toggle
Thread the toggle bolt or rod through the hook base as directed by the kit. Then twist the spring wings onto the rod. Make sure the wings fold toward the hook when you push them through the ceiling. This orientation allows them to spring open on the other side.
Step 4: Push the Toggle Through
Fold the wings together and push them through the hole. You should feel or hear them open above the ceiling. Gently pull downward on the hook so the wings press against the back side of the drywall.
Step 5: Tighten the Hook
While maintaining slight downward pressure, turn the hook clockwise until the base is snug against the ceiling. The goal is firm contact, not brute force. Overtightening can damage drywall, especially if the ceiling surface is old, cracked, damp, or poorly repaired.
Step 6: Test the Installation
Pull gently but firmly. If the hook spins freely, drops, or feels loose, the toggle may not have opened properly. Remove it and try again with the correct hole size or a different anchor. Never hang something valuable, breakable, or heavy from a questionable toggle installation.
Method 3: Install a Swag Hook Into Exposed Wood, Beams, or Masonry
Some homes make life easier by offering exposed beams, wood ceilings, brick, concrete, or other solid surfaces. These can be excellent places for a swag hook, but each surface needs the right fastener. A wood screw belongs in wood. A masonry anchor belongs in concrete or brick. Drywall anchors do not magically become masonry anchors just because you ask nicely.
Installing Into Exposed Wood or Beams
For exposed beams or solid wood ceilings, the process is similar to installing into a joist. Mark your location, drill a pilot hole, and screw in the hook until the base is snug. Make sure the wood is sound. Old, cracked, soft, or insect-damaged wood may not hold well. If the beam is decorative rather than structural, confirm that it can actually support weight.
An exposed beam also gives you a second option: using an S-hook over the beam instead of drilling. This can work for lightweight to moderate hanging items if the beam shape safely prevents the hook from sliding. However, an S-hook is not the same as a fixed swag hook. It can move if bumped, so use it only where it makes sense.
Installing Into Brick or Concrete
For brick, block, or concrete, choose a hook rated for masonry and use the recommended masonry anchor. Mark the location, drill with a masonry bit, insert the anchor, and fasten the hook according to the manufacturer’s instructions. Keep the hole straight and avoid drilling into crumbly mortar unless the anchor is designed for it.
Masonry can hold impressive weight when the correct anchor is installed properly, but not all masonry is equal. Soft brick, old mortar, hollow block, and cracked concrete can reduce holding power. If you are hanging a heavy pendant, chandelier-style plug-in fixture, or large planter, choose hardware conservatively and consider professional help.
Method 4: Use No-Drill Options for Lightweight Décor
Sometimes you need a hanging point without drilling. Renters, dorm rooms, temporary party setups, and seasonal decorating all benefit from no-drill solutions. The key phrase is lightweight décor. Adhesive ceiling hooks, magnetic hooks, tension rods, clamps, and over-beam hangers can be useful, but they are not replacements for properly anchored hardware when weight matters.
Adhesive Ceiling Hooks
Adhesive hooks are best for very light items such as paper lanterns, small garlands, fabric decorations, or party décor. Clean the surface first, follow the package directions, press firmly, and wait the recommended time before hanging anything. Do not use adhesive hooks for heavy plants, glass décor, ceramic pots, or plug-in lights.
Magnetic Hooks
Magnetic hooks can work on metal beams, steel doors, metal ceiling grids, or other magnetic surfaces. Their holding strength depends on the magnet, the surface, and the direction of the pull. A magnet that holds well on a vertical steel surface may behave differently overhead. Test carefully with something nonbreakable before trusting it.
Tension Rods and Clamps
A tension rod between two walls can support lightweight hanging plants or décor when used within the rod’s rating. Clamps can also work on exposed beams or shelves. These options are especially handy when you want flexibility without permanent holes. Still, they should be checked regularly because vibration, humidity, and repeated movement can loosen them over time.
How to Choose the Best Method
Use the joist method when you want maximum everyday strength and your location lines up with framing. Use a toggle bolt when the ceiling is hollow and the item is within the hook and anchor rating. Use masonry or exposed wood hardware when the surface is solid and compatible. Use no-drill solutions only for lightweight, temporary, or renter-friendly projects.
For hanging plants, remember that water changes everything. A freshly watered plant can be much heavier than it looks. For lights, remember that cords should hang neatly without creating trip hazards, strain on plugs, or awkward loops near heat sources. For décor, remember that “temporary” still needs to be safe. A falling paper lantern is annoying. A falling planter is a household event.
Common Mistakes to Avoid
Using the Wrong Anchor
The most common mistake is treating every ceiling like it is the same. A simple screw in drywall will not hold a hanging plant. A plastic wall anchor may not be suitable for overhead loads. A toggle bolt needs open space behind the ceiling. Match the fastener to the material, not to your optimism.
Ignoring the Wet Weight of Plants
Plants are sneaky. A basket that feels manageable at the store can become much heavier after soil, drainage water, and growth. Use lightweight pots when possible, add a drip tray, and avoid hanging oversized planters above beds, desks, or electronics.
Drilling Without Checking for Wires or Pipes
Never drill blindly near existing fixtures, bathrooms, kitchens, or ceiling fans. A small pilot hole can become a large repair bill if it hits the wrong thing. Use detection tools, study the room layout, and call a professional if the area feels risky.
Overtightening the Hook
Snug is good. Crushing the ceiling is not. Overtightening can damage drywall, strip wood, or deform the hook base. Stop when the hook is firm and flush.
Practical Experiences: What Real Swag Hook Projects Teach You
After installing a few swag hooks, you learn that the hardest part is not twisting in the hook. The hardest part is deciding where it should go. A hook two inches off-center over a table can look strange forever, especially once a pendant light draws attention to it every evening. Before drilling, use painter’s tape to mark the spot and step back from multiple angles. Sit in the chair, stand near the doorway, and view the room the way guests will see it. This tiny planning ritual can save you from a ceiling full of regret dots.
Another real-world lesson is that plants need more thought than lights. A plug-in pendant usually stays the same weight, but a plant changes. It grows, gets watered, sheds leaves, and may need to be rotated toward sunlight. A hanging plant above a carpet may look charming until the first overwatering episode. Use a saucer, choose a lightweight pot, and consider hanging the plant where you can reach it without climbing furniture. The best plant hook is not just strong; it is practical on watering day.
Toggle bolts also teach patience. The moment the wings disappear into the ceiling, you are committed. If you installed the toggle backward, drilled the wrong size hole, or forgot to thread the hook correctly, the little metal wings may vanish into the ceiling cavity like they have joined a witness protection program. Read the kit instructions before assembling the hardware. Fold the wings in your hand first so you understand how they open. Then install the hook slowly and confidently.
For plug-in swag lights, cord management makes a huge difference. A beautiful pendant can look messy if the cord droops unevenly or travels across the ceiling like a confused garden hose. Use matching cord clips, keep the chain relaxed but intentional, and place the second hook near the wall or outlet when needed. The goal is to make the swag look designed, not like the lamp is trying to escape.
Finally, small cosmetic details matter. Choose a hook finish that matches your light chain, curtain hardware, cabinet pulls, or nearby fixtures. White hooks blend into most ceilings, while brass, black, bronze, and nickel finishes can become part of the décor. If you make a mistake, patching a tiny ceiling hole is not the end of the world, but careful measuring and the right hardware can help you avoid patching in the first place.
Conclusion
Installing a swag hook is one of those small home projects that can transform a room quickly. It can move a pendant light to the perfect reading corner, lift a plant into better sunlight, or add charm to an empty ceiling space. The key is choosing the right method for your ceiling: screw into a joist when possible, use a toggle bolt for hollow drywall, select proper anchors for wood or masonry, and reserve no-drill hooks for lightweight décor only.
Measure carefully, check the weight, avoid hidden wiring or plumbing, and test the hook before trusting it with your favorite plant or light. Done properly, a swag hook is simple, sturdy, and surprisingly satisfying. Done badly, it becomes a gravity lesson with sound effects. Choose sturdy hardware, take your time, and your ceiling will look like it planned the whole thing.