
Replacing guitar inlays sounds like the kind of job performed by a mysterious luthier in a candlelit workshop while a 1959 Les Paul hums softly in the background. In reality, a careful player with patience, the right tools, and a healthy respect for tiny shiny objects can handle many basic guitar inlay replacement jobs at home. The secret is not brute force. The secret is moving slowly, measuring twice, sanding gently, and never letting super glue behave like it owns the place.
Guitar inlays are the decorative and functional markers set into the fretboard, headstock, or sometimes the body of the instrument. On the fretboard, dot inlays, block inlays, trapezoids, birds, diamonds, and custom shapes help players identify positions quickly. Materials may include mother of pearl, abalone, pearloid, plastic, clay, wood, recon stone, or synthetic shell. When an inlay pops loose, cracks, sinks, turns ugly, or simply does not match the look you want, replacing it can refresh the guitar dramatically.
This guide explains how to replace guitar inlays in 9 practical steps. It focuses mainly on fretboard inlays, because that is where most players notice problems first. The same principles also apply to many headstock inlays, though headstock work may involve finish repair and extra caution. If the instrument is vintage, rare, expensive, or emotionally priceless, consider hiring a professional luthier. If it is your trusty project guitar, your hands are steady, and you can resist the temptation to rush, let’s get into the tiny pearl surgery.
Before You Start: Understand What You Are Replacing
Before touching the guitar with a blade, drill, or router, identify the inlay type and the fretboard material. A simple plastic dot in a rosewood fingerboard is very different from a large mother-of-pearl block between two frets on a bound ebony board. The more complex the shape, the more important clean layout, snug fitting, and controlled sanding become.
Common guitar inlay materials include mother of pearl for a classic white shimmer, abalone for colorful green-blue fire, pearloid for an affordable vintage look, and clay or plastic dots for traditional-style instruments. Real shell is beautiful but brittle. Plastic is easier to shape but can melt, smear, or discolor if overheated. Wood inlays can look elegant but may absorb glue and finish differently from the surrounding fretboard.
Also inspect the frets. Replacing large inlays is easier before a refret or during fretwork, because the frets are not blocking your sanding tools. With frets installed, you can still do the job, but you must protect them and work in smaller, more controlled movements.
Tools and Materials You May Need
You do not need every specialized luthier tool on the planet, although buying guitar tools is a hobby that can mysteriously become its own instrument. For basic guitar inlay replacement, gather protective tape, a sharp hobby knife, small chisels or dental picks, a soldering iron or controlled heat source for stubborn old shell, a micro drill bit or Dremel-style rotary tool, a small router base if routing is needed, thin and medium cyanoacrylate glue, two-part epoxy, matching wood dust or black pigment, fine files, sanding blocks, radius blocks, sandpaper from about 220 through 1000 grit, polishing pads, wax paper, clamps or a capo, and eye and respiratory protection.
Dust control matters. Sanding wood, shell, and synthetic inlay material creates fine particles you do not want in your lungs. Work with ventilation, use dust collection when possible, and wear a suitable respirator. Your future self would like to breathe while playing guitar, which is a fair request.
Simple Ways to Replace Guitar Inlays in 9 Steps
Step 1: Protect the Guitar and Plan the Repair
Remove or loosen the strings so the fretboard is fully accessible. If you are working on only one inlay, you may not need to remove every string, but full access makes the job cleaner. Support the neck securely with a padded neck rest. Tape around the work area with low-tack masking tape to protect the fretboard, frets, binding, and finish.
Study the damaged inlay before removing it. Is it loose, cracked, sunken, raised, or missing? A raised inlay may only need thin CA glue wicked underneath and clamped flat. A cracked or discolored inlay usually needs full replacement. A missing inlay requires careful measurement of the cavity before selecting the new piece.
Take photos and measurements. Measure the length, width, thickness, and curve of the original inlay or cavity. If the fretboard has a radius, remember that the finished top of the inlay must follow that curve. A flat piece installed into a curved board will sit proud in the middle or low at the edges, which feels exactly as annoying as it sounds.
Step 2: Choose a Matching Replacement Inlay
For dot inlays, choose the same diameter and thickness as the original. Common face-dot sizes vary, so measure instead of guessing. For block, trapezoid, diamond, or custom inlays, compare the replacement piece directly against the existing cavity or the original inlay if it came out intact.
If you want a factory-style repair, match the material and color. Mother of pearl has a softer white glow, while abalone has more colorful movement. Pearloid can look creamy, aged, or swirled. On vintage-style guitars, a bright new white inlay may look too clean against an aged fretboard. In that case, aged pearloid or warmer shell may blend better.
If you are upgrading the look, keep scale and taste in mind. A huge dragon inlay may be cool, but if your fretboard currently has simple dots, that upgrade is not a “quick replacement.” It is a whole relationship. Start with replacement inlays that fit the existing pockets unless you are ready to route new cavities.
Step 3: Remove the Old Inlay Carefully
Loose inlays may lift with gentle pressure from a thin blade or dental pick. Avoid prying against the wood edge. Instead, work from an exposed crack or already-lifted corner. If the inlay is shell and strongly glued, controlled heat can sometimes soften the adhesive. A soldering iron applied carefully to the inlay can warm it enough to release glue, but keep the heat localized and do not scorch the wood or binding.
For plastic inlays, heat can deform the material, so proceed slowly. Sometimes the safest method is to drill a tiny pilot hole in the center of the old inlay and remove it in pieces. This sounds dramatic, but it is common when the old inlay will not be reused. Use shallow passes. The goal is to remove the inlay, not discover what the truss rod looks like from above.
Large inlays may need to be routed out carefully. If using a rotary tool, set the depth shallower than the inlay thickness and sneak up on the final depth. Keep the tool steady and stop often to vacuum dust and inspect your progress. One extra second of uncontrolled routing can create a gap big enough to make your filler earn overtime.
Step 4: Clean and Square the Cavity
Once the old inlay is removed, clean the pocket. Remove old glue, loose wood fibers, and dust. A small chisel, scraper, or sharp knife can help square the edges. Work gently so you do not enlarge the cavity unnecessarily.
The bottom of the cavity should be mostly flat and deep enough for the new inlay to sit slightly above the fretboard surface. Slightly proud is good because you can sand the inlay flush. Too low is frustrating because you cannot sand height back into it. If the pocket is too deep, you may need to shim it with matching veneer, wood dust and glue, or a thin layer of epoxy.
Check the edges under strong light. Tiny gaps become much more visible after glue cures and sanding dust settles. A snug inlay looks professional; a sloppy one looks like the guitar ate a shiny cracker.
Step 5: Test-Fit the New Inlay
Before adding glue, test-fit the replacement inlay several times. It should drop into the cavity with firm, controlled pressure. It should not need to be hammered. If the inlay rocks, the cavity bottom is uneven. If it sits too high, check whether glue residue, wood fibers, or an uneven underside is preventing it from seating properly.
For custom-cut pieces, leave the inlay slightly oversized while shaping, then file slowly to the final outline. Shell material can chip, so use gentle strokes and support the piece. A fine file, sanding stick, or small diamond file works well. When shaping pearl or abalone, do not rush the edge. The final fit is won in tiny adjustments, not heroic sanding marathons.
Mark orientation before gluing. Some shell pieces look different depending on direction. Rotate the inlay under light and choose the most attractive face. Once glue is involved, the inlay’s artistic opinion period is over.
Step 6: Glue the Inlay in Place
For many fretboard inlays, cyanoacrylate glue or two-part epoxy works well. Thin CA can wick under a slightly loose inlay, while medium CA or epoxy can help fill small voids. Epoxy gives more working time and can be mixed with ebony dust, rosewood dust, or pigment to hide gaps. CA glue cures quickly, which is helpful unless your fingers are part of the clamp system. They should not be.
Apply only enough adhesive to secure the inlay and fill the bottom of the cavity. Too much glue will squeeze out everywhere and create extra cleanup. Press the inlay into place and wipe away excess carefully. Use wax paper between the inlay and any clamp, caul, or capo so you do not accidentally glue your clamping tool to the fretboard. That is a comedy scene nobody needs.
If the inlay is on a radiused fretboard, use a small radius block or curved caul to apply even pressure. Let the glue cure fully according to the adhesive instructions. Do not start sanding early. Half-cured glue gums up abrasives and makes a repair look messy.
Step 7: Fill Small Gaps Around the Inlay
Even careful fitting can leave tiny gaps. For dark fretboards, pack the gap with matching ebony or rosewood dust, then wick thin CA glue into the dust. Another method is to mix dust or pigment into epoxy and apply it around the inlay. On lighter woods, test filler color on scrap first, because glue can darken dust dramatically.
Use a razor blade, scraper, or small stick to press filler into the gap. Slightly overfill the area so it can be leveled later. Avoid smearing dark filler across open-grain wood if possible. Masking can help, but tape edges may also trap glue ridges, so remove tape before everything becomes a permanent modern art installation.
Let the filler cure completely. Inspect under light from different angles. If the gap remains visible, fill again before final sanding. It is easier to correct now than after polishing.
Step 8: Level, Radius, and Polish the Inlay
This step separates clean work from “well, it looked fine from across the room.” Start by leveling the inlay close to the fretboard surface with a fine file or sanding block. If the fretboard has a radius, use a matching radius block when possible. Sand with the grain and keep the block flat against the board.
Progress through finer grits: 220 or 320 for initial leveling, then 400, 600, 800, and 1000 or higher for smoothing. Protect nearby frets with tape if necessary. If the inlay sits between frets, use short, controlled strokes. Do not dig into the surrounding wood. Your goal is to bring the inlay down to the fretboard, not bring the fretboard down to the inlay.
After leveling, polish shell or pearloid with micro-mesh, fine polishing compound, or very fine abrasive pads. The inlay should feel flush under your fingertip. Close your eyes and lightly glide across the repair. If you can feel a ridge, keep refining. If it feels smooth and looks clean, congratulations: the tiny shiny thing has accepted its new home.
Step 9: Clean, Condition, Restring, and Inspect
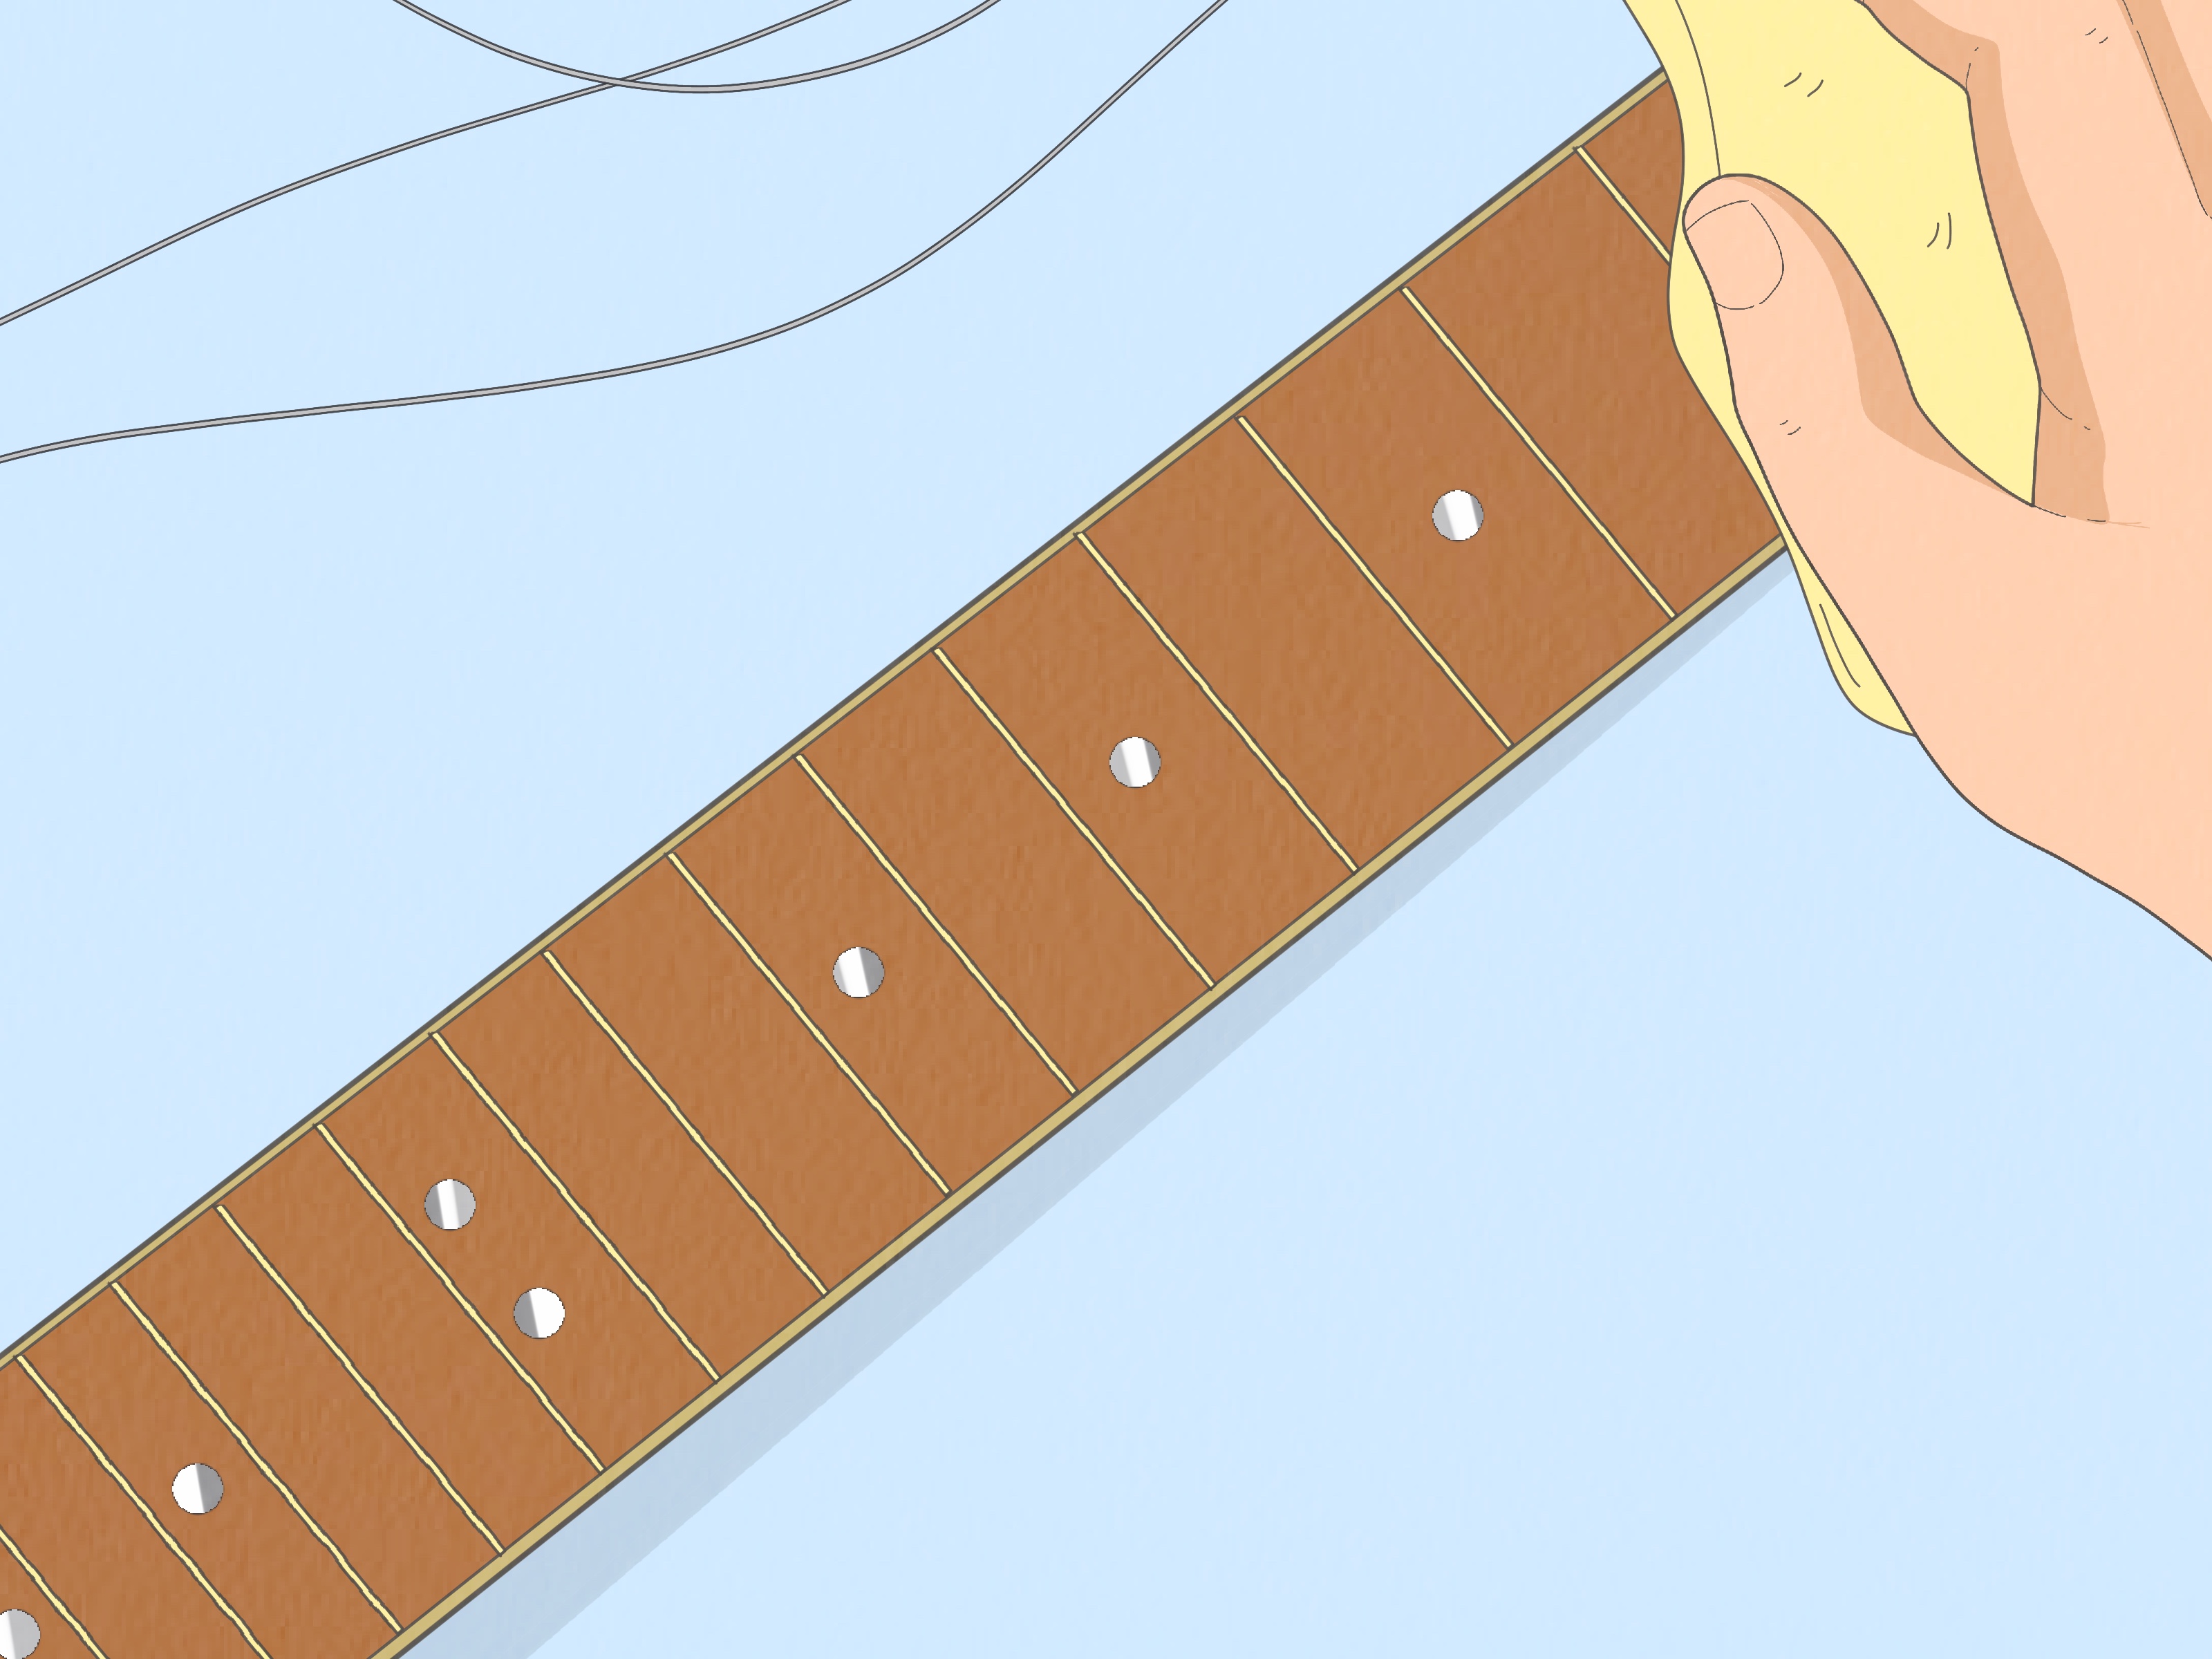
Vacuum or wipe away dust. Clean the fretboard with a suitable guitar-safe cleaner. If the board is unfinished rosewood or ebony, apply a small amount of fretboard conditioner or mineral-oil-based product if needed. Do not soak the wood. A fretboard needs care, not a spa day in a salad bowl.
Remove protective tape slowly. Restring the guitar and check playability. Bend notes near the repaired area and make sure the inlay does not catch your fingertip. Inspect the repair under strong light and from the player’s angle. A successful inlay replacement should look natural, feel smooth, and stay secure.
Keep an eye on the repair over the next few weeks. Seasonal humidity changes can affect fretboards, glue joints, and wood movement. If another inlay starts lifting, the guitar may be reacting to dryness, impact, or old adhesive failure. Address the cause, not just the shiny symptom.
Common Mistakes to Avoid When Replacing Guitar Inlays
Rushing the Removal
The most common mistake is prying too aggressively. Fretboard wood can chip, especially around brittle old glue lines. Work from the center outward when destroying an old inlay, or lift only from areas that are already loose. If the wood starts to chip, stop and reassess.
Choosing an Inlay That Is Too Thin
A replacement inlay should usually sit slightly proud before leveling. If it is thinner than the cavity depth, it may sink below the fretboard surface. You can shim the pocket, but starting with the right thickness saves time and stress.
Using Too Much Glue
More glue does not equal more professional. Excess adhesive can stain wood, clog pores, and create shiny halos around the repair. Apply controlled amounts and clean squeeze-out immediately.
Sanding Without a Block
Finger sanding creates uneven dips. Use a flat block or radius block so the inlay levels evenly with the fretboard. This is especially important on wide blocks or trapezoids.
Ignoring Safety
Shell dust, wood dust, and adhesive fumes are not bonus seasoning. Wear eye protection, use ventilation, and keep dust out of your lungs. A beautiful fretboard is not worth a coughing solo.
When to Call a Professional Luthier
Some inlay jobs are perfectly reasonable for a careful DIY guitarist. Others belong on a professional bench. Call a luthier if the guitar is vintage, collectible, under warranty, heavily bound, finished over the fretboard, or fitted with complex engraved inlays. Also seek help if the inlay crosses fret slots, if several frets must be removed, or if the cavity is damaged beyond simple filling.
Professional repair is also wise when matching historical materials. Vintage instruments may use celluloid, clay dots, specific pearloid patterns, or aged shell that is difficult to match. A good luthier can source or fabricate a replacement that respects the instrument’s value.
Best Materials for Guitar Inlay Replacement
Mother of pearl is a timeless choice for dots, logos, and decorative fretboard markers. It has a clean white glow and works well on both acoustic and electric guitars. Abalone offers more color and movement, making it popular for premium acoustics and eye-catching custom builds. Pearloid is affordable, easy to source, and common on many factory instruments. Plastic and synthetic materials are practical for budget repairs and vintage-style looks.
For beginners, pre-cut dots are the easiest starting point. They require accurate diameter matching but little shaping. Pre-cut blocks or trapezoids are more demanding because fretboard pockets vary by brand and model. Custom shapes require cutting, filing, routing, and more patience than most people possess before coffee.
Experience-Based Tips: What Replacing Guitar Inlays Teaches You
The first lesson from replacing guitar inlays is that the job is smaller than it looks but pickier than it sounds. A dot inlay may be only a few millimeters wide, yet it can teach you more about patience than an entire weekend of scale practice. The repair does not reward speed. It rewards observation. You begin by looking at the fretboard in a way most players never do. You notice the grain direction, the tiny line of old glue, the curve of the radius, and the way pearl changes color when the light moves.
One useful experience is to practice on scrap wood before touching the guitar. Drill a shallow hole in rosewood-colored scrap, glue in an inexpensive plastic or shell dot, then sand it flush. This quick test teaches how much glue is too much, how the material sands, and how quickly a small part can disappear if your sanding block gets enthusiastic. It also helps you understand why luthiers talk about “sneaking up” on a fit. You do not force the inlay into place; you persuade it.
Another practical lesson is that lighting changes everything. Under weak room light, a gap can look invisible. Under a bright bench lamp, it suddenly looks like the Grand Canyon wearing abalone. Always inspect the cavity and final repair from several angles. Use raking light across the fretboard to reveal ridges. Run a fingertip across the inlay after each sanding stage. Your finger often notices unevenness before your eyes do.
Glue control is another experience that sticks with you, sometimes literally. Thin CA glue can travel farther than expected. It can wick into gaps beautifully, but it can also run into fret slots, under tape, or onto finished areas. Keep paper towels, wax paper, and a plan ready before opening the bottle. Do a dry clamp rehearsal first. Place the inlay, position the caul, check the pressure, and only then introduce glue. The moment adhesive appears is not the time to wonder where your clamp went.
Replacing guitar inlays also teaches respect for humidity. A popped inlay is not always random. Fretboards shrink and expand with seasonal changes. Dry conditions can loosen parts, expose fret ends, and stress old glue joints. After the repair, store the guitar in a stable environment. A simple case humidifier and a small hygrometer can prevent future surprises.
Finally, the most satisfying experience is the first time you restring the guitar and forget the repair is there. That is the real goal. A great inlay replacement does not shout, “Look what I fixed!” It simply belongs. The marker is smooth, the color works, the fretboard feels right, and the guitar returns to being an instrument instead of a tiny woodworking emergency. That quiet success is worth the careful work.
Conclusion
Replacing guitar inlays is a manageable repair when you approach it with patience, proper tools, and realistic expectations. The basic process is simple: protect the guitar, remove the damaged inlay, clean the cavity, test-fit the replacement, glue it securely, fill gaps, level it carefully, polish it smooth, and inspect the finished work. The challenge lies in precision. Small mistakes are easy to see on a fretboard, especially when shiny shell meets dark wood.
If you are new to guitar repair, start with a loose dot or a practice board before tackling large blocks, trapezoids, or custom shapes. Use safe dust-control habits, avoid aggressive prying, and give adhesives enough time to cure. For valuable or vintage instruments, professional repair is the smarter path. For a well-loved project guitar, replacing inlays can be a satisfying upgrade that makes the instrument feel personal, polished, and ready for its next riff.
Note: This article is intended for educational guitar-maintenance content. For collectible, vintage, or high-value instruments, consult a qualified luthier before attempting inlay replacement.