
Breeding pet snails sounds like the world’s slowest romance novel: dim lighting, damp soil, leafy snacks, and two tiny creatures who move as if they are being paid by the hour. But if you want healthy baby snails, you need more than a cute terrarium and good intentions. You need the right species, a secure habitat, excellent hygiene, calcium-rich nutrition, and a plan for what happens when your snails decide to become parents with surprising enthusiasm.
This guide explains how to breed a pet snail responsibly in 10 practical steps. It is written for lawful, non-prohibited pet snails only. In the United States, some land snails are regulated because they can damage crops, carry parasites, or become invasive if released. Giant African land snails, for example, are not appropriate pets in the U.S. and should never be bred privately. Before you start, check your local and state rules, avoid moving live snails or eggs across state lines without proper permission, and never release a pet snail outdoors. A snail may look harmless, but ecology has a long memory and very little patience for “oops.”
Before You Begin: Responsible Snail Breeding Basics
Most common land snails are hermaphrodites, meaning each adult has both male and female reproductive organs. That does not mean breeding is automatic every time two snails share a cucumber slice, but it does mean a pair can produce eggs if conditions are right. Some species can even self-fertilize, although cross-fertilization is more typical in many land snails.
Breeding should be intentional. Ask yourself three questions first: Is this species legal to keep where I live? Do I have space for the babies? Do I know how to prevent escapes? If the answer to any of these is “uhhh,” pause. Snail breeding is easy to start and harder to responsibly manage, because a single clutch can contain many eggs.
How to Breed a Pet Snail: 10 Steps
Step 1: Choose a Legal, Healthy Snail Species
Start by identifying the species you already have or plan to keep. Do not guess based on shell color alone; snails are not mood rings with antennae. Many species look similar, especially when young. If you collected a local garden snail, make sure local laws allow it and never move it to another region. If you bought a snail, ask the seller for the scientific name, origin, and proof that it is legal to own in your state.
Avoid prohibited or high-risk species, especially giant African land snails. These snails are famous for their size, but they are also serious agricultural pests and are federally regulated in the United States. Responsible breeding begins with responsible species selection.
Step 2: Confirm Your Snails Are Mature
Young snails should not be bred. A mature snail usually has a fully formed shell lip, species-specific adult size, steady eating habits, and normal activity during its active hours. Breeding too early can stress the animal and may produce weak eggs or unhealthy hatchlings.
Age and maturity vary by species. Some small garden snails mature in months, while others take longer depending on diet, temperature, humidity, and calcium availability. If your snail is still growing rapidly, focus on excellent care before encouraging reproduction. Think of it as letting the snail finish high school before handing it a mortgage.
Step 3: Set Up a Secure Breeding Enclosure
A breeding enclosure should be escape-proof, well ventilated, and easy to clean. A plastic or glass terrarium with a tight-fitting ventilated lid works well for many small land snails. The lid is not optional. Snails can climb smooth surfaces, squeeze into tiny gaps, and stage slow-motion prison breaks that make you question reality.
For a small pair of garden-type snails, a modest terrarium may be enough, but more space is always better. The enclosure should include a substrate layer, hiding spots, leaf litter or moss, a shallow water source if appropriate for the species, and a feeding area that can be cleaned daily. Avoid sharp decorations, rough rocks, or hard items placed directly under climbing areas, because a falling snail can crack its shell.
Step 4: Use Moist, Safe Substrate for Egg Laying
Substrate is where snail breeding truly happens. Many land snails lay eggs in shallow holes or soft pockets beneath the surface. Use a natural, pesticide-free substrate such as coconut fiber, organic topsoil without fertilizers, or a safe soil blend suitable for invertebrates. The substrate should be deep enough for digging, usually several inches for small land snails and deeper for larger legal species.
Moisture matters. The substrate should feel like a wrung-out sponge: damp, not swampy. If it smells sour, grows fuzzy mold, or turns muddy, it is too wet or not being maintained properly. If it becomes dry and dusty, eggs may fail and adult snails may seal themselves up to conserve moisture.
Step 5: Maintain the Right Humidity and Temperature
Most land snails breed best in a stable, humid environment. Use a hygrometer and thermometer rather than guessing. “Looks damp enough” is not a measurement; it is a vibe, and vibes do not hatch eggs.
Exact temperature and humidity depend on the species, but many common land snails prefer mild room temperatures and steady humidity. Mist the enclosure with dechlorinated water as needed, and make sure ventilation prevents stagnant air. Too dry, and snails may become inactive. Too wet, and you risk mold, bacteria, and drowning hazards. The goal is a moist microclimate with fresh air, not a rainforest inside a lunchbox.
Step 6: Feed a Calcium-Rich, Pesticide-Free Diet
Breeding snails need strong shells, and strong shells require calcium. Keep a clean cuttlebone or another safe calcium source available at all times. Do not rely only on vegetables for calcium, especially when snails are laying eggs. Eggshell production can draw heavily on a snail’s mineral reserves.
Offer a rotating diet of washed, pesticide-free vegetables and fruits. Good options often include leafy greens, carrot, cucumber, squash, sweet potato, apple, and broccoli. Remove leftovers before they spoil. Some species may also benefit from occasional protein sources, but the amount and frequency vary, so research your exact species before adding protein-rich foods. Avoid salty, seasoned, oily, acidic, or processed foods. Your snail does not need pizza crust. It needs calcium, moisture, and dignity.
Step 7: Introduce Compatible Snails and Watch for Mating Behavior
When both snails are mature and healthy, place them in the breeding enclosure and give them time. Snails may court by touching, circling, following, or staying close together. Some species use specialized reproductive behaviors that look strange to human observers but are perfectly normal in snail society, which is already strange by human standards.
Do not handle or disturb them during mating. Keep the enclosure quiet and stable. Sudden changes in temperature, light, humidity, or handling can interrupt breeding or stress the animals. Your job is not to direct the romance; your job is to maintain the tiny snail hotel.
Step 8: Look for Eggs Without Destroying the Nest
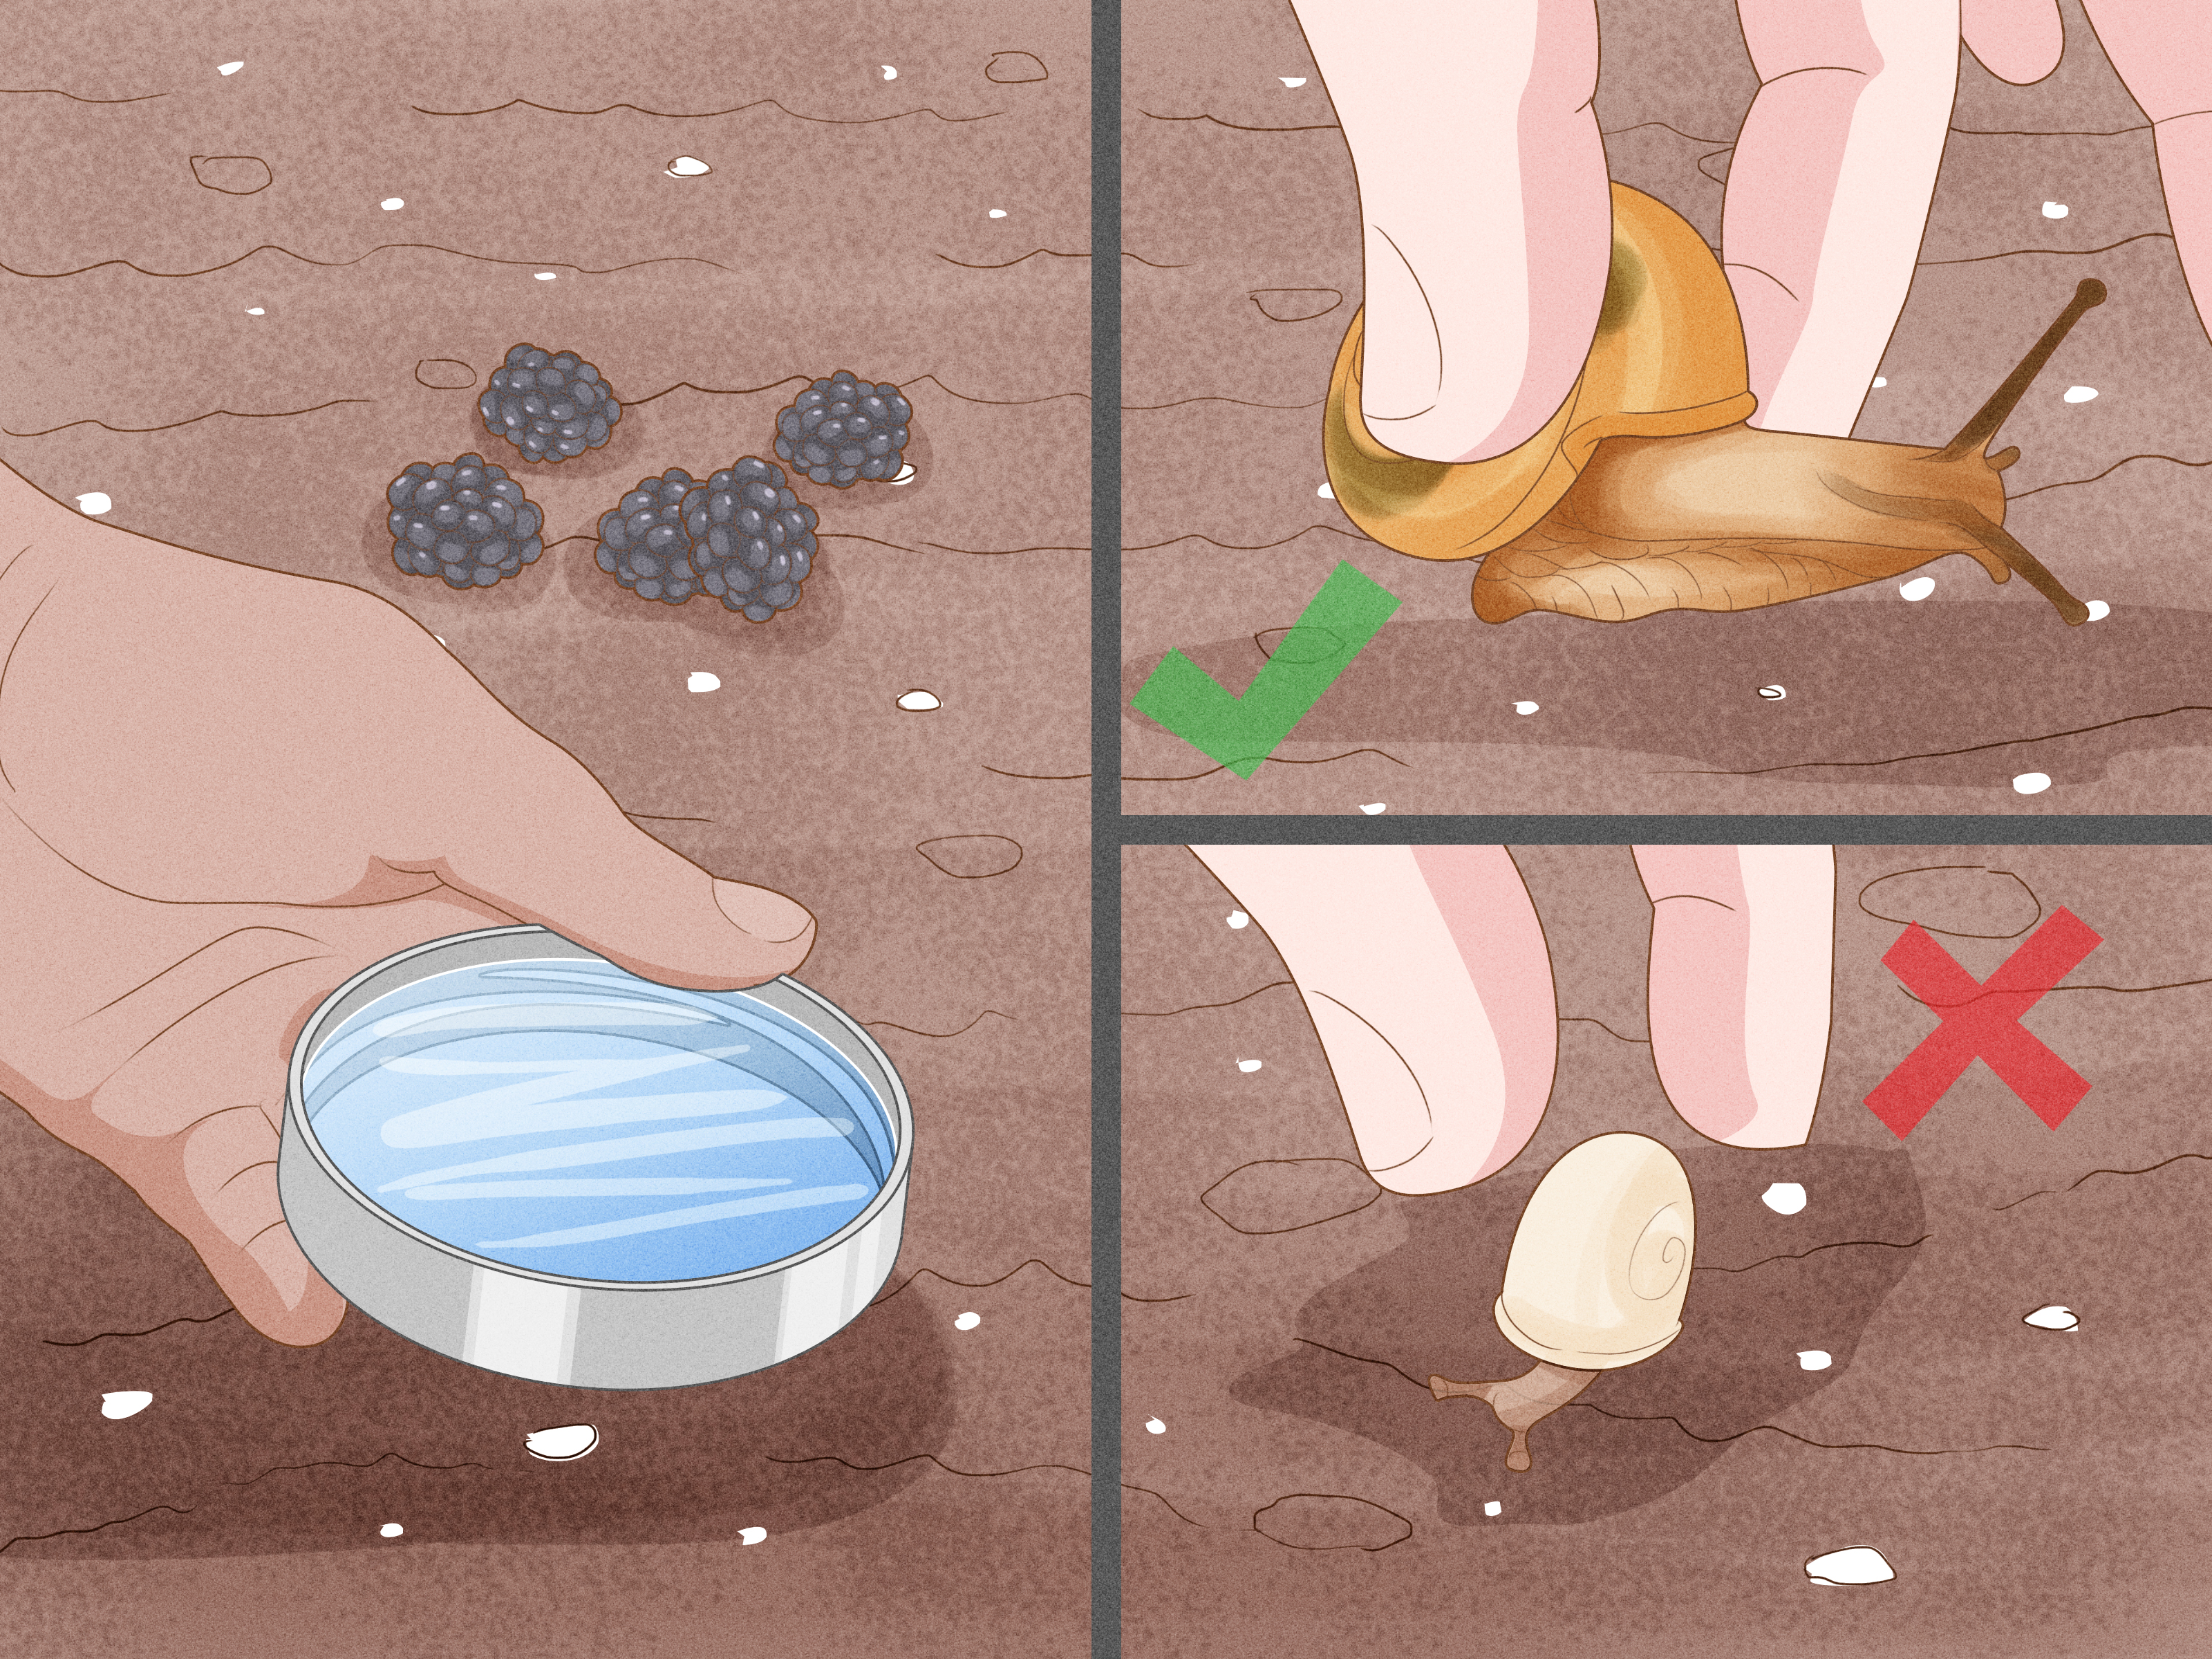
After successful mating, eggs may appear in the substrate within days or weeks, depending on species and conditions. Snail eggs are usually small, round, pale, and clustered together in a hidden pocket. Check gently by lifting small sections of substrate with a spoon or gloved hand. Do not dig like a raccoon looking for buried treasure.
If you find eggs, decide whether you will hatch the clutch or control the population. Responsible keepers often hatch only a limited number and remove excess eggs. If you cannot house the babies properly, do not hatch the clutch. Snails reproduce quietly, but they can multiply quickly.
Step 9: Incubate the Eggs Safely
Many keepers leave eggs in the original substrate if the enclosure is clean and adults are unlikely to disturb them. Others move eggs to a small incubation container with moist substrate from the same habitat. If you move eggs, handle them gently with a clean spoon, not your fingers. Crushing snail eggs is easier than crushing your motivation on a Monday morning.
Keep the incubation container humid, ventilated, and stable. Do not soak the eggs. Do not let them dry out. Hatch time varies by species, temperature, and moisture, but many small land snail eggs hatch within a few weeks. Some may hatch earlier or later. Remove moldy eggs if they threaten the clutch, and keep the container clean.
Step 10: Care for Hatchlings and Manage the Population
Baby snails are tiny, fragile, and easy to overlook. They may remain near the nest briefly before exploring. Provide soft foods, constant calcium, and very shallow moisture sources. Avoid deep water dishes because hatchlings can drown. Keep the enclosure secure; a gap that looks small to you may look like a six-lane highway to a baby snail.
Separate hatchlings from adults if needed to prevent accidental crushing or competition for food. Clean carefully and count often. As they grow, move them into larger enclosures or separate groups to avoid overcrowding. Never release unwanted snails or eggs outdoors. If you need to reduce numbers, research humane, legal disposal methods recommended for your area or contact a local extension office, exotic pet veterinarian, or animal-care professional for guidance.
Common Mistakes When Breeding Pet Snails
Breeding Before Checking the Law
This is the biggest mistake. Some snails are regulated because they threaten agriculture, native ecosystems, or public health. Always check before acquiring, breeding, selling, shipping, or giving away snails.
Letting the Tank Dry Out
Dry substrate can stop egg development and stress adult snails. A hygrometer helps you maintain stable conditions instead of playing “guess the humidity” every morning.
Forgetting Calcium
Calcium is not a decorative bonus. It supports shell growth, shell repair, and egg production. A snail without enough calcium may develop a thin, weak, or damaged shell.
Overcrowding Hatchlings
Baby snails grow, eat, poop, and compete. Give them space, clean food, and fresh substrate. Overcrowding can lead to poor growth and sanitation problems.
Releasing Snails Outdoors
Never release pet snails, eggs, or used substrate outdoors. Even small species can carry pests, parasites, or pathogens, and non-native snails can become invasive.
Health and Hygiene Tips for Snail Keepers
Always wash your hands before and after handling snails, cleaning the enclosure, or preparing food. Wearing disposable gloves is a smart habit, especially if the snail was wild-collected or if you live in an area where rat lungworm is a concern. Do not kiss snails, lick your fingers, or let children handle snails unsupervised. This may sound obvious, but the internet has taught us never to underestimate curiosity.
Wash produce thoroughly before feeding it. Choose pesticide-free foods whenever possible, and remove uneaten food before it molds. Clean the enclosure regularly, but avoid harsh cleaners, scented sprays, soap residue, or chemicals that can harm snails. Warm water, careful rinsing, and routine substrate maintenance are usually safer than turning the terrarium into a lemon-scented chemical incident.
How Many Baby Snails Should You Keep?
The honest answer is: fewer than you think. A clutch can produce more babies than a casual keeper can responsibly house. Before hatching eggs, prepare extra containers, food, calcium, and time. Also consider whether you can legally rehome them. In many places, shipping or transporting live snails may be restricted or require permits.
A responsible breeder plans for every hatchling. That means no surprise giveaways, no outdoor releases, and no “maybe my cousin wants 47 snails” strategies. Breed only when you can care for the results.
Experience Notes: What Breeding Pet Snails Teaches You
Breeding pet snails is one of those hobbies that looks simple from the outside and becomes surprisingly detailed once you actually do it. At first, you may think the project is mostly about waiting. Snails move slowly, court slowly, eat slowly, and sometimes stare at a carrot as if it has personally offended them. But the more you observe, the more you notice small patterns: which foods disappear first, where they prefer to sleep, how they react after misting, and which corner of the enclosure becomes the unofficial snail meeting room.
The first big lesson is that consistency matters more than constant tinkering. New keepers often want to adjust everything every day: more mist, less mist, new moss, different soil, brighter light, darker hide, fancier dish. Snails usually do better with stable conditions. Once humidity, temperature, substrate, and feeding are right, the best thing you can do is maintain the routine. Snails are not impressed by dramatic home makeovers. They want a safe, damp world with snacks.
The second lesson is that eggs are exciting for about five seconds before responsibility arrives wearing heavy boots. Finding a clutch feels like discovering treasure. Then you realize each pearl-like egg could become a living animal that needs food, space, calcium, cleaning, and secure housing. This is why experienced keepers often limit the number of eggs they hatch. It is not cruel to plan; it is responsible. A good breeder thinks about animal welfare before the cuteness overload begins.
The third lesson is that hatchlings are tiny escape artists. A container that safely holds adult snails may not hold babies. Vent holes, lid gaps, and loose corners suddenly matter. Many keepers learn this after spotting a baby snail halfway up the outside of a container, looking innocent and slightly smug. Use fine ventilation, secure lids, and careful inspections during cleaning.
The fourth lesson is that calcium is the quiet hero of snail breeding. You may not notice it when everything is going well, but you will notice when it is missing. Strong shells, healthy growth, and successful reproduction all depend on proper mineral access. Keeping cuttlebone available is one of the simplest ways to support adults and hatchlings. If the cuttlebone gets dirty, replace it. If it disappears quickly, your snails are telling you something.
The fifth lesson is that good record-keeping helps. Write down mating dates, egg-laying dates, hatch dates, foods offered, humidity changes, and cleaning routines. This may sound excessive for animals that spend half the day under a leaf, but notes reveal patterns. You may discover that eggs hatch faster in slightly warmer conditions, that one food molds too quickly, or that babies grow better when food is placed near their hiding area.
Finally, breeding snails teaches patience in a very literal way. Nothing about it is instant. You prepare, observe, wait, adjust, and wait again. The reward is not drama; it is a healthy miniature ecosystem where small animals thrive because you paid attention. And honestly, in a world that moves too fast, there is something charming about caring for creatures whose life philosophy appears to be: “Moisture first, lettuce second, hurry never.”
Conclusion
Learning how to breed a pet snail is not difficult, but doing it responsibly requires planning. Choose only legal species, provide a secure enclosure, maintain moist substrate, offer calcium at all times, monitor eggs carefully, and prepare for hatchlings before they arrive. The most important rule is also the simplest: never release pet snails, eggs, or used habitat materials outdoors.
When done thoughtfully, snail breeding can be fascinating, educational, and oddly calming. You get to observe courtship, egg laying, hatching, and shell growth up close. You also get a daily reminder that nature does not need to be loud to be interesting. Sometimes it just needs a clean tank, a slice of zucchini, and a tiny animal wearing its house like a backpack.