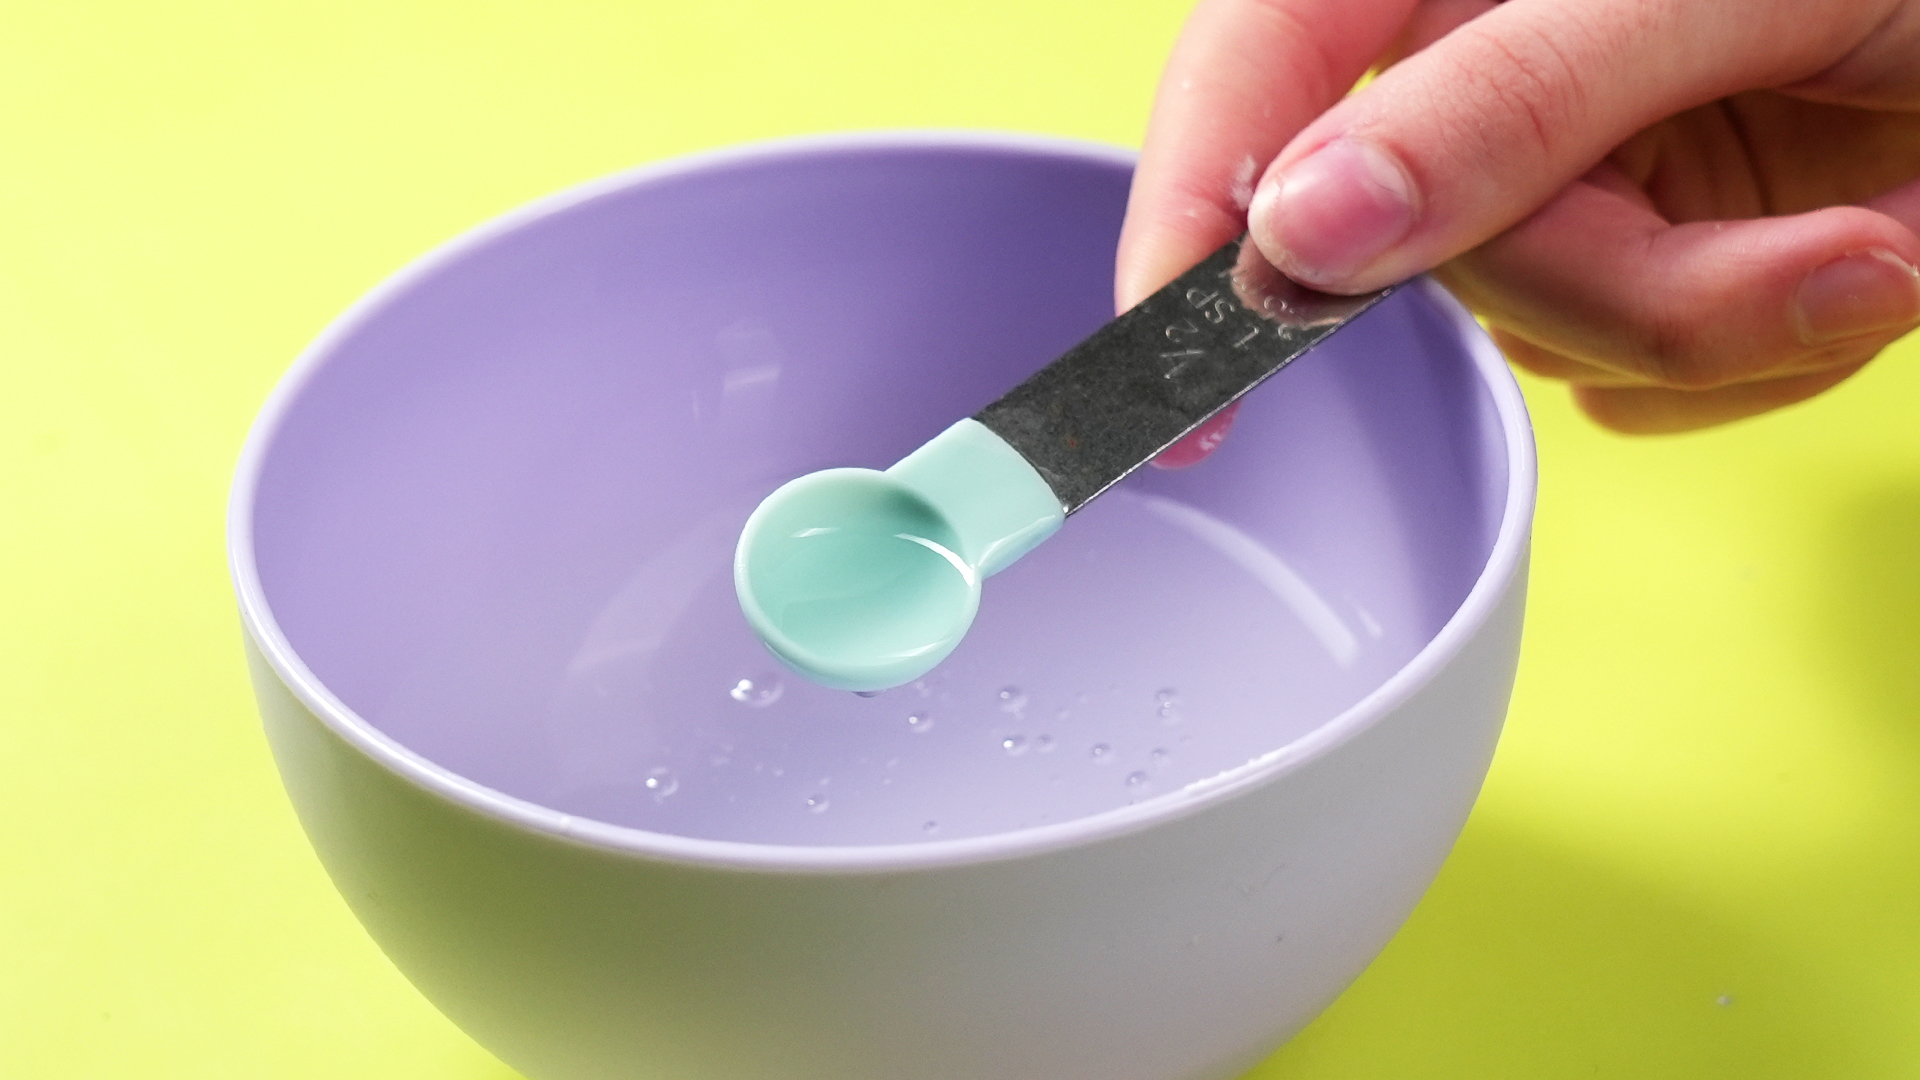

Slime looks like a tiny science fair had a dance party in a cereal bowl. It stretches, squishes, jiggles, snaps, and somehow makes both kids and adults say, “Okay, just one more poke.” But behind every perfect batch of slime is one secret ingredient doing the heavy lifting: the slime activator.
If your slime is too sticky, too runny, too rubbery, or sitting in the bowl like a puddle with commitment issues, the activator is usually the reason. A slime activator is the ingredient that transforms glue from a pourable liquid into a stretchy, satisfying polymer toy. The most common activator is borax solution, but many people prefer options that do not require handling powdered borax directly, such as contact lens solution, saline solution, or liquid starch.
This guide explains how to make slime activator easily with or without borax, how each method works, how much to use, what to avoid, and how to fix slime mistakes without turning your kitchen into a glittery swamp. Adult supervision is strongly recommended, especially when children are measuring ingredients or handling borax, contact solution, or liquid starch.
What Is Slime Activator?
Slime activator is the ingredient that makes glue turn into slime. Most classic slime recipes start with PVA glue, also known as polyvinyl acetate glue. School glue contains long polymer chains that normally slide past each other, which is why glue pours and spreads. When a borate-based activator is added, those chains link together. This process is called cross-linking.
Think of plain glue like cooked spaghetti in warm water: slippery, loose, and moving everywhere. Add activator, and the noodles suddenly start holding hands. Now you have a stretchy, squishy mass instead of a runny liquid. Congratulations, you have created slime chemistry without needing a lab coat, although an apron is not a bad idea.
The most reliable slime activators usually contain one of these borate ingredients:
- Borax powder, also called sodium tetraborate
- Boric acid
- Sodium borate
- Liquid starch containing sodium borate
That means many “without borax” slime recipes are more accurately “without powdered borax.” Contact lens solution and saline solution may still contain boric acid or sodium borate. They can be easier to measure and less intimidating for beginners, but they are not always completely borate-free.
Best Slime Activator Options at a Glance
1. Borax Solution
Borax solution is one of the strongest and most reliable activators. It works well for clear slime, glossy slime, and classic stretchy slime. Because it is powerful, it should be diluted carefully and added slowly.
2. Contact Lens Solution and Baking Soda
This is a popular no-powdered-borax method. It works only if the contact lens solution contains boric acid and/or sodium borate. Baking soda helps the mixture firm up and improves the slime texture.
3. Saline Solution and Baking Soda
Saline slime is similar to contact solution slime. It is beginner-friendly, soft, and good for fluffy slime. Again, check the ingredient label. Plain homemade salt water will not activate glue.
4. Liquid Starch
Liquid starch is one of the easiest slime activators because it is already liquid and simple to pour. It often creates smooth, stretchy slime with less measuring drama.
How to Make Slime Activator with Borax
This is the classic method. It is strong, inexpensive, and dependable. Use it carefully, and always keep borax powder away from mouths, eyes, pets, and tiny hands that treat everything like a snack.
Ingredients
- 1 cup warm water
- 1 teaspoon borax powder
- A clean jar or cup with a lid
- A spoon for stirring
Instructions
- Pour 1 cup of warm water into a clean jar or cup.
- Add 1 teaspoon of borax powder.
- Stir until the powder dissolves as much as possible.
- Let the solution cool before using it in slime.
- Store the activator in a labeled container out of reach of children and pets.
To use borax activator, add it to your glue mixture 1 teaspoon at a time. Stir after each addition. When the slime begins pulling away from the sides of the bowl, stop pouring and start kneading. This is the moment when slime goes from “soup with ambition” to “actual slime.”
Best Borax Slime Recipe
- 1/2 cup white or clear PVA school glue
- 1/2 cup water
- Food coloring or glitter, optional
- 1 to 3 teaspoons borax activator, added slowly
Mix glue and water first. Add coloring or glitter if desired. Slowly add borax activator while stirring. Once the slime clumps together, knead it for two to five minutes. If it is still sticky, add a few drops of activator at a time. Do not dump in half the jar unless you want a rubber bounce puck with trust issues.
How to Make Slime Activator Without Powdered Borax
If you do not want to use powdered borax, you still have several options. These are often easier for home slime projects because the activator is already in liquid form. The key is reading labels. If the solution does not contain boric acid, sodium borate, or another borate ingredient, it probably will not activate slime.
Contact Lens Solution Slime Activator
Contact lens solution is one of the most popular alternatives to powdered borax. However, not every bottle works. Look for contact solution that lists boric acid and/or sodium borate on the label. If the label does not include these ingredients, your glue may remain glue, and your child may accuse you of ruining science.
Ingredients
- 1 tablespoon contact lens solution
- 1/2 teaspoon baking soda
- Use with 4 to 6 ounces of PVA glue
Instructions
- Pour 4 to 6 ounces of white or clear glue into a bowl.
- Add 1/2 teaspoon baking soda and stir well.
- Add color, glitter, foam beads, or other mix-ins if desired.
- Add 1 tablespoon contact lens solution.
- Stir until the slime forms and begins pulling away from the bowl.
- Knead with clean hands. If sticky, add contact solution a few drops at a time.
This method makes a soft, stretchy slime that is excellent for beginners. It is also great for fluffy slime when shaving cream is added to the glue before activation.
Saline Solution Slime Activator
Saline solution slime works much like contact lens solution slime. The important detail is that plain salt water is not the same thing. A homemade mixture of salt and water will not provide the borate ions needed for real glue-based slime.
Ingredients
- 1 to 2 tablespoons saline solution containing boric acid and/or sodium borate
- 1/4 to 1/2 teaspoon baking soda
- Use with 1/2 cup PVA glue
Instructions
- Add 1/2 cup glue to a bowl.
- Stir in 1/4 to 1/2 teaspoon baking soda.
- Add coloring or glitter if you want dramatic slime energy.
- Pour in 1 tablespoon saline solution and stir.
- Add more saline solution only if the slime remains too sticky.
- Knead until smooth and stretchy.
Use less baking soda for gooier slime and more baking soda for thicker slime. Texture is part chemistry, part personal preference, and part “how much mess can this table survive?”
Liquid Starch Slime Activator
Liquid starch is another easy option because you do not need to make a separate activator solution. It usually contains sodium borate or a similar ingredient that helps cross-link the glue.
Ingredients
- 1/2 cup white or clear PVA glue
- 1/4 cup liquid starch, added gradually
- Food coloring or glitter, optional
Instructions
- Pour glue into a mixing bowl.
- Add color or glitter if desired.
- Add liquid starch slowly, about 1 tablespoon at a time.
- Stir between additions until the slime forms.
- Knead the slime until it becomes smooth.
Liquid starch can be very forgiving, but the same rule applies: add slowly. Slime is like pasta water, perfume, and hot sauce. You can always add more, but removing too much is basically a rescue mission.
Can You Make Slime Activator Without Any Borate?
For true glue-based slime, the honest answer is usually no. Classic slime needs borate ions to cross-link the glue polymers. Without borax, boric acid, sodium borate, or a similar borate ingredient, PVA glue will not become traditional stretchy slime.
However, you can make slime-like sensory mixtures without borate. These are not chemically the same as classic slime, but they can still be fun, squishy, and useful for younger children when taste-safe play is preferred.
Borate-Free Sensory Slime Ideas
- Cornstarch and water oobleck
- Chia seed slime
- Marshmallow slime
- Shampoo and cornstarch dough
- Baking soda and dish soap sensory paste
Oobleck is a great example. Mix cornstarch with water and you get a non-Newtonian fluid that feels solid when squeezed and liquid when relaxed. It is not stretchy like glue slime, but it is wonderfully weird. It also gives children a safe way to explore texture, pressure, and movement.
Slime Activator Safety Tips
Slime is fun, but it should be treated like a craft project, not a snack bar. Many slime ingredients are common household products, but common does not mean edible or irritation-free. Always supervise children and use reasonable safety precautions.
Follow These Safety Rules
- Do not eat slime or slime ingredients.
- Wash hands before and after making slime.
- Keep borax powder away from children and pets.
- Measure activators carefully.
- Avoid slime play if hands have cuts, rashes, or sensitive skin.
- Stop using slime if skin becomes red, itchy, or irritated.
- Do not use contact lens solution in eyes after it has been opened for crafts.
- Store slime in a sealed container and throw it away if it smells bad or grows mold.
Adults should handle powdered borax and clean up spills. If slime ingredients are swallowed or cause a concerning reaction, contact Poison Control or a medical professional. Slime should be a happy memory, not the reason everyone learns where the first-aid kit is.
How to Fix Common Slime Problems
Problem: My Slime Is Too Sticky
Add a tiny amount of activator and knead. For borax solution, start with a few drops or 1/4 teaspoon. For contact solution or saline, add a few drops at a time. Do not overdo it.
Problem: My Slime Is Too Rubbery
You probably added too much activator. Try kneading in a small amount of warm water or lotion. Let it rest in a sealed container for a few hours. Sometimes slime needs a nap, and honestly, same.
Problem: My Slime Did Not Form
Check your glue and activator. You need PVA glue, not every random craft glue on the shelf. If using contact solution or saline solution, make sure it contains boric acid or sodium borate.
Problem: My Clear Slime Is Cloudy
Cloudiness often comes from air bubbles. Put the slime in an airtight container and let it sit for one to three days. The bubbles will rise, and the slime may become clearer.
Problem: My Fluffy Slime Deflated
Fluffy slime contains shaving cream, which loses air over time. This is normal. You can still play with it, but it may become denser after a day or two.
Best Glue for Slime Activator Recipes
The best glue for slime is washable PVA school glue. White glue makes soft, creamy slime. Clear glue makes glossy, jewel-like slime. Glitter glue can work too, especially if you want sparkle without finding glitter in your socks three weeks later.
Avoid glue sticks, super glue, wood glue, hot glue, and random mystery glue from the back of the drawer. Slime is picky. It wants PVA glue, a proper activator, and a little patience.
How Much Activator Should You Use?
The right amount depends on the glue, the activator strength, and the slime texture you want. Use these general starting points:
- For 1/2 cup glue: use 1 to 3 teaspoons borax activator.
- For 4 to 6 ounces glue: use about 1 tablespoon contact lens solution plus 1/2 teaspoon baking soda.
- For 1/2 cup glue: use 1 to 2 tablespoons saline solution plus 1/4 to 1/2 teaspoon baking soda.
- For 1/2 cup glue: use 2 to 4 tablespoons liquid starch, added slowly.
The golden rule is simple: add activator slowly. Stir first, knead second, judge third. Many beginners add more activator too soon because the slime looks sticky in the bowl. But kneading often finishes the reaction and improves the texture.
Fun Slime Variations to Try
Fluffy Slime
Add 1 to 2 cups of shaving cream to your glue before adding contact solution or saline activator. The result is puffy, soft, and extremely pokeable.
Clear Slime
Use clear glue and avoid shaving cream or lotion. Let the slime rest in a container for a few days to remove bubbles.
Glitter Slime
Add glitter to clear glue before activation. Stir slowly unless your goal is to create a glitter tornado.
Crunchy Slime
Add foam beads after the slime forms. Knead them in gently for a satisfying crunch texture.
Butter Slime
Mix soft modeling clay into finished slime. This creates a spreadable, smooth texture that feels like slime pretending to be frosting.
My Real-Life Experience Making Slime Activator
The first time I made slime activator, I was wildly overconfident. I had glue, water, borax, a spoon, and the emotional certainty of someone who had watched one thirty-second video and decided chemistry was now a personality trait. I mixed the borax solution, poured it into the glue, and instantly learned the first rule of slime: activator is powerful. My “stretchy slime” became a rubbery lump that bounced emotionally but not physically.
That first batch taught me more than any perfect recipe could. The problem was not the borax itself; it was my pouring technique. I added too much too fast. Once I started adding activator in tiny amounts, stirring thoroughly, and kneading before adding more, the slime became smoother and stretchier. Slime rewards patience. It punishes dramatic pouring.
Contact lens solution was my next experiment. This method felt easier because there was no powdered borax to dissolve. I mixed white glue with baking soda, added a little food coloring, then stirred in contact lens solution. At first, the mixture looked like a sticky disaster. It clung to the spoon, the bowl, and my hopes. But after a minute of kneading, it transformed. The slime became soft, stretchy, and much less sticky. That was the day I learned that slime often looks wrong right before it turns right.
I also discovered that labels matter. One bottle of contact solution worked beautifully. Another bottle did absolutely nothing. Same method, same glue, same bowl, totally different result. The difference was the ingredient list. The successful solution contained boric acid and sodium borate. The failed one did not have the right activating ingredients. That tiny label turned out to be the boss of the whole project.
Liquid starch was the easiest method in my experience. It required less measuring, and the slime came together quickly. The texture was smooth and pleasant, especially with white glue. However, it still needed gradual mixing. When I added too much starch, the slime became stiff. When I added it slowly, it turned into a soft, stretchy batch that was perfect for beginners.
My biggest practical tip is to prepare the workspace before opening anything. Put down a washable mat, use one bowl, keep paper towels nearby, and avoid carpet like it owes you money. Slime loves carpet. Carpet does not love slime. Also, glitter should be treated as a long-term roommate. Once invited, it never fully leaves.
Another helpful trick is to let slime rest. If slime is slightly sticky after kneading, seal it in a container for ten to twenty minutes. Many batches improve after sitting. Clear slime especially benefits from resting because air bubbles rise out slowly. The difference between cloudy slime and crystal-looking slime is often just patience.
Finally, I learned that slime making is less about one perfect formula and more about small adjustments. Humidity, glue brand, activator strength, and mix-ins can change the final texture. Start with a trusted recipe, add activator slowly, and let your hands tell you when the slime is ready. When it stretches without coating your fingers like melted marshmallow, you are there.
Conclusion
Learning how to make slime activator easily with or without borax is really about understanding the chemistry behind the squish. Borax solution is strong, reliable, and excellent for classic slime, but it must be measured carefully and handled with adult supervision. Contact lens solution, saline solution, and liquid starch are convenient alternatives for people who do not want to mix powdered borax directly, as long as they contain the right borate-based ingredients.
For the best results, use washable PVA glue, add activator slowly, knead before adding more, and adjust the recipe based on texture. Sticky slime usually needs a tiny bit more activator. Rubbery slime usually means too much activator. Runny slime may mean the wrong solution was used. Once you know those basics, slime becomes much easier, less messy, and a lot more fun.
Note: This article is intended for educational craft purposes. Children should be supervised while making slime, and slime ingredients should never be eaten or used near the eyes. If irritation occurs, stop play and wash the area with water.