
Your shoes were living a respectable life. They went to work, survived sidewalks, dodged puddles, and maybe even endured one mysterious sticky spot at the movie theater. Then one day, the toe started peeling like a sunburned tomato. Before you toss them into the “yard-work only” pile, take a breath. Many peeling shoes can be repaired well enough to look polished, wearable, and far less tragic.
The trick is knowing what kind of damage you are dealing with. Faux leather shoes peel differently from real leather shoes. Faux leather usually has a plastic-like coating over a fabric backing, so when it peels, the surface layer is separating. Genuine leather, on the other hand, usually cracks because it has dried out, flexed too much, or lost its protective finish. In plain English: faux leather needs cosmetic rebuilding; cracked leather needs cleaning, conditioning, filling, and color restoration.
This guide explains how to repair peeling faux leather shoes, how to fix cracked leather shoes, what products to use, what mistakes to avoid, and when a cobbler is the better hero for the story.
First, Identify the Shoe Material
Before you reach for glue, paint, polish, or the tiny screwdriver you use for everything except screws, identify what your shoes are made of. The wrong product can make the damage worse, especially on faux leather.
Faux Leather Shoes
Faux leather, also called vegan leather, synthetic leather, PU leather, or pleather, is usually made with a polyurethane or vinyl coating applied to a fabric backing. It can look sleek when new, but once the top layer starts peeling, it rarely “heals” in the way real leather can be restored. A repair is mostly about smoothing the damaged area, rebuilding the missing surface, repainting it, and sealing it.
Bonded Leather Shoes
Bonded leather is made from leather fibers and scraps bonded together with adhesives and covered with a synthetic finish. It often peels like faux leather because the outer coating separates from the base. If the peeling covers a large area, repair may only buy time. Think of it as a makeover, not a time machine.
Genuine Leather Shoes
Real leather usually does not peel in flakes unless it has a heavy coating, damaged finish, or patent surface. It more commonly develops scuffs, dryness, creases, and cracks. These can often be improved with cleaning, conditioning, leather filler, cream polish, dye, and a protective wax or finish.
Patent Leather Shoes
Patent leather has a glossy coated surface. Once that shiny film cracks or peels, home repair is tricky. You can improve small marks with careful cleaning and flexible paint, but deep cracks in patent leather are hard to disguise completely.
Tools and Materials You May Need
You do not need a professional shoe-repair bench, dramatic lighting, or a wise old cobbler named Gus. For most DIY shoe peeling repairs, these basics are enough:
- Soft cloths or microfiber towels
- Mild soap or leather cleaner
- Small scissors or tweezers
- Fine-grit sandpaper, such as 600 to 1000 grit
- Flexible leather or vinyl adhesive
- Leather filler or flexible repair compound
- Color-matched leather paint or acrylic leather paint
- Small paintbrush, sponge, or palette knife
- Leather finisher, acrylic finisher, or flexible sealant
- Leather conditioner for genuine leather only
- Cream polish or wax polish for real leather shoes
- Painter’s tape to protect soles, stitching, or hardware
- Shoe trees or paper stuffing to hold the shoe shape
Always test products on a hidden area first. Shoes love surprises when they are on your feet, not when you are applying dye.
How to Repair Peeling Faux Leather Shoes
Faux leather repair is about creating a smooth, flexible, colored coating over the damaged spot. It will not be as durable as the original factory finish, but it can make your shoes look presentable again.
Step 1: Clean the Shoes
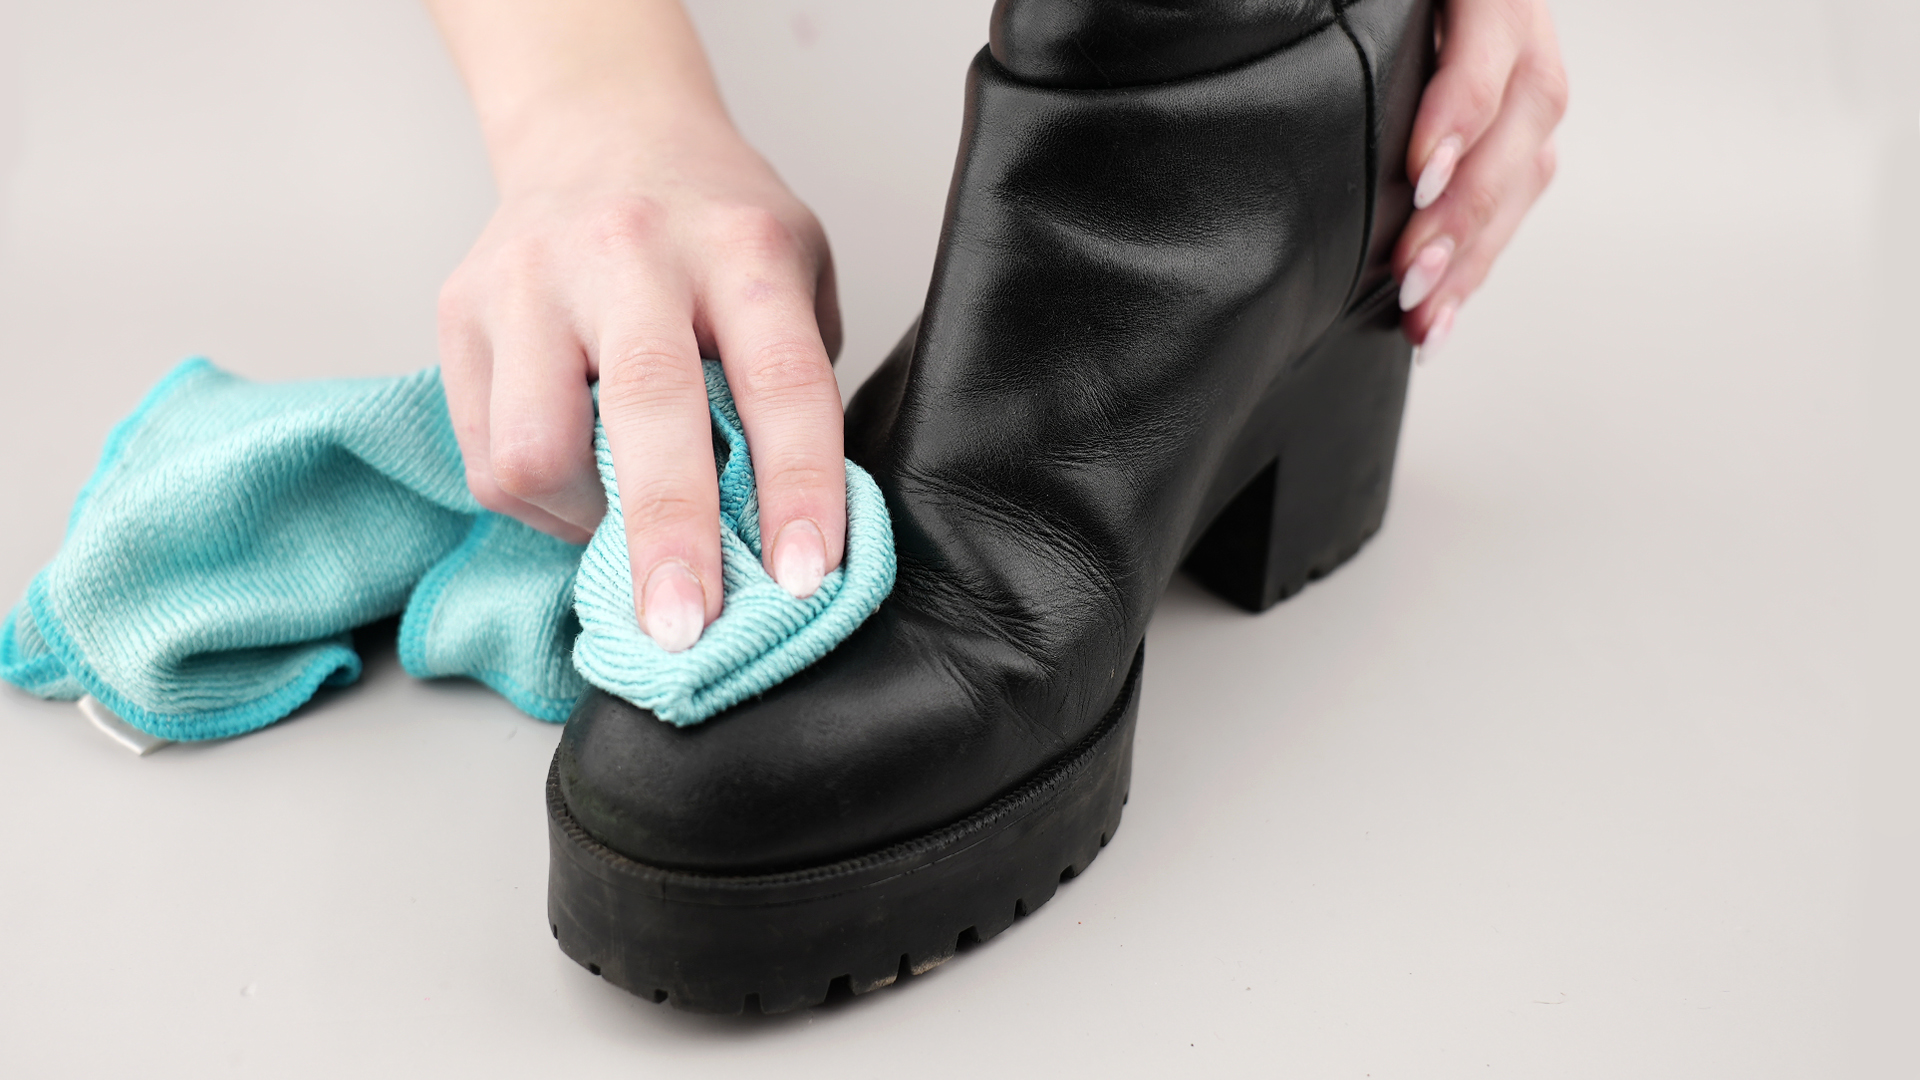
Wipe the shoes with a dry cloth to remove dust. Then clean the damaged area with a lightly damp cloth and a tiny amount of mild soap. Do not soak faux leather. Too much water can creep under the coating and make peeling worse. Let the shoes dry completely before continuing.
Step 2: Remove Loose Flakes
Use tweezers or small scissors to trim away flakes that are already detached. Do not yank pieces that are still firmly attached. Pulling them can turn a dime-sized repair into a “well, now we are painting the entire shoe” situation.
Step 3: Lightly Sand the Edges
Use fine-grit sandpaper to gently feather the edges of the peeled area. Your goal is to reduce ridges, not carve the shoe like a tiny wooden duck. Wipe away the dust afterward.
Step 4: Glue Down Any Lifted Edges
If a flap of faux leather is still attached but curling upward, apply a small amount of flexible leather or vinyl adhesive underneath it. Press it down with a cloth, then hold it in place with painter’s tape or a clamp if needed. Let it dry according to the product directions. Flexible adhesive matters because shoes bend. A stiff glue can crack as soon as you walk.
Step 5: Fill Depressions or Missing Surface
If the peeled area has a shallow crater, apply a thin layer of flexible leather filler or vinyl repair compound. Use a palette knife, small spatula, or the edge of a plastic card. Thin layers work better than one thick blob. Let each layer dry, then add another if necessary. Once dry, lightly sand until the surface feels smooth.
Step 6: Apply Color-Matched Paint
Use leather paint or flexible acrylic paint made for shoes, leather, or vinyl. Apply very thin coats with a small brush or sponge. Let each coat dry before adding the next. Two to four thin coats usually look better and last longer than one thick coat that sits on top like frosting on a cupcake.
For black shoes, color matching is usually forgiving. For brown, tan, burgundy, cream, or metallic faux leather shoes, mix and test the color first. If the repaired spot is obvious, consider painting the entire panel, such as the whole toe box or heel counter, so the finish looks intentional.
Step 7: Seal the Repair
After the paint is fully dry, apply a flexible acrylic finisher or leather sealant. Choose matte, satin, or gloss based on the original shoe finish. A sealant helps protect the paint from scuffs and moisture, but it will not make faux leather immortal. Sadly, no product can give your peeling boots the powers of a superhero.
Step 8: Let the Shoes Cure
Let the repaired shoes rest for at least 24 hours before wearing them. If the product instructions recommend a longer cure time, follow that. Walking too soon can wrinkle, crack, or lift the repair.
How to Repair Cracked Leather Shoes
Cracked real leather needs a different approach. The goal is to clean the surface, restore flexibility, fill deep cracks if needed, recolor the damaged area, and protect the leather from drying out again.
Step 1: Remove Dirt and Old Buildup
Brush off dirt with a soft brush. Remove laces if the shoes have them. Wipe the leather with a slightly damp cloth or a leather cleaner. Avoid harsh household cleaners, bleach, ammonia, and heavy soaking. Leather is durable, but it is still skin. Treat it gently unless you want your shoes to file a complaint.
Step 2: Let the Leather Dry Naturally
Allow the shoes to air dry away from direct heat. Do not use a hair dryer, radiator, oven, or sunny windowsill. Heat can dry leather further and make cracks worse.
Step 3: Condition the Leather
Apply a small amount of leather conditioner with a soft cloth. Massage it into the leather, especially around creases and cracked areas. Let it absorb, then wipe away excess. Conditioner helps restore flexibility and reduces the dry, thirsty look of old leather. Do not overdo it; too much conditioner can leave the leather greasy and attract dust.
Step 4: Fill Deep Cracks
For deep cracks, use a flexible leather filler. Apply a thin layer into the crack with a palette knife or fingertip wrapped in a cloth. Smooth the surface and let it dry fully. Repeat if needed. Once dry, lightly sand the area with very fine sandpaper. The crack may not disappear completely, but it should look less dramatic.
Step 5: Restore Color
Use cream polish, leather cream, or leather dye depending on how faded the shoe is. Cream polish is usually enough for minor cracks and scuffs. For more serious color loss, leather dye or recoloring balm may work better. Apply in thin layers and blend beyond the repaired spot so the color transition looks natural.
Step 6: Buff and Protect
After the color product dries, buff the shoes with a horsehair brush or soft cloth. Add a light coat of wax polish if the shoes are smooth leather and you want shine and water resistance. Keep wax light on flex points because heavy wax buildup can crack when the shoe bends.
When a Patch Is Better Than Paint
If the faux leather is missing in a large area, filler and paint may not be enough. A patch can cover the damage and add strength. Use a thin piece of matching faux leather, leather, or decorative fabric. Cut it slightly larger than the damaged area, round the corners, apply flexible adhesive, and press it firmly into place.
Patches work best on heels, sides, tongues, and boot shafts. They are harder to hide on toe boxes because that area flexes constantly and catches light. If the patch looks obvious, make it look deliberate. A symmetrical patch on both shoes can seem like a design choice. Fashion has survived stranger things.
When to Visit a Cobbler
A DIY repair is ideal for small peeling spots, shallow cracks, scuffed toes, and shoes you want to make wearable again without spending much. A cobbler is better when the shoes are expensive, sentimental, structurally damaged, or made from delicate leather. Professional shoe repair can also help with sole separation, torn stitching, collapsed heels, broken zippers, and deep cracks that affect the shoe’s strength.
As a rule, if the shoe upper is flaking everywhere, the lining is crumbling, or the material feels sticky and weak, replacement may be smarter than repair. There is no shame in retiring shoes that have clearly entered their haunted-house era.
Common Mistakes That Make Peeling Shoes Worse
Using Regular Leather Conditioner on Faux Leather
Leather conditioner is for real leather. Faux leather has a synthetic surface that does not absorb conditioner the same way. Oils and waxes can sit on top, create residue, or weaken the coating. Use mild cleaning and synthetic-safe protectants instead.
Applying Thick Paint
Thick paint cracks. Thin, flexible layers move better with the shoe. If you can still see the damage after the first coat, that is normal. Build the color gradually.
Skipping Surface Prep
Paint and filler need a clean, slightly textured surface. Dirt, polish, oil, and loose flakes prevent good adhesion. Prep work is boring, yes, but so is watching your repair peel off during lunch.
Using Super Glue on Flex Areas
Super glue dries hard and brittle. Shoes bend with every step, so repairs need flexibility. Use shoe repair adhesive, leather glue, vinyl adhesive, or contact cement designed for flexible materials.
Drying Shoes With Heat
Heat can warp faux leather, shrink adhesives, and dry out genuine leather. Air drying is slower, but it is safer.
How to Prevent Faux Leather Shoes From Peeling
Faux leather has a limited lifespan, but good care can slow the peeling. Wipe shoes after wearing, especially if they have been exposed to sweat, rain, mud, or road salt. Store them in a cool, dry place away from direct sunlight. Use shoe trees or tissue paper to help them keep their shape. Avoid stuffing them into a damp closet where humidity can encourage breakdown.
Do not put faux leather shoes in the washing machine. The heat, water, detergent, and tumbling can weaken glue and damage coatings. Clean them by hand with a damp cloth and mild soap. Let them dry naturally.
How to Prevent Real Leather Shoes From Cracking
Real leather lasts longest when it is cleaned, conditioned, polished, and rested. Brush off dirt regularly because grit acts like sandpaper at flex points. Condition smooth leather when it starts to look dry. Use cream polish to restore color and wax polish sparingly for shine and protection. Rotate shoes so each pair can dry between wears.
If shoes get wet, stuff them lightly with paper or use cedar shoe trees, then let them air dry. Never force-dry leather with heat. Once dry, condition and polish as needed. This routine takes minutes and can add years to a good pair of leather shoes.
Practical Example: Fixing a Peeling Faux Leather Toe
Suppose the toe of a black faux leather loafer is peeling. First, clean the toe with a damp cloth and mild soap. Trim loose flakes with small scissors. Lightly sand the peeling edge until it feels smoother. Add a thin layer of flexible filler where the coating is missing. Let it dry, sand gently, and wipe clean. Apply black leather paint in three thin coats. Once dry, seal with a satin acrylic finisher. After curing overnight, the toe should look smooth enough for regular wear.
Practical Example: Fixing Cracked Brown Leather Boots
Now imagine brown leather boots with dry cracks across the vamp. Brush off dust, clean the leather, and let it dry. Apply conditioner and allow it to absorb. If the cracks are deep, add leather filler in thin layers, then smooth once dry. Use brown cream polish to restore color, blending over the entire vamp. Buff with a brush, then add a light wax polish only to the toe and heel for shine. The cracks may still be faintly visible, but the boots will look cared-for instead of abandoned in a garage since 2009.
Experience Notes: What Shoe Repairs Teach You the Hard Way
The first thing you learn when repairing peeling shoes is that patience is not optional. It is the whole game. The repair usually fails when someone rushes the drying time, slathers on paint like wall primer, or wears the shoes before the finish has cured. Thin layers look annoyingly unimpressive at first, but they are the secret to a flexible repair. The first coat may look streaky. The second coat starts to behave. By the third coat, you begin to feel like a tiny shoe wizard.
Another lesson is that color matching is both science and comedy. Black is easy. White is surprisingly rude. Brown has more personalities than a reality TV cast. If you are fixing brown faux leather or leather shoes, mix a little paint or polish and test it somewhere hidden. A repair that looks perfect under kitchen lighting may look orange in daylight. Always check the color near a window before committing to the visible area.
Faux leather repairs also teach humility. When the coating has started peeling in one spot, another spot may follow later because the material itself is aging. A beautiful repair on the toe will not stop the heel from flaking next month if the coating is breaking down everywhere. That does not mean the repair is pointless. It means expectations should be realistic. A DIY fix can make shoes useful for another season, a few events, or occasional wear. It may not turn bargain pleather into heirloom footwear.
Real leather is more rewarding. Cracked leather often responds beautifully to cleaning and conditioning. The surface darkens, softens, and starts looking alive again. However, deep cracks are like wrinkles in a well-traveled face. You can soften and disguise them, but you cannot erase the history completely. That is okay. A little character on leather boots can look handsome. A little peeling on faux leather usually looks like the shoe is trying to molt.
One practical habit makes the biggest difference: repair early. A tiny lifted edge is easy to glue down. A small crack is easy to condition and polish. A small scuff is easy to recolor. Wait until the entire toe box is peeling and the repair becomes a craft project with emotional stakes. Keep a small shoe-care kit at home with a cloth, brush, conditioner for real leather, flexible adhesive, and polish. That kit costs less than replacing a favorite pair and prevents many “why did I ignore this?” moments.
Finally, know when to stop. Some shoes are worth saving because they fit perfectly, match a specific outfit, or carry sentimental value. Others are simply finished. If the upper is crumbling, the sole is separating, the lining is powdery, and the shoe makes a suspicious crunching sound when you bend it, thank it for its service. Repair culture is wonderful, but even the most optimistic DIYer deserves footwear that does not shed on the carpet.
Conclusion
Repairing peeling shoes is completely possible when the damage is small to moderate and you use the right method for the material. Faux leather shoes need cleaning, trimming, light sanding, flexible filler, color-matched paint, and sealant. Cracked genuine leather shoes need cleaning, natural drying, conditioning, filling if necessary, polishing, and protection. The most important rule is simple: do not treat faux leather like real leather, and do not treat real leather like plastic.
A careful DIY shoe repair can save money, reduce waste, and rescue a pair you still love. Will every repair look factory-new? No. But with patience, thin layers, and realistic expectations, you can turn peeling, cracked shoes from “please hide under the desk” into “actually, these still look pretty good.” That is a win for your closet, your wallet, and your dignity at eye level with the sidewalk.