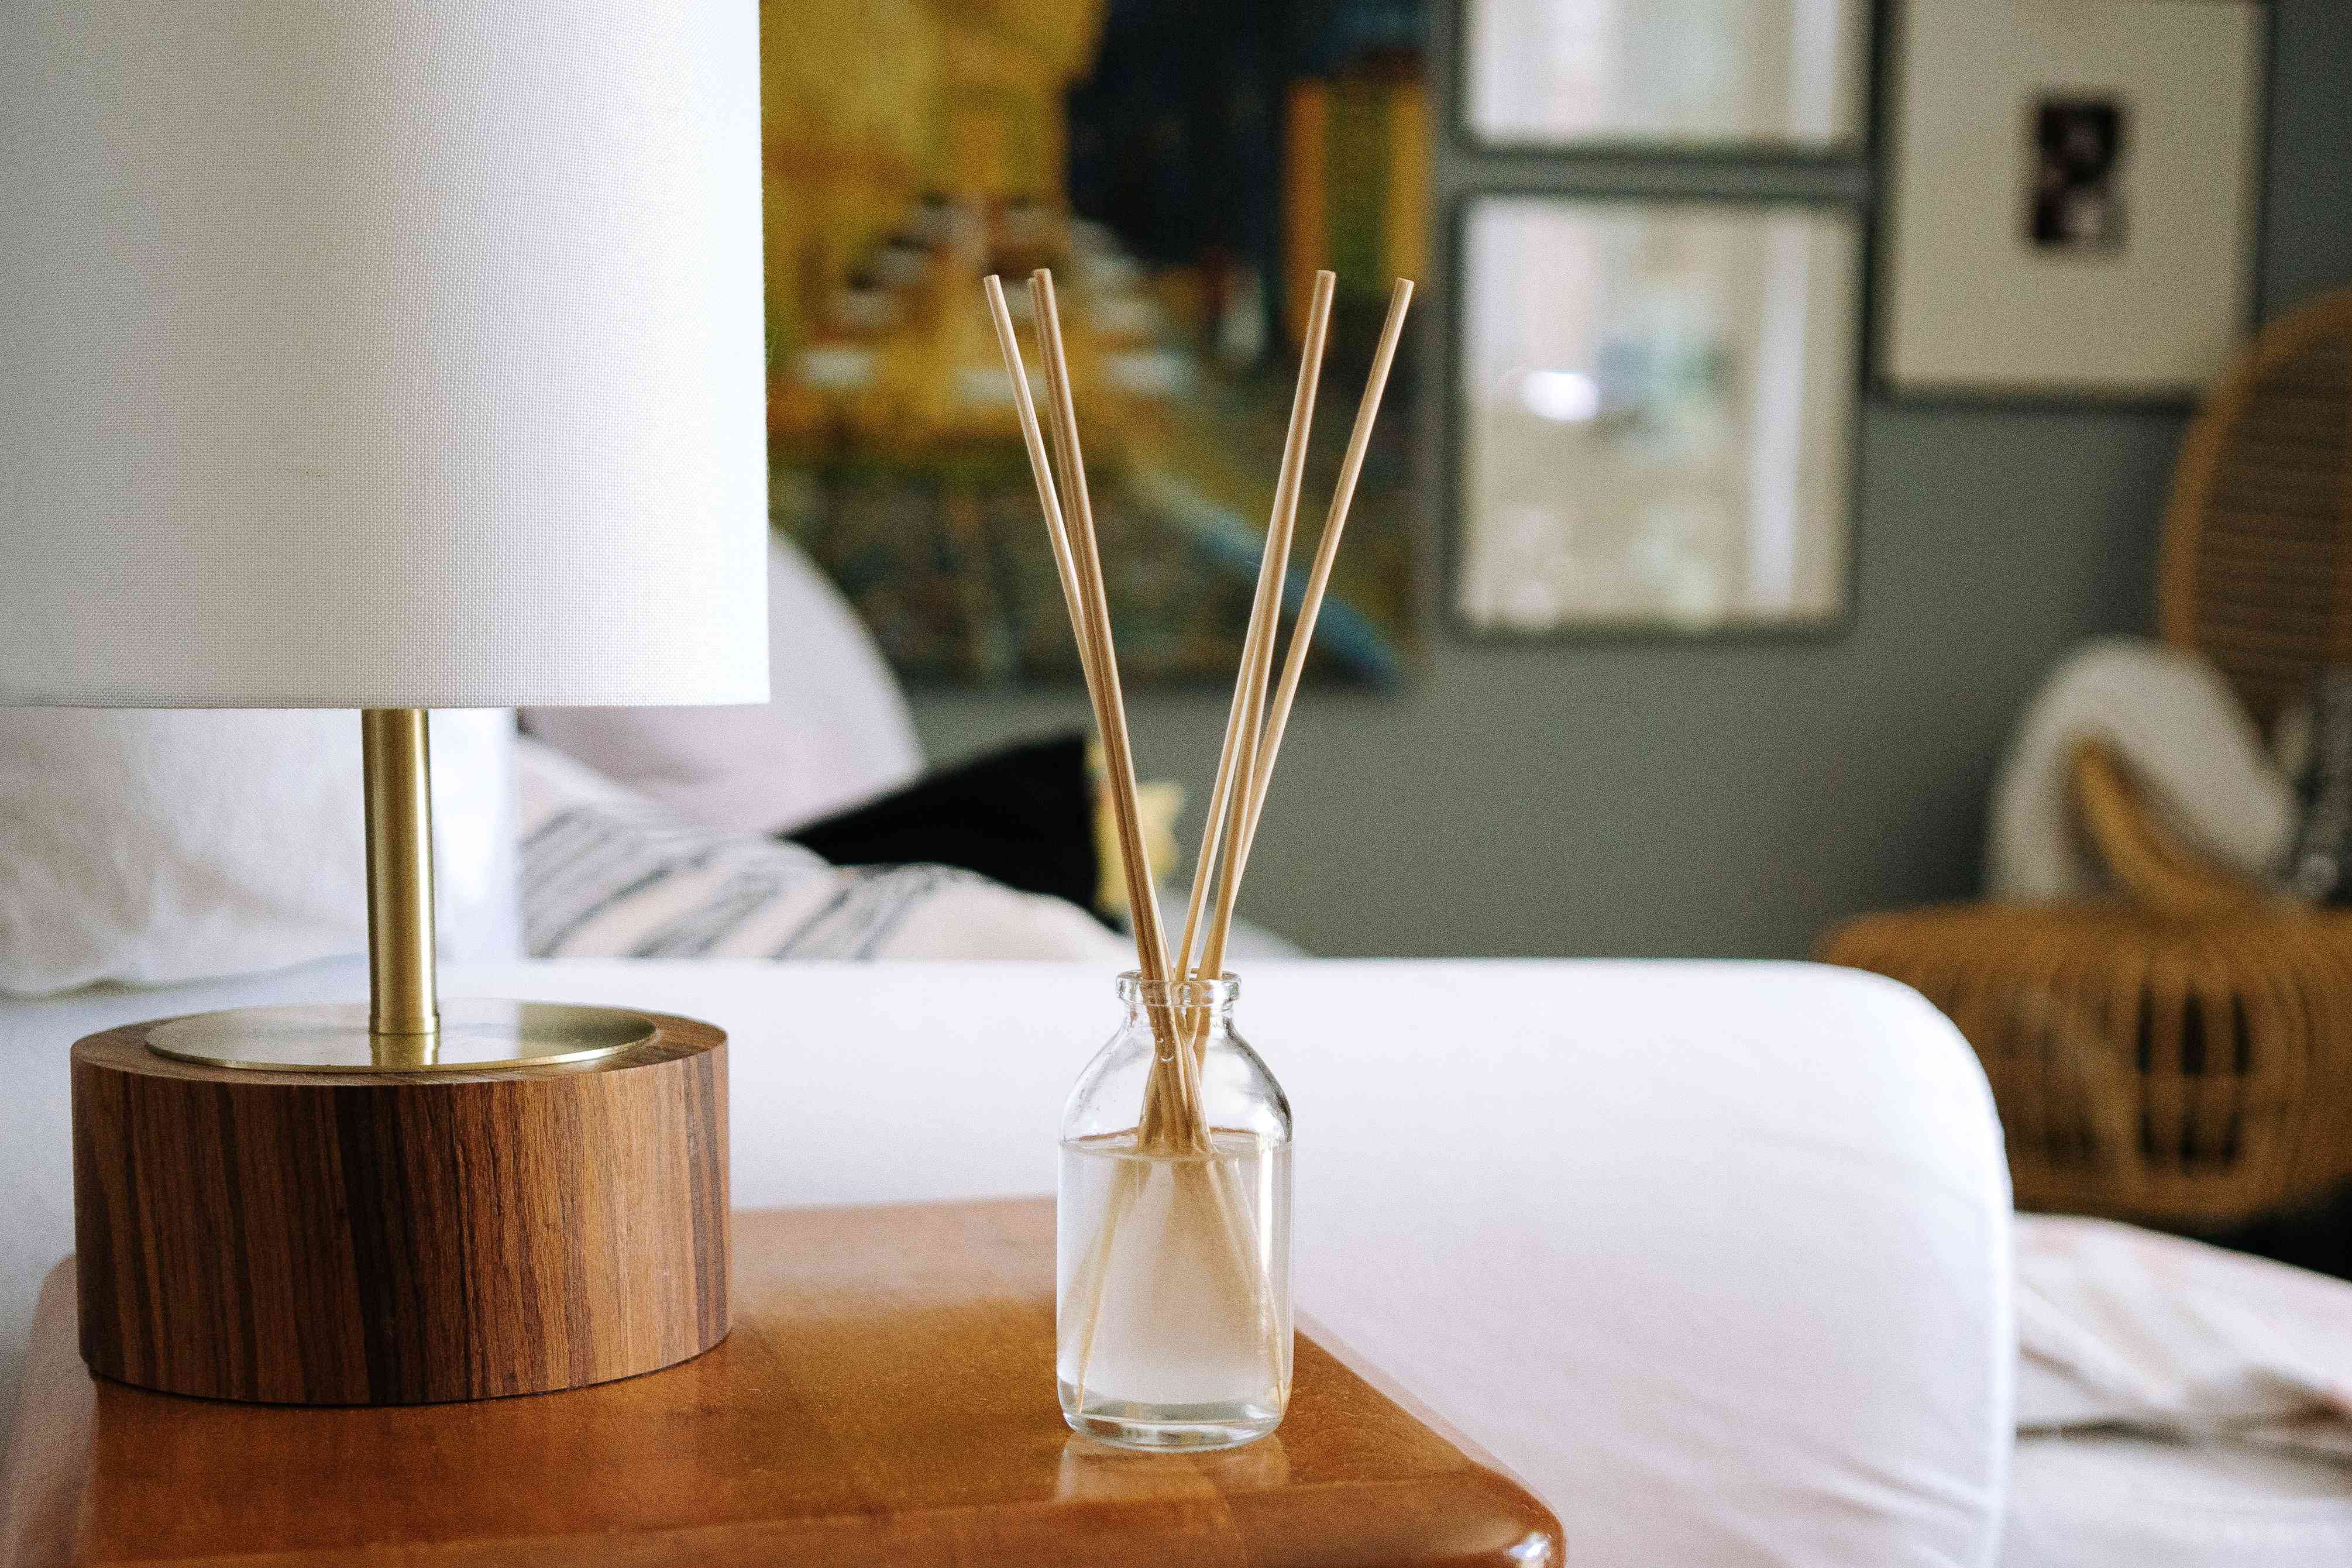

If your home smells like last night’s takeout, gym socks, or a candle aisle that lost a fight, a DIY room diffuser might be your new favorite low-drama project. It is simple, customizable, and surprisingly classy for something you can make in under 15 minutes with a bottle, a few reeds, and your favorite essential oils.
A homemade room diffuser gives you control over the scent, the strength, the look, and the ingredients. You can make one that smells like a breezy spa, a citrus grove, or the fantasy version of your house where no one ever leaves wet towels on the floor. Better yet, a reed diffuser adds steady fragrance without a flame, making it a practical option for people who want a softer, more continuous scent than candles or sprays often provide.
In this guide, you will learn exactly how to make your own room diffuser, which ingredients work best, how to troubleshoot weak scent, which essential oil blends smell amazing, and how to use your diffuser more safely around kids and pets. There is also a longer experience section at the end, because making a room diffuser is one thing; living with it for a week is where the real story begins.
Why Make Your Own Room Diffuser?
Store-bought reed diffusers can be lovely, but they can also be expensive, overly perfumed, or packaged in a way that screams, “I cost way too much for a tiny bottle of scented liquid.” When you make your own room diffuser, you get a few advantages right away:
- You control the fragrance. Want something light and clean instead of heavy and perfumey? You are the boss.
- You can match your decor. Use a bottle that actually looks good in your bathroom, bedroom, entryway, or office.
- You can adjust scent strength. More reeds, stronger aroma. Fewer reeds, more subtle fragrance.
- You can save money. Especially if you already own essential oils or small glass containers.
- You can make smaller or larger batches. Tiny desk diffuser? Easy. Bigger hallway diffuser? Also easy.
Reed diffusers are especially nice in small spaces like powder rooms, entry tables, bedside tables, closets, and home offices. They do not blast fragrance all at once. Instead, they slowly release scent over time, which feels more polished and less like you panic-sprayed the room five seconds before company arrived.
What You Need for a DIY Room Diffuser
Before you start, gather these basic supplies:
- A small glass or ceramic bottle with a narrow opening
- Rattan diffuser reeds
- A carrier or base oil such as sweet almond oil, safflower oil, mineral oil, jojoba oil, or unscented baby oil
- Essential oils
- Vodka or rubbing alcohol, optional but helpful for better diffusion
- A small funnel
- A measuring cup or spoon
The narrow-neck bottle matters more than people think. A wide-mouth jar may look adorable for about six minutes, then your mixture evaporates faster than your patience on hold with customer service. A narrow opening helps slow evaporation and keeps the diffuser working longer.
As for the reeds, rattan reeds are the gold standard. They have tiny channels that help pull the oil upward and release the scent into the air. Bamboo skewers can work in a pinch, but they are usually less effective because of the way their inner structure blocks smooth oil travel. Translation: rattan reeds do the job better and throw less of a fragrance tantrum.
How to Make Your Own Room Diffuser: Step-by-Step
Here is a balanced, beginner-friendly recipe that works well for most homes.
Basic DIY Room Diffuser Recipe
- 1/4 cup carrier oil
- 20 to 30 drops essential oil
- 1 to 3 tablespoons vodka or rubbing alcohol
- 5 to 8 rattan reeds
Instructions
- Add the base. Pour the carrier oil into your bottle or a small mixing bowl.
- Add the scent. Drop in your essential oils. Start modestly; you can always make it stronger later.
- Add alcohol. This step helps thin the mixture so it moves up the reeds more easily.
- Mix gently. Stir or swirl the liquid until combined.
- Insert the reeds. Place 5 to 8 reeds in the bottle.
- Flip after soaking. Let the reeds sit for about an hour, then flip them so the saturated side faces up.
- Place and enjoy. Set the diffuser in a spot with light airflow, but not directly beside an open flame, hot appliance, or sunny windowsill.
That is it. No advanced chemistry degree required. No chanting over a mason jar. Just a practical homemade room diffuser recipe that smells good and looks grown-up.
Best Essential Oil Blends for a Homemade Room Diffuser
The best room diffuser scents depend on the vibe you want. Here are a few easy blends that smell polished without smelling like a candle named “Mysterious Duke’s Library.”
1. Clean and Fresh Blend
10 drops lemon + 8 drops lavender + 6 drops eucalyptus
This one feels crisp, airy, and clean. Great for bathrooms, kitchens, and entryways.
2. Cozy Bedroom Blend
10 drops lavender + 8 drops cedarwood + 5 drops vanilla-style fragrance oil or sweet orange
Soft, warm, and relaxing. Perfect for bedrooms and reading corners.
3. Bright Morning Blend
10 drops orange + 8 drops grapefruit + 5 drops peppermint
Fresh and energizing, especially good for home offices or laundry rooms.
4. Spa-Like Blend
8 drops eucalyptus + 8 drops bergamot + 6 drops lavender
If your bathroom wants to pretend it is a five-star spa, this is the blend.
5. Woodsy and Grounding Blend
10 drops cedarwood + 6 drops sandalwood + 5 drops orange
Warm, subtle, and elegant. Ideal for living rooms and entryways.
Try not to overcrowd your blend. A room diffuser is not a fragrance traffic jam. Two to three oils usually smell more refined than six random ones trying to win a popularity contest in the same bottle.
How to Make Your DIY Room Diffuser Smell Stronger
If your diffuser looks beautiful but smells like absolutely nothing, a few fixes usually solve the problem.
Use the Right Reeds
Rattan diffuser reeds usually outperform bamboo. This is one of the biggest differences between a diffuser that whispers and one that actually works.
Flip the Reeds Regularly
Flip them every few days or once a week. Do it over a sink or trash can because the oil can drip, and your countertop probably did not volunteer for an oil treatment.
Add More Reeds
More reeds create a stronger scent throw, though they also use the oil faster.
Increase Essential Oil Slightly
If the fragrance is too faint, add 5 to 10 more drops. Go gradually. You want “pleasantly noticeable,” not “someone spilled an entire apothecary.”
Move It to the Right Spot
A little airflow helps fragrance travel. A dead-air corner may keep the scent trapped. However, avoid strong direct sunlight or heat, which can make the mixture evaporate too quickly.
Common Mistakes to Avoid
- Using a bottle with a wide opening: It looks cute, but the liquid disappears faster.
- Skipping the alcohol entirely: Some oil-only recipes work, but a little alcohol often helps the fragrance move more effectively.
- Using low-quality or weak essential oils: If the oil barely smells in the bottle, it will not become a hero in the room.
- Overstuffing with too many fragrance notes: A simpler blend usually smells cleaner and more intentional.
- Keeping old reeds forever: Reeds can clog over time. Replace them when the scent noticeably fades.
- Refilling on top of old sludge: Wash the bottle and start fresh instead of dumping new oil on tired leftovers.
Safety Tips for Homemade Room Diffusers
A DIY room diffuser is simple, but simple does not mean careless. Essential oils and diffuser liquids still deserve respect.
Keep It Away from Children
Diffuser liquids can be harmful if swallowed, especially if the formula includes rubbing alcohol or concentrated essential oils. Place your diffuser high enough that curious hands cannot grab it.
Be Careful Around Pets
Some essential oils can be irritating or risky for pets, and even a scent that seems subtle to you may feel intense to them. If your pet has breathing issues, is very sensitive, or likes to investigate absolutely everything with its nose, choose placement carefully or skip diffusing in that room.
Avoid Open Flames
Alcohol and essential oils can be flammable. Do not place your diffuser next to candles, stoves, or other heat sources. Your goal is “smells relaxing,” not “unexpected home science experiment.”
Do Not Ingest It
This may sound obvious, but concentrated oils are not a snack, a supplement, or a beverage upgrade. Keep the bottle sealed and stored safely when not in use.
Watch for Skin and Eye Contact
If the liquid spills, clean it up promptly. Wash your hands after handling the reeds or flipping them. Avoid touching your eyes, because they will absolutely object.
DIY Room Diffuser vs. Other Home Fragrance Options
If you are wondering whether a homemade reed diffuser is the best choice, here is the practical breakdown:
- Compared with candles: A reed diffuser offers continuous scent without a flame.
- Compared with room sprays: A spray is fast and strong, while a diffuser is steadier and more subtle.
- Compared with electric diffusers: A reed diffuser does not need power, making it ideal for shelves, bathrooms, and entry tables.
- Compared with simmer pots: A diffuser requires less maintenance and does not need a stove.
For many people, the homemade room diffuser wins because it is low effort and high reward. It quietly does its job while you go do literally anything else.
How Long Does a Homemade Room Diffuser Last?
A DIY room diffuser can last anywhere from a couple of weeks to over a month, depending on the size of the bottle, the number of reeds, the temperature of the room, and how often you flip the sticks. Smaller bottles fade faster. More reeds create stronger fragrance but use the liquid more quickly. Sunny windows, heaters, and warm rooms can also speed evaporation.
If you want a diffuser to last longer, use fewer reeds, keep it away from direct heat, and choose a bottle with a narrow neck. If you want more scent right now, accept that you may need refills sooner. That is the eternal law of home fragrance: stronger today, emptier tomorrow.
What the DIY Room Diffuser Experience Is Really Like
Here is the part most tutorials skip. Making a homemade room diffuser is easy, but the real experience is in the tiny choices and adjustments you make after the bottle is sitting there looking pretty. The first day usually feels exciting. You mix your oils, place the reeds in the bottle, and wait for instant magic. Then you lean in dramatically, sniff once, and think, “Did I just create a masterpiece, or am I smelling nothing at all?” The answer is often: give it a little time.
In a typical home, the first few hours are more about setup than scent. The reeds need time to absorb the liquid and move it upward. Once you flip them, the fragrance becomes more noticeable. This is often the moment people realize placement matters. A diffuser on a bookshelf in a still corner may smell faint, while the same diffuser on an entry console or bathroom counter suddenly performs much better. A little air movement seems to wake it up.
Another common experience is discovering that some blends smell completely different in the air than they do in the bottle. Citrus oils may feel bright and cheerful at first, then fade more quickly than woodsy or herbal notes. Lavender often smells softer once it has diffused for a day. Eucalyptus can make a room feel cleaner, but too much may push the blend into “medicine cabinet” territory. This is why many people tweak their formula after the first batch. A DIY room diffuser is rarely a one-and-done craft. It is more like a mini fragrance experiment with prettier results.
There is also the visual satisfaction. A well-made diffuser does not just make a room smell better; it makes the room feel more intentional. A simple glass bottle with neat reeds can make a nightstand, guest bathroom, or office shelf look styled without trying too hard. It has the kind of quiet charm that says, “Yes, I do have my life together,” even if there are unfolded laundry mountains two rooms away.
Over the first week, most people also learn their own scent tolerance. What seemed subtle on day one may feel just right by day three, or too strong in a very small room. That is the beauty of making your own. You can remove a reed, add more base oil, or switch blends entirely. If a store-bought diffuser smells off, you are stuck with it. If your homemade one feels too sharp, you can fix it in five minutes.
Then there is the maintenance reality. Flipping the reeds helps, but it can get messy if you do it carelessly. Most people only make that mistake once. After one oily fingerprint on a tabletop, you become very loyal to doing it over a sink. Replacing clogged reeds also makes a bigger difference than beginners expect. When the scent drops off, fresh reeds can bring the whole diffuser back to life without changing the blend.
The biggest surprise for many DIYers is that the diffuser becomes part craft project, part home ritual. You start by trying to make a room smell nicer, and suddenly you are creating seasonal blends, reusing tiny bottles, and deciding that your hallway deserves its own signature scent. It is practical, creative, and weirdly satisfying. Not bad for a little bottle of oil and sticks.
Final Thoughts
If you want an easy, attractive, and customizable way to freshen your home, learning how to make your own room diffuser is absolutely worth it. It is a small DIY project with a big payoff: better-smelling rooms, more control over ingredients, and a home fragrance setup that feels both useful and stylish.
Start with a narrow-neck bottle, quality rattan reeds, a light carrier oil, and a simple essential oil blend. Then tweak from there. The best DIY room diffuser is not the most complicated one. It is the one that smells right in your space, fits your routine, and does not require you to babysit it like a sourdough starter.
In other words: low effort, high charm, and your house smells like you have excellent taste. That is a win.