
Connecting a MacBook to an external monitor can transform a compact laptop into a spacious desktop workstation. One minute, you are juggling browser tabs on a 13-inch screen; the next, you have room for a spreadsheet, a video call, and the 27 tabs you insist are all “important research.”
The physical connection is usually easy. The tricky part is choosing a cable that supports video, understanding how many displays your MacBook can handle, and configuring macOS so everything looks sharp instead of strangely fuzzy. This guide explains how to connect a MacBook display to a monitor using USB-C, Thunderbolt, HDMI, DisplayPort, adapters, and docking stations.
Check Your MacBook and Monitor Compatibility
Before ordering a cable with an impressively long product name, identify the ports and display capabilities on both devices. USB-C connectors may look identical while supporting very different combinations of video, charging, and data transfer.
Identify Your MacBook Model and Chip
Open the Apple menu and select About This Mac. Depending on your macOS version, you can also open System Settings > General > About. Record the model name, model year, and chip.
This matters because external display support varies by MacBook model and processor. Some Apple silicon MacBooks support one external monitor natively, while newer or higher-end models may support two, three, or more. Certain models can operate additional displays only when the built-in screen is turned off by closing the lid.
For an accurate limit, locate the technical specifications for your exact MacBook and check the section labeled Display Support or Video Support. Do not assume that a dock with three monitor ports means your Mac can produce three independent desktops. A dock cannot magically negotiate with the graphics hardware using compliments and positive thinking.
Identify the Video Ports on Your MacBook
Depending on its age and model, a MacBook may include one or more of these ports:
- Thunderbolt or USB-C: A small, reversible connector used for video, data, accessories, and sometimes charging.
- HDMI: Available directly on various MacBook Pro models and commonly used for monitors, televisions, and projectors.
- Thunderbolt 2 or Mini DisplayPort: Found on older MacBooks and shaped like a compact rectangular DisplayPort connector.
A Thunderbolt or full-function USB-C port can normally transmit DisplayPort video. However, not every generic USB-C cable supports video. Some inexpensive cables are designed only for charging or slow data transfer.
Check the Monitor Inputs
Look along the back or underside of the monitor for labeled input ports. Modern monitors commonly provide USB-C, Thunderbolt, HDMI, or DisplayPort. Older screens may use DVI or VGA.
Also check the monitor’s maximum resolution and refresh rate. A 4K monitor running at 60Hz requires more bandwidth than a basic 1080p office monitor. If the cable or adapter lacks sufficient bandwidth, macOS may offer only a lower resolution or refresh rate.
Choose the Best MacBook-to-Monitor Connection
USB-C to USB-C
USB-C is often the neatest option because one cable may carry video, data, audio, and power. A compatible USB-C monitor can display your MacBook’s image while charging the laptop and connecting built-in USB ports, Ethernet, speakers, or a webcam.
Confirm that the monitor’s USB-C input supports DisplayPort Alt Mode or Thunderbolt video. Confirm that the cable supports video as well. A cable that successfully charges a phone is not automatically qualified to drive a 4K display.
Check the monitor’s USB Power Delivery rating if you want single-cable charging. A lower-wattage connection may charge a lightweight MacBook adequately but struggle to keep a more demanding MacBook Pro fully powered during video editing or other intensive work.
USB-C to DisplayPort
A USB-C-to-DisplayPort cable is an excellent choice when the monitor has DisplayPort but lacks USB-C. It provides a direct video connection and is often well suited to high resolutions or high refresh rates.
Match the cable’s capabilities to the monitor. A cable advertised for 4K at 30Hz may produce noticeably less fluid movement than one capable of 4K at 60Hz or higher. This difference is especially visible while scrolling, moving windows, or playing games.
HDMI
If your MacBook has a built-in HDMI port, connect it directly to the monitor with a suitable HDMI cable. Otherwise, use a USB-C-to-HDMI cable or adapter.
HDMI is convenient and widely supported, but the cable, adapter, MacBook, monitor, and macOS version must all support the desired resolution and refresh rate. The weakest component in that chain determines the final result.
Thunderbolt
A Thunderbolt connection is useful for high-resolution displays, compatible docks, and advanced single-cable workstations. Thunderbolt connectors use the same physical shape as USB-C on modern MacBooks, but Thunderbolt offers stricter performance requirements and additional capabilities.
Use a certified Thunderbolt cable when connecting a Thunderbolt monitor or dock. A basic USB-C charging cable may fit perfectly and still produce absolutely nothing on the screen, which is technology’s way of teaching humility.
DVI or VGA Adapters
Older monitors can often be connected through USB-C-to-DVI, USB-C-to-VGA, or Mini DisplayPort adapters. Digital DVI generally produces a cleaner image than analog VGA. VGA should be treated as a legacy fallback because it may limit resolution and produce softer text.
Some older connections require an active adapter rather than a simple passive cable, particularly when converting between incompatible signal types or driving higher resolutions.
How to Connect a MacBook’s Display to a Monitor
Step 1: Connect the Monitor to Power
Plug the monitor into a working electrical outlet and turn it on. A USB-C monitor that charges the MacBook still normally needs its own power connection.
Step 2: Select the Correct Monitor Input
Use the monitor’s physical buttons, joystick, or on-screen menu to select the input you plan to use, such as USB-C, DisplayPort, HDMI 1, or HDMI 2. Many monitors switch automatically, but others remain stubbornly loyal to the last input.
Step 3: Connect the Cable
Insert one end of the cable into the MacBook and the other into the monitor. When using an adapter, connect the adapter securely to the MacBook before attaching the monitor cable.
For a dock, connect the monitor to the correct video output on the dock and then connect the dock’s host cable to the MacBook. Some docks have several USB-C ports, but only one is intended for the host computer.
Step 4: Wait for macOS to Detect the Display
The monitor should wake within several seconds. The MacBook may briefly flash or rearrange its windows while macOS establishes the connection.
If the external monitor remains blank, confirm that its input source matches the connected port. Disconnect and reconnect the cable before beginning more elaborate troubleshooting.
Configure External Display Settings in macOS
Open Apple menu > System Settings > Displays. Select the external monitor to adjust settings specifically for that screen.
Extend or Mirror the MacBook Display
Choose Extended Display when you want the monitor to provide additional desktop space. You can place different applications on each screen and move the pointer between them.
Choose Mirror when you want both screens to show the same content. Mirroring is useful for presentations, demonstrations, and situations in which everyone must admire the same spreadsheet simultaneously.
Arrange the Screens
In the Displays settings, arrange the screen thumbnails so they match the physical placement of your devices. If the monitor sits to the left of the MacBook, position its thumbnail on the left. This makes pointer movement feel natural.
You can also designate the external monitor as the main display. The main display normally contains the menu bar and is the preferred location for new windows and system dialogs.
Choose a Resolution
macOS may show options such as Larger Text, Default, and More Space. These are scaled resolutions. They change the apparent size of text and interface elements while attempting to preserve image quality.
For a 4K monitor, a scaled setting often produces a comfortable balance between workspace and readability. Choosing the monitor’s full native resolution may make interface text uncomfortably small, especially on a 27-inch screen.
Set the Refresh Rate
Select an available refresh rate, such as 60Hz, 120Hz, or another monitor-supported value. A higher refresh rate can make scrolling and animation appear smoother, but it requires sufficient bandwidth throughout the entire connection.
If the desired rate is missing, inspect the cable, adapter, dock, monitor input specification, and selected resolution. Some monitors support their highest refresh rate only through a particular DisplayPort or HDMI input.
Adjust HDR, Color, and Rotation
Compatible monitors may provide options for High Dynamic Range, color profiles, variable refresh rates, or rotation. HDR can improve supported video and games but may make ordinary desktop content look different than expected on certain displays.
Photographers and designers should use an appropriate color profile and calibrate the monitor when color accuracy matters. Rotating a supported monitor into portrait orientation can be useful for writing, coding, or reading documents approximately as long as a small novel.
Send Sound to the Monitor
HDMI, DisplayPort, USB-C, and Thunderbolt can carry audio. To use monitor speakers, open System Settings > Sound > Output and select the monitor.
Many monitor speakers have separate volume controls. Some macOS setups do not allow the keyboard volume keys to control digital monitor audio, so volume may need to be adjusted through the monitor’s menu.
Use the External Monitor With the MacBook Lid Closed
Closed-display mode, commonly called clamshell mode, lets the MacBook operate like a desktop computer while its built-in screen is off.
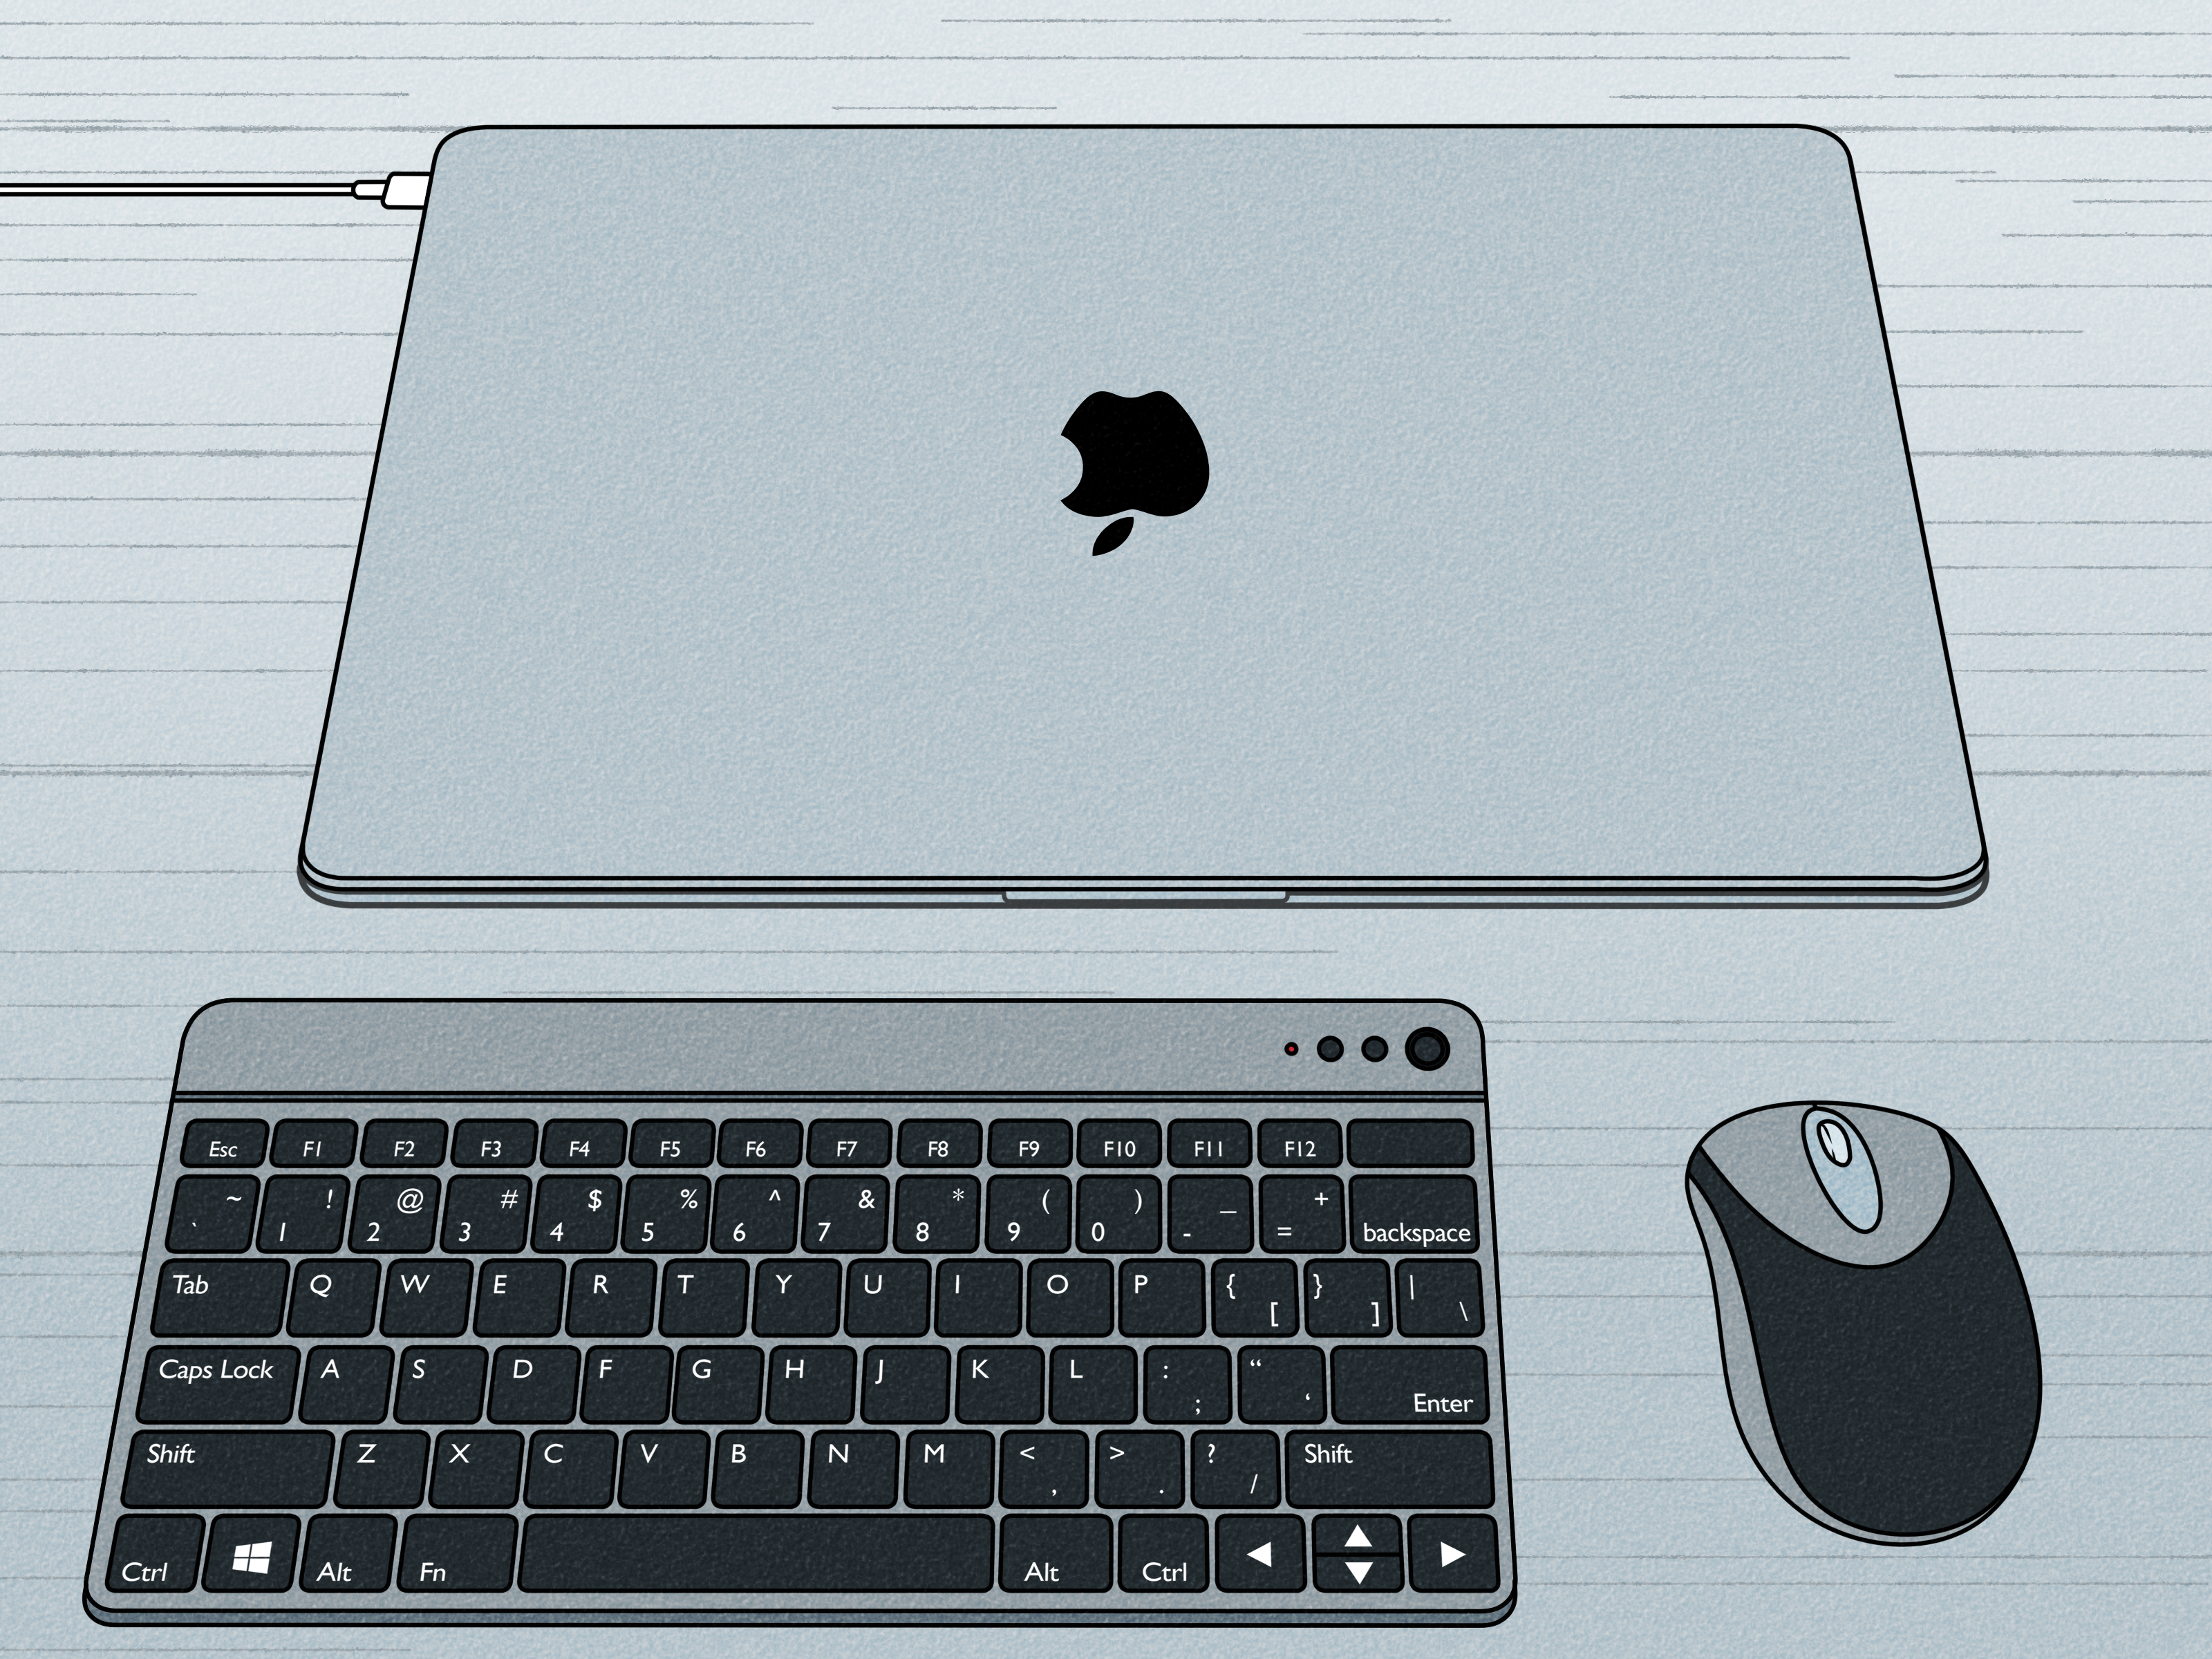
Connect the external monitor, attach an external keyboard and mouse or trackpad, and ensure the MacBook has an adequate power source. After the external display is working, close the lid. The monitor may briefly go dark before becoming the primary screen.
Some MacBook models can support a different number of external monitors in closed-lid mode than they can while the internal display remains active. Check the official display specifications for your exact model.
Provide reasonable ventilation around the MacBook. A vertical stand can save desk space, but it should not block vents or expose cables to unnecessary strain.
How to Connect Multiple Monitors to a MacBook
First, determine the MacBook’s native external display limit. This limit depends on the chip, model, resolution, refresh rate, connection method, and whether the built-in display is active.
You may connect monitors directly to separate MacBook ports or through a compatible Thunderbolt dock. However, a dock does not automatically increase the number of independent displays supported by the Mac’s graphics hardware.
Why Some Dual-Monitor Docks Only Mirror on a Mac
Many inexpensive dual-HDMI USB-C docks rely on DisplayPort Multi-Stream Transport, or MST, to split one video signal into multiple independent desktops. macOS generally does not use MST in the same way Windows does for ordinary extended desktop setups. As a result, two monitors attached to some docks may mirror each other rather than act as separate displays.
Before buying a dock, confirm that its product documentation explicitly describes extended-display behavior for your particular MacBook model and chip.
Using DisplayLink for Additional Monitors
A DisplayLink-compatible dock or adapter can add displays by using software-assisted USB graphics. This can be useful when the MacBook’s native display limit is lower than the number of screens you want.
DisplayLink requires compatible hardware, the DisplayLink Manager application, and appropriate macOS permissions. It works well for email, documents, web applications, dashboards, and many office tasks. A native Thunderbolt or DisplayPort connection is generally preferable for latency-sensitive gaming, demanding video work, protected media, or color-critical production.
Troubleshooting a MacBook External Monitor
The Monitor Says “No Signal”
- Confirm that the monitor is powered on.
- Select the correct HDMI, DisplayPort, USB-C, or Thunderbolt input.
- Reconnect both ends of the cable.
- Connect the monitor directly to the MacBook instead of through a hub.
- Try another cable that explicitly supports video.
- Restart the monitor and MacBook.
- Check whether the MacBook supports the number of connected displays.
Make macOS Detect the Monitor
Open System Settings > Displays. Press and hold the Option key to reveal the Detect Displays control, then select it. You can also unplug the display, wait several seconds, and reconnect it.
The Image Is Blurry or the Resolution Is Too Low
Select the monitor in Displays settings and choose a more appropriate scaled resolution. If the correct resolution is unavailable, test a higher-bandwidth cable or a direct connection.
Verify that the monitor is not operating in a legacy compatibility mode. Some displays allow individual HDMI or DisplayPort inputs to be configured for different standard versions.
The Monitor Flickers or Disconnects
Flickering commonly points to a cable, adapter, dock, refresh-rate, firmware, or bandwidth problem. Try setting the monitor to 60Hz temporarily. If that stabilizes the image, the previous resolution and refresh-rate combination may have exceeded the connection’s capabilities.
Remove unnecessary adapters, extension cables, and hubs. Update macOS and check whether the monitor or dock manufacturer offers a firmware update.
The USB-C Monitor Does Not Charge the MacBook
Make sure the cable is connected to the monitor’s upstream USB-C port rather than a downstream accessory port. Confirm that the cable supports Power Delivery and that the monitor supplies sufficient wattage.
A lower-power monitor may charge slowly or allow the battery percentage to decline during intensive work. In that situation, connect the MacBook’s regular power adapter separately.
The Monitor Works, but Its USB Ports Do Not
Video can sometimes work even when the data connection does not. Use a full-featured USB-C or Thunderbolt cable rather than a video-only cable. Check the monitor’s menu for a USB hub, KVM, or upstream-port setting.
The MacBook Sleeps When the Lid Is Closed
Confirm that the external keyboard or pointing device is connected and that the MacBook is receiving adequate power. Wake it using the external keyboard or mouse. If a dock is involved, test the monitor and power connection directly.
What to Look for When Buying a Monitor or Cable
Monitor Buying Checklist
- A resolution appropriate for the screen size and your viewing distance
- USB-C or Thunderbolt video input for simpler connectivity
- Sufficient USB Power Delivery for the MacBook
- The refresh rate required for office work, creative applications, or gaming
- Useful extras such as Ethernet, USB ports, speakers, a webcam, or a KVM switch
- A stand with suitable height, tilt, swivel, and rotation adjustments
- Reliable macOS compatibility and firmware support
Cable and Adapter Checklist
- The connector fits both devices.
- The cable explicitly supports video.
- Its maximum resolution and refresh rate meet your requirements.
- It supports Power Delivery when charging is required.
- It is certified for the advertised USB, HDMI, DisplayPort, or Thunderbolt standard.
- It is no longer than necessary for the desk layout.
Practical Experiences With MacBook Monitor Setups
The most useful lesson from real-world MacBook monitor setups is that connector shape tells only part of the story. Two USB-C cables can look like identical strands of black spaghetti, yet one can drive a 4K monitor, transfer data, and charge a laptop while the other handles charging only. When a monitor shows no signal, replacing the cable with a known full-featured model is often more productive than spending an hour rearranging macOS settings.
Single-cable USB-C setups are wonderfully convenient when they are properly matched. Arriving at a desk, connecting one cable, and instantly gaining a large display, wired network, keyboard, mouse, storage, and power feels almost suspiciously civilized. The experience becomes less magical when the monitor supplies too little power. The MacBook may report that it is charging while its battery slowly decreases under a heavy workload. Checking Power Delivery wattage before buying avoids this quiet little betrayal.
Resolution scaling is another common surprise. A 4K monitor does not necessarily feel best when macOS is set to show the maximum possible workspace. On a 27-inch display, the native 3840-by-2160 desktop can make text and buttons extremely small. A scaled setting that looks like a lower resolution often provides a better experience while retaining much of the panel’s sharpness. The ideal setting is the one that remains comfortable after several hours, not the one with the largest numbers in the menu.
High-refresh-rate monitors introduce another layer of troubleshooting. A screen may operate perfectly at 4K and 60Hz but lose signal at 120Hz or 144Hz. This does not automatically mean that the MacBook or monitor is defective. The adapter may be limited, the cable may lack bandwidth, or the selected monitor input may support a lower standard. Testing a direct USB-C-to-DisplayPort connection is often a useful way to eliminate dock-related limitations.
Docking stations deserve particularly careful research. A dock labeled “triple display” may deliver three independent screens on Windows while producing mirrored monitors on macOS. The MacBook’s native display limit and macOS support for the dock’s display technology matter more than the number of connectors visible on the back. Product documentation should name the supported Mac chips and describe whether each screen is extended or mirrored.
Desk arrangement also affects the final experience more than people expect. Placing the monitor directly in front and using the MacBook as a side screen is usually comfortable for long sessions. Positioning the laptop too low can encourage neck twisting worthy of an owl audition. A laptop stand raises the built-in display, improves camera placement, and makes pointer movement between screens feel more natural.
Finally, the best troubleshooting sequence is simple: verify power, select the correct input, reconnect the cable, connect directly to the MacBook, test another cable, lower the refresh rate, and restart both devices. This orderly process is faster than changing twelve settings at once and then wondering which act of desperation fixed the problem.
Frequently Asked Questions
Can Every MacBook Connect to an External Monitor?
Most MacBooks can connect to at least one external display, but the appropriate cable and maximum supported resolution vary by model. Check the technical specifications for the exact MacBook.
Can I Use a Monitor While the MacBook Screen Is Open?
Yes. Set the monitor as an extended display to use both screens. You can also mirror the built-in screen when the same content should appear on both.
Can a Monitor Charge a MacBook Through USB-C?
Yes, provided that the monitor, port, and cable support USB Power Delivery. The available wattage should be appropriate for the MacBook and workload.
Is DisplayPort Better Than HDMI for a MacBook?
Neither connection is universally better. USB-C-to-DisplayPort is often convenient for computer monitors and high refresh rates, while HDMI is widely available and easy to use. The supported standard, resolution, refresh rate, and cable quality matter more than the connector name alone.
Why Are Two Monitors Mirroring Instead of Extending?
The dock may rely on MST, which macOS may not use for independent extended displays in the same way as Windows. The MacBook may also have reached its native external display limit. A compatible Thunderbolt or DisplayLink solution may be required.
Can I Connect a MacBook to a Monitor Wirelessly?
A compatible AirPlay receiver, television, or display can be used wirelessly for mirroring or extending the desktop. A wired connection normally offers lower latency, more consistent image quality, and better support for high resolutions and refresh rates.
Conclusion
To connect a MacBook’s display to a monitor, begin by identifying the MacBook model, its native display limit, and the available ports on both devices. Choose a video-capable USB-C, Thunderbolt, DisplayPort, or HDMI connection that supports the resolution and refresh rate you need.
After connecting the hardware, use the Displays section of System Settings to extend or mirror the desktop, arrange the screens, select a comfortable resolution, and configure the refresh rate. When something goes wrong, start with the cable, input source, and direct connection before blaming the monitor, macOS, Mercury in retrograde, or the entire technology industry.
A well-planned external monitor setup gives a MacBook the portability of a laptop and the workspace of a desktop. The right cable may not be glamorous, but it is frequently the difference between an elegant one-cable workstation and a very expensive black rectangle.
SEO Metadata