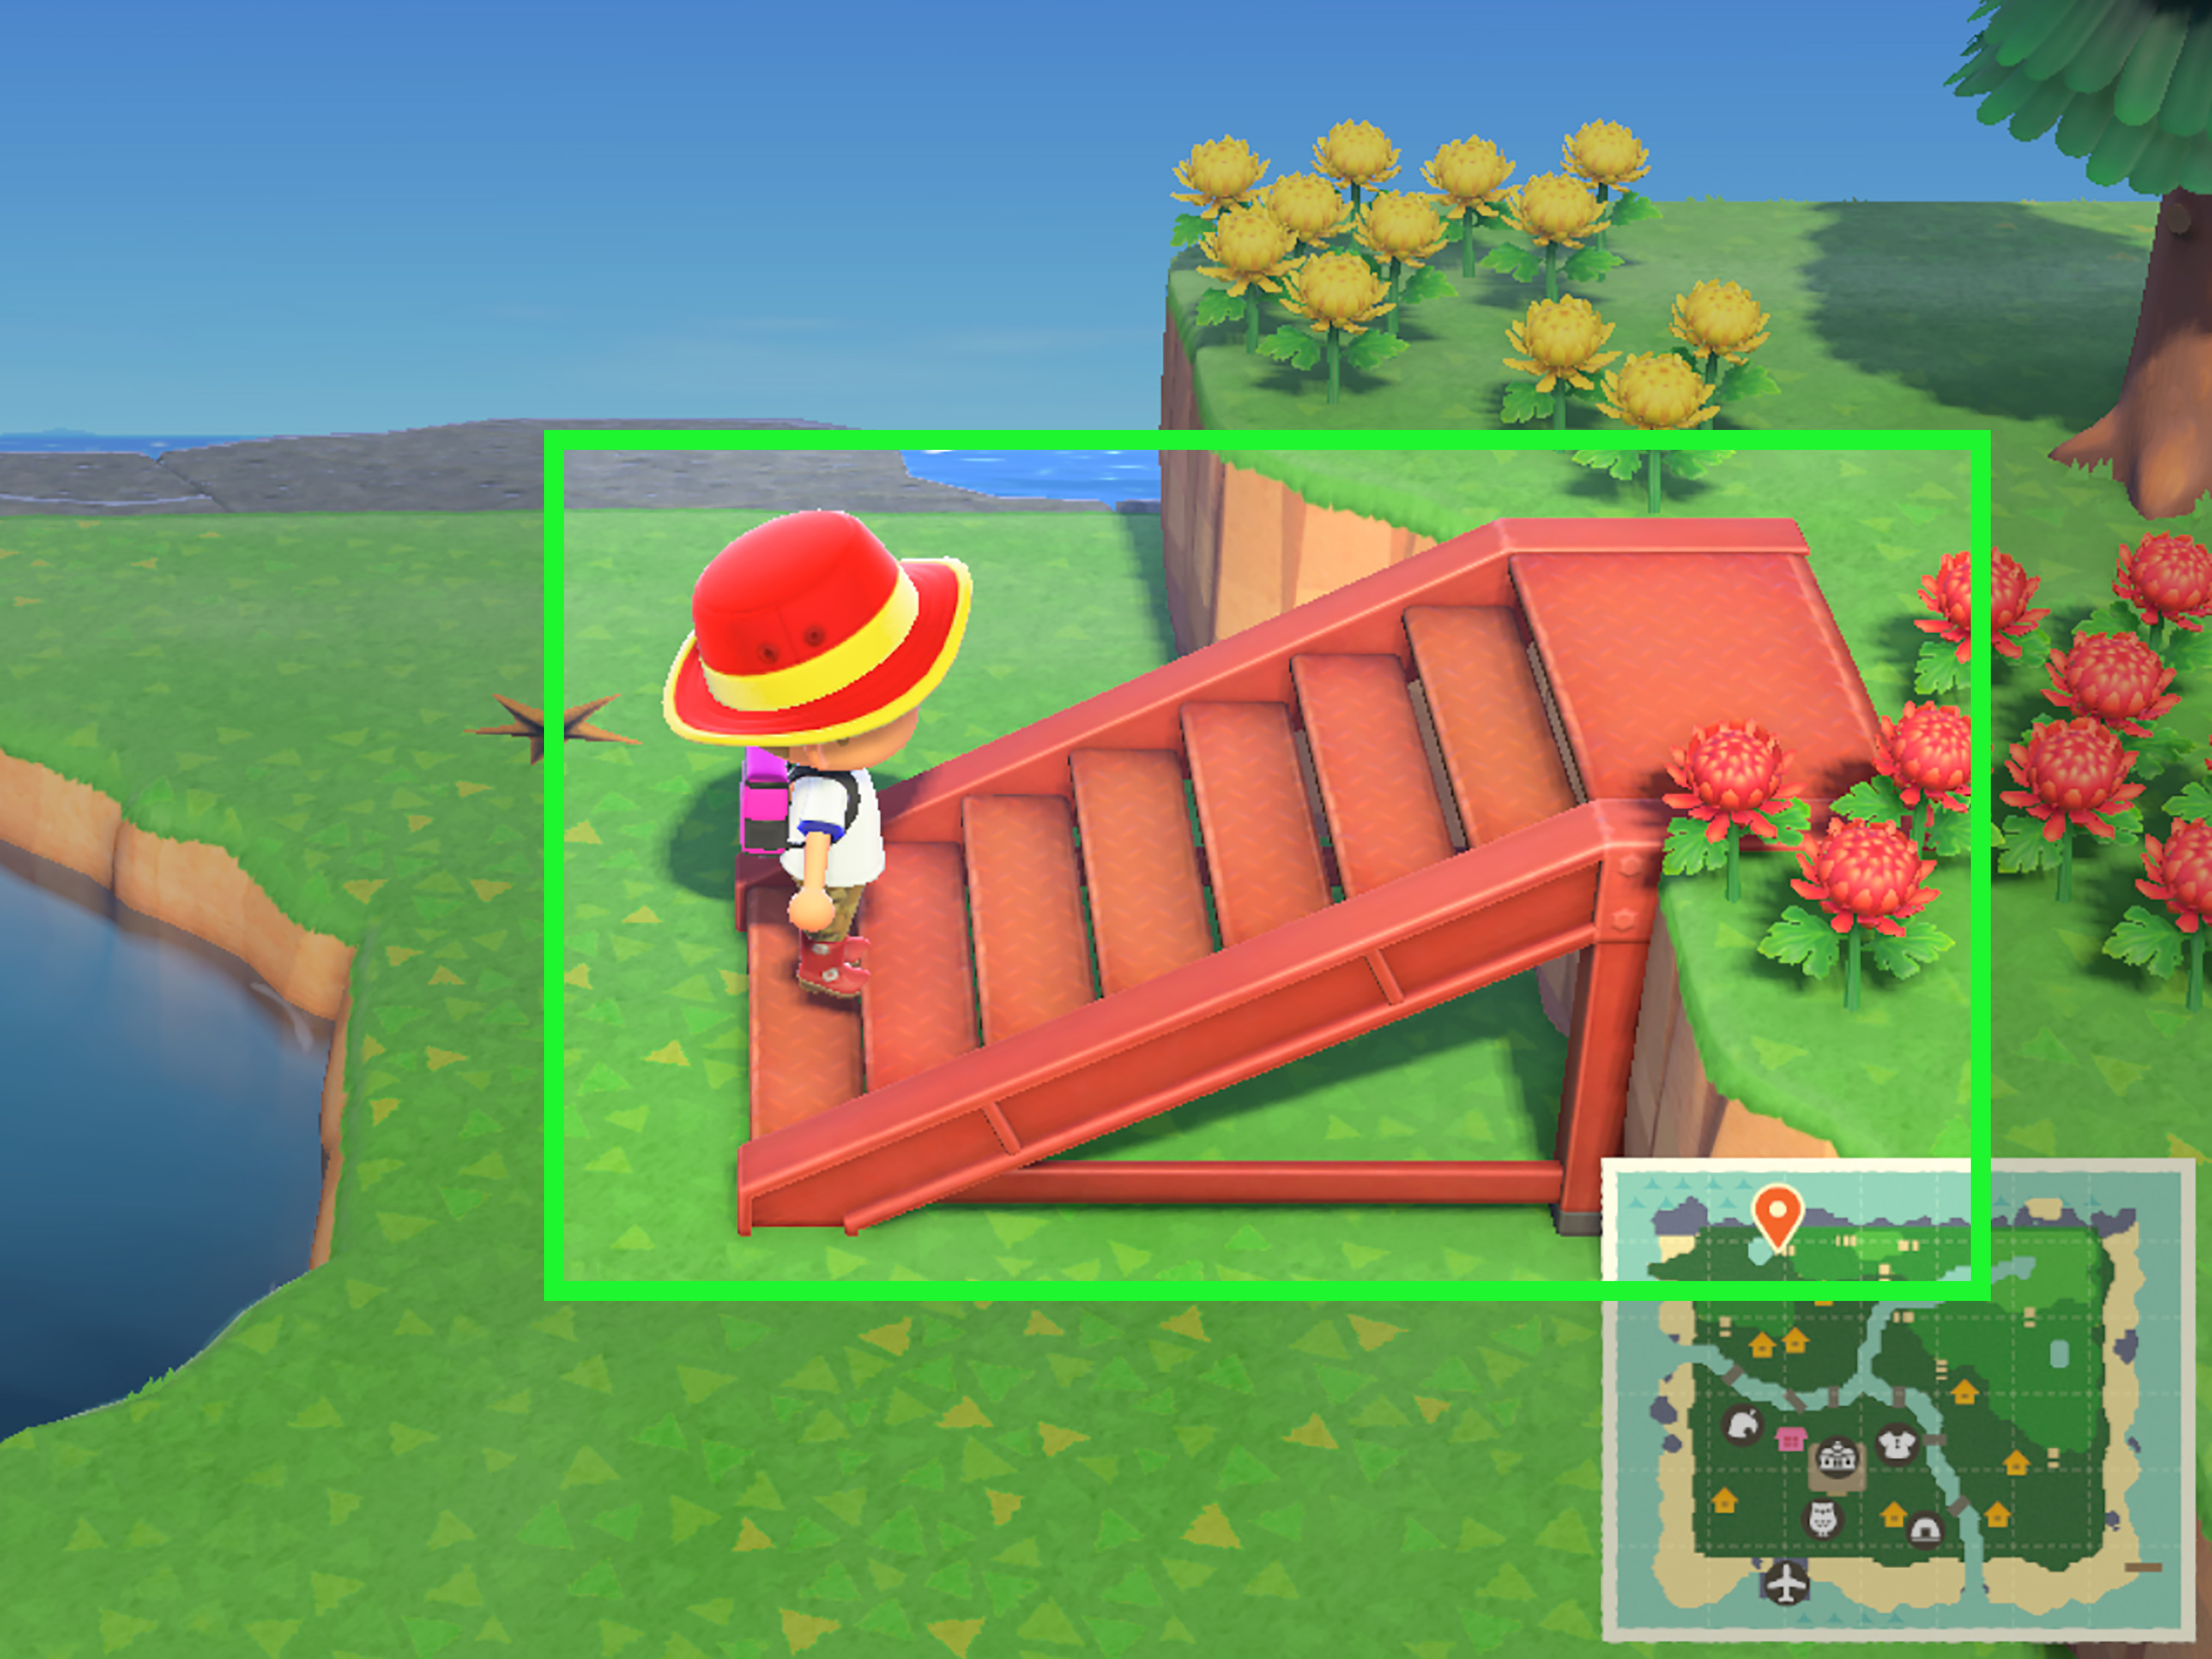

Note: This article is written for web publishing and is based on synthesized gameplay information from official and established Animal Crossing: New Horizons guide resources.
In Animal Crossing: New Horizons, bridges are not just cute pieces of island furniture. They are the difference between a smooth morning fossil run and a daily obstacle course starring you, a vaulting pole, and poor life choices. At the start of the game, your island is sliced up by rivers, cliffs, and inconvenience. You can hop across water with a vaulting pole for a while, but eventually, even the most patient island representative begins to think, “Surely civilization has invented something better than jumping over rivers every six seconds.”
Good news: it has. Bridges let you connect your island’s land sections, make walking easier, help villagers roam into new areas, and give your island a much more polished design. Whether you want a rustic log bridge for a forestcore island, a red zen bridge for a Japanese garden, or an iron bridge that says, “Yes, my island has municipal planning,” this guide will walk you through everything you need to know.
Below, you will learn how to unlock your first bridge, how to build additional bridges, how much every bridge costs, where bridges can be placed, how to remove or replace one, and how to avoid expensive design mistakes that make Tom Nook richer and you slightly sadder.
What Bridges Do in Animal Crossing: New Horizons
Bridges in Animal Crossing: New Horizons allow players and villagers to cross rivers without using a vaulting pole. That sounds simple, but it changes the entire flow of your island. Instead of constantly switching tools or taking long detours, you can create direct paths between neighborhoods, shops, beaches, orchards, gardens, and scenic areas.
They also matter for island atmosphere. A bridge is one of the strongest visual anchors in your outdoor design. Place one at the entrance, and your island immediately feels more intentional. Add one beside waterfalls, and suddenly you are not just playing Animal Crossingyou are directing a cozy tourism commercial with suspiciously rich raccoons.
When Can You Build Your First Bridge?
Your first bridge becomes available during the early story progression after you build Nook’s Cranny. Once Timmy and Tommy open their shop, Tom Nook will begin preparing for more villagers to move to the island. As part of this process, he gives you a Bridge Construction Kit DIY recipe.
This first bridge is special because it is the only bridge you craft with materials. Later bridges are paid construction projects handled through Tom Nook’s infrastructure menu. In other words, your first bridge is “do-it-yourself,” and every bridge after that is “pay-it-yourself.” Very on brand for island life.
Materials Needed for the First Bridge
To craft the first Bridge Construction Kit, you need:
- 4 log stakes
- 4 clay
- 4 stones
Log stakes are crafted from wood at a DIY workbench. Clay and stones can be collected by hitting rocks with a shovel or axe. If your rocks are being dramatic and refuse to give you enough materials, visit mystery islands using Nook Miles Tickets or try again the next day.
How to Build Your First Bridge Step by Step
Step 1: Build Nook’s Cranny
Before the first bridge appears in your progression, you need to help Timmy and Tommy build Nook’s Cranny. This requires collecting wood, softwood, hardwood, and iron nuggets. Once the shop is placed and built, Tom Nook will move the island story forward.
Step 2: Talk to Tom Nook
After Nook’s Cranny opens, Tom Nook will discuss housing plots for new villagers. He will give you the Bridge Construction Kit recipe so you can connect more land and make room for your incoming neighbors.
Step 3: Craft the Bridge Construction Kit
Go to a DIY workbench and craft the kit using log stakes, clay, and stones. Once crafted, the kit appears in your inventory as a placeable construction item.
Step 4: Choose a River Location
Stand near the river where you want the bridge to go and use the kit from your inventory. The game will show you a preview, and you can choose the option to imagine how the bridge will look before confirming. Use this preview carefully. Animal Crossing may be cute, but bridge regret is real.
Step 5: Wait Until the Next Day
After placing the kit, the bridge will be completed the following day. You do not need to donate Bells for this first bridge. Once built, it becomes a permanent crossing point unless you later demolish it.
How to Build More Bridges Later
After the first bridge, you cannot keep crafting bridge kits. To build new bridges, you must first upgrade Resident Services from a tent into a full building. This happens after you place and furnish the three new villager plots, then wait for villagers to move in. Once the upgraded Resident Services building opens, Tom Nook offers more island infrastructure options.
To build additional bridges:
- Go inside Resident Services.
- Talk to Tom Nook.
- Select “Let’s talk infrastructure.”
- Choose “Bridges/inclines.”
- Select “Let’s build a bridge.”
- Pick the bridge style you want.
- Place the bridge kit at a valid river location.
- Donate the required Bells to Lloid.
- Wait until the next morning for construction to finish.
Lloid, the helpful little construction gyroid, will appear at the site and collect donations. Technically, villagers can donate too, but do not expect them to fund your island dreams. You are the mayor, designer, contractor, banker, landscaper, and emotional support human.
All Bridge Types and Prices
There are eight main bridge styles in Animal Crossing: New Horizons. Each one functions the same way, so your choice is mostly about budget and island design.
| Bridge Type | Cost | Best For |
|---|---|---|
| Log Bridge | 98,000 Bells | Forestcore, cottagecore, natural islands |
| Suspension Bridge | 129,800 Bells | Adventure paths, mountain areas, rustic builds |
| Stone Bridge | 168,000 Bells | Classic towns, gardens, elegant paths |
| Wooden Bridge | 168,000 Bells | Warm neighborhoods, cozy residential zones |
| Brick Bridge | 198,000 Bells | Town centers, European-style streets, formal layouts |
| Iron Bridge | 228,000 Bells | Urban islands, industrial builds, modern areas |
| Red Zen Bridge | 228,000 Bells | Japanese gardens, shrine areas, bold focal points |
| Zen Bridge | 228,000 Bells | Calm garden designs, traditional island themes |
If you are early in the game, the log bridge is the most affordable choice. If you already have a strong design theme, save up and buy the bridge that matches your long-term plan. Demolishing and replacing bridges costs time and Bells, so the cheapest option is not always the smartest option.
Bridge Placement Rules You Need to Know
Not every river spot can hold a bridge. Animal Crossing is surprisingly strict about construction, which is funny for a game where you can carry an entire refrigerator in your pocket.
Land Must Be Even on Both Sides
The land on both sides of the river needs to line up properly. If one side is blocked, uneven, too close to a cliff, or interrupted by another object, the game will reject the placement.
The River Must Be the Right Width
Bridges need a river section that is wide enough but not too wide. In most standard layouts, rivers around four or five tiles wide work best. Very narrow streams or huge custom rivers may fail the placement check.
You Need Clear Space Around the Bridge
Leave open tiles at both ends of the bridge. Do not place buildings, cliffs, trees, furniture, or other structures too close. If the game keeps saying the location is not suitable, clear more space than you think you need. Animal Crossing placement rules often behave like a picky interior designer with a clipboard.
Diagonal Bridges Are Possible
You can build diagonal bridges if the riverbank is shaped correctly. This is especially useful for natural islands, winding rivers, and scenic entrances. However, diagonal bridges require careful terraforming and clean diagonal river edges. If the preview will not appear, reshape the waterway and try again.
How Many Bridges Can You Have?
Originally, players could place up to eight bridges on one island. After the major 2.0 update and the Pro Construction License expansion, the maximum increased to 10 bridges. This limit is separate from inclines, which also have their own island limit.
Ten bridges sounds like a lot until you start building a canal city, a fairy forest, three neighborhoods, a market district, and a dramatic waterfall entrance for visitors who will absolutely run through your flowers anyway. Plan carefully before using all your slots.
Can You Move a Bridge?
No, you cannot directly move an existing bridge in Animal Crossing: New Horizons. If you placed a bridge in the wrong spot, you must demolish it and build a new one somewhere else. This takes time, costs Bells, and may temporarily disrupt your island layout.
To remove a bridge, talk to Tom Nook in Resident Services, choose the infrastructure option, and select demolition. Demolishing a bridge costs 10,000 Bells. The bridge disappears the next day, after which you can start a new construction project.
Can You Replace a Bridge With a Different Style?
You cannot simply upgrade a log bridge into a stone bridge or swap an iron bridge into a zen bridge. To change the style, demolish the old bridge first, wait for it to be removed, then build the new bridge style in the same or a different location.
This is why it is smart to think about your island theme before building too many bridges. If your island starts as “random starter chaos” and later becomes “peaceful bamboo mountain village,” that brick bridge near the orchard may begin to look like it wandered in from another game.
Best Places to Build Bridges
Near Resident Services
A bridge close to Resident Services makes daily travel easier. Since you often visit the plaza for events, announcements, and shopping routes, a nearby bridge can reduce unnecessary walking.
Between Villager Neighborhoods
If you group villager homes into districts, bridges can connect them naturally. This helps villagers wander more freely and makes your island feel like an actual community instead of a collection of houses separated by mild inconvenience.
At Your Island Entrance
A bridge near the airport can create a strong first impression. Pair it with fencing, flowers, custom paths, waterfalls, or statues, and visitors will immediately understand your island theme.
Near Orchards and Farms
If you collect fruit, vegetables, or materials daily, a bridge near your farming area saves time. Functional bridges may not be as glamorous as scenic bridges, but they quietly improve your whole routine.
Beside Waterfalls
For pure drama, build a bridge near waterfalls. The moving water adds sound, depth, and visual interest. It is one of the easiest ways to make your island look more designed without needing a degree in digital landscaping.
Common Bridge Mistakes to Avoid
Building Too Early Without a Plan
Early bridges are tempting, but your island will change a lot once terraforming unlocks. If you place too many expensive bridges before deciding your final layout, you may end up demolishing several of them later.
Choosing the Cheapest Bridge Every Time
The log bridge is affordable, but it does not fit every theme. If your island has a formal city look, save for brick, stone, or iron. A bridge should support your theme, not look like it was selected during a financial emergency.
Ignoring Villager Movement
Villagers tend to roam more naturally in areas connected by bridges and inclines. If a beautiful area is only reachable by vaulting pole or ladder, your villagers may rarely appear there. Build bridges where you want life and movement.
Forgetting About Daily Routes
A bridge is not only decoration. Think about how you move through your island every day. Connect your home, shops, museum, airport, orchard, and beaches in a way that feels smooth.
Design Tips for Better-Looking Bridges
To make a bridge look intentional, decorate both ends. Add matching paths, fencing, flowers, shrubs, lamps, or custom design tiles. A bridge with no surrounding design can look unfinished, like your island construction crew went on lunch break and never came back.
Try matching bridge materials to nearby features. Use stone bridges near museums, brick bridges near town squares, zen bridges near bamboo gardens, and suspension bridges near cliffs or forests. If you want a natural look, avoid perfectly straight rivers everywhere. Gentle curves and diagonal sections can make a bridge feel more organic.
Lighting also matters. Streetlamps, garden lanterns, mushroom lamps, and floor lights can make bridges beautiful at night. Since Animal Crossing uses real-time lighting, a bridge that looks fine during the day can become magical after sunset with the right decoration.
Experience Notes: What Building Bridges Teaches You About Island Design
After building several bridges in Animal Crossing: New Horizons, one lesson becomes obvious: a bridge is never just a bridge. It is a decision about traffic, theme, villager behavior, screenshots, and your future patience. The first time you build one, you are probably thinking, “Great, now I do not need to use the vaulting pole.” Later, when you are deep into island design, you start asking bigger questions like, “Does this bridge align with my café district?” and “Why did I put a log bridge next to a marble statue garden?” This is how Animal Crossing gets you. Slowly. Politely. With debt.
One practical experience is to walk your island before placing anything. Start from your airport, then move toward Resident Services, Nook’s Cranny, Able Sisters, your museum, and your house. Notice where you naturally want to cross the river. Those spots are usually better bridge locations than places that only look nice on the map. A bridge should solve a movement problem first and become decorative second. The best bridges do both.
Another useful habit is to place temporary path markers before committing. Use custom designs, dirt paths, or dropped items to mark where you think the bridge should go. Then spend a day or two playing normally. If you keep walking through that area, it is probably a good location. If you forget it exists, maybe save your Bells. Tom Nook does not offer emotional refunds.
Bridge style matters more than many players expect. A log bridge can look charming in a forest, but it may feel too casual near a formal museum entrance. A red zen bridge can be stunning, but because it is visually bold, it may dominate the area. Stone and brick bridges are flexible choices for classic town designs, while iron bridges work well for urban, industrial, or modern islands. Before buying, imagine the bridge with the surrounding paths, fences, flowers, and furniture. A bridge rarely looks its best alone.
Terraforming adds another layer of experience. Once you unlock waterscaping, you can reshape rivers to fit bridges better. This is powerful but also dangerous. It is very easy to spend an hour adjusting a river by one tile, then another tile, then another tile, until your island looks like a confused noodle. Work slowly. Build the river shape, test the bridge preview, and keep enough clear land on both sides. If the bridge will not place, widen the river, straighten the banks, or remove nearby objects.
Finally, do not rush to fill every bridge slot. The island limit forces you to choose carefully. A few well-placed bridges often feel better than ten random crossings. Think of bridges as part of your island’s story. One might lead to a quiet orchard. Another might frame your entrance. Another might cross into a hidden forest trail. When bridges have purpose, your island feels more alive, easier to explore, and much more satisfying to show off. And yes, you should absolutely hold the completion ceremony. You paid for the thing. Wear a silly hat. Take the photo. History demands it.
Conclusion
Building new bridges in Animal Crossing: New Horizons is one of the most important steps in turning your deserted island into a beautiful, walkable, villager-friendly home. Your first bridge comes from Tom Nook as a DIY Bridge Construction Kit after Nook’s Cranny opens. Later bridges unlock through the Resident Services infrastructure menu after the building upgrade.
Every bridge type works the same way, but each style has a different price and personality. Choose carefully, because bridges cannot be moved or upgraded directly. If you want to change one, you must demolish it and rebuild. With smart placement, a clear design theme, and a little patience, bridges can transform your island from “survival campsite with rivers” into a polished paradise where even your villagers stop wandering like they are lost in a botanical maze.