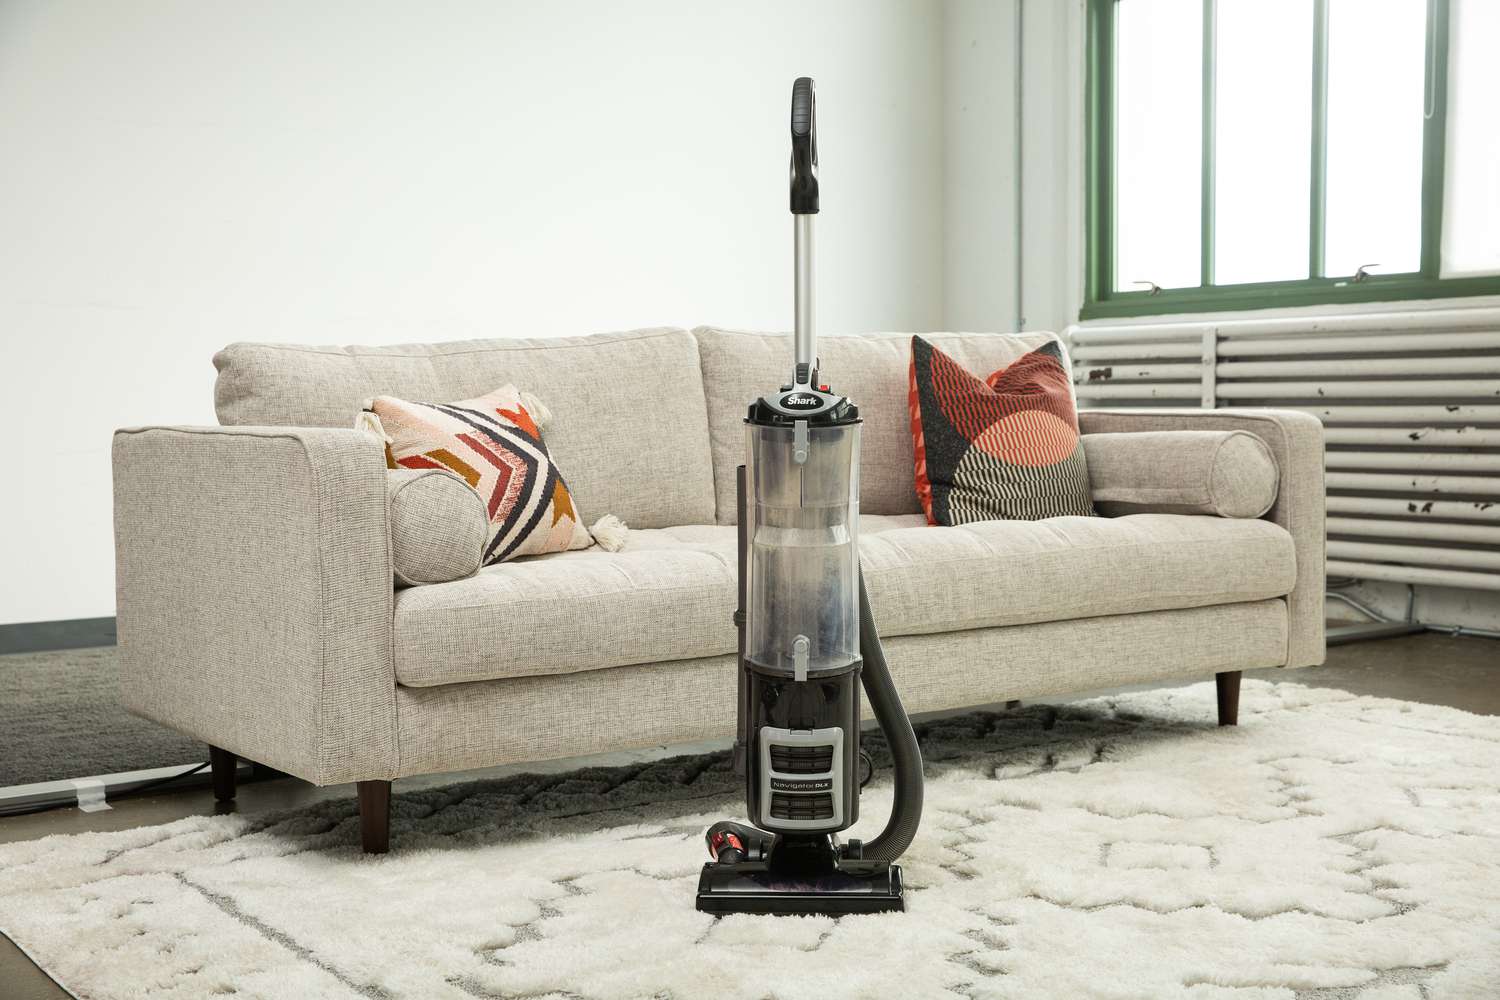

Note: Always check your exact Shark vacuum owner’s guide before washing, replacing, or removing parts. Shark makes upright, cordless, robot, stick, handheld, Lift-Away, DuoClean, PowerFins, and self-empty models, and the filter layout can differ. The good news? The cleaning logic is usually the same: remove debris, rinse washable filters with water only, let everything dry completely, and do not put damp parts back into a machine that contains electricity. Your vacuum is brave, but it is not a submarine.
Why Cleaning Your Shark Vacuum Matters
A Shark vacuum is built to pull dust, crumbs, pet hair, glitter from mysterious craft projects, and that one cereal piece hiding under the couch. But even a strong vacuum loses performance when its dust cup is packed, its filter is clogged, or its brushroll is wearing a sweater made of hair. Learning how to clean a Shark vacuum and its filter helps restore suction, reduce odors, protect the motor, and keep debris from being blown back into your home.
Most Shark vacuums use a bagless dust cup and a filter system that may include foam, felt, and sometimes a post-motor HEPA filter. The foam and felt filters usually sit before the motor and catch fine dust before it reaches the machine’s internal parts. The HEPA filter, when included, sits after the motor and helps trap very small particles before air exits the vacuum. A true HEPA filter is designed to capture extremely fine particles, which is one reason many households with pets, dust, or allergy concerns care so much about keeping it in good condition.
The mistake many people make is waiting until the vacuum sounds angry. You know the sound: a higher-pitched whine, weaker suction, and a general vibe of “please help me.” Instead of waiting for a Shark vacuum to beg for mercy, use a simple maintenance routine. Empty the dust cup after each use, wash washable filters on schedule, remove hair from the brushroll, and check hoses, wands, and airways for clogs. That routine takes minutes, and it can save you from replacing parts too soon.
Before You Start: What You Need
You do not need a professional repair bench or a toolbox that looks like it belongs to a Formula 1 pit crew. For most Shark vacuum cleaning jobs, gather a trash bag, microfiber cloth, soft brush or old toothbrush, small scissors or seam ripper, cool water, mild dish soap for plastic parts only, and a clean towel. You may also want a flashlight to inspect the hose and wand for blockages.
Do not use bleach, harsh chemical cleaners, laundry detergent, dishwasher detergent, or scented sprays on Shark vacuum filters. In most Shark care instructions, washable filters should be rinsed with water only. Soap can damage filter material or leave residue that interferes with airflow. Also, never put Shark filters in a washing machine, dryer, dishwasher, oven, or microwave. A filter should dry naturally in open air. If you are tempted to speed things up with a hair dryer, take a deep breath and step away from the plug.
Step-by-Step: How to Clean a Shark Vacuum
1. Turn Off and Unplug the Vacuum
Start with the obvious safety step: turn off the vacuum. If it is corded, unplug it from the wall. If it is cordless, remove the battery if your model allows it. If it is a robot vacuum, power it down and remove it from the dock. Cleaning a vacuum while it is connected to power is a little too adventurous for a chore that should end with cleaner floors, not a dramatic story.
2. Empty the Dust Cup
Remove the dust cup using the release button or latch on your Shark model. Hold it over a trash can and open the bottom door to release dirt and debris. If dust clings to the inside, tap gently. For stubborn buildup, use a dry cloth or soft brush to loosen it.
Many Shark manuals recommend emptying the dust cup after each use, and especially before debris reaches the max fill line. Overfilling the cup restricts airflow. When airflow drops, suction drops. When suction drops, you vacuum the same crumb seven times and start questioning your life choices.
3. Wash the Dust Cup If Needed
If the dust cup smells musty or looks coated with fine dust, wash it separately from the filters. Remove filters first, then rinse the cup with water. A tiny amount of mild dish soap is generally acceptable for the plastic dust cup, but do not use soap on the filters unless your specific manual says otherwise. Rinse thoroughly and let the dust cup dry completely before reinstalling it.
Moisture trapped inside a dust cup can turn fresh dust into paste. That paste can clog screens and make your vacuum smell like a damp basement with ambitions. Let the cup air-dry with the lid open so water can evaporate fully.
4. Clean the Dust Screen
Many Shark vacuums have a dust screen or cone-shaped mesh inside the dust cup area. This screen can collect lint, pet fur, and fine debris. Wipe it with a dry cloth or brush it gently. If your manual allows rinsing that piece, rinse it and dry it completely. If not, keep it dry and remove debris by hand.
5. Remove Hair From the Brushroll
Turn the floor nozzle over and inspect the brushroll. If hair, thread, string, or dental floss is wrapped around it, carefully cut the debris with small scissors or a seam ripper. Avoid cutting the bristles. Pull loosened hair away by hand and wipe the brushroll chamber with a dry or slightly damp cloth.
Some Shark models have a self-cleaning brushroll, but “self-cleaning” does not mean “forever ignored.” Long hair and pet fur can still gather near the ends, around the bearings, or behind the brushroll cover. If your vacuum has a soft roller, remove it according to the manual and clear dust from the roller and housing.
6. Check the Hose, Wand, and Air Passages
If your Shark vacuum has weak suction after the dust cup is empty, check for clogs. Detach the hose and wand. Look through them with a flashlight. A sock, leaf, toy piece, or dust bunny with leadership skills may be blocking airflow. Gently push clogs out with a broom handle or flexible cleaning tool, but do not puncture the hose.
Also inspect the floorhead opening where debris enters. Hard objects can get stuck near the intake and reduce suction. If the vacuum suddenly sounds different after picking up a sharp object, stop and inspect it before continuing.
7. Wipe the Exterior and Attachments
Use a slightly damp microfiber cloth to wipe the outside of the vacuum, handle, wheels, and attachments. Crevice tools and upholstery brushes collect dust too. Rinse washable plastic attachments if your manual permits it, then dry them completely. A clean attachment works better and is less likely to spread old dust onto fresh surfaces.
How to Clean a Shark Vacuum Filter
The filter is the star of the maintenance show. A dirty Shark vacuum filter can reduce suction, trap odors, strain the motor, and make the vacuum feel weaker than it really is. Most Shark vacuums include one or more washable filters, commonly foam and felt pre-motor filters. Some include a post-motor HEPA filter. The exact filter location depends on the model, so use your owner’s guide if you are not sure where each filter lives.
1. Remove the Filters
Take off the dust cup or filter cover to access the filters. Foam filters are usually thicker and sponge-like. Felt filters are thinner and denser. HEPA filters are often pleated and may sit behind a separate cover near the front, side, or lower back of the vacuum.
Before removing filters, notice the order. Many models require the foam filter to go back first, followed by the felt filter. Taking a quick photo with your phone can help you remember the layout. Future you will appreciate the tiny act of kindness.
2. Tap Off Loose Dust
Take the filters outside or hold them over a trash can. Tap them gently to remove loose dirt. Do not beat them like a rug in an old cartoon. Aggressive handling can tear foam, warp felt, or damage pleats.
3. Rinse With Water Only
Rinse washable Shark filters under cool or cold running water. Use water only unless your model’s manual specifically says otherwise. For foam filters, squeeze gently until the water runs clear. For felt filters, rinse carefully and avoid twisting. For washable HEPA filters, rinse from the clean side outward if your manual gives a direction; otherwise, rinse gently until loose dust is gone.
Do not scrub pleated HEPA material harshly. A soft brush can remove surface dust before rinsing, but rough scrubbing may damage the filter. If the filter is torn, warped, permanently clogged, or smells bad after washing and drying, replace it.
4. Let Filters Air-Dry Completely
This step is non-negotiable. Shark commonly recommends letting filters air-dry for at least 24 hours before reinstalling them. Some models or conditions may require 24 to 48 hours. Filters must be completely dry because moisture can be drawn into electric parts, damage the motor, or create odors.
Set filters in a well-ventilated area. Do not place them in direct high heat. Do not reinstall them because they feel “mostly dry.” Mostly dry is still wet, and wet is not invited to the motor party.
5. Reinstall in the Correct Order
When the filters are fully dry, reinstall them in the correct order and orientation. If your model uses foam and felt pre-motor filters, the foam often goes in first and the felt sits on top. Replace the dust cup or filter cover securely. If a cover does not click into place, do not force it; remove the filter and check alignment.
How Often Should You Clean a Shark Vacuum Filter?
Cleaning frequency depends on your Shark model and how you use it. Some Shark manuals recommend cleaning pre-motor foam and felt filters about every month, while other models list every three months under normal use. Post-motor HEPA filter schedules can also vary, with some models recommending yearly cleaning and older models listing longer intervals. Because of those differences, your owner’s guide is the final authority.
As a practical rule, clean more often if you have pets, long hair in the household, allergies, dusty floors, heavy carpet use, remodeling dust, or a cordless vacuum that sees daily action. If suction drops, the vacuum smells dusty, the motor sounds strained, or the filter looks gray and packed, clean it sooner. A schedule is useful, but your vacuum’s symptoms are also data.
When to Replace Shark Vacuum Filters
Washing helps, but filters do not last forever. Replace a Shark vacuum filter if it is torn, crumbling, misshapen, still dirty after rinsing, slow to dry, or giving off an odor. Also replace filters according to your model’s recommended replacement schedule. Some filters are washable but still need periodic replacement because the material eventually loses structure.
Use genuine Shark filters or high-quality compatible filters made for your exact model number. A filter that almost fits is not good enough. Poor fit can allow dust to bypass the filter, which defeats the whole purpose and may shorten the vacuum’s life.
Common Mistakes to Avoid
Using Soap on Filters
Soap may seem helpful, but Shark filter instructions commonly say water only. Soap residue can clog filter material and reduce airflow. Save the bubbles for the dust cup, attachments, or dishes.
Reinstalling Damp Filters
This is the big one. Damp filters can damage electric components and create musty smells. If you need the vacuum while filters are drying, consider buying a spare filter set so you can rotate clean, dry filters.
Ignoring the Brushroll
A spotless filter cannot fix a brushroll wrapped in hair. If the brush cannot spin freely, the vacuum will struggle on carpet and rugs. Check the roller regularly, especially in homes with pets or long hair.
Forgetting About Clogs
If suction is weak after cleaning filters, check the hose, wand, floorhead, and dust cup screen. A clog can make a clean vacuum act dirty.
Vacuuming Fine Construction Dust
Drywall dust, fireplace ash, and other ultra-fine debris can clog filters quickly and may not be appropriate for a standard household vacuum. Use the right vacuum for renovation messes, or you may turn a simple cleanup into a filter funeral.
Quick Maintenance Schedule
- After every use: Empty the dust cup and check the max fill line.
- Weekly or as needed: Remove hair from the brushroll and inspect the nozzle.
- Monthly: Check filters, screens, hoses, and attachments, especially with pets or heavy use.
- Every 1 to 3 months: Wash washable pre-motor filters, depending on model instructions and household conditions.
- Every 6 to 12 months or as directed: Inspect filters for replacement, especially in homes with pets, allergies, or frequent vacuuming.
- Annually or per manual: Clean or replace the HEPA filter according to your Shark model’s guide.
Troubleshooting After Cleaning
Problem: The Vacuum Still Has Weak Suction
Check whether the dust cup is seated correctly, the filters are installed in the right order, and the hose is clear. Also inspect the floorhead intake. If your model has suction control settings, make sure they are adjusted for the surface you are cleaning.
Problem: The Vacuum Smells Bad
Empty the dust cup, wash it, clean the filters, and let everything dry fully. Check the brushroll for trapped pet hair or food crumbs. If the smell remains after the filter is clean and dry, replace the filter.
Problem: The Brushroll Is Not Spinning
Remove wrapped hair and thread. Check that the nozzle cover is closed properly and that the vacuum is in the correct mode for carpet cleaning. If the brushroll still does not spin, consult the manual for belt, roller, or motorized head troubleshooting.
Problem: Dust Escapes From the Vacuum
Make sure filters are installed correctly and not missing. Check seals around the dust cup and filter covers. A loose filter cover can allow dust to bypass the filtration system.
Real-World Experience: What Actually Works When Cleaning a Shark Vacuum
The first time many people clean a Shark vacuum, they expect a quick dust-cup emptying and a proud little victory lap. Then they open the filter compartment and discover a gray foam pad that looks like it has been living inside a chimney. This is normal. Bagless vacuums collect a surprising amount of fine dust, and Shark filters do their job quietly until airflow starts to slow down.
One practical habit that works well is keeping a spare set of filters. Wash one set, let it dry for a full day or two, and use the dry backup set in the meantime. This is especially helpful in busy homes where the vacuum gets used every day. It also prevents the classic mistake of reinstalling filters too early because the living room needs cleaning before guests arrive. A backup filter set is not glamorous, but neither is explaining why the vacuum now smells like wet cardboard.
Another useful lesson is to clean the vacuum in the right order. Empty the dust cup first, then remove and rinse the filters, then check the brushroll, then inspect the hose. If you wash the filters first and forget the hose clog, you may blame the filter when the real villain is a wad of pet hair hiding in the wand. A flashlight is extremely useful here. Shine it through the hose and wand. If light does not pass clearly, airflow will not either.
Pet owners should be more aggressive with maintenance. Even Shark models with self-cleaning brushrolls can collect hair near the roller ends. The brushroll may look clean in the middle while the side caps are quietly hosting a fur convention. Removing that buildup can make the vacuum feel smoother and reduce strain on the nozzle. For long human hair, a seam ripper can be easier to control than scissors, but either tool works if used carefully.
Odor control is another real-world issue. A vacuum that smells bad usually has one of four problems: old debris in the dust cup, a dirty filter, damp parts, or something unpleasant stuck in the brushroll. Washing the dust cup and drying it fully can make a big difference. However, avoid spraying perfume or deodorizer directly into the filter area. Fragrance does not fix restricted airflow; it just gives the dust a tiny hat and sends it back into battle.
Finally, do not judge suction only by sound. A freshly cleaned Shark vacuum may sound smoother and less strained, not necessarily louder. The real test is pickup performance. Try it on a small patch of carpet or hard floor with visible crumbs. If it picks up debris in one or two passes, the airflow is probably back where it should be. If not, check for clogs again. Most “broken” vacuums are not broken at all; they are just packed with enough hair, lint, and dust to qualify as a small indoor ecosystem.
Conclusion
Knowing how to clean a Shark vacuum and its filter is one of the easiest ways to protect suction power and extend the life of your machine. Empty the dust cup after use, rinse washable filters with water only, let filters air-dry completely, remove hair from the brushroll, and check hoses and airways for blockages. Most maintenance takes only a few minutes, but it prevents the slow decline that makes a vacuum feel weak, noisy, or smelly.
The golden rule is simple: airflow is everything. A clean filter, clear hose, empty dust cup, and free-spinning brushroll allow your Shark vacuum to do what it was built to do. Treat it well, and it will keep chasing crumbs, dust, pet hair, and mystery floor debris like the tiny household shark it is.