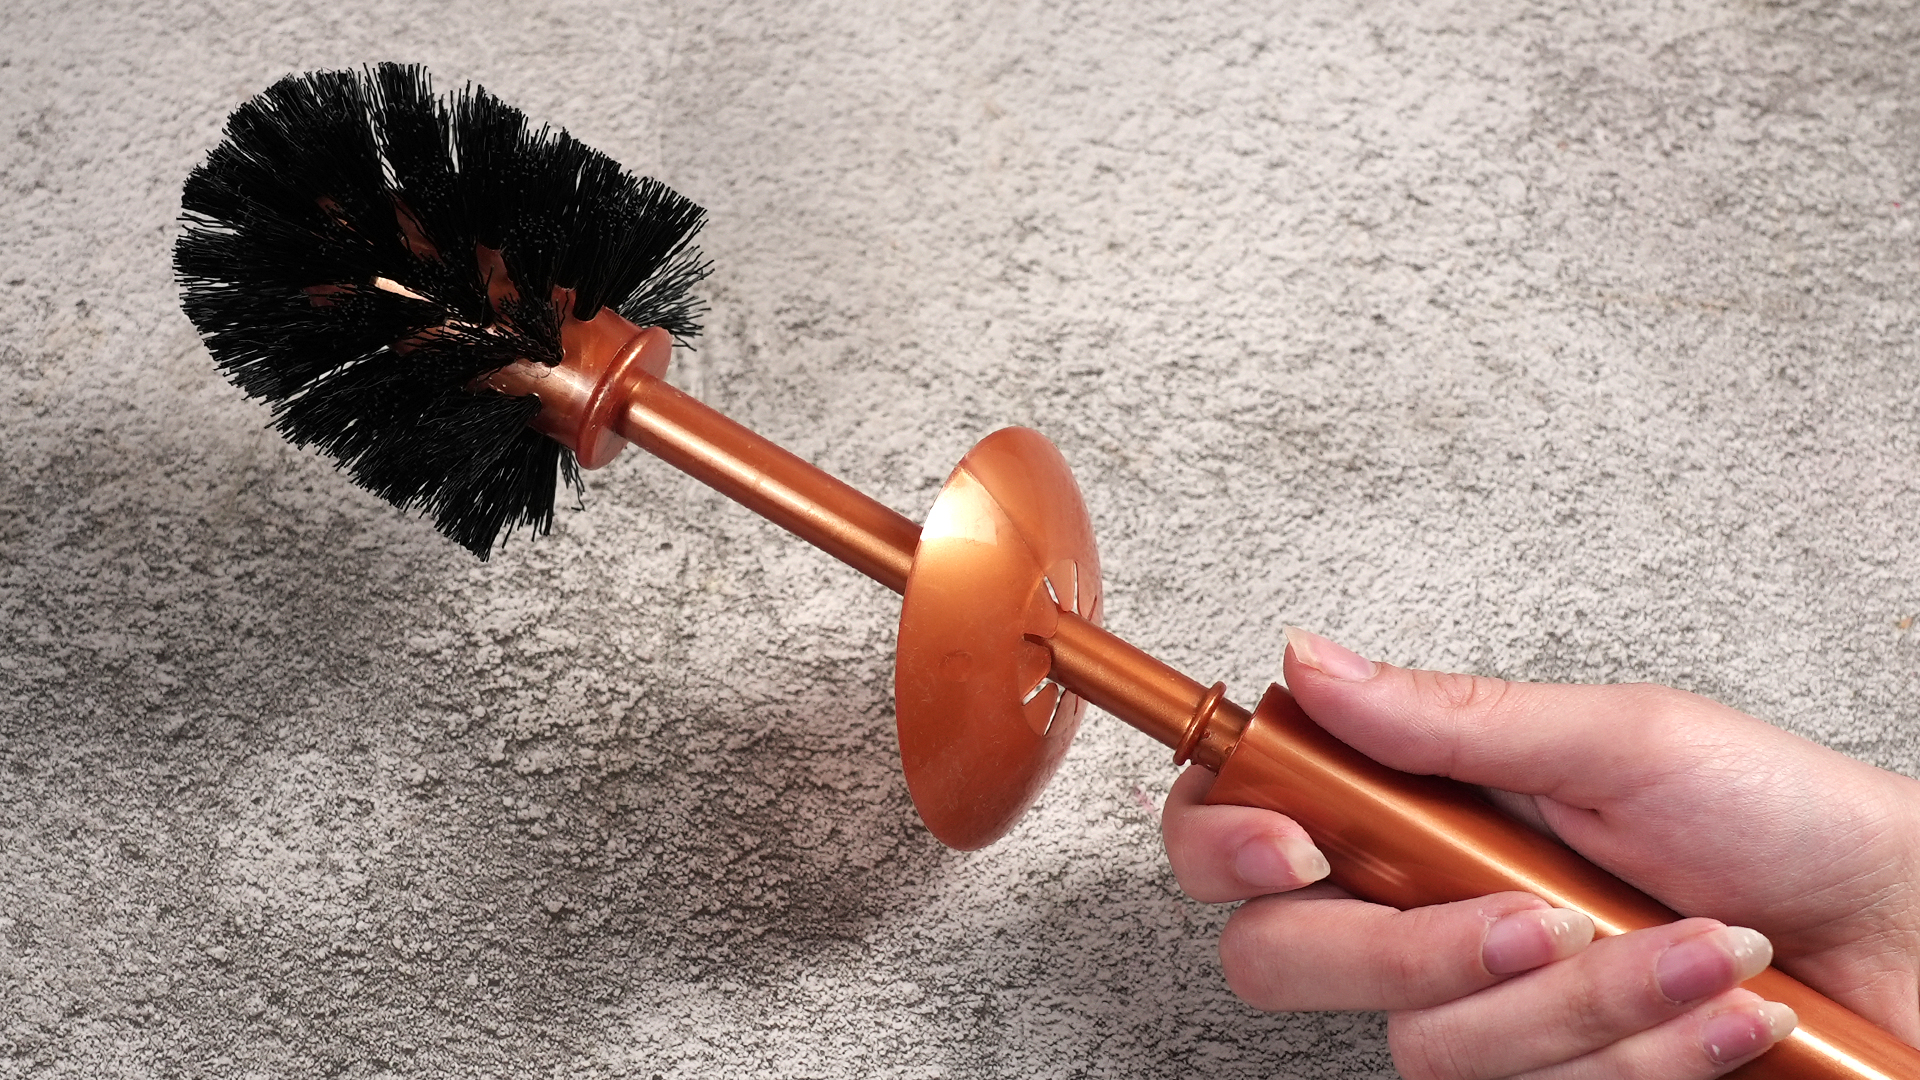

A toilet brush has one of the least glamorous jobs in the house. It bravely goes where no sponge should ever go, tackles stains nobody wants to discuss at dinner, and thentoo oftengets shoved back into a dark little holder while still wet. That is not storage. That is a tiny swamp with a handle.
Learning how to clean a toilet brush is not difficult, but it does require a little more than a quick shake over the bowl and a hopeful attitude. A dirty toilet brush can hold moisture, odor, mineral buildup, and germs from the very place it is supposed to clean. The good news is that with a few easy disinfecting methods, you can keep your brush fresher, your bathroom cleaner, and your nose much happier.
This guide explains how to disinfect a toilet brush with bleach, disinfectant spray, vinegar, hot soapy water, and proper drying techniques. You will also learn how to clean the toilet brush holder, how often to replace a toilet brush, and which mistakes to avoid so your bathroom cleaning routine does not accidentally turn into a chemistry experiment.
Why You Should Clean Your Toilet Brush Regularly
A toilet brush is designed to scrub away waste residue, toilet bowl cleaner, hard water marks, and grime from the inside of the bowl. That means the bristles come into contact with bacteria, moisture, and cleaning products. If the brush goes back into the holder while dripping wet, the holder can trap dirty water at the bottom. Add poor airflow, and you have the perfect setting for odors and buildup.
Cleaning your toilet brush helps prevent that sour bathroom smell that seems to appear out of nowhere. It also keeps the brush working properly. Bristles clogged with residue do not scrub well, and a smelly brush is not exactly a confidence booster when guests use the bathroom.
The goal is simple: rinse after every use, disinfect regularly, dry completely, and store the brush in a clean, ventilated holder. Think of it as giving your toilet brush a tiny spa dayminus the cucumber water.
How Often Should You Clean a Toilet Brush?
For best hygiene, rinse your toilet brush after every use. A deeper disinfection should happen at least once a week in busy bathrooms, shared bathrooms, or homes with children. For a low-use guest bathroom, every two to four weeks may be enough if the brush is rinsed and dried properly after each cleaning.
You should clean the holder whenever you disinfect the brush. The holder is where drips collect, and ignoring it is like washing your hands and then drying them on a muddy towel. If the brush smells bad, looks stained, has bent bristles, or leaves residue behind after cleaning, it is time for a deep cleanor a replacement.
Before You Start: Safety Rules That Actually Matter
Toilet brush cleaning is easy, but bathroom cleaners can be strong. Always read product labels before using bleach, disinfectant spray, hydrogen peroxide, or toilet bowl cleaner. Labels tell you how long the product must stay wet on the surface, whether gloves are recommended, and which surfaces the product is safe for.
Never Mix Cleaning Chemicals
This rule deserves its own spotlight: never mix bleach with vinegar, ammonia, rubbing alcohol, hydrogen peroxide, or any other cleaning product. Bleach should be mixed only with water unless the product label specifically says otherwise. Combining cleaners can release dangerous fumes, including chlorine or chloramine gases. Your bathroom does not need a fog machine, especially not one with emergency-room potential.
Ventilate the Bathroom
Open a window, turn on the exhaust fan, or leave the door open while disinfecting. Ventilation helps reduce fumes and allows the brush and holder to dry faster. If you are using bleach or a strong disinfectant, gloves are a smart idea. Eye protection is also useful if you are spraying a product or working in a small bathroom.
Clean First, Then Disinfect
Disinfectants work best on surfaces that are already free of visible grime. If your toilet brush has residue stuck in the bristles, rinse it thoroughly and wash it with hot soapy water before disinfecting. Dirt and organic material can get in the way of disinfectants, so do not skip the basic cleaning step.
Method 1: Clean a Toilet Brush With Bleach
Bleach is one of the most common ways to disinfect a toilet brush because it is widely available, inexpensive, and effective when properly diluted. Use regular, unscented household bleach and water. Do not use splashless, scented, or gel bleach unless the label says it is suitable for disinfecting.
What You Need
- Regular unscented household bleach
- Water
- A bucket or sturdy container
- Rubber gloves
- Clean water for rinsing
- Paper towels or a washable cleaning cloth for the holder
Step-by-Step Instructions
- Flush the toilet and rinse the brush in clean toilet water after scrubbing the bowl.
- Fill a bucket with cool or room-temperature water.
- Add bleach according to the product label. If the label is missing or unclear, use a common household disinfecting dilution such as 4 teaspoons of bleach per quart of water or 5 tablespoons per gallon of water.
- Place the toilet brush head into the diluted bleach solution. Keep the handle out of the solution if it is metal or has decorative parts that could corrode.
- Let the brush soak long enough for disinfection. Many bleach solutions require at least one minute of wet contact time, but always follow the label when available.
- Rinse the brush thoroughly with clean water.
- Let the brush air dry completely before returning it to the holder.
Do not pour bleach solution into a container that previously held another cleaner. Also, make a fresh bleach solution when you need it. Diluted bleach loses strength over time, so yesterday’s miracle bucket may be today’s vaguely bleach-scented water.
Method 2: Disinfect a Toilet Brush With a Spray Cleaner
A disinfectant spray is one of the fastest ways to clean a toilet brush after routine use. This method is ideal when you do not want to fill a bucket or soak the brush. It is also helpful for weekly maintenance between deeper cleanings.
How to Do It
- Rinse the brush thoroughly in clean toilet water after cleaning the bowl.
- Hold the brush over the toilet bowl or place it in a freshly cleaned sink or tub.
- Spray the bristles until they are visibly wet.
- Rotate the brush so the disinfectant reaches all sides, including the base of the bristles.
- Let the product sit for the full contact time listed on the label.
- Rinse if the product directions require it.
- Air dry the brush fully before storing.
The key phrase here is “visibly wet.” A quick mist that disappears in five seconds is not enough for most disinfectants. The surface has to stay wet for the full contact time to work properly. If the spray dries too quickly, reapply it according to the label.
Method 3: Use Vinegar for a Gentler Cleaning Option
White vinegar is a popular natural cleaning option for deodorizing and removing mineral buildup. It is not the same as an EPA-registered disinfectant, and it should not be treated as a replacement when true disinfection is needed. However, vinegar can be useful for routine freshening, especially if your main problem is hard water residue or bathroom odor.
How to Clean With Vinegar
- Rinse the toilet brush well after use.
- Fill a bucket with enough white vinegar to cover the brush head, or use a mixture of vinegar and warm water.
- Soak the brush for 30 minutes.
- Scrub the bristles against the side of the bucket if residue remains.
- Rinse thoroughly with hot water.
- Air dry before storing.
Important reminder: never use vinegar before or after bleach unless the brush and container have been rinsed completely and there is no bleach residue left. Vinegar and bleach are not cleaning buddies. They are “keep them in separate corners” chemicals.
Method 4: Wash With Hot Soapy Water Before Disinfecting
If your toilet brush has visible grime, soap scum, or cleaner residue in the bristles, start with hot soapy water. This is cleaning, not disinfecting, but it prepares the brush so a disinfectant can do its job.
Simple Soap-and-Water Cleaning
- Fill a bucket with hot water and a small amount of dish soap.
- Swish the brush head in the water to loosen grime.
- Use gloved hands to gently separate bent bristles if needed.
- Rinse the brush under hot running water or in clean toilet water.
- Follow with bleach, disinfectant spray, or another suitable disinfecting method.
- Let the brush dry completely.
This method is especially useful for brushes that have been sitting in a dirty holder. If the water turns cloudy, congratulationsyou have found the problem. Dump the water carefully into the toilet, flush, and rinse the bucket before putting it away.
Method 5: Let the Toilet Bowl Cleaner Help
Many people clean the toilet bowl with a disinfecting toilet bowl cleaner and then immediately rinse the brush. That is a decent start, but it is not always enough. If your toilet bowl cleaner is labeled as a disinfectant, it may help disinfect the brush while you scrub, provided the product stays wet for the required contact time.
After scrubbing the bowl, let the brush sit in the treated toilet water only if the cleaner label allows it and you are not mixing it with other products. Then flush, rinse the brush in clean water, and dry it. Do not combine toilet bowl cleaner with bleach unless the label specifically says the products are compatible.
How to Dry a Toilet Brush the Right Way
Drying is the underrated hero of toilet brush hygiene. A brush that is disinfected and then placed wet into a closed holder can quickly become smelly again. Moisture is the problem. Airflow is the solution.
After rinsing, place the brush under the raised toilet seat so the brush head hangs over the bowl. Close the seat gently enough to hold the handle in place. Let the brush drip into the bowl for 10 to 30 minutes, or until it is no longer dripping. This keeps dirty water from collecting in the holder.
If you prefer, you can let the brush dry in a cleaned bathtub, shower, or utility sink. Just make sure the surface is cleaned afterward. Once the brush is dry, return it to a clean, ventilated holder. A holder with airflow is better than a sealed cup that traps moisture like a tiny bathroom terrarium.
How to Clean the Toilet Brush Holder
The holder may be dirtier than the brush because it catches drips and rarely gets cleaned. If your bathroom smells unpleasant even after you clean the toilet, check the holder. It may be quietly plotting against you.
Steps to Clean the Holder
- Put on gloves and remove the brush.
- Pour any standing liquid into the toilet and flush.
- Wash the holder with hot soapy water.
- Rinse thoroughly.
- Apply a disinfectant spray or diluted bleach solution, following the label contact time.
- Rinse again if required by the product directions.
- Dry completely before replacing the brush.
If the holder has a removable drip tray, clean that piece separately. If it is cracked, permanently stained, or still smells after cleaning, replace it. A toilet brush holder is not a family heirloom. You are allowed to let it go.
Bleach vs. Vinegar vs. Disinfectant Spray: Which Is Best?
The best method depends on your goal. For true disinfection, use a properly diluted bleach solution or an EPA-registered disinfectant and follow the label. For odor control and mineral buildup, vinegar can help. For quick maintenance after cleaning the bowl, disinfectant spray is convenient.
Bleach is strong and effective, but it needs careful handling, ventilation, and proper dilution. Disinfectant spray is easy, but you must respect the contact time. Vinegar is gentler and good for freshening, but it is not the strongest choice for killing germs. Hot soapy water is excellent for removing visible grime, but it should be followed by disinfection when hygiene matters.
Common Mistakes to Avoid
Putting the Brush Away Wet
This is the most common mistake. A wet toilet brush in a closed holder creates odor and buildup. Always let the brush drip dry before storage.
Forgetting the Holder
Cleaning the brush but ignoring the holder is only half the job. Clean both together so you are not placing a sanitized brush back into old grime.
Using Too Much Bleach
More bleach does not mean better cleaning. It can create stronger fumes, damage materials, and make rinsing harder. Follow label directions and dilute properly.
Mixing Products
Bleach plus another cleaner is never a shortcut. It is a safety risk. Use one product at a time, rinse thoroughly, and do not experiment.
Keeping the Same Brush Forever
Even a well-cleaned toilet brush does not last forever. Replace it when the bristles flatten, the handle cracks, the brush smells bad after cleaning, or stains do not come out. Many households should replace a toilet brush every six to twelve months, sooner if it is heavily used or not cleaned regularly.
Best Storage Tips for a Cleaner Toilet Brush
Choose a holder that allows airflow. Open or ventilated holders dry faster than sealed containers. If the holder has a removable base, even better. It will be easier to wash and dry.
Keep the brush near the toilet but away from towels, bath mats, and items children might touch. Do not store it in a cabinet while wet. A hidden wet brush is still a wet brushit is just having a secret odor party behind closed doors.
If you are buying a new brush, consider a silicone toilet brush. Silicone bristles are less porous than traditional nylon bristles, often rinse more easily, and tend to dry faster. However, the same hygiene rules apply: rinse, disinfect, dry, and clean the holder.
Quick Weekly Toilet Brush Cleaning Routine
Here is a simple routine that keeps things manageable:
- After cleaning the toilet, rinse the brush in clean toilet water.
- Spray the bristles with disinfectant until visibly wet.
- Let the disinfectant sit for the label’s contact time.
- Rinse if required.
- Trap the brush handle under the toilet seat and let the brush drip dry over the bowl.
- Wipe and disinfect the holder.
- Return the brush only when both pieces are dry.
This routine takes only a few extra minutes, but it prevents the brush from becoming the grossest item in the bathroom. That title has plenty of competition already.
Personal Experience: What Actually Works in Real Bathrooms
After trying different toilet brush cleaning routines, one lesson becomes obvious: the drying step matters more than people think. For a long time, many households clean the toilet, rinse the brush quickly, and drop it straight back into the holder. The brush may look fine from across the room, but when you lift it a few days later, the odor tells the truth. The holder has been collecting drips, and the bristles have stayed damp. That is usually when people blame the toilet, the plumbing, or the mysterious “bathroom smell,” when the humble brush is the real suspect.
The easiest improvement is to let the brush hang over the bowl after every use. It feels a little odd the first time, like the brush is taking a timeout, but it works. The brush drips into the toilet instead of the holder, the bristles dry faster, and the holder stays much cleaner. This one habit can make a bigger difference than buying a fancy cleaner.
Another practical experience is that spray disinfectant is the most realistic method for weekly use. A bleach soak is excellent for deeper cleaning, but not everyone wants to mix a bucket of bleach solution on a busy weekday. A disinfectant spray, used correctly, is simple. The trick is to spray enough product and let it sit for the full contact time. Many people spray, count to three, and rinse. That may smell clean, but it does not give the disinfectant enough time to work. Patience is part of the process.
For stubborn odors, the holder is almost always involved. Cleaning only the brush is like washing a spoon and putting it back into a dirty pudding cup. The holder needs hot soapy water, disinfectant, rinsing, and drying. If it has grooves or a removable tray, those small areas deserve attention. A bottle brush or old cleaning toothbrush can help reach corners. Just label that toothbrush clearly, because nobody needs that kind of surprise at 7 a.m.
Bleach works well for periodic deep cleaning, especially after someone in the home has been sick or when the brush looks stained. Still, it should be treated with respect. Use the right dilution, wear gloves, ventilate the room, and never mix bleach with other cleaners. If the bathroom already smells like vinegar, ammonia, or strong toilet bowl cleaner, rinse everything thoroughly and wait before using bleach. Safe cleaning is better than dramatic cleaning.
One final experience-based tip: replace the brush sooner than your stubborn side wants to. If the bristles are flattened, the handle is loose, or the brush still smells after disinfection, it has completed its service. Thank it privately, dispose of it, and move on. Toilet brushes are inexpensive compared with the effort of fighting a permanently funky one. A clean bathroom routine is much easier when your tools are clean, dry, and not quietly working against you.
Conclusion
Knowing how to clean a toilet brush is a small bathroom habit with a big payoff. The best routine is simple: rinse the brush after every use, clean off visible grime, disinfect it with bleach or an appropriate disinfectant, let it stay wet for the required contact time, and dry it completely before storage. Do not forget the holder, because that little cup can turn into the headquarters of bathroom odors if it is ignored.
For everyday maintenance, a disinfectant spray and proper drying are usually enough. For deeper cleaning, a diluted bleach soak can be very effective when used safely. Vinegar can help with odor and mineral buildup, but it should never be mixed with bleach. Replace your brush when it is worn, stained, smelly, or no longer scrubs well.
A toilet brush may never be the star of your cleaning cabinet, but it deserves a little respect. Keep it clean, keep it dry, and it will do its unpleasant job without turning into an unpleasant problem.