
Hardwood floors are the jeans of home design: classic, hardworking, and somehow always better when they are well cared for. But unlike jeans, you cannot toss oak planks into the washing machine and hope for the best. Cleaning hardwood floors like a pro is less about heroic scrubbing and more about smart habits, gentle products, and knowing when to put down the mop before your floor files a formal complaint.
The good news? You do not need a cleaning closet that looks like a chemistry lab. With a microfiber mop, a vacuum made safe for hard floors, a pH-neutral hardwood floor cleaner, and a few prevention tricks, you can keep wood floors clean, glossy, and protected for years. This guide explains exactly how to clean hardwood floors, how often to clean them, what mistakes to avoid, and how to handle sticky spills, pet tracks, dull spots, and daily dust without turning floor care into a part-time job.
Why Hardwood Floors Need Special Care
Hardwood is beautiful because it is natural. It expands, contracts, absorbs moisture, and reacts to harsh chemicals. Most modern hardwood floors are protected with a surface finish, often polyurethane, but that finish is not a superhero cape. Too much water can seep between boards. Steam can push heat and moisture into tiny seams. Abrasive scrubbers can scratch the surface. Strong cleaners can dull the finish. In other words, hardwood floors are sturdy, but they appreciate manners.
Professional floor cleaning is built around one simple idea: remove dirt before it becomes damage. Dust, sand, crumbs, and grit act like tiny pieces of sandpaper under shoes, chair legs, and pet paws. The faster you remove them, the longer your floor stays smooth and polished. That is why the best hardwood floor cleaning routine starts dry, stays gentle, and uses moisture only when needed.
The Pro-Level Hardwood Floor Cleaning Kit
You do not need fifty gadgets. In fact, more products often create more problems. A simple hardwood floor cleaning kit should include:
- A microfiber dust mop for daily or quick cleaning
- A vacuum with a hard-floor setting or soft brush attachment
- A flat microfiber mop for damp cleaning
- A pH-neutral hardwood floor cleaner or manufacturer-recommended cleaner
- Soft absorbent cloths for spills and spot cleaning
- Felt furniture pads and breathable rugs for prevention
Microfiber is the quiet star of the show. It grabs dust instead of pushing it around like an indecisive broom. A soft-bristle broom can work too, but microfiber is usually better for fine particles, pet hair, and daily maintenance. For vacuuming, always turn off the rotating brush roll or use a bare-floor setting. A spinning brush meant for carpet can scratch hardwood faster than a chair dragged across the room during a dramatic dinner party exit.
How Often Should You Clean Hardwood Floors?
The best cleaning schedule depends on traffic, pets, kids, weather, and whether your household treats the entryway like a mud festival. As a general rule, dust mop high-traffic areas daily or every other day. Vacuum once or twice a week. Damp mop when the floor looks dull, sticky, or visibly dirty, usually weekly for busy spaces and every few weeks for quieter rooms.
Kitchens, hallways, and entryways usually need more attention because they collect crumbs, grit, moisture, and whatever mystery debris appears after people say, “I wiped my shoes.” Bedrooms and formal living rooms may only need light weekly maintenance. The goal is not to mop constantly. The goal is to remove dry dirt often enough that wet cleaning becomes easier and less frequent.
Step-by-Step: How to Clean Hardwood Floors Like a Pro
Step 1: Remove Rugs, Chairs, and Floor Clutter
Start by clearing the area. Move small furniture, baskets, pet bowls, and rugs. Shake rugs outside if possible, because rugs love to collect dirt and then politely return it to your clean floor. Check furniture legs for missing felt pads. If a chair leg has a rough edge, fix it before cleaning. Otherwise, you may clean beautifully and scratch aggressively at the same time, which is not the pro look we are going for.
Step 2: Dry Dust or Sweep First
Before adding any cleaner, dry clean the floor. Use a microfiber dust mop or soft broom to collect dust, hair, crumbs, and grit. Work with the grain of the wood when possible. Pay attention to corners, baseboards, under cabinets, and around table legs, where dust gathers like it is holding a tiny convention.
This dry step matters because mopping over loose dirt creates muddy streaks. It can also drag grit across the finish. Think of it as washing your car after throwing sand on it. Technically possible, emotionally upsetting.
Step 3: Vacuum With the Right Setting
After dust mopping, vacuum the floor using a hard-floor setting, soft brush attachment, or canister vacuum designed for bare floors. This picks up fine particles that a dust mop may miss, especially between boards and along edges. Avoid using a carpet beater bar on hardwood. If your vacuum does not allow you to turn off the brush roll, use a hose attachment or choose a different tool.
Vacuuming is especially helpful in homes with pets. Pet hair and dander can cling to baseboards and corners. A weekly vacuum keeps the floor cleaner and helps prevent grit from scratching the finish.
Step 4: Choose the Right Hardwood Floor Cleaner
Use a cleaner made for hardwood floors, preferably pH-neutral and compatible with your floor’s finish. If you know your floor brand or finish manufacturer, follow its instructions first. This is especially important for engineered hardwood, factory-finished wood, oil-finished floors, and waxed floors, because each finish can have different care requirements.
For most surface-sealed hardwood floors, a ready-to-use hardwood floor cleaner is safer than a homemade mixture. It is designed to clean without leaving heavy residue or damaging the finish. Avoid products labeled for tile, vinyl, stone, or general heavy-duty degreasing unless they specifically say they are safe for hardwood. Your wood floor does not need to experience an identity crisis.
Step 5: Damp Mop, Do Not Wet Mop
Here is the golden rule: damp is fine; soaking wet is not. Lightly mist a small section of the floor with hardwood cleaner or apply cleaner to the mop pad according to the product directions. Then mop with a flat microfiber mop, moving with the grain of the wood. Work in small sections so the cleaner does not sit too long.
Your mop pad should be damp enough to pick up dirt but not wet enough to leave puddles. If you can see standing water, you are using too much liquid. Hardwood floors like hydration about as much as cats like surprise baths.
Step 6: Dry the Floor Immediately
After damp mopping, go over the floor with a clean, dry microfiber pad or soft towel. This helps prevent streaks, speeds drying, and reduces the chance of moisture settling into seams. Pro cleaners often focus as much on drying as they do on washing. A floor that dries quickly is usually a happier floor.
If the room has poor airflow, turn on a ceiling fan or open a window when weather allows. Do not blast the floor with intense heat, but do encourage gentle air movement. The floor should feel dry within minutes, not remain tacky or damp like a gym locker room with better lighting.
How to Deep Clean Hardwood Floors
Deep cleaning hardwood floors does not mean flooding them. It means giving extra attention to built-up grime, cloudy areas, and high-traffic lanes. Start with the same dry cleaning routine: dust mop, then vacuum. Next, use a hardwood floor deep cleaner or a pH-neutral cleaner recommended for your finish. Clean small sections, change or rinse mop pads often, and dry each section right away.
If your floor still looks dull after cleaning, the issue may not be dirt. It could be residue from old cleaners, worn finish, wax buildup, or micro-scratches. In that case, more scrubbing may only make things worse. Try cleaning with a fresh microfiber pad and a residue-free hardwood cleaner. If the dullness remains, consider asking a flooring professional whether the floor needs buffing, recoating, or refinishing.
How to Clean Spills and Sticky Spots
Spills should be cleaned immediately. Blot liquids with a dry cloth first. Do not wipe in wide circles, because that spreads the spill into a larger, more dramatic problem. Once the liquid is absorbed, use a lightly damp cloth or hardwood floor cleaner on the affected spot. Then dry the area completely.
For sticky messes, such as juice, sauce, or mystery goo that nobody in the house admits creating, apply a small amount of hardwood-safe cleaner to a cloth and gently rub the spot. Avoid scraping with metal tools or using abrasive pads. If something is stuck, soften it with a damp cloth for a short time, then wipe and dry. Patience beats panic here.
What Not to Use on Hardwood Floors
Knowing what to avoid is half the battle. Some popular cleaning hacks are better suited for internet debates than actual hardwood maintenance. Avoid steam mops, soaking wet string mops, bleach, ammonia, harsh alkaline cleaners, abrasive powders, steel wool, undiluted vinegar, hydrogen peroxide, oil soaps, silicone-based polish, and wax products unless your specific floor finish requires wax.
Steam is especially risky because it combines heat and moisture. Even if the surface looks sealed, steam can enter small seams and cracks. Over time, that can lead to dullness, cupping, warping, or finish damage. Vinegar is another controversial choice. While some guides mention diluted vinegar, many flooring and cleaning experts warn that acidic solutions can dull certain finishes. If you use any homemade solution, test it in a hidden area first. Better yet, use a cleaner designed for hardwood and save the vinegar for salad dressing.
How to Keep Hardwood Floors Shiny Without Making Them Slippery
A clean hardwood floor should have a natural glow, not a plastic-looking glare. If you want shine, focus on removing dust, residue, and film. Use a clean microfiber pad every time you mop. Wash mop pads without fabric softener, because softener can leave a coating that transfers to the floor. Do not overuse polish. Too much shine product can build up and make floors cloudy, sticky, or slippery.
If your hardwood floor has lost its shine even after proper cleaning, the finish may be worn. In that case, polish might temporarily improve the look, but it will not repair damaged finish. Professional buffing and recoating may be the better long-term fix. This is where “cleaning” ends and “floor restoration” begins.
Preventing Dirt, Scratches, and Damage
The easiest floor to clean is the one that never got filthy in the first place. Place doormats outside and inside entrances to trap dirt and moisture. Use breathable rugs in high-traffic areas, especially near kitchen sinks, hallways, and entry doors. Avoid rubber-backed rugs unless the manufacturer says they are safe for hardwood, because some backings can trap moisture or discolor finishes.
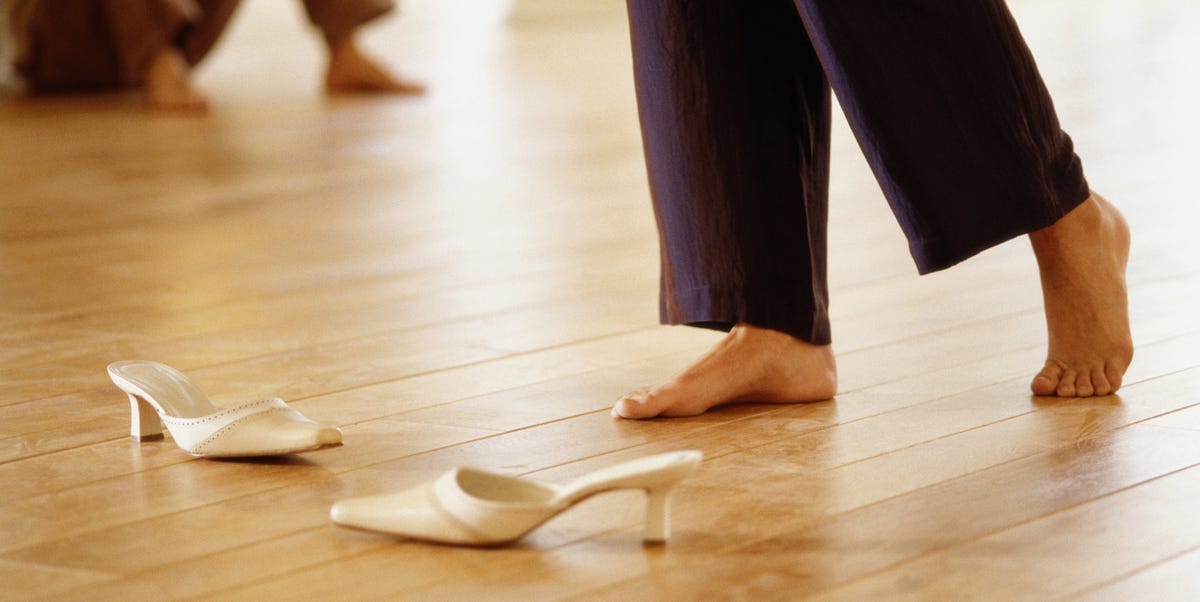
Add felt pads under chair legs, tables, sofas, and anything else that moves. Trim pet nails regularly. Remove shoes if your household is comfortable with that habit, especially high heels or shoes with sharp grit stuck in the soles. Lift furniture instead of dragging it. These small habits protect the finish and reduce how often you need to deep clean.
How to Handle Pet Messes on Hardwood Floors
Pets make homes better, even when they treat the floor like a snack tray, racetrack, and emergency landing zone. For muddy paw prints, let wet mud dry slightly, then vacuum or dust mop the loose dirt before damp cleaning. For water around bowls, use a mat that is safe for hardwood and dry the area often. For accidents, blot immediately, clean with a hardwood-safe cleaner, and dry thoroughly.
Avoid heavily scented cleaners that may irritate pets or encourage repeat marking. Also avoid enzyme cleaners unless the label says they are safe for sealed hardwood floors. Some pet stain products are designed for carpet and may be too strong for wood finishes.
Common Hardwood Floor Cleaning Problems and Fixes
Problem: The Floor Looks Streaky
Streaks usually come from too much cleaner, a dirty mop pad, or not drying the floor. Use less product, switch to a clean microfiber pad, and buff dry after mopping. Also make sure your cleaner is compatible with hardwood.
Problem: The Floor Feels Sticky
Sticky floors often mean product buildup. Stop using heavy soaps, oil soaps, or all-purpose cleaners. Clean small sections with a hardwood-safe cleaner and fresh pads. If buildup is severe, ask a flooring professional before using any stripping product.
Problem: The Floor Still Looks Dull
Dullness can come from dust, residue, scratches, or worn finish. Start with dry dusting and proper damp mopping. If shine does not return, the finish may need professional recoating.
Problem: There Are White Spots or Water Marks
White marks may indicate moisture trapped in the finish. Dry the area and avoid adding more liquid. If the mark remains, contact a flooring professional. Aggressive scrubbing can turn a small spot into a larger repair.
Professional Experience: Lessons From Real Hardwood Floor Cleaning
After cleaning plenty of hardwood floors in busy homes, one lesson stands out: most floor problems begin with good intentions and too much liquid. People want the floor to feel “really clean,” so they add more water, more cleaner, more pressure, and sometimes a steam mop for extra drama. Unfortunately, hardwood does not reward enthusiasm the way tile does. The best results usually come from restraint. A lightly misted section, a clean microfiber pad, and immediate drying can outperform a bucket full of suds every single time.
Another practical lesson is that the entryway tells the whole story. If a home has dusty, scratched hardwood near the front door, the cleaning routine may not be the main issue. The real culprit is often dirt prevention. A sturdy outdoor mat, a soft indoor mat, and a simple habit of removing shoes can reduce grit dramatically. In homes with kids and pets, this one change can make the floor easier to clean within a week. It is not glamorous, but neither is sanding out scratches caused by driveway gravel.
Microfiber pads also matter more than people think. A dirty mop pad does not clean; it redecorates the floor with yesterday’s grime. For large rooms, use multiple pads and switch them as soon as they look soiled. This is one of those tiny professional habits that creates a noticeably better finish. If the floor keeps streaking even with a good cleaner, the pad may be overloaded. Clean pad, less product, dry buff: that trio solves a surprising number of hardwood floor mysteries.
Pet households need a slightly different rhythm. Instead of waiting for a weekly cleaning day, it helps to do quick daily touch-ups in pet zones. Keep a microfiber cloth near the water bowl. Wipe paw prints before they spread. Vacuum pet hair from corners before damp mopping. Pet messes become much easier when they are handled while small. Hardwood floors can absolutely survive life with pets, but they appreciate a little teamwork from the humans.
One more experience-based tip: do not ignore how the floor feels under bare feet. A clean hardwood floor should feel smooth, not tacky, greasy, or squeaky with residue. If your socks stick slightly as you walk, you may be using too much cleaner or the wrong product. If the floor feels gritty right after cleaning, you probably skipped a thorough dry dusting or vacuuming step. Your feet are surprisingly good quality-control inspectors, even if they refuse to submit written reports.
Finally, know when cleaning is not enough. If high-traffic paths look gray, the finish may be wearing thin. If water absorbs quickly into the wood instead of beading on the surface, the protective layer may be compromised. If scratches catch the light from every angle, no mop will erase them. At that point, a professional screening, recoating, or refinishing service may be the smartest investment. Cleaning preserves a good finish; it cannot magically replace one that has left the building.
Conclusion
Cleaning hardwood floors like a pro is not complicated, but it is specific. Start dry. Use the right tools. Choose a pH-neutral or manufacturer-recommended hardwood floor cleaner. Mop lightly, never soak. Dry quickly. Prevent dirt with mats, rugs, and felt pads. Avoid steam, harsh chemicals, abrasive scrubbers, and miracle hacks that sound too easy because they usually come with a repair bill wearing a fake mustache.
With a consistent routine, hardwood floors can stay warm, elegant, and beautifully clean without constant deep cleaning. Treat them gently, clean spills quickly, and remember: the best hardwood floor care is not about doing more. It is about doing the right things before small messes become big problems.