
Learning how to cook okra can feel like negotiating with a tiny green vegetable that has trust issues. Treat it gently and cook it properly, and it becomes tender, grassy, and wonderfully crisp. Handle it carelessly, and it may produce enough slippery liquid to make you question every decision that led you to the stove.
Fortunately, fried okra is one of the easiest ways to turn fresh pods into an irresistible Southern side dish. A seasoned cornmeal coating delivers plenty of crunch, while hot oil cooks the centers quickly enough to keep them tender rather than gummy. This guide explains how to select, prepare, bread, and fry okra, along with practical solutions for soggy coating, falling breading, and other kitchen drama.
What Is Okra?
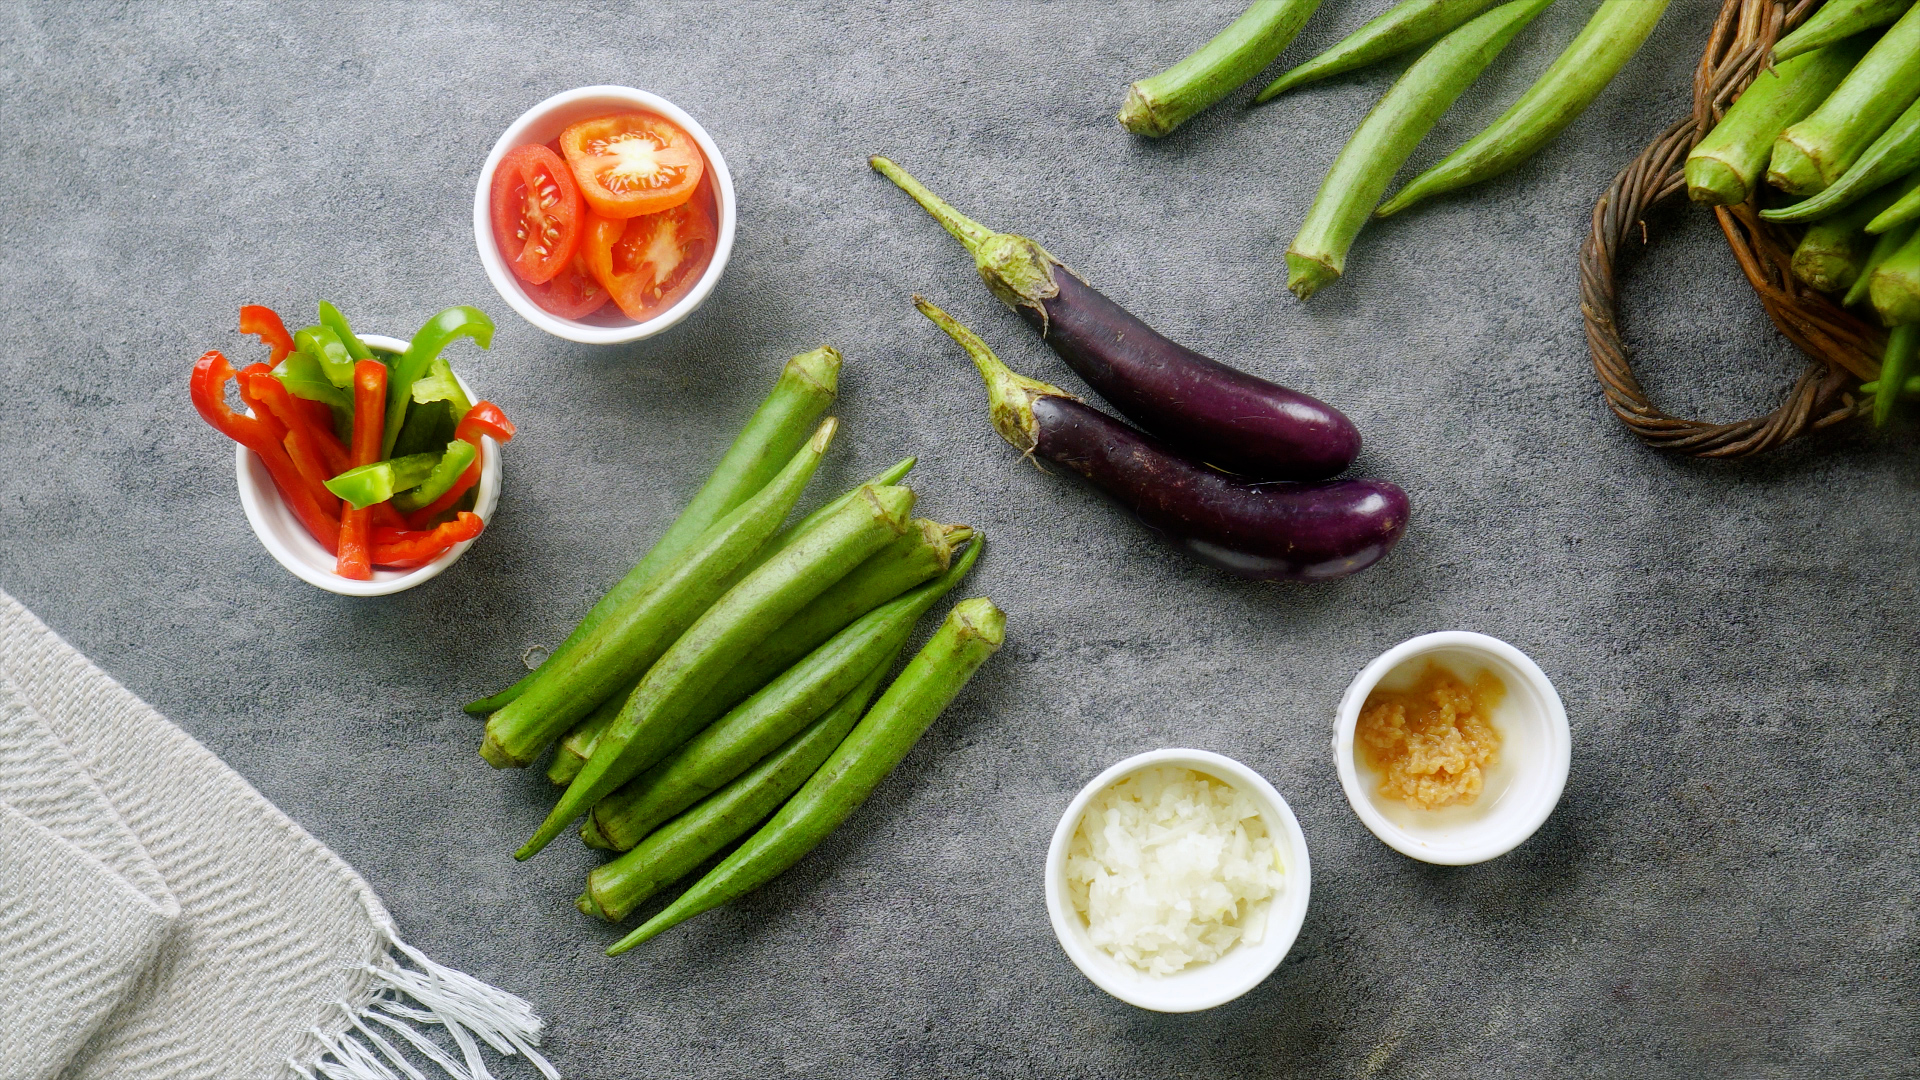
Okra is the edible seed pod of a warm-weather plant. Although it is commonly treated as a vegetable in the kitchen, the pod is botanically a fruit. It has a mild, fresh flavor that works well with bold seasonings, tomatoes, onions, corn, seafood, smoked meats, and spicy sauces.
Inside each pod are small white seeds surrounded by a naturally thick liquid called mucilage. That liquid is useful in gumbo and other stews because it helps thicken the broth. In fried okra, however, the goal is usually to minimize its presence by keeping the pods dry and cooking them quickly at a high temperature.
Okra can be roasted, grilled, sautéed, stewed, pickled, boiled, or air-fried. Still, a basket of golden cornmeal-crusted okra has a special talent for disappearing before the rest of dinner reaches the table.
Why This Fried Okra Recipe Works
This easy fried okra recipe balances a light interior with a crunchy, flavorful shell. The method works because each component has a specific job:
- Buttermilk moistens the pods, adds gentle tang, and helps the breading stick.
- Cornmeal creates the signature Southern crunch.
- All-purpose flour fills the gaps between the cornmeal grains and forms a more complete crust.
- Seasonings flavor the coating instead of leaving all the work to a last-minute sprinkle of salt.
- Oil heated to approximately 350°F browns the exterior quickly without making the okra excessively greasy.
- Small batches prevent the oil temperature from dropping and allow each piece enough room to crisp.
The recipe is also flexible. Cayenne can be increased for more heat, smoked paprika can add barbecue-like depth, and Cajun or Creole seasoning can replace several individual spices.
How to Choose the Best Okra for Frying
Look for Small or Medium Pods
Choose bright green pods that are generally no longer than about four inches. Smaller pods are more likely to be tender, while oversized okra can become woody and fibrous. A pod should feel firm but not rock-hard.
Avoid Bruised or Shriveled Okra
Skip pods with dark patches, deep bruises, dry tips, or wrinkled skin. Minor surface fuzz is normal. Soft spots, leaking liquid, and an unpleasant odor are not.
Keep Fresh Okra Dry
Store unwashed okra loosely wrapped in a paper towel inside a partially open bag in the refrigerator. Fresh okra is fairly delicate, so plan to cook it within a few days. Wash it only when you are ready to prepare the recipe.
Easy Southern Fried Okra Recipe
Prep time: 20 minutes
Cook time: 12 minutes
Total time: About 32 minutes
Yield: 4 to 6 servings
Difficulty: Easy
Ingredients
- 1 pound fresh okra
- 1 cup buttermilk
- 1 large egg
- 3/4 cup yellow cornmeal
- 1/2 cup all-purpose flour
- 1 teaspoon kosher salt, plus more for serving
- 1 teaspoon paprika
- 1/2 teaspoon garlic powder
- 1/2 teaspoon onion powder
- 1/2 teaspoon ground black pepper
- 1/4 teaspoon cayenne pepper, optional
- Vegetable, peanut, or canola oil for frying
Equipment
- Heavy skillet or Dutch oven
- Deep-fry or instant-read thermometer
- Two medium mixing bowls
- Slotted spoon or wire spider
- Wire cooling rack and sheet pan
Step 1: Wash and Dry the Okra
Rinse the whole pods under cool running water. Spread them on a clean towel and dry them thoroughly. Do not rush this step. Water left on the pods can loosen the coating and cause hot oil to splatter.
Step 2: Cut the Pods
Trim away the tough stem ends without cutting deeply into the pod. Slice the okra crosswise into rounds about 1/2 inch thick. Cut it shortly before breading rather than letting the slices sit around and contemplate becoming sticky.
Step 3: Prepare the Buttermilk Mixture
Whisk the buttermilk and egg together in a medium bowl. Add the sliced okra and stir until every piece is moistened. Let it stand for 10 minutes. This brief rest helps the wet mixture cling without giving the okra too much time to release excess liquid.
Step 4: Mix the Cornmeal Breading
In a separate bowl, combine the cornmeal, flour, salt, paprika, garlic powder, onion powder, black pepper, and cayenne. Mix well so one unlucky piece does not receive the entire neighborhood’s supply of cayenne.
Step 5: Heat the Oil
Pour about 1 1/2 inches of oil into a heavy skillet or Dutch oven. Heat it over medium to medium-high heat until it reaches 350°F. A thermometer provides much more reliable results than dropping random crumbs into the pan and interpreting their emotional state.
Step 6: Bread the Okra
Lift the okra from the buttermilk mixture, allowing the excess liquid to drip away. Transfer the pieces to the cornmeal mixture. Toss until thoroughly coated, then shake off loose breading. For an especially crisp crust, let the coated okra rest on a tray for about five minutes before frying.
Step 7: Fry in Small Batches
Carefully add a single layer of okra to the hot oil. Do not crowd the pan. Fry for approximately three to four minutes, stirring or turning occasionally, until the pieces are golden brown and crisp.
Monitor the temperature between batches. Let the oil return to 350°F before adding more okra. If the temperature falls too low, the coating absorbs more oil. If it climbs too high, the exterior may burn before the center becomes tender.
Step 8: Drain and Season
Use a slotted spoon or wire spider to move the fried okra to a wire rack set over a sheet pan. Season lightly with salt while it is still hot. A rack allows excess oil to drip away without trapping steam underneath the crust.
Step 9: Serve Immediately
Fried okra is at its crispiest within minutes of leaving the oil. Serve it plain, with lemon wedges, or alongside ranch dressing, remoulade, comeback sauce, hot sauce, or a creamy Cajun dip.
How to Keep Fried Okra from Becoming Slimy
Okra’s texture is not a flaw; its mucilage is one of the qualities that makes the ingredient valuable in soups and stews. Nevertheless, home cooks seeking crisp fried okra can control it with a few straightforward techniques.
Dry the Pods Completely
Moisture encourages steaming and weakens the breading. After washing the pods, pat them dry and let them air-dry briefly if necessary.
Do Not Cut the Okra Too Early
Once sliced, okra begins releasing more of its natural liquid. Prepare the breading and heat the oil before cutting the pods so they can move quickly from knife to bowl to skillet.
Use High, Steady Heat
Properly heated oil sets the crust almost immediately. That rapid cooking limits the soft, slippery texture associated with slower methods.
Avoid Overcrowding
Adding too much okra at once lowers the oil temperature and traps steam. Frying in several small batches takes slightly longer, but it prevents a skillet full of breaded green pebbles from becoming one large, damp island.
Common Fried Okra Mistakes
The Breading Falls Off
Excess buttermilk may be creating a coating that is too wet. Let the okra drain briefly before dredging it. Press the cornmeal mixture onto the pieces and allow them to rest for five minutes before frying.
The Okra Is Greasy
The oil was probably too cool, or the pan was overcrowded. Bring the temperature back to 350°F between batches and use a thermometer whenever possible.
The Exterior Burns Too Quickly
The oil is too hot. Reduce the heat and wait until the temperature returns to the proper range before continuing.
The Coating Is Pale and Soft
The okra may need another minute in the oil, but low temperature is usually the main culprit. Also make sure the pieces are not stacked or touching too closely.
The Centers Are Tough
The pods may have been too mature. Large, rigid okra can remain fibrous regardless of how carefully it is fried. Select smaller, more tender pods for the next batch.
Can You Fry Frozen Okra?
Frozen sliced okra can be used when fresh pods are unavailable. It will not have exactly the same firm texture, but it can still become deliciously crisp.
Do not leave frozen okra at room temperature until it becomes wet and mushy. Let it stand only long enough for the pieces to separate. Blot away visible ice or moisture, toss the pieces with the wet mixture, and coat them thoroughly. Fry them in small batches, taking extra care because ice crystals can make hot oil splatter.
Some packaged frozen okra is already breaded. Cook that product according to the package directions rather than adding a second coating.
Air-Fryer and Oven Alternatives
Air-Fryer Okra
Prepare and bread the okra as directed, then mist the coated pieces generously with cooking spray. Arrange them in a single layer in a preheated air fryer. Cook at 390°F to 400°F for approximately 12 to 18 minutes, shaking the basket halfway through. Work in batches so air can circulate around the pieces.
Oven-Fried Okra
Heat the oven to 425°F. Place the breaded okra on a lightly oiled wire rack set over a sheet pan, and spray the surface with cooking oil. Bake for 20 to 25 minutes, turning once, until browned and crisp.
Neither method produces precisely the same crust as cooking in hot oil, but both offer good flavor, less cleanup, and fewer opportunities for the stove to receive an unexpected oil-based facial.
Flavor Variations
- Cajun fried okra: Replace the paprika, garlic powder, onion powder, and cayenne with 1 1/2 teaspoons of Cajun seasoning.
- Smoky okra: Use smoked paprika and add a pinch of ground cumin.
- Extra-spicy okra: Double the cayenne and serve with hot sauce.
- Lemon-pepper okra: Add lemon zest to the breading and season the finished pieces with lemon pepper.
- Gluten-free fried okra: Replace the wheat flour with a gluten-free all-purpose blend or rice flour.
- Cheesy fried okra: Add two tablespoons of finely grated Parmesan to the dry coating.
What to Serve with Fried Okra
Fried okra is a natural companion for barbecue, fried chicken, catfish, pork chops, meatloaf, burgers, and grilled seafood. It also fits comfortably beside Southern favorites such as collard greens, black-eyed peas, coleslaw, macaroni and cheese, cornbread, and sliced summer tomatoes.
For a lighter meal, serve it over a salad with corn, tomatoes, avocado, and a tangy buttermilk dressing. It can also replace french fries beside a sandwich or become an appetizer with several dipping sauces.
How to Store and Reheat Fried Okra
Fried okra is best eaten immediately, but leftovers can be refrigerated in an airtight container for up to three days. Let the pieces cool before storing them so condensation does not soak the coating.
To reheat, arrange the okra in a single layer in a 400°F oven or air fryer. Heat it for five to eight minutes, turning once, until hot and crisp. Microwaving is convenient, but it generally produces soft breading. The microwave means well; crunch simply is not among its core competencies.
Freezing fully cooked fried okra is possible, although the texture may decline. Freeze the pieces on a sheet pan before transferring them to a freezer container. Reheat directly from frozen in a hot oven or air fryer.
Frequently Asked Questions
Should Okra Be Soaked Before Frying?
A long soak is unnecessary. Letting sliced okra sit in buttermilk for about 10 minutes is enough to help the coating adhere and add flavor.
What Oil Is Best for Fried Okra?
Choose a neutral oil with a relatively high smoke point, such as peanut, canola, corn, or vegetable oil. Peanut oil provides excellent frying performance, but vegetable or canola oil is usually more economical.
Is Cornmeal or Flour Better?
A combination gives the best balance. Cornmeal contributes crunch and character, while flour creates a more cohesive coating. Using only cornmeal produces a rustic crust; using only flour creates a smoother, softer shell.
Can Fried Okra Be Made Without Buttermilk?
Yes. Use regular milk mixed with a teaspoon of lemon juice or vinegar, or substitute beaten egg thinned with a little water. The flavor will differ slightly, but the coating can still adhere well.
How Do You Know When Fried Okra Is Done?
The breading should be evenly golden, the exterior should feel crisp, and the interior should be tender. At 350°F, 1/2-inch rounds generally need three to four minutes.
Kitchen Experience: Lessons That Make the Next Batch Better
The first experience many home cooks have with fried okra is surprisingly chaotic. The recipe looks simple: cut a vegetable, toss it in coating, and put it in oil. Then the first batch emerges pale, the second loses half its breading, and the third is eaten directly over the stove because everyone has suddenly become “quality control.”
The biggest practical lesson is that preparation matters more than complicated ingredients. When the okra is washed, dried, and cut before the oil is ready, the slices can sit long enough to become sticky. Meanwhile, the cook becomes distracted trying to measure cornmeal while watching a skillet of increasingly hot oil. A better routine is to mix the wet and dry coatings first, set up the draining rack, and begin heating the oil. The okra can then be sliced at the last moment.
Another lesson arrives the first time an overfilled skillet turns a promising batch into a soft heap. Crowding feels efficient, especially when hungry people are circling the kitchen like politely dressed vultures. In reality, adding too much food cools the oil and creates steam. Three controlled batches usually finish faster than one overloaded batch that must be rescued, reheated, or quietly renamed “okra casserole.”
A thermometer also changes the experience. Without one, cooks often raise the heat after a pale batch, overshoot the target, and scorch the next round. Watching the temperature makes the process predictable. The oil drops when cold okra is added, then gradually recovers. Small burner adjustments keep it in range and produce consistent color.
Draining technique makes an equally noticeable difference. Paper towels absorb oil, but hot okra sitting flat on them may steam against the surface. A wire rack keeps air moving around the pieces, preserving the crust. Seasoning immediately after frying also helps the salt adhere while the surface is still hot.
Perhaps the most useful experience is discovering that fried okra does not need to be buried under heavy batter. A modest cornmeal-and-flour coating allows the vegetable’s fresh flavor to remain noticeable. The ideal piece has a rough golden shell, a tender green center, and just enough spice to encourage another bite.
Finally, expect the first batch to be educational. It reveals how quickly the oil recovers, how powerful the stove burner is, and whether the chosen slice thickness works. Treat it as a calibration batch rather than a verdict. By the second or third round, the rhythm becomes easy: coat, shake, fry, turn, drain, season, repeat.
That rhythm is part of fried okra’s appeal. It is not fancy restaurant theater. It is a practical, generous dish made for summer produce, shared tables, and cooks who understand that the crispiest pieces may mysteriously vanish before serving. No investigation is required.
Final Thoughts
Knowing how to cook okra begins with understanding its natural texture rather than fighting it blindly. Select tender pods, keep them dry, slice them shortly before cooking, and use steady high heat. For traditional fried okra, a buttermilk dip and seasoned cornmeal-flour coating create a crust that is crisp, savory, and sturdy without becoming heavy.
Maintain the oil near 350°F, fry in small batches, and serve the pieces while hot. Follow those fundamentals and this humble green pod becomes one of the most addictive side dishes on the tablecrunchy outside, tender inside, and unlikely to survive long enough to become leftovers.