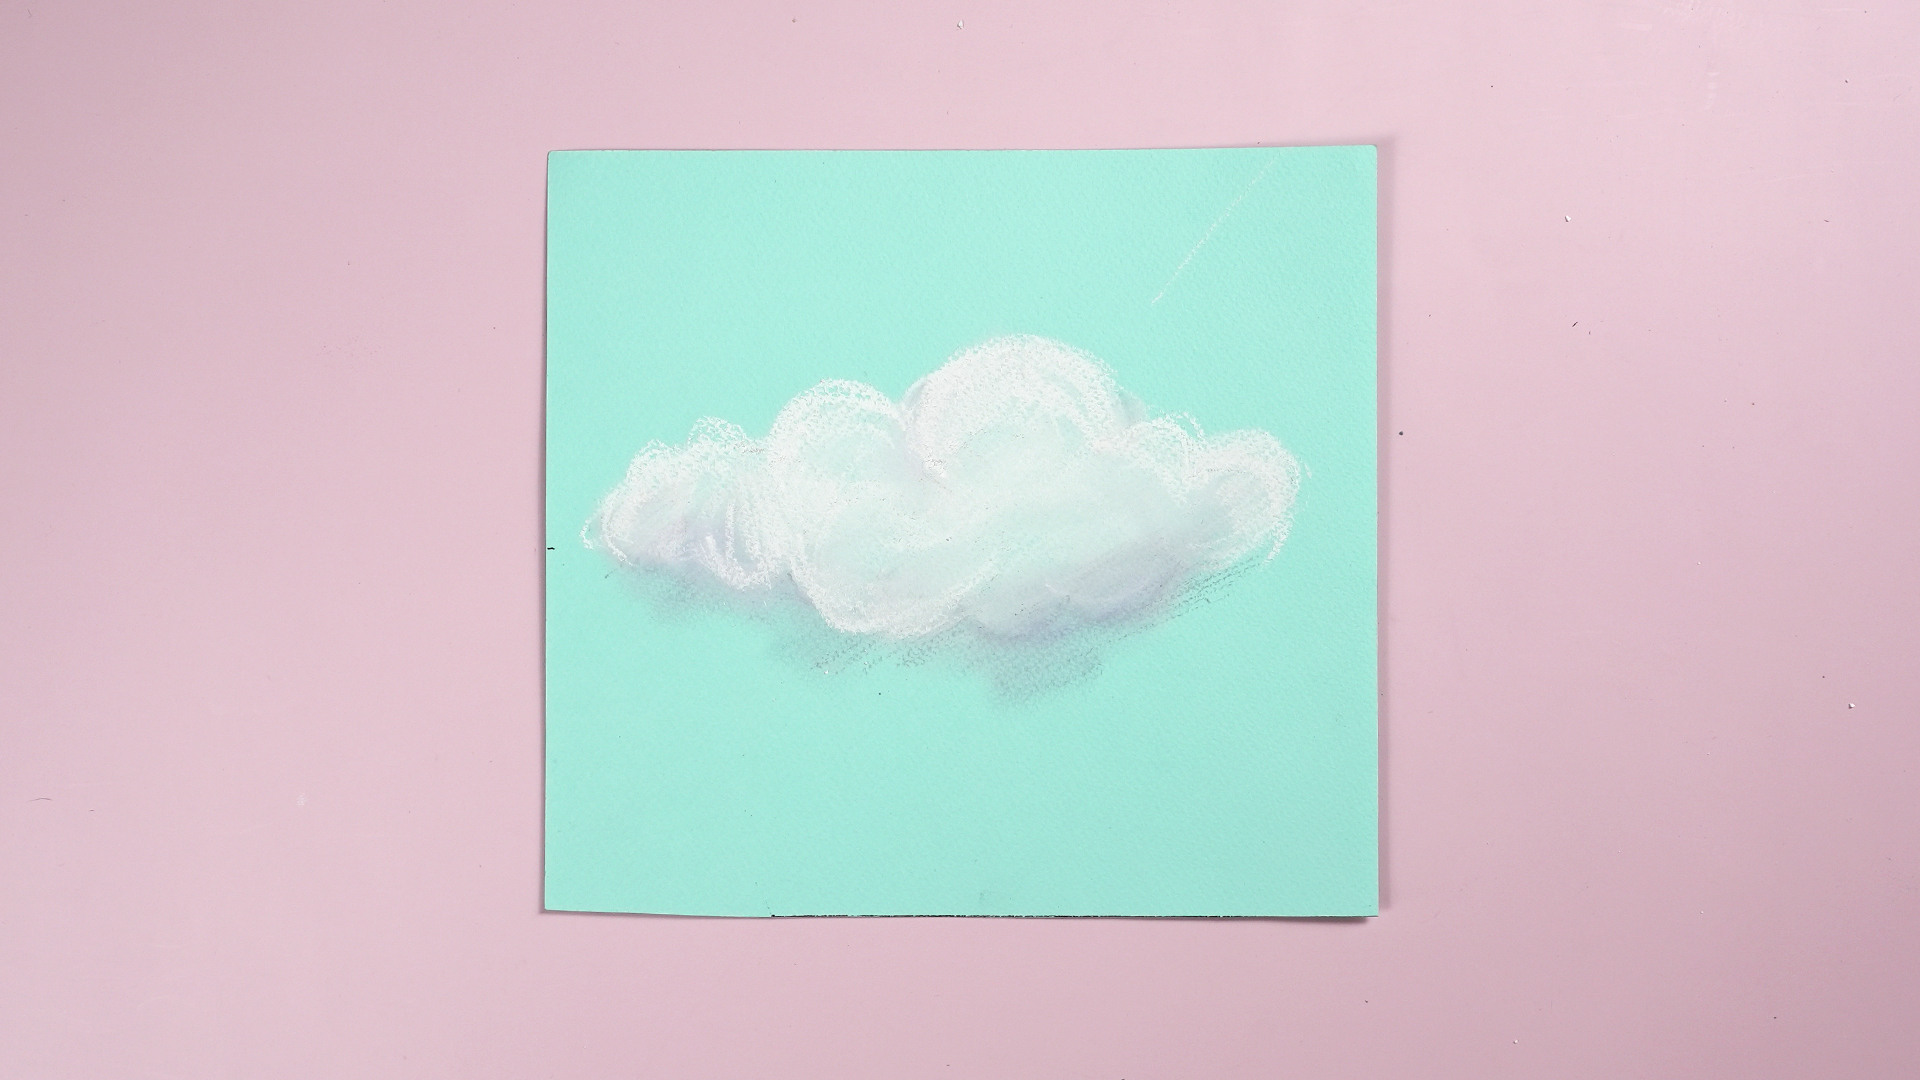

Clouds look easy until you try to draw one. Then suddenly that innocent puff in the sky turns into a floating mashed potato with commitment issues. The good news? Learning how to draw clouds is not about copying every bump, swirl, and vapor noodle. It is about understanding shape, light, shadow, softness, and the way clouds sit inside the sky instead of being pasted on top of it like a sticker.
This guide walks you through how to draw clouds in 11 steps, whether you are using pencil, charcoal, colored pencil, pastel, markers, or a digital brush. We will cover simple cloud outlines, realistic cloud shading, soft edges, highlights, common cloud types, and practical drawing habits that make your skies look natural. You do not need fancy supplies. A pencil, eraser, paper, and a little patience are enough to begin. A kneaded eraser is helpful, too, because it can lift graphite gently and create those misty, glowing cloud edges artists love.
Before we start, remember one important rule: clouds are not cotton balls. They are three-dimensional forms made of water droplets or ice crystals, shaped by air, light, wind, and altitude. That means the best cloud drawings are not just white blobs. They have volume, value, atmosphere, and movement.
What You Need Before Drawing Clouds
You can draw clouds with almost any medium, but beginners often get the best results with graphite or charcoal because both are easy to shade and blend. If you want a softer look, use a 2B or 4B pencil. If you want dramatic skies, charcoal is excellent. If you prefer clean, bright, colorful clouds, colored pencils or pastels can work beautifully.
Recommended Materials
- Drawing paper or a sketchbook with a slightly textured surface
- HB pencil for light sketching
- 2B, 4B, or 6B pencil for darker shadows
- Kneaded eraser for lifting highlights
- Blending stump, tissue, cotton swab, or clean fingertip
- Reference photo or a real sky view
- Optional: charcoal, white pencil, pastel, or digital drawing tablet
A reference is strongly recommended. Real clouds change quickly, so photographs are useful when you want to study structure. Look for a photo with clear contrast between the sky and the cloud. A deep blue sky makes the bright cloud shapes easier to see, while a stormy sky helps you practice dramatic shadow and value.
Step 1: Choose the Type of Cloud You Want to Draw
Before touching pencil to paper, decide what kind of cloud you are drawing. Different cloud types have different personalities. Yes, clouds have personalities. Cumulus clouds are the cheerful puffy ones that look like floating cauliflower. Cirrus clouds are thin, wispy, and feathery. Stratus clouds spread like a gray blanket across the sky. Cumulonimbus clouds rise dramatically and often look like enormous storm towers.
For beginners, cumulus clouds are the easiest place to start because they have clear shapes, rounded tops, and visible shadows. They also teach you the most important cloud-drawing lesson: clouds are built from soft forms, not hard outlines.
Step 2: Lightly Sketch the Overall Cloud Shape
Start with a very light outline. Do not press hard. The outline is only a temporary guide, not a permanent border. Draw an irregular shape with rounded bumps, dips, and uneven edges. Avoid making the cloud too symmetrical. Nature is not sitting up there with a ruler, and neither should you.
Think of the cloud as a group of overlapping rounded forms. Instead of drawing one perfect bubble, sketch several soft mounds connected together. Keep the bottom slightly flatter or heavier if you are drawing a cumulus cloud. Many cumulus clouds have fuller tops and darker, flatter lower areas.
Step 3: Mark the Direction of the Light
Every realistic cloud drawing needs a light source. Ask yourself: where is the sun? If the sun is coming from the upper left, the upper-left parts of the cloud will be brighter, and the lower-right areas will usually be darker. If the light is behind the cloud, you may see glowing edges and a darker center.
You can lightly draw a small arrow outside the artwork to remind yourself where the light is coming from. This tiny planning step prevents random shading. Random shading is how clouds become confusing gray pancakes. A clear light direction gives your cloud volume and makes the form easier for viewers to understand.
Step 4: Shade the Sky Around the Cloud
Here is a trick many beginners miss: draw the sky, not just the cloud. Since clouds are often lighter than the surrounding sky, shading the sky around them helps the cloud appear naturally bright. Use the side of your pencil or charcoal to create a smooth tone around the cloud outline.
Keep the pressure light and even. If you are using graphite, build the sky slowly in layers. If you shade too dark too fast, your eraser will have to perform emergency surgery. Leave the brightest areas of the cloud mostly untouched so the white of the paper becomes your highlight.
For a realistic sky effect, make the top of the sky slightly darker and the lower part lighter. This subtle gradient adds depth and makes the cloud feel as though it belongs in open air.
Step 5: Block in the Main Shadow Areas
Now look at your reference and identify the largest shadow shapes. Do not start with tiny details. First, block in the big dark and mid-tone areas. In many puffy clouds, the lower parts are darker because less direct light reaches them. The shadow is rarely black, though. Most cloud shadows are soft gray, blue-gray, violet-gray, or warm muted gray depending on the light and atmosphere.
Use gentle circular strokes or broad side-pencil strokes to build the shadow. Keep your hand loose. Clouds are soft, so your marks should not look stiff. If you are working with charcoal, use the wide side of the charcoal stick to create broad value shapes instead of scratchy lines.
Step 6: Create Soft Edges and Hard Edges
Clouds are all about edges. Some edges are crisp where bright cloud meets blue sky. Other edges are soft, blurry, or nearly lost. A common beginner mistake is outlining the whole cloud with one dark line. That makes the cloud look like a cartoon sticker. Unless you are intentionally drawing a cartoon cloud, avoid heavy outlines.
Blend some edges gently with a tissue, blending stump, or fingertip. Leave a few edges sharper, especially near the brightest top sections or where the cloud overlaps the darker sky. This mix of hard, soft, and lost edges creates realism. If every edge is sharp, the cloud looks cut out. If every edge is soft, it looks like fog. The magic is in the variety.
Step 7: Lift Highlights With an Eraser
A kneaded eraser is one of the best tools for drawing clouds. Press it lightly into shaded areas and lift graphite to create highlights. You can pinch the eraser into a point for smaller bright spots or flatten it for soft glowing patches.
Do not erase randomly. Lift highlights where the light hits the cloud forms. On a cumulus cloud, highlights often appear on the upper rounded masses. On cirrus clouds, highlights may appear as thin streaks or wisps. On storm clouds, highlights may appear along the outer rim where sunlight catches the edge.
If your highlights look too harsh, soften them with light shading around the edges. Clouds rarely have pure white everywhere. The brightest areas should be saved for the strongest light.
Step 8: Add Mid-Tones to Build Volume
Mid-tones are the bridge between the highlights and shadows. Without them, your cloud may look flat, like a white shape with a gray bottom. Add gentle mid-tone shading between light and dark areas to make the cloud feel rounded.
Imagine each bump of the cloud as a soft sphere. One side catches light, one side turns away from it, and the bottom may sit in shadow. Use gradual shading to show that turn. This is the same basic principle used when drawing a ball, an egg, or a face. The form changes, but the light logic stays the same.
Step 9: Suggest Details Without Drawing Every Puff
Clouds contain endless tiny shapes, but you do not need to draw them all. In fact, trying to copy every little bump can make the drawing messy. Instead, suggest detail with a few carefully placed marks. Add small curves, soft shadow pockets, and lifted highlights only where they help describe the form.
Focus the most detail near the area you want viewers to notice first. Let the rest of the cloud fade into softer, simpler shapes. This keeps your drawing clean and believable. Good cloud drawing is often about restraint. In other words: draw less, but make the important parts count.
Step 10: Adjust Contrast for Realism
Step back from your drawing. Squint at it. Does the cloud stand out from the sky? Do the shadows support the light direction? Are the brightest highlights bright enough? Are the darkest areas too heavy?
Clouds usually have a compressed value range compared with rocks, trees, or buildings. That means the shadows may be darker than white, but they should not always become deep black. Storm clouds are an exception, but even then the shading should have layers. Build contrast gradually until the cloud has depth without becoming dirty or overworked.
If the cloud looks flat, darken the sky around the brightest edge or deepen the lower shadows slightly. If the cloud looks too harsh, blend the transitions and lift a few soft highlights. Small adjustments can completely change the mood of the sky.
Step 11: Refine the Final Shape and Atmosphere
For the final step, refine the silhouette and atmosphere. Soften areas where the cloud dissolves into the sky. Sharpen a few bright edges where sunlight hits. Add small wisps drifting away from the main cloud body. These little wisps make the cloud feel alive and airy.
If you are drawing multiple clouds, make distant clouds smaller, softer, and lighter. Foreground clouds can have stronger contrast and more detail. This creates depth in your landscape. You can also overlap clouds slightly to show space. Just be careful not to make every cloud the same size and shape. A sky full of identical clouds looks like a weather report designed by a cookie cutter.
How to Draw Different Types of Clouds
How to Draw Cumulus Clouds
Cumulus clouds are puffy, rounded, and beginner-friendly. Start with grouped circular forms, keep the top bright, and place soft shadows underneath. Use a mix of crisp outer highlights and blended inner shadows. Cumulus clouds often look best when their lower edge is slightly flatter and darker than the top.
How to Draw Cirrus Clouds
Cirrus clouds are thin, high, and wispy. Use light pencil strokes, soft eraser pulls, or a dry brush effect if working digitally. Avoid heavy outlines. Draw long feather-like shapes that follow wind direction. These clouds should feel delicate, almost like hair or smoke stretched across the sky.
How to Draw Stratus Clouds
Stratus clouds form broad, flat layers. Instead of drawing puffy shapes, focus on horizontal bands of soft value. Blend gently and use subtle transitions. Stratus clouds are excellent for moody scenes, foggy mornings, and quiet landscapes.
How to Draw Storm Clouds
Storm clouds need stronger contrast and heavier lower shadows. Use darker values at the base and dramatic light around the edges if the sun is breaking through. Keep the forms large and layered. A storm cloud should feel powerful, not scribbled. Think “sky mountain,” not “angry gray sponge.”
Common Mistakes When Drawing Clouds
Using a Dark Outline
A dark outline can make clouds look flat and cartoonish. Instead, use value contrast between the cloud and sky to define the shape.
Making Every Edge Soft
Softness is important, but too much softness turns clouds into fog. Use a few sharper edges to create structure and focus.
Ignoring the Light Source
If highlights and shadows appear in random places, the cloud loses volume. Decide where the light comes from before shading.
Over-Blending
Blending can create beautiful softness, but too much blending makes the drawing muddy. Preserve some fresh pencil texture and clean highlights.
Drawing Identical Cloud Shapes
Clouds vary in size, height, density, and form. Mix large masses, small wisps, flat layers, and open sky for a more natural composition.
Tips for Drawing Clouds Digitally
If you are drawing clouds digitally, use layers. Place the sky on one layer, the cloud base on another, shadows on another, and highlights on top. A soft round brush works well for blending, while a textured brush can add natural cloud grain. Keep the top of the cloud softer and fuller, then use lower-opacity brushes for shadows.
Digital artists often overuse the airbrush, which can make clouds look too smooth. Add texture with subtle brush variation. Use a smudge tool carefully, not like a windshield wiper in a panic. Digital clouds still need the same fundamentals as pencil clouds: shape, light direction, values, and edge control.
Practice Exercises for Better Cloud Drawings
Try a five-minute cloud sketch every day for one week. Choose one small section of sky and draw only the big value shapes. Do not worry about perfection. The goal is to train your eye to see light and shadow quickly.
Another useful exercise is to draw the same cloud in three styles: cartoon, realistic pencil, and dramatic storm version. This teaches you how much information you need for different effects. A cartoon cloud may only need a bubbly outline and a little shadow. A realistic cloud needs subtle value and edge variation. A storm cloud needs mood, depth, and contrast.
Personal Experience: What Drawing Clouds Teaches You Over Time
One of the most surprising things about learning how to draw clouds is that the subject looks simple but quietly teaches almost every major drawing skill. When I first practiced cloud drawing, I made the classic beginner mistake: I drew a scalloped outline, shaded the bottom gray, and proudly created something that looked like a floating bread roll. It was not terrible, but it had no air, no light, and no sense of being part of the sky.
The breakthrough came when I stopped thinking of clouds as outlines and started seeing them as masses of value. Instead of asking, “Where is the edge?” I asked, “Where is the lightest light, where is the softest shadow, and where does the cloud disappear into the sky?” That changed everything. The cloud became less of an object and more of an atmosphere.
Another lesson is that erasers are not just for mistakes. A kneaded eraser can become a drawing tool. When you press and lift it from a shaded sky, it creates soft highlights that feel much more natural than trying to draw white with a pencil. This is especially useful for wispy clouds and glowing cloud edges. It feels a little like sculpting light out of gray paper, which sounds dramatic, but honestly, art supplies deserve a little drama.
Cloud drawing also teaches patience. If you rush, the shading becomes scratchy. If you press too hard too soon, you lose the delicate glow. The best results usually come from building values slowly, stepping back often, and letting some areas remain unfinished. Real clouds are full of lost edges and quiet transitions. A drawing that leaves room for softness often looks more believable than one packed with detail.
Working from real skies is both inspiring and mildly unfair because clouds move whenever they feel like it. You may begin drawing a perfect puffy cloud, look down for thirty seconds, and look back up to find it has transformed into a dragon, a shoe, or a suspiciously smug potato. That is why quick studies are valuable. They force you to capture the main idea instead of chasing every change.
Photo references are helpful, but direct observation trains your eye in a different way. When you look at clouds outdoors, notice that their shadows are not simply gray. They may lean blue, violet, peach, or warm beige depending on the time of day. Morning clouds feel different from afternoon clouds. Sunset clouds can have glowing edges and dramatic color shifts. Even in pencil, noticing those color relationships helps you translate them into value.
The most useful habit is to simplify. Pick one main cloud, decide where the sunlight is strongest, and build the drawing around that. Let the smaller clouds support the composition. Not every cloud deserves the spotlight. Some clouds are background actors, and that is okay. The sky looks more natural when some areas are detailed and others are quiet.
After enough practice, you begin to enjoy the uncertainty of clouds. They do not demand perfect symmetry. They forgive imperfect lines. They invite experimentation with blending, lifting, smudging, layering, and soft transitions. For beginners, clouds are a friendly subject because there is no single correct shape. For advanced artists, they remain challenging because realism depends on subtlety.
So if your first cloud drawing looks more like popcorn than weather, keep going. Every attempt teaches your hand to control pressure, your eye to judge values, and your brain to think in three-dimensional form. Eventually, your clouds will stop floating awkwardly on the paper and start breathing inside the sky.
Conclusion
Learning how to draw clouds is really learning how to draw light, softness, atmosphere, and form. Start with a simple cloud shape, choose a clear light source, shade the sky, build shadows slowly, lift highlights with an eraser, and refine the edges. The best cloud drawings do not depend on perfect outlines. They depend on believable value, varied edges, and a sense of air.
Whether you want to draw a peaceful blue sky, a dramatic storm, a sunset landscape, or a dreamy digital illustration, the same principles apply. Observe real clouds, practice small studies, and remember that clouds are allowed to be imperfect. In fact, that is their entire brand.