
Car interiors are remarkably talented at collecting debris in places no normal cleaning tool can reach. Crumbs settle between console buttons, dust clings to air-vent louvers, and mysterious particles establish permanent residency around the cupholders. You could attack them with cotton swabs one speck at a time, but that is less “car detailing” and more “archaeological excavation.”
That is where DIY car cleaning slime comes in. Also called car cleaning gel, detailing putty, or dust-cleaning slime, this soft and slightly tacky material molds itself around knobs, seams, vents, and other awkward surfaces. Press it gently onto a dusty area, lift it away, and much of the loose debris comes with it.
The basic formula is similar to craft slime: washable school glue provides the flexible base, baking soda helps condition the mixture, and contact lens solution containing boric acid or a borate ingredient activates it. Established slime recipes use these ingredients in carefully adjusted amounts, with additional activator added gradually when the mixture remains sticky.
Before turning your dashboard into a science fair, however, remember that cleaning slime is a specialty dust-lifting tool. It does not replace vacuuming, automotive interior cleaner, microfiber cloths, or proper disinfection. Used correctly, it is a handy finishing tool. Used incorrectly, it becomes a sticky souvenir lodged inside your air-conditioning vent.
What Is Car Cleaning Slime?
Car cleaning slime is a reusable, pliable gel designed to pick up dry dust, lint, crumbs, hair, and other loose particles from small spaces. Unlike a cloth, it can conform to irregular shapes. Unlike a liquid spray, it does not need to flood seams or drip toward electrical components.
The slime works primarily through surface tackiness. When you press it lightly against a dusty area, loose particles adhere to the gel more strongly than they adhere to the dashboard or plastic trim. You then lift the slime straight up, taking the debris with it.
This makes DIY cleaning gel useful around:
- Air-vent louvers
- Radio and climate-control buttons
- Gear-selector trim
- Center-console seams
- Cupholder edges
- Door-handle recesses
- Storage compartments
- Shallow gaps around non-sensitive controls
Automotive cleaning specialists commonly recommend microfiber cloths, soft brushes, vacuums, and detailing tools for these areas. Cleaning slime should complement those tools rather than replace them.
Ingredients and Supplies
Main Ingredients
- 5 fluid ounces washable white school glue: Use a standard polyvinyl acetate, or PVA, school glue suitable for slime making.
- 1/2 tablespoon baking soda: This helps prepare and thicken the glue mixture.
- 1 tablespoon contact lens solution: Check the ingredient label for boric acid, sodium borate, or a similar borate ingredient.
- 1 to 2 teaspoons water, optional: A small amount can make an overly firm batch more flexible.
- Food coloring, optional: One or two drops are plenty. A neutral or light color makes collected dirt easier to see.
Tools
- A clean mixing bowl
- A silicone spatula or disposable spoon
- Measuring spoons
- Disposable gloves for sensitive skin
- An airtight plastic container
Avoid decorative glitter, foam beads, sequins, fragrances, essential oils, or chunky craft add-ins. They may be entertaining in toy slime, but they can shed into controls, scratch glossy surfaces, or leave oily residue. Your dashboard does not need to look like it attended a preschool birthday party.
How to Make Car Cleaning Slime Step by Step
Step 1: Add the Glue
Pour the school glue into a clean bowl. Scrape the bottle so you begin with approximately five fluid ounces. Accurate proportions make the texture easier to control.
White glue produces an opaque gel that clearly shows collected dust. Clear glue can also work, but it may feel slightly different and can make contamination less obvious.
Step 2: Mix in the Baking Soda
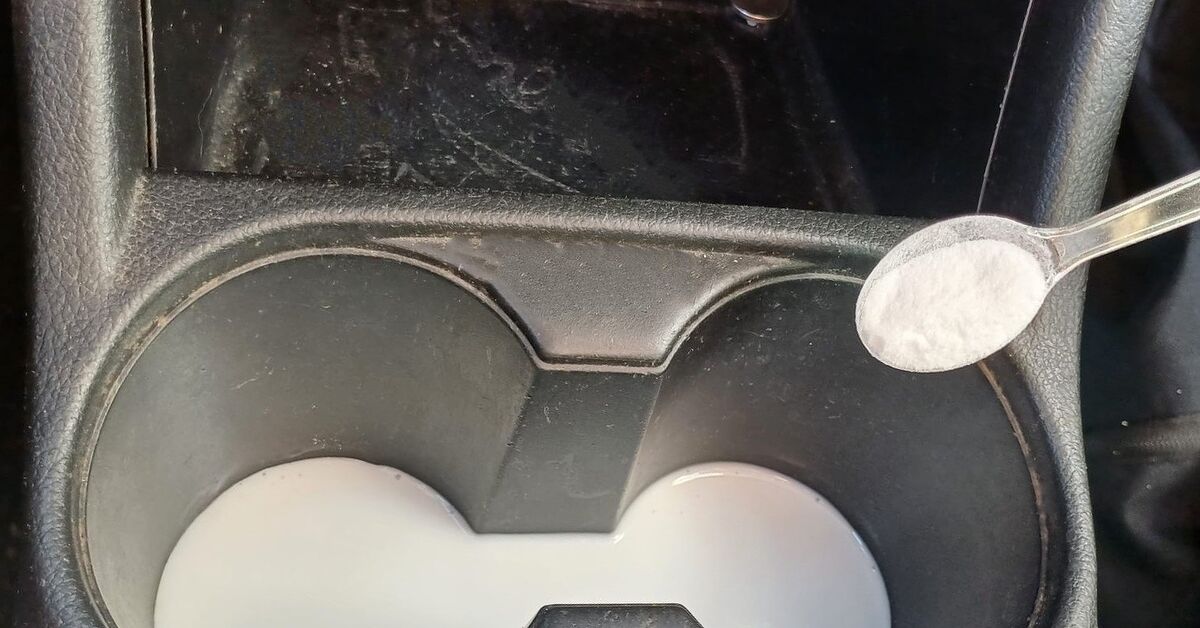
Add 1/2 tablespoon of baking soda. Stir slowly until the powder is fully dispersed and no dry pockets remain. The glue should become slightly thicker and smoother.
Add one or two drops of food coloring at this stage if desired. Keep the color light. Heavy coloring may transfer to pale trim, especially if the slime is left in contact with a surface for too long.
Step 3: Add the Activator Gradually
Add one tablespoon of contact lens solution and stir continuously. The mixture should begin pulling away from the sides of the bowl and forming a single mass.
Not every contact lens solution works because formulas vary. The label needs to list boric acid, sodium borate, or another compatible borate. If the mixture remains completely liquid after thorough stirring, check the product ingredients before pouring in half the bottle and hoping for a miracle.
Step 4: Knead the Slime
When the mixture becomes difficult to stir, remove it from the bowl and knead it for two to three minutes. It may feel sticky at first. Continue folding and stretching before deciding that it needs more activator.
If it still sticks heavily to your fingers, add contact lens solution approximately 1/4 teaspoon at a time. Knead thoroughly after each addition. Established slime instructions similarly recommend adding small increments until the desired consistency develops.
Step 5: Perform the Finger Test
Press one clean finger into the slime and lift it away. The gel should briefly hold the indentation without coating your skin. It should feel soft and tacky but should not flow like syrup or snap apart like an old rubber band.
The ideal car cleaning slime should:
- Remain in one piece when lifted
- Stretch slowly without dripping
- Release cleanly from dry plastic
- Pick up dust with light pressure
- Leave no visible wet film
Step 6: Let It Rest
Place the finished slime in an airtight container for about 15 minutes. Resting allows the texture to stabilize and gives small air bubbles time to settle. Test it again before taking it into the car.
How to Test the Slime Before Using It
Never introduce a homemade product to the most visible part of your dashboard without a test. Vehicle interiors may include coated plastic, painted trim, soft-touch materials, genuine leather, synthetic leather, piano-black panels, wood veneers, and specialty finishes. These materials do not all react the same way.
Choose a small, concealed section of hard plastic, such as the side of a center console near the footwell. Make sure the area is cool, dry, and free from cleaner residue.
- Press a marble-sized piece of slime lightly onto the test area.
- Lift it straight up after one second.
- Check for residue, discoloration, gloss changes, or stickiness.
- Inspect the same spot again after several minutes.
Vehicle manufacturers commonly advise testing cleaning materials in a concealed location and using gentle methods appropriate for the specific surface.
Do not use the batch if it leaves a film, smears, stretches into thin strings, or transfers color. Adjust the recipe or discard it. Saving fifty cents of glue is not worth permanently redecorating your console.
How to Use Car Cleaning Slime Correctly
Prepare the Vehicle
Park in a shaded, well-ventilated location and turn off the ignition, climate-control fan, and accessories. A cool cabin is important because heat can soften homemade slime and make it more likely to leave residue.
Remove trash and vacuum the seats, carpets, and larger console areas first. Car cleaning slime is best for the final detail, not for swallowing an entire layer of cracker crumbs.
Use a Press-and-Lift Motion
Form a small portion into a ball or thick pad. Press it gently onto the dusty surface, allow it to conform to the shape, and lift it straight up.
Do not rub it across the dashboard as though you are polishing a bowling ball. Sliding can smear grime, force material under buttons, and leave residue. Repeated gentle presses are safer and usually more effective.
Fold Dirt Inward
After each section, fold the dirty outer surface toward the center. This exposes a cleaner portion for the next press. Replace the entire batch when folding no longer reveals a clean working surface.
Be Conservative Around Air Vents
Use a small, firm portion on the outer faces of vent louvers. Press lightly and remove it immediately. Never force soft slime deeply into an HVAC opening.
Professional vent-cleaning guidance favors soft brushes, microfiber cloths, compressed air, and vacuum attachments for deeper areas. These tools are less likely to break apart or leave material inside the ductwork.
Where You Should Not Use Cleaning Slime
Homemade car cleaning putty is not suitable for every cabin surface. Avoid using it on:
- Touchscreens and digital instrument displays
- Camera lenses and optical sensors
- Speaker grilles with deep perforations
- USB ports, charging sockets, and electrical connectors
- Seat-belt mechanisms
- Airbag covers or panel seams
- Hot surfaces exposed to direct sunlight
- Fabric upholstery, carpet, suede, or Alcantara-style material
- Leather or synthetic leather unless the manufacturer explicitly permits it
- Peeling, cracked, loose, or deteriorating trim
- Sticky residue from food, grease, cosmetics, or spilled beverages
Touchscreens deserve special caution. Manufacturer guidance may call for a dedicated soft, lint-free display cloth and prohibit ordinary cleaners, wet wipes, alcohol gels, or abrasive materials. Consult the owner’s manual rather than assuming every screen is a giant smartphone.
Cleaning slime should also never be pushed into a control that could trap it. If a gap is deep enough that you cannot see where the gel is going, use a detailing brush or vacuum instead.
Troubleshooting Common Slime Problems
The Slime Is Too Sticky
Knead it for another minute before changing the formula. Freshly mixed slime often becomes less sticky with handling.
If it continues coating your fingers, add 1/4 teaspoon of contact lens solution, knead, and test again. Repeat only as necessary. Too much activator can quickly turn a useful gel into a bouncing puck.
The Slime Is Too Hard
Knead in a few drops of warm water. Add the water slowly because an overcorrected batch may become stringy. If the slime repeatedly tears instead of stretching, it may contain too much activator and may be better replaced.
The Slime Leaves Residue
Stop using it immediately. Residue usually means the batch is under-activated, too warm, contaminated, or incompatible with the surface.
Remove fresh residue with a clean microfiber cloth using the method recommended by the vehicle manufacturer. Do not attack it with a random household solvent. Consumer automotive guidance warns that unsuitable household cleaners can damage interior materials, while soft cloths and automotive-specific products are generally safer choices.
The Slime Will Not Form
Verify that you used PVA-based school glue and that the contact lens solution contains a compatible borate ingredient. Stir longer before adding more solution. Ingredient incompatibility is more common than a failure to stir aggressively enough.
The Slime Breaks Apart in Crevices
Discard it. Car cleaning slime must have enough structural strength to lift away as one piece. Do not use crumbly, watery, melted, or aging slime inside a vehicle.
Important Safety Precautions
Although contact lens solution contains relatively low concentrations of its active ingredients, slime should still be treated as a nonfood household mixture. Borate compounds can irritate skin and eyes and may be harmful when swallowed in significant quantities. Keep the ingredients and finished slime away from children and pets, wash your hands after use, and follow all product-label directions.
- Do not eat or taste the slime.
- Do not use kitchen utensils that will later handle food.
- Wear gloves if you have sensitive, cracked, or irritated skin.
- Stop immediately if skin redness, burning, or itching occurs.
- Avoid contact with the eyes, mouth, and face.
- Label the storage container clearly.
- Never leave slime where a child or animal may mistake it for a toy or candy.
- Do not mix it with bleach, disinfectants, solvents, or other cleaning chemicals.
If exposure causes concern, follow the first-aid directions on the ingredient label and contact Poison Control in the United States at 1-800-222-1222. For a medical emergency involving breathing difficulty, seizures, collapse, or inability to wake, call 911.
How to Store and Replace Car Cleaning Gel
Store the slime in a sealed container at normal indoor temperature. Do not leave it in the car, particularly during hot weather. A parked vehicle can become extremely warm, causing the slime to soften, separate, leak, or bond to its container.
Before each use, inspect its smell, texture, and appearance. Throw it away when it:
- Develops an unusual odor
- Becomes watery or excessively sticky
- Turns stiff and crumbly
- Contains too much visible dirt
- Leaves residue during a test
- Shows any sign of mold or discoloration unrelated to collected dust
Cleaning slime is reusable only while it remains clean enough to pick up debris safely. It is not washable in the usual sense. Running a dirty batch under the faucet usually ruins the texture and creates a slippery blob that regrets all its life choices.
Is Homemade Car Cleaning Slime Worth Making?
DIY car cleaning slime is inexpensive, easy to customize, and genuinely useful for light detailing. It reaches around knobs and shallow seams more easily than a flat cloth, and it can make a quick interior cleanup oddly satisfying.
Its limitations are equally important. It cannot remove oily buildup, disinfect touch points, deep-clean HVAC ducts, restore leather, or replace a vacuum. The Centers for Disease Control and Prevention distinguishes ordinary cleaning from disinfection: visible dirt should be removed with an appropriate cleaner before a suitable disinfectant is used when disinfection is actually needed. Cleaning putty performs neither job completely.
For routine maintenance, use the slime after vacuuming and before wiping appropriate hard surfaces with an automotive interior product. For screens, upholstery, leather, glass, and specialty trim, follow the vehicle manufacturer’s recommendations.
Experience-Based Lessons From Common DIY Attempts
A typical first attempt at making car cleaning slime begins with optimism, a mixing bowl, and the belief that measurements are merely friendly suggestions. The glue goes in, the baking soda follows, and then someone adds a heroic splash of contact lens solution. Thirty seconds later, the mixture has the flexibility of a hockey puck.
The most useful lesson is that activator should be added patiently. A batch that feels slightly sticky can often be improved through another minute of kneading. Adding large amounts of contact solution too early makes the slime firm, slippery, and unable to mold around narrow controls. Small adjustments produce much better results.
Another common discovery is that the slime should be tested indoors before it approaches the car. A batch may appear perfect in the bowl but soften dramatically inside a warm cabin. When the weather is hot, even good cleaning putty can become too loose. Working in the shade with a cool dashboard makes the process safer and far less messy.
The first successful press is usually the most convincing moment. A seemingly clean vent can leave gray streaks, lint, and tiny crumbs embedded in the gel. The contrast is both satisfying and mildly alarming. Apparently, the car has been quietly producing its own seasoning blend.
Users also learn quickly that a larger blob is not always better. A palm-sized portion can sag around buttons and cover more area than intended. A piece roughly the size of a walnut offers better control for vents and console seams. Keeping the slime thick prevents it from stretching into delicate openings.
The press-and-lift technique matters just as much as the recipe. Rubbing the gel back and forth tends to smear dust or warm the slime through friction. A brief, gentle press followed by a straight lift collects debris more cleanly. Folding the dirty side inward between presses also prevents yesterday’s cupholder crumbs from being redeposited near today’s radio controls.
Another practical lesson involves expectations. Cleaning slime performs beautifully on dry, loose debris, but it struggles with greasy fingerprints, dried soda, sunscreen, and coffee residue. Pressing it onto sticky contamination may soil the entire batch without cleaning the surface. Those messes need an appropriate automotive cleaner and microfiber cloth.
Storage is another area where experience delivers a firm warning. Leaving homemade slime in a parked car seems convenient until summer heat transforms it into glue soup. The better habit is to store it indoors in a clearly labeled, airtight container and carry it to the vehicle only when needed.
Finally, knowing when to retire a batch prevents trouble. Fresh slime feels cohesive and lifts away cleanly. Old slime becomes dull, overloaded with dirt, and less predictable. Once it starts leaving tiny fragments or sticky spots, it has completed its tour of duty. Thank it for its service, dispose of it with regular household trash, and make a fresh batch.
Used with realistic expectations, DIY car cleaning slime can become a surprisingly practical part of an interior detailing routine. It is cheap, amusing to make, and excellent for the little spaces that seem designed specifically to annoy vacuum attachments. Just keep it cool, keep it out of electronics, and resist the temptation to see how far it can disappear into an air vent.
Conclusion
Learning how to make car cleaning slime requires only a few common ingredients, but producing a safe and useful batch depends on careful measuring and gradual adjustments. Combine washable school glue, baking soda, and a compatible contact lens solution, knead until the gel is cohesive, and test it on a concealed area before cleaning visible trim.
Use the finished slime for dry dust and loose debris on suitable hard surfaces. Press gently, lift straight up, and avoid displays, electrical openings, fabric, leather, airbag covers, deep vents, and any material prohibited by the owner’s manual. Pair it with vacuuming, microfiber cloths, soft detailing brushes, and vehicle-approved cleaners for a more complete interior detail.