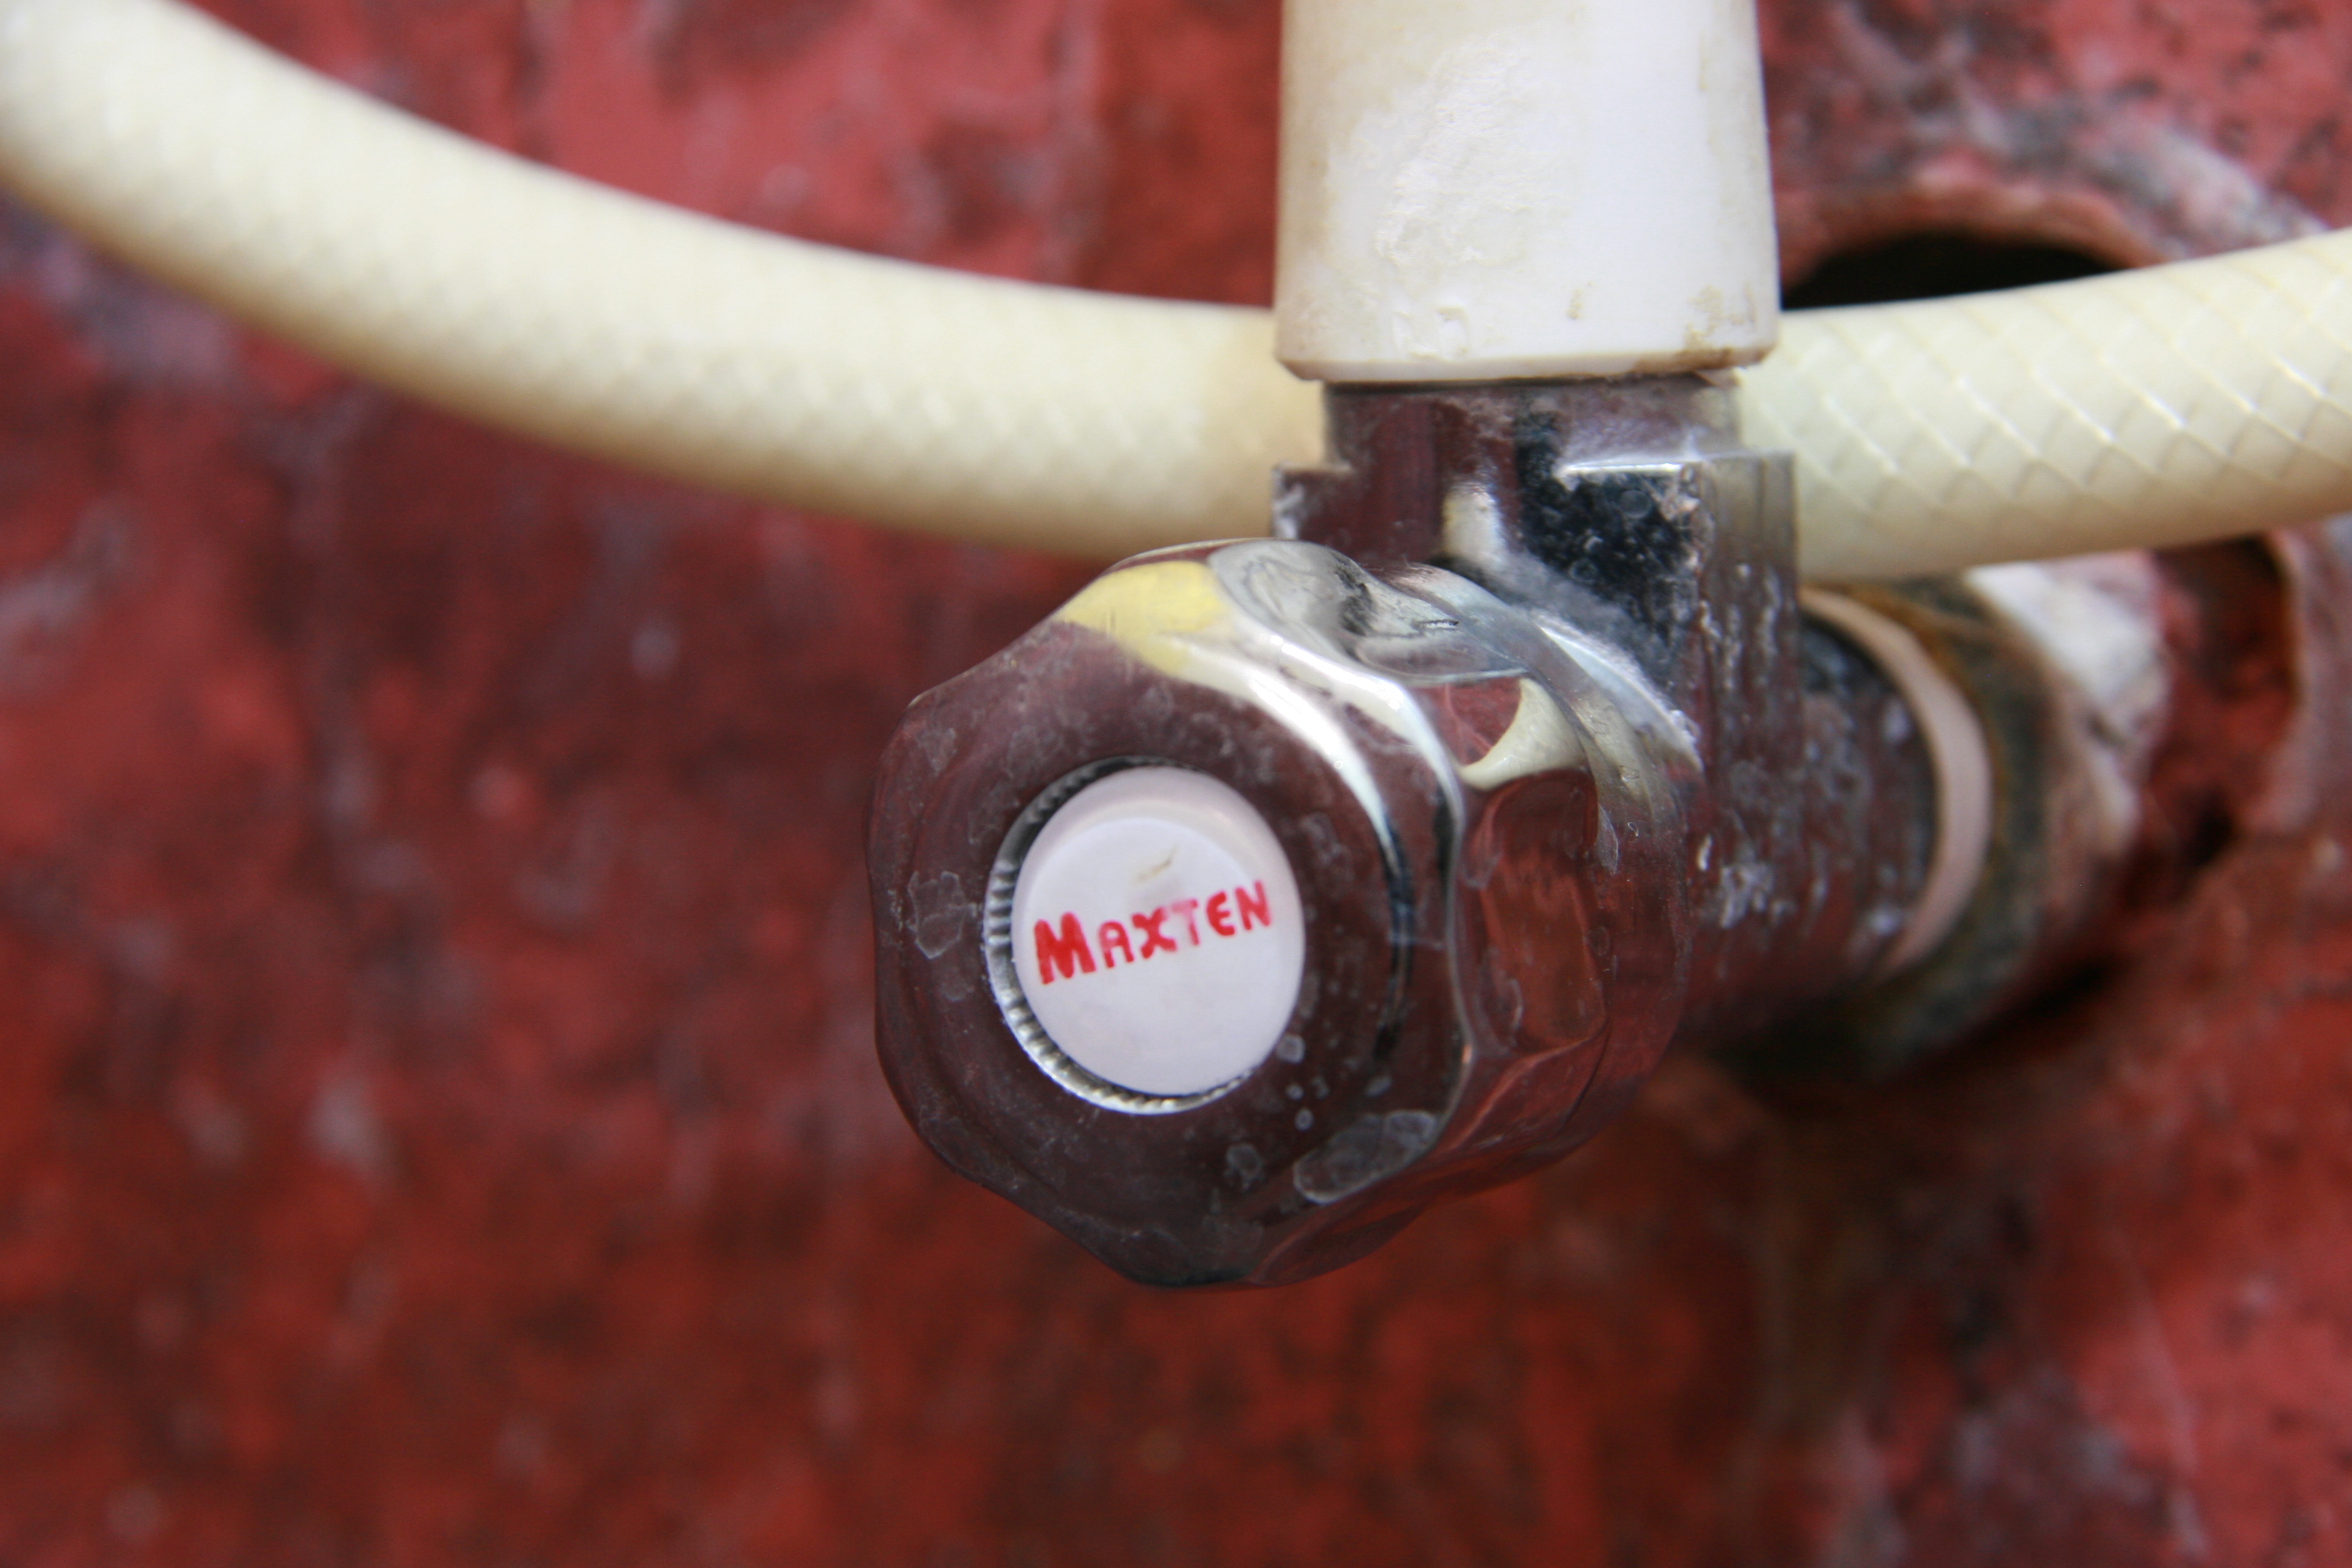

Sapo: A bad shut off valve is small, sneaky, and surprisingly talented at turning a quiet afternoon into a wet sock festival. The good news? Replacing a common sink or toilet shut off valve is a manageable DIY plumbing project when you use the right valve, shut down the water properly, and test everything before celebrating. This guide walks you through 11 practical steps to replace a shut off valve, including how to identify valve types, remove old compression fittings, install a new stop valve, avoid leaks, and know when to call a licensed plumber.
Why Replacing a Shut Off Valve Matters
A shut off valve, also called a stop valve or supply stop, controls water flow to a single fixture such as a toilet, bathroom sink, kitchen faucet, dishwasher, or ice maker. When it works, it is the quiet hero of your plumbing system. When it fails, it becomes the tiny chrome villain under the sink.
Replacing a shut off valve is important because it allows you to isolate water to one fixture without turning off the entire house. That means you can repair a faucet, replace a toilet connector, or stop a leak quickly. A working fixture shut off valve can also reduce water damage during emergencies, especially if a supply line bursts while everyone is arguing about who used the last clean towel.
Most homeowners replace shut off valves for one of four reasons: the valve leaks around the stem, the handle is frozen, the outlet connection is corroded, or the old multi-turn valve no longer stops water completely. In many homes, especially older ones, the original valve has not been touched in years. Mineral buildup, worn washers, and corrosion can make it unreliable.
This guide focuses on common residential fixture shut off valves, especially compression-style valves on copper supply pipes. The same planning principles apply to push-to-connect, threaded, PEX, CPVC, and sweat valves, but each connection type has its own rules. If the project involves soldering, damaged pipe, hidden leaks, a stuck main shutoff, or plumbing inside the wall, call a licensed plumber before your bathroom becomes an indoor pond.
Before You Start: Know Your Valve Type
Before buying parts, look closely at the existing valve. Do not guess. Plumbing has a special way of punishing confidence without evidence.
Angle Stop Valve
An angle stop valve is used when the water pipe comes out of the wall and the supply line turns upward to the faucet or toilet. This is the most common setup under bathroom sinks and behind toilets.
Straight Stop Valve
A straight stop valve is used when the water pipe comes up from the floor and the supply line continues in the same direction. These are common in some older bathrooms, kitchen islands, and floor-fed toilet supplies.
Compression Valve
A compression shut off valve uses a compression nut and ferrule, also called a sleeve, to squeeze around the pipe and create a watertight seal. Compression valves are common on copper stub-outs and can often be replaced with basic hand tools.
Push-to-Connect Valve
A push-to-connect valve slides onto properly cut and deburred pipe. It is popular because it does not require soldering, but the pipe must be clean, round, and inserted to the correct depth.
Threaded Valve
A threaded valve screws onto male pipe threads. This type may require plumber’s tape or pipe joint compound on the male threads, depending on the product instructions.
Sweat or Soldered Valve
A sweat valve is soldered onto copper pipe. Removing and replacing one requires heat, soldering tools, and confidence. If you have never soldered copper before, this is not the moment to learn while lying under a sink with a flashlight in your mouth.
Tools and Materials You May Need
Gathering tools first makes the job smoother and prevents the classic DIY sprint to the hardware store while the house water is off.
- New shut off valve that matches the pipe size and connection type
- New flexible supply line, if the old one is worn or too short
- Two adjustable wrenches
- Tongue-and-groove pliers
- Bucket, towels, or a small tray
- Pipe cutter or close-quarters tubing cutter
- Emery cloth or fine sandpaper
- Compression sleeve puller, if removing an old ferrule
- Plumber’s tape or pipe joint compound for threaded connections only
- Flashlight or work light
- Gloves and safety glasses
Do not use plumber’s tape on compression threads. Compression fittings seal at the ferrule, not at the threads. Tape can interfere with tightening and create a false sense of security, which is exactly the kind of confidence water enjoys humiliating.
How to Replace Shut off Valves: 11 Steps
Step 1: Inspect the Existing Shut Off Valve
Start by identifying the pipe material, valve style, and connection type. Look at whether the pipe comes from the wall or floor. Check whether the valve is connected by a compression nut, threaded fitting, push connector, solder joint, or plastic pipe fitting.
Also inspect the pipe condition. If the pipe is crushed, deeply scratched, green with corrosion, brittle, or too short for a new valve, the repair may require cutting back the pipe or opening the wall. That is a different level of project.
Step 2: Buy the Correct Replacement Valve
Take a photo of the existing valve before shopping. If possible, bring the old supply line or valve to the store after removal. Common fixture shut off valves often use a 1/2-inch inlet and a 3/8-inch outlet, but “common” is not the same as “guaranteed.” Always match the valve to your pipe and fixture supply line.
For most sinks and toilets, a quarter-turn valve is a smart upgrade. It opens and closes with a 90-degree turn and is usually easier to operate than an old multi-turn valve. Quarter-turn valves are especially helpful in emergencies because nobody wants to twist a stubborn handle seventeen times while water is auditioning for a disaster movie.
Step 3: Turn Off the Main Water Supply
Find your home’s main water shutoff valve and turn it off. In many homes, it is located near the water meter, in a basement, garage, utility room, crawl space, or exterior meter box. Turn the valve fully off, then open the fixture faucet to confirm the water stops.
If the main shutoff does not close completely, stop the project. A fixture valve replacement requires reliable water control. Call a plumber or your water utility if the water cannot be shut off safely.
Step 4: Drain the Line and Protect the Area
Open the faucet connected to the valve you are replacing. If replacing a toilet shut off valve, flush the toilet and hold the handle down to drain as much water as possible. Place a bucket, towels, or a shallow tray under the valve. Even after the water is off, trapped water will remain in the line.
This step is not glamorous, but it saves cabinets, floors, and your mood. Water always finds the one spot you forgot to protect.
Step 5: Disconnect the Supply Line
Use one wrench to hold the shut off valve steady and another wrench to loosen the supply line nut. Turning only one wrench can twist the valve or pipe, which may damage the connection inside the wall. Remove the supply line and let any remaining water drain into the bucket.
Inspect the supply line. If it is kinked, corroded, stiff, cracked, or more than a few years old, replace it. A new valve paired with an old, questionable supply line is like buying new tires and keeping one bald spare on the car.
Step 6: Remove the Old Valve
For a compression valve, hold the valve body with one wrench and loosen the compression nut with the second wrench. Once the nut is loose, pull the valve off the pipe. The old nut and ferrule may remain on the pipe.
For a threaded valve, hold the pipe steady and unscrew the valve counterclockwise. For a push-to-connect valve, use the manufacturer’s removal clip or disconnect tool. For a soldered valve, the valve must be heated and removed, or the pipe must be cut behind the valve. If you are not comfortable with soldering, hire a plumber.
Step 7: Remove or Evaluate the Old Compression Ferrule
If you are replacing a compression shut off valve, the old ferrule may be tightly squeezed onto the copper pipe. Sometimes it can be reused if it is in perfect condition and lines up with the new valve, but replacing it is often the better choice for a clean seal.
Use a compression sleeve puller if the ferrule is stuck. Avoid cutting into the pipe with a hacksaw unless you know exactly what you are doing. A scratched or gouged pipe can leak even with a new valve.
Step 8: Clean and Prepare the Pipe
Wipe the pipe clean and polish it lightly with emery cloth. The pipe end should be smooth, round, and free of burrs, paint, old sealant, mineral buildup, and corrosion. If the pipe end is damaged, cut it square with a tubing cutter and deburr the edge.
For push-to-connect valves, mark the insertion depth according to the valve manufacturer’s instructions. Push fittings rely on full insertion. If the pipe is only halfway seated, the fitting may leak or blow off under pressure, which is a plumbing surprise nobody invited.
Step 9: Install the New Shut Off Valve
For a compression valve, slide the escutcheon onto the pipe first if you are using one. Then slide on the compression nut, followed by the ferrule. Push the new valve onto the pipe until it seats fully. Make sure the outlet points in the right direction for the supply line.
Thread the compression nut onto the valve by hand. Once it is hand-tight, use two wrenches: one to hold the valve steady and one to tighten the nut. Tighten firmly, but do not over-tighten. Over-compressing the ferrule can deform the pipe or damage the fitting.
For threaded valves, apply the recommended thread sealant to male pipe threads only, then tighten the valve while keeping it aligned. For push-to-connect valves, push the valve straight onto the pipe until it reaches the marked depth. Do not twist, wobble, or stop halfway.
Step 10: Reconnect the Supply Line
Attach the supply line to the outlet side of the shut off valve. Start the nut by hand to avoid cross-threading. Then snug it with a wrench. The connection should be tight enough to seal but not so tight that it crushes the washer or damages the fitting.
If the old supply line does not reach naturally, replace it with the correct length. Do not stretch, kink, or sharply bend a flexible connector. A stressed supply line is a future leak wearing a disguise.
Step 11: Turn Water Back On and Test for Leaks
Close the new shut off valve, then slowly turn the main water supply back on. Open the new valve gradually and watch every connection. Use a dry paper towel to check for moisture around the inlet, outlet, valve stem, and supply line nut.
If you see a tiny drip at a compression fitting, tighten the nut slightly, about one-eighth to one-quarter turn, then test again. If the leak continues, shut off the water, disassemble the connection, and inspect the ferrule and pipe. Do not keep tightening forever. At a certain point, “just a little more” becomes “why is there water in the hallway?”
Common Mistakes to Avoid
Using the Wrong Valve
A valve that looks close may still be wrong. Match the inlet size, outlet size, pipe material, and connection type. Copper, PEX, CPVC, and threaded pipe each require compatible fittings.
Forgetting to Replace a Bad Supply Line
If the supply line is old, stiff, corroded, or kinked, replace it while the water is already off. It is cheaper and easier than reopening the project later.
Overtightening Compression Fittings
Compression fittings need firm pressure, not superhero strength. Overtightening can damage the ferrule, valve body, or pipe. A proper seal comes from correct alignment and steady tightening.
Twisting the Pipe
Always use two wrenches. One holds the valve or pipe steady; the other turns the nut. Twisting the pipe can break hidden joints inside the wall.
Ignoring Local Plumbing Codes
Many plumbing codes require shut off valves to be accessible. Some projects may require permits, especially when modifying supply piping. When in doubt, check local rules or ask a licensed plumber.
When You Should Call a Plumber
Replacing a basic compression shut off valve can be a reasonable DIY job. However, some situations deserve professional help. Call a licensed plumber if the main water valve does not shut off, the pipe is damaged, the old valve is soldered and you are not trained to solder, the pipe disappears into a wall with no room to work, or you see active corrosion around the pipe.
You should also call a plumber if the valve serves a water heater, whole-house system, dishwasher line hidden behind cabinets, washing machine box, or any fixture where a leak could cause major damage. DIY confidence is wonderful. DIY denial is expensive.
Cost and Time Expectations
A simple shut off valve replacement often takes less than an hour for an experienced DIYer once the correct parts are ready. The valve itself is usually inexpensive, though prices vary by brand, size, material, and connection type. Extra costs may include a new supply line, compression sleeve puller, pipe cutter, escutcheon, or specialty fitting.
The biggest “cost” is not the valve. It is the risk of water damage from a poor installation. That is why preparation, correct parts, and careful leak testing matter more than speed. Plumbing is not a race. The pipe does not care how busy your Saturday is.
Real-World Experience: Lessons from Replacing Shut Off Valves
The first practical lesson about replacing shut off valves is that the visible problem is not always the only problem. A homeowner may start with a leaky valve under a bathroom sink and discover the flexible supply line is brittle, the escutcheon is rusted, and the compression ferrule has practically become one with the copper pipe. This is normal. Plumbing parts age as a team, usually in the least convenient cabinet in the house.
One helpful habit is to photograph everything before removing anything. Take a close-up of the valve, the supply line, the pipe entering the wall, and the connection angles. These pictures help when buying parts and are especially useful if you need advice at a plumbing supply counter. A clear photo can prevent the classic mistake of buying a straight stop when you needed an angle stop.
Another experience-based tip is to test the main water shutoff before the day of the repair. Many people discover their main valve is stiff, partially broken, or unable to stop water completely only after they have already disconnected something. That is not a fun discovery. Check the main shutoff during a calm moment, not during a leak.
When working with compression valves, patience matters. If the old ferrule is stuck, do not attack the pipe like you are opening a stubborn jar. A compression sleeve puller is a small tool that can save the pipe from scratches and dents. Scratches under a new ferrule can create slow leaks that appear only after the cabinet is closed and everyone has gone to bed.
It is also wise to replace old supply lines while replacing the valve. Many leaks after a valve replacement do not come from the new valve at all; they come from reusing a worn connector. A braided stainless steel supply line in the correct length is usually a simple upgrade. Just avoid bending it sharply. A graceful curve is good. A hard kink is a bad omen.
Testing should be slow and boring. That is exactly what you want. Turn the water back on gradually, check with a dry paper towel, wait a few minutes, check again, then check once more after running the fixture. Some leaks are too small to see at first but will show up as a damp ring on paper. Leave the cabinet open for a few hours after the job so you can inspect it again.
Finally, know when to stop. If the pipe is moving inside the wall, if the compression nut will not align, if a soldered joint looks questionable, or if the new valve still leaks after careful reinstallation, calling a plumber is not failure. It is damage control. A professional repair bill is usually cheaper than flooring, drywall, and cabinet replacement. The best DIYers are not the ones who do everything themselves; they are the ones who know which problems are friendly and which ones are holding a wrench-shaped trap.
Conclusion
Learning how to replace shut off valves is a valuable home maintenance skill. A working valve gives you control, safety, and peace of mind when repairing sinks, toilets, faucets, and supply lines. The key is to identify the correct valve, shut off and drain the water, remove the old fitting carefully, prepare the pipe, install the new valve without overtightening, and test patiently.
For many homeowners, a compression-style shut off valve replacement is completely manageable with basic tools and careful attention. But plumbing rewards honesty. If the pipe is damaged, the valve is soldered, the main shutoff fails, or the repair feels beyond your comfort zone, bring in a licensed plumber. Water is useful in pipes, less charming in cabinets.