
At first glance, a Kuhn Rikon can opener can feel like the kitchen equivalent of a magic trick. You place it on top of a can, turn the knob, and somehow the lid comes off without the usual jagged metal teeth waiting to ambush your fingers. No squeezing handles like you are training for a forearm competition. No lid sinking into the beans like a tiny metal submarine. Just a smooth, safe, tidy openingonce you know the technique.
This guide explains how to use a Kuhn Rikon can opener in 14 clear steps, with practical tips for alignment, lid removal, cleaning, storage, and troubleshooting. The instructions apply especially to Kuhn Rikon’s Auto Safety LidLifter and Auto Safety Master-style openers, which are known for cutting around the outside rim of the can rather than slicing down through the top. That side-cut design helps create smooth edges, keeps the opener from dipping into the food, and makes the whole process feel much more civilized than wrestling with a stubborn soup can at 6:03 p.m.
What Makes a Kuhn Rikon Can Opener Different?
Traditional can openers usually puncture the top of the lid and cut around the inner edge. They work, but they often leave sharp edges on the lid and sometimes on the can itself. A Kuhn Rikon safety can opener works differently. It grips the seam near the rim and cuts from the side, separating the lid at the crimped edge. The result is a lid that can be lifted away without the same jagged, finger-threatening finish.
Another advantage is hygiene. Because the cutting mechanism does not need to plunge into the contents of the can, it is less likely to touch tomato sauce, tuna water, chickpea foam, or whatever mysterious liquid canned mushrooms are floating in. That does not mean you never need to clean it, but it does mean the tool is designed to keep contact with food to a minimum.
Kuhn Rikon also offers multi-function versions that can help with pull-tabs, bottle caps, screw tops, and jar lids. For this article, however, the main focus is the can-opening functionthe one you need when the chili recipe is ready and the beans are still trapped behind a wall of steel.
Before You Start: Know the Parts
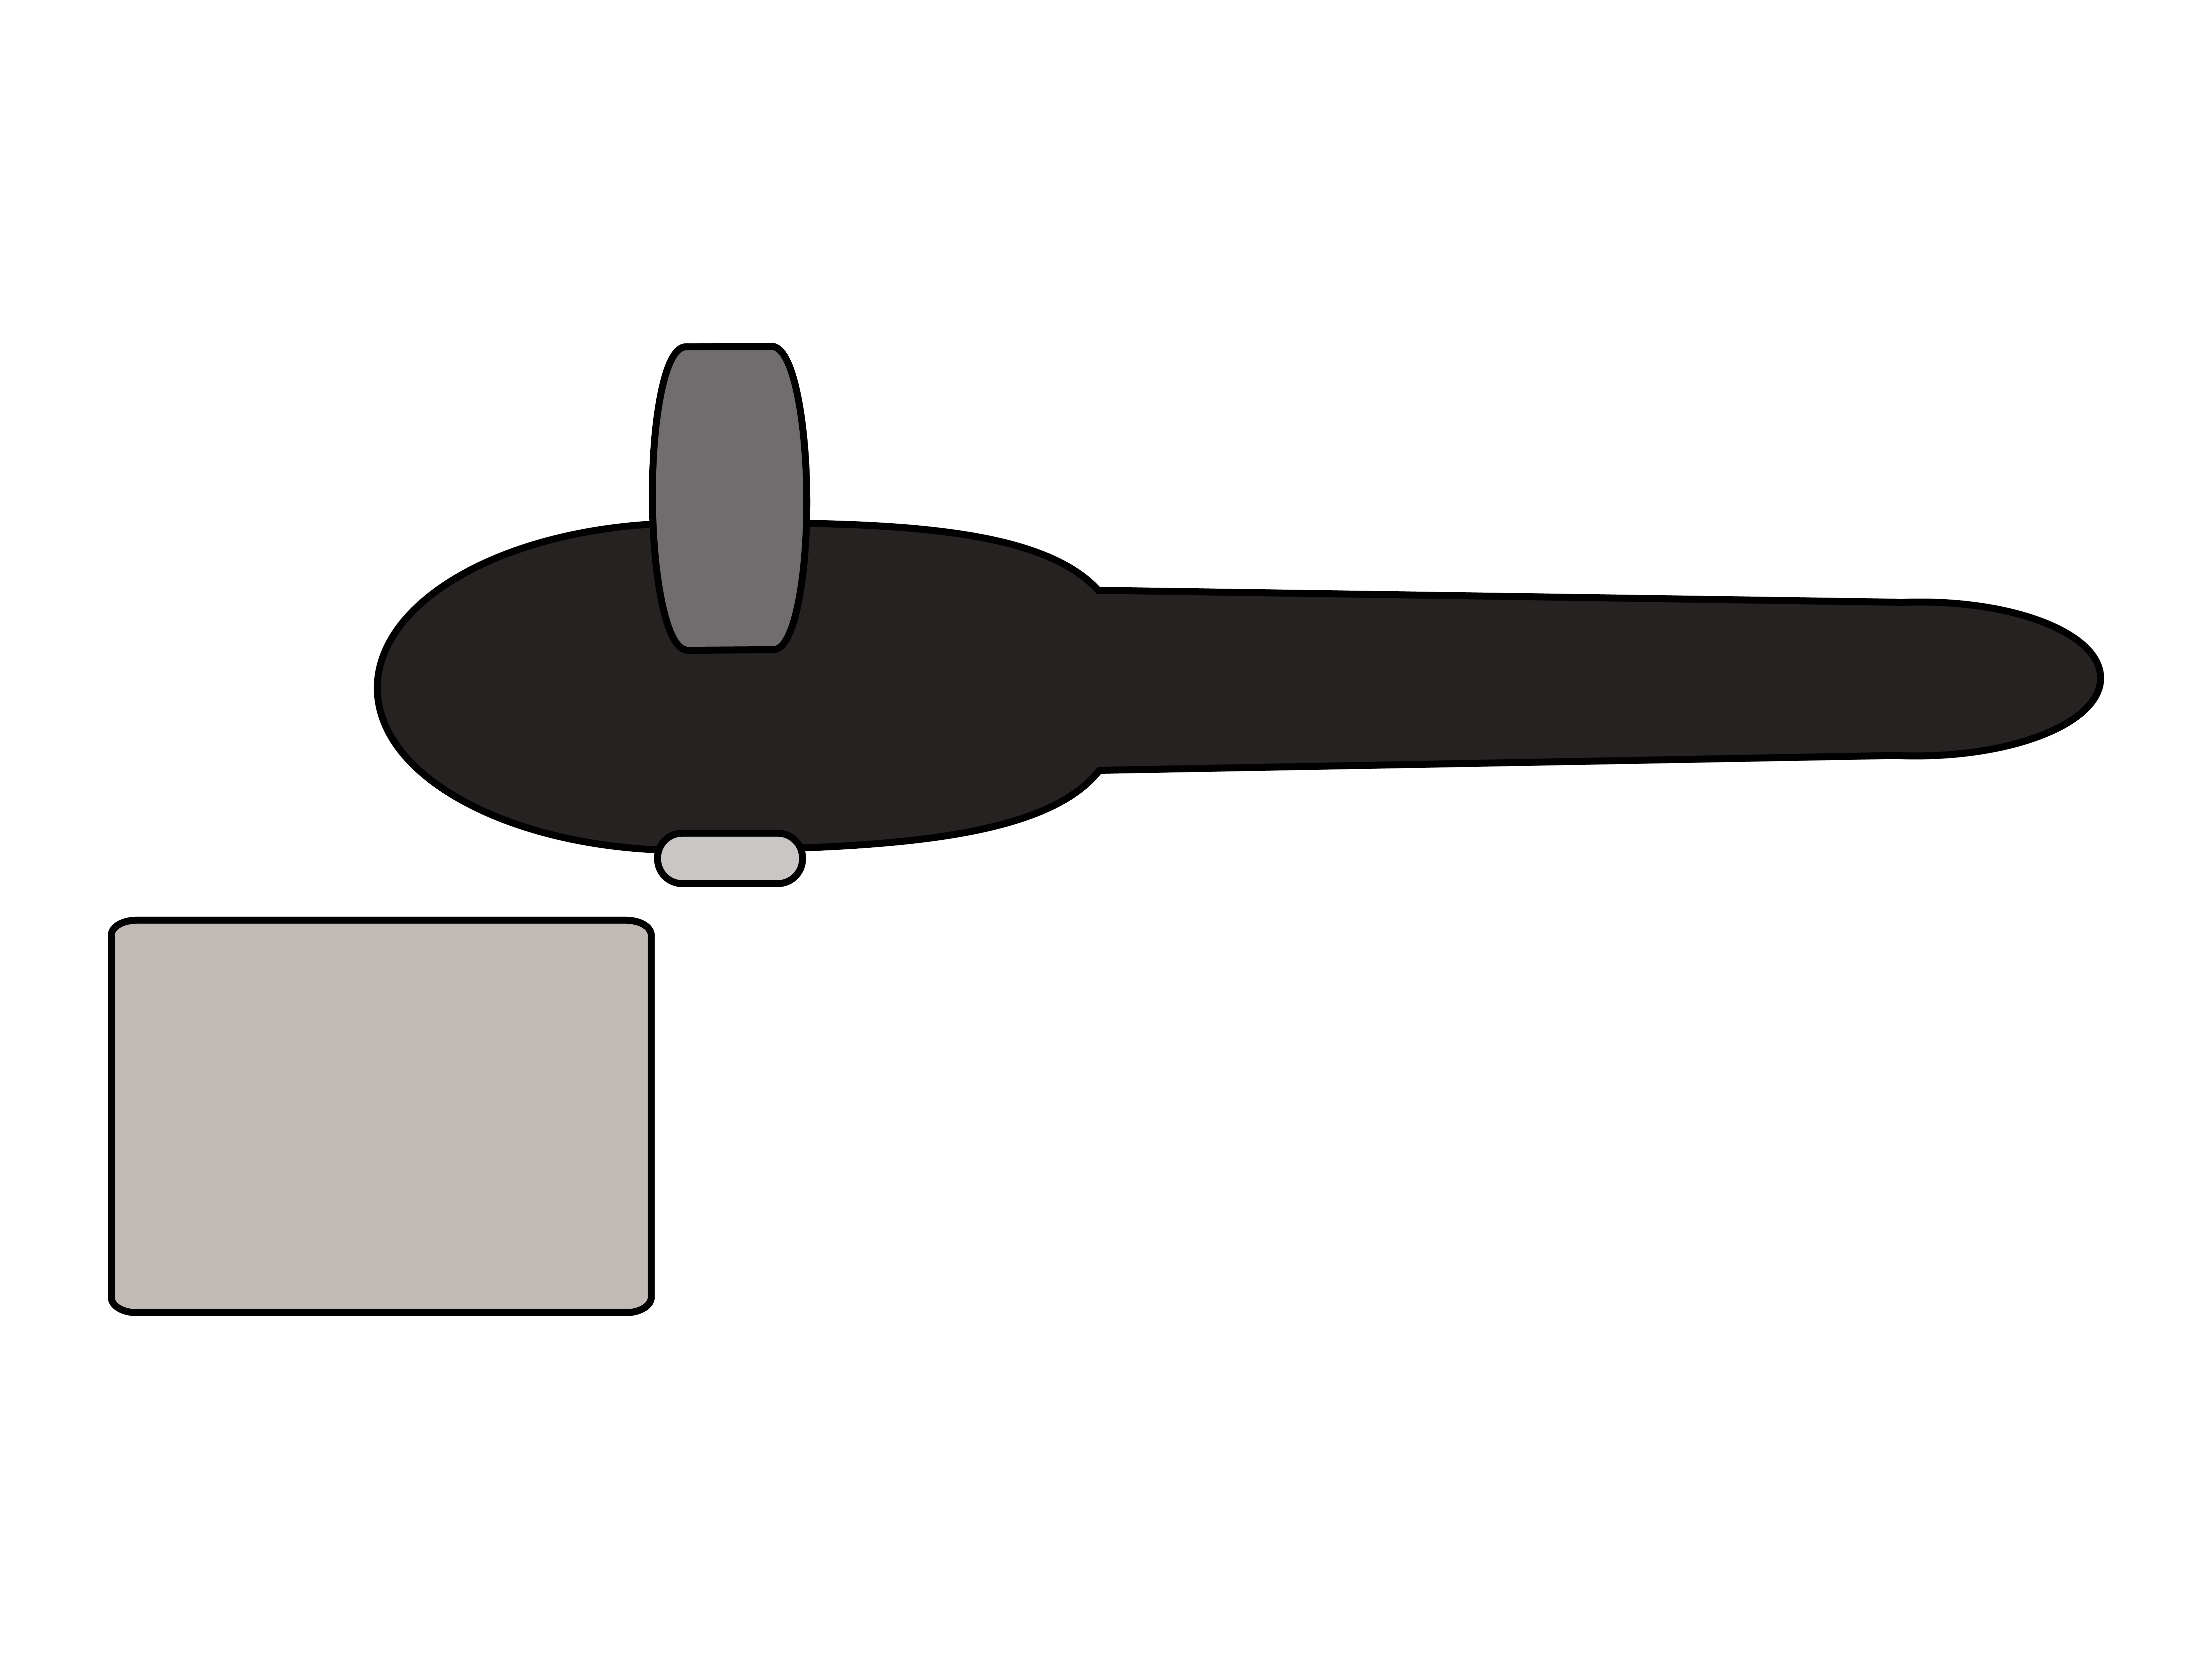
Before opening a can, take a moment to identify the basic parts of the opener. You will usually see a turning knob, a cutting mechanism underneath, two small curved guide shapes that line up with the can rim, and a small set of pinchers or a lid-lifting tool near the head of the opener. On multi-purpose models, you may also see extra hooks or slots for pull-tabs and bottle caps.
The most important detail is the knob position. For many Kuhn Rikon safety openers, the starting position is when the knob points roughly toward 11 and 5 o’clock. In that open position, the gears underneath are separated and ready to sit correctly on the can rim. If you skip this tiny detail, the opener may wobble, refuse to grip, or make you question every kitchen decision that brought you here.
How to Use a Kuhn Rikon Can Opener in 14 Steps
Step 1: Place the can on a stable surface
Set the can upright on a flat counter, cutting board, or table. Avoid holding the can in the air while opening it. A stable surface gives the opener something to work against and reduces the chance of slipping. If the counter is wet, dry the area first. A can opener is useful; a can opener doing figure skating across your countertop is less useful.
Step 2: Wipe the top of the can
Even though the Kuhn Rikon opener cuts from the side, it is still smart to wipe the top and rim of the can before opening. Cans travel through warehouses, store shelves, shopping carts, and pantry corners. A quick wipe with a clean damp cloth or paper towel helps remove dust and grime before the lid comes off.
Step 3: Hold the opener with the knob facing upward
Hold the can opener so the turning knob is on top and easy to rotate. The underside of the opener should be facing the can lid. This orientation matters because the gears and cutting wheel need to meet the can rim at the correct angle. If the opener feels upside down, sideways, or spiritually confused, reset your grip.
Step 4: Set the knob to the open position
Turn the knob so it points approximately toward 11 and 5 o’clock. This opens the mechanism underneath and prepares it to clamp onto the rim. Think of this as the opener’s “ready” position. Without it, the tool may not attach smoothly.
Step 5: Line up the opener with the can rim
Place the opener on top of the can so the curved guide shapes underneath line up with the rim. The opener should sit naturally at the edge, not in the center of the lid. You are not trying to stab the lid; you are letting the tool grip the outside seam.
Step 6: Keep the opener level
Before turning, make sure the opener is level and seated securely. If one side is lifted or angled strangely, remove it and reposition it. Smooth-edge openers reward patience at the start. A few extra seconds of alignment can prevent a full minute of muttering at a can of diced tomatoes.
Step 7: Turn the knob clockwise
Begin turning the knob clockwise. As you turn, the opener should automatically grip the lid and start cutting around the rim. You do not need to squeeze handles or force the tool downward. Let the mechanism do the work. If it is properly aligned, the motion should feel steady and controlled.
Step 8: Continue around the full circle
Keep turning until the opener travels all the way around the can. The can may rotate slightly, or the opener may move around the rim depending on how you are holding it. Maintain gentle pressure to keep everything stable, but do not crush the can like you are auditioning for a superhero movie.
Step 9: Feel for reduced resistance
Near the end of the cut, you should feel the turning resistance drop. That is your signal that the opener has completed the circle and the lid is separated. This is one of the most important cues because the can may not look open at first. With a safety opener, the cut is subtle. The lid does not pop up dramatically and announce, “Dinner is served!”
Step 10: Stop after one complete rotation
Once you feel less resistance, stop turning. Do not keep going around the can again and again. Over-cutting can damage the rim or create rough spots. One complete rotation is usually enough. If the lid does not release later, you can troubleshoot gently, but the goal is not to grind the opener around the can until both of you lose hope.
Step 11: Turn the knob counterclockwise to release
After the can is open, turn the knob counterclockwise. This releases the opener from the rim. Lift the tool away from the can. Remember, the lid may still appear to be sitting in place. That is normal. The opener has separated the lid at the side seam, but the lid may rest neatly on top until you remove it.
Step 12: Use the lid lifter or pinchers
Use the built-in mini pinchers, lid lifter, or gripper feature to grab the edge of the lid. Gently lift it away from the can. This is one of the best features of the Kuhn Rikon design because you do not need to dig your fingers under the lid. The lid should come away smoothly, without the sharp, jagged edge common with many traditional openers.
Step 13: Pour, scoop, or drain the contents
Once the lid is removed, use the canned food as needed. If you are draining beans or vegetables, hold the lid carefully or use a strainer. If you opened something thick, such as tomato paste, pumpkin puree, or cranberry sauce, you may find that the smooth lid and clean rim make scooping easier. The can is open, the food is accessible, and the drama level should be pleasantly low.
Step 14: Clean and store the opener
After use, wipe the opener with a damp cloth or wash it by hand according to the instructions for your specific model. Most Kuhn Rikon safety can openers are best cleaned by hand rather than tossed into the dishwasher. Dry the tool thoroughly before storing it. This helps protect the mechanism, prevents buildup, and keeps the opener ready for its next battle with canned soup.
Common Mistakes to Avoid
Starting with the knob in the wrong position
If the opener will not grip the can, check the knob position first. The open position matters. When the gears are separated, the opener can settle onto the rim properly. When they are not, it may slide around like it has somewhere better to be.
Expecting the lid to look obviously open
A Kuhn Rikon safety opener does not behave like a traditional opener. The lid may not spring up or show a visible cut from above. Trust the resistance cue. If you made one complete circle and the knob suddenly became easier to turn, the can is probably open.
Going around the can multiple times
More turning is not always better. Once the lid is separated, extra cutting can create roughness or make the rim less clean. Stop after the full circle and release the opener.
Trying to pry the lid with a knife
Do not jab a knife under the lid. That defeats the whole purpose of using a smooth-edge opener. Use the built-in gripper or pinchers instead. Your fingers, your knife, and your future self will all appreciate this mature decision.
Troubleshooting: What If It Does Not Work?
The opener will not attach
Reset the knob to the open position, place the opener back on the rim, and make sure the guide shapes are aligned. Some first-time users place the opener too far toward the center of the lid. Move it outward so it catches the can seam.
The opener turns but does not cut
This usually means the opener is not seated correctly. Remove it, reposition it, and try again. Also check whether the can has an unusual rim shape. Most standard cans work well, but dented or oddly shaped cans can make any opener more temperamental.
The lid seems stuck after opening
Use the lid lifter to grip the edge and lift gently. If the lid still does not come away, you may not have completed the full circle. Reattach the opener only if possible and finish the cut carefully. Do not force the lid with your fingers.
The opener feels hard to turn
Check for food residue, sticky buildup, or a bent can rim. Clean and dry the opener. If it remains difficult to turn after repeated use, the cutting mechanism may be worn or damaged.
Cleaning and Maintenance Tips
A Kuhn Rikon safety can opener is designed to avoid contact with food, but it still lives in a kitchen drawer, and kitchen drawers are where crumbs go to retire. Wipe the opener after each use, especially around the gears and cutting mechanism. If needed, use warm, soapy water and a small brush to remove residue. Dry it thoroughly before putting it away.
Do not soak the opener for long periods unless the manufacturer’s instructions for your model say it is safe. Do not use harsh abrasives on plastic parts. If your opener includes extra tools for pull-tabs or bottle caps, clean those areas too. A clean opener performs better, lasts longer, and does not add mystery gunk to your meal prep routine.
Why Smooth-Edge Can Openers Are Worth Learning
The first time you use a Kuhn Rikon can opener, it may feel less intuitive than a classic squeeze-and-crank model. That is because the tool is solving the problem in a different way. Instead of punching down into the lid, it separates the lid from the side seam. Once you understand the motion, the benefits become clear.
The smooth edge is the biggest advantage. If children, teenagers, older adults, or frequent home cooks use the kitchen, reducing sharp metal edges is a practical safety upgrade. The lid lifter also keeps fingers away from the cut edge. Add the cleaner operation and the fact that the lid does not fall into the food, and the tool starts looking less like a gadget and more like a small kitchen improvement that earns its drawer space.
Best Uses for a Kuhn Rikon Can Opener
This type of opener is excellent for everyday canned foods such as beans, tomatoes, corn, tuna, soup, evaporated milk, coconut milk, pumpkin, and fruit. It is especially helpful for sticky or thick foods because the lid can be removed cleanly instead of dropping inside. Some cooks also like that the lid can rest back on the can temporarily while prepping ingredients, though leftovers should be transferred to a proper food storage container instead of being stored in the opened can.
If you use the Auto Safety Master version, the extra tools can be useful for pull-tab cans, soda cans, twist caps, and bottle caps. That makes it handy for small kitchens, RVs, camping boxes, dorm rooms, and anyone who enjoys owning one tool that does five jobs without demanding its own cabinet.
Experience Notes: What It Feels Like to Use One Regularly
Using a Kuhn Rikon can opener regularly changes your expectations of what opening a can should feel like. With a traditional opener, there is often a crunchy bite into the lid, a metal-on-metal grind, and that final awkward moment when the lid is mostly cut but still attached by one stubborn strip. You either bend it back, risk touching the sharp edge, or use a spoon to fish it out after it falls into the food. It works, but it is not exactly a luxury spa treatment for your hands.
The Kuhn Rikon experience is quieter and cleaner. The first few attempts may feel confusing because the opener does not attack the lid from the top. You line it up, turn the knob, and wonder if anything is happening. Then you feel the resistance change, release the tool, lift the lid, and suddenly the whole thing makes sense. It is a little like learning that a door you have been pushing for years was actually a sliding door.
The biggest real-life benefit appears when opening cans with messy contents. Tomato sauce, beans, tuna, and coconut milk can leave traditional opener blades sticky and smelly. Since the Kuhn Rikon cutting mechanism stays outside the food, cleanup is usually simpler. A quick wipe often handles the job. For anyone who opens several cans during meal prep, that difference adds up.
Another pleasant surprise is the lid removal. The built-in gripper may seem like a small feature, but it solves an everyday annoyance. You do not have to tap the lid with a fork, pry it with a knife, or perform the delicate “pinch the sharp metal and hope” maneuver. You grip, lift, and drop the lid into recycling or trash. It feels safer and more controlled.
There is a learning curve. If you share the opener with family members or roommates, expect someone to announce that it “doesn’t work” after placing it in the wrong position. The fix is almost always alignment. Show them the knob position, the rim placement, and the clockwise turn. After one successful can, most people understand it. After three cans, they become unofficial ambassadors for smooth-edge technology.
For people with limited hand strength, the experience depends on the individual. The knob is generally easy to turn when the opener is aligned correctly, and the auto-grip design means less squeezing than many traditional openers. However, it is still a manual tool, so users with severe arthritis or mobility challenges may prefer an electric opener. For many everyday cooks, though, the Kuhn Rikon offers a good balance of control, safety, and compact storage.
In a busy kitchen, the best thing about this opener is that it reduces small frustrations. No jagged lid. No fishing metal out of the soup. No opener blade wearing a crusty souvenir from last week’s chili. It is not glamorous, but neither is opening a can of black beans. The point is to do the job quickly, cleanly, and safelythen move on to the part where dinner actually tastes good.
Final Thoughts
Learning how to use a Kuhn Rikon can opener is mostly about understanding alignment and trusting the design. Set the knob to the open position, line the opener with the rim, turn clockwise until resistance drops, release counterclockwise, and lift the lid with the gripper. Once the motion clicks, it becomes fast, clean, and surprisingly satisfying.
The smooth-edge design is the star of the show. It helps reduce sharp edges, keeps the lid from falling into the food, and makes cleanup easier because the cutting mechanism avoids direct contact with the contents. Whether you are opening one can of soup or prepping a five-can chili that could feed a small marching band, a Kuhn Rikon can opener is a practical kitchen tool worth mastering.
Note: Always follow the instructions included with your specific Kuhn Rikon model, especially if it includes extra functions such as a pull-tab opener, bottle opener, or jar tool.