
If you have ever tightened a threaded pipe connection, turned the water back on, and then watched a slow little drip form like it was mocking you personally, welcome to the club. The good news is that plumber’s tapeoften called Teflon tape, or more accurately PTFE thread seal tapecan make threaded joints seal better, go together more smoothly, and come apart later without a wrestling match.
The bad news? A lot of people use it backward, use too much, use it on the wrong fitting, or wrap it like they are mummifying a pipe for the afterlife. That is how you end up with leaks, cracked fittings, or a connection that feels tight but still fails.
This guide breaks down exactly how to use Teflon tape the right way on pipes, what fittings need it, what fittings absolutely do not, and how to get a clean, leak-resistant seal without turning a five-minute repair into a Saturday crisis.
What Teflon Tape Actually Does
Teflon tape is a thin thread seal tape used on threaded pipe connections. Its job is not to act like glue. It does two more useful things instead: it helps fill tiny gaps in threaded joints, and it lubricates the threads so the parts tighten together more smoothly. That combination helps reduce leaks and makes disassembly easier later.
Think of it as the quiet backstage crew of plumbing. It does not want applause. It just wants the joint to stop leaking.
It works best on threaded connections, especially tapered pipe threads, where the male threads screw into female threads and the seal is formed by the threads compressing together.
When You Should Use Teflon Tape
Use PTFE tape on threaded pipe joints where the manufacturer or fitting type calls for thread sealant. Common examples include:
- Shower arms and shower heads without a sealing washer
- Threaded galvanized or black iron pipe fittings
- Brass threaded nipples and adapters
- Some threaded PVC, CPVC, or ABS connections, if the fitting manufacturer allows it
- Certain threaded water filter housings, valves, gauges, and plumbing accessories
The key phrase is threaded joints that seal on the threads. If the joint is designed to seal with tape, Teflon tape can be your best friend.
When You Should Not Use Teflon Tape
This is where a lot of DIY jobs go sideways. Teflon tape is not the answer to every pipe connection on Earth.
Do not use it on these fittings:
- Compression fittings
- Flare fittings
- Fittings with rubber washers or gaskets
- Slip-joint drain fittings
- Any connection where the manufacturer specifically says not to use thread seal tape
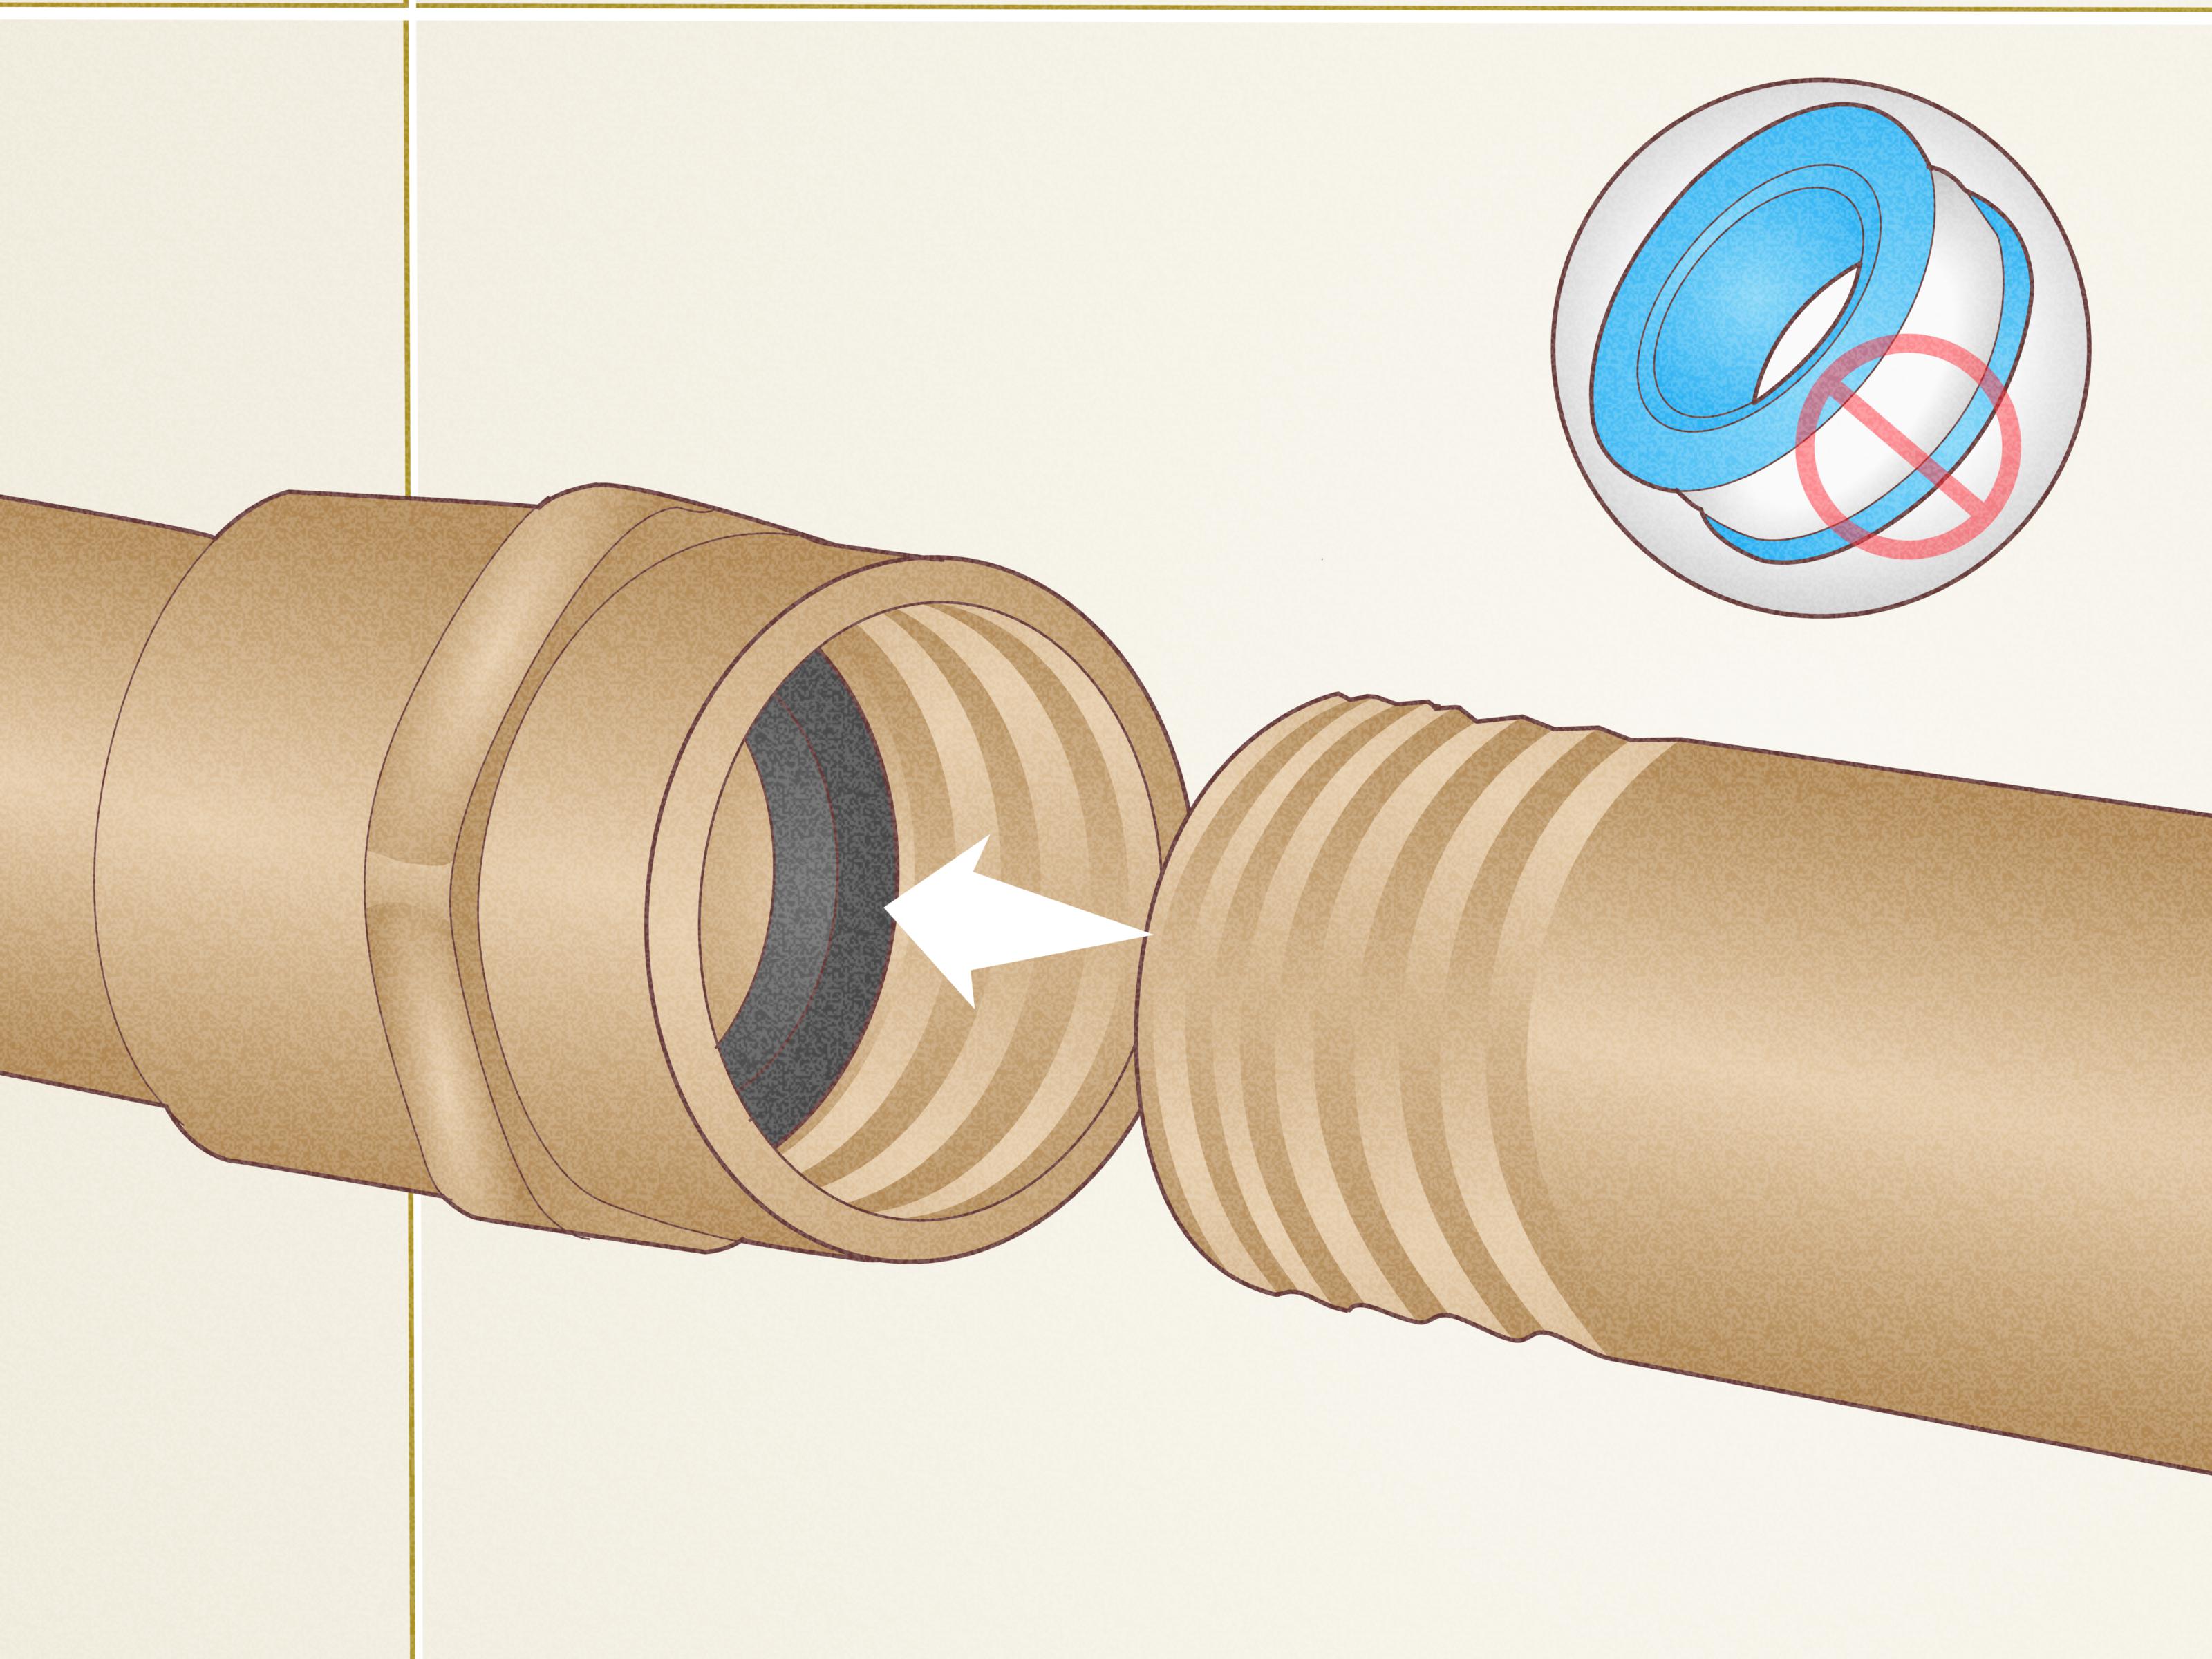
Why? Because those fittings do not seal on the threads. They seal at the ferrule, flare face, washer, or gasket. Adding tape can interfere with proper tightening and actually create leaks instead of preventing them.
Also, be careful with plastic threaded fittings. Some plastic threaded connections do use PTFE tape successfully, but plastic is easier to crack than metal. The bigger risk is not always the tape itselfit is over-tightening after the tape lubricates the threads. On plastic pipe and fittings, always follow the manufacturer’s instructions and avoid going gorilla-mode with the wrench.
Choosing the Right Tape
Not all thread seal tape is identical. The color usually gives you a clue about the intended application.
- White: General-purpose thread seal tape for common plumbing jobs
- Yellow: Typically used for gas lines and gas-rated applications
- Pink: Often marketed for water lines and heavier-duty use
- Gray: Sometimes used on stainless steel or for appearance matching
Color alone is not magic. The product label matters more than the color. Always check what the tape is rated for, especially on gas piping or specialty systems. If you are working on gas, use a gas-rated tape and follow local code requirements.
Tape thickness matters too. Thicker, denser professional-grade tape usually needs fewer wraps. Thin economy tape often needs a few more.
How to Apply Teflon Tape the Right Way
Here is the step-by-step method that keeps leaks away and your dignity intact.
Step 1: Clean the male threads
Wipe the threads with a clean rag. Remove old tape, dirt, rust, grease, thread compound, and moisture. Tape sticks and seals better on clean, dry threads. If there is old tape hanging on like a bad habit, peel it off completely.
Step 2: Start one or two threads back
Do not begin wrapping right at the end of the pipe. Start one or two threads back from the tip. This helps keep scraps of tape from shredding into the pipe, faucet, valve, or appliance where they can cause trouble.
Step 3: Wrap in the same direction the fitting will turn
This is the golden rule. With the threaded end facing you, wrap the tape clockwise. That is the same direction the female fitting will turn when you tighten it.
If you wrap counterclockwise, the tape will bunch up, unravel, or slide out of place as soon as you thread the connection together. In other words, it will betray you immediately.
Step 4: Keep the tape taut
Pull the tape snug as you wrap. You want it pressed into the threads, not floating loosely over them like a ribbon on a gift bag. The tape should conform to the grooves without tearing apart.
Step 5: Overlap each wrap by about half the tape width
This creates even coverage from the starting point down the threaded section. You are aiming for a smooth layer, not random bands of tape with bald spots in between.
Step 6: Use the right number of wraps
There is no single perfect number for every job because tape density and thread type vary. A practical rule is:
- 2 to 3 wraps for thicker, high-density tape or finer threads
- 3 to 5 wraps for standard household threaded fittings
- 4 to 6 wraps for coarser threads, some galvanized fittings, or thinner tape
The tape should cover the threads without burying them. If the fitting barely starts threading, you probably used too much.
Step 7: Smooth the tape into the threads
Press the tape gently into the threads with your fingers so it sits neatly and does not snag when you assemble the joint.
Step 8: Thread the connection together and tighten properly
Start the fitting by hand to avoid cross-threading. Then tighten it with the right tool until snug. Do not keep cranking just because the wrench still has feelings left. Over-tightening can damage threads, distort fittings, or crack plastic parts.
The Fastest Way to Remember Wrap Direction
Use the simple “righty-tighty” logic. If the fitting tightens clockwise, the tape wraps clockwise too. Hold the male threaded end facing you and wrap to the right.
If you only remember one thing from this entire article, remember that. It saves more leaks than most expensive tools.
How Much Teflon Tape Is Too Much?
Enough to cover the threads well is good. Enough to turn the pipe into a soft white candy cane is not.
Too much tape can:
- Make the fitting hard to start
- Cause bunching and shredding
- Create a false sense of tightness
- Increase stress on plastic fittings
If the tape is thick, lumpy, or hanging off the edges, strip it off and rewrap it. Reapplying tape takes less time than fixing a slow leak behind a wall.
Teflon Tape vs. Pipe Dope
Plumber’s tape and pipe dope are both thread sealants, but they are not identical.
- Teflon tape: Clean, fast, easy for small and medium threaded joints
- Pipe dope: A paste that can fill imperfections very well and is often preferred on larger or rougher threads
In some cases, pros use both: tape first, then a light coat of compatible pipe dope over the tape. That can work well on certain threaded joints, but you should follow the product instructions and fitting manufacturer guidance. Not every product combination is appropriate for every material.
Examples of Common Household Jobs
Replacing a shower head
Remove the old shower head, clean off the shower arm threads, wrap clockwise two to three neat passes, press the tape into the threads, and install the new head. If the new shower head uses a rubber washer inside the nut, check the instructions firstsometimes the washer alone does the sealing.
Installing a threaded brass nipple
Clean the male threads, wrap three to four times clockwise, and tighten carefully into the female fitting. This is a classic use for PTFE tape.
Connecting threaded galvanized pipe
Galvanized threads can be coarse and a little grumpy. Use enough tape to get solid coverage, and do not be surprised if this type of connection benefits from slightly more tape or even a compatible pipe dope.
Threaded plastic adapter into metal
This is the job where restraint matters. Tape can help, but over-tightening can crack the plastic. Hand-tighten first, then go only as far as the manufacturer recommends.
Most Common Mistakes DIYers Make
- Wrapping backward so the tape unravels during tightening
- Using tape on the wrong fittings, such as compression or flare connections
- Starting at the pipe tip and letting tape shred into the line
- Using too much tape and bunching the threads
- Using too little tape and leaving gaps uncovered
- Ignoring the fitting material, especially with plastic threads
- Over-tightening until something cracks, strips, or leaks anyway
- Leaving old tape in place and wrapping over a mess
If you avoid those eight mistakes, you are already ahead of a surprising number of weekend plumbing adventures.
Quick Troubleshooting Guide
The fitting leaks right away
Take it apart. Check for backward wrapping, too little tape, cross-threading, or damage to the threads.
The fitting will not start threading easily
You may have used too much tape or wrapped unevenly. Remove it and rewrap neatly.
Plastic fitting cracked during tightening
The connection was likely over-tightened or the wrong sealant was used for that material. Replace the damaged fitting and follow manufacturer instructions carefully.
Tape keeps tearing while wrapping
Use steadier tension, smoother thread surfaces, or a higher-density tape that resists shredding better.
Hands-On Experience: What Real Teflon Tape Jobs Teach You
Here is the part most how-to articles skip: the little lessons you only learn after actually using thread seal tape on real plumbing repairs.
The first thing experience teaches you is that most leaks are not caused by a complete failure of the tape. They are caused by impatience. A DIYer rushes the prep, leaves old tape on the threads, wraps in the wrong direction, or starts tightening with a wrench before the fitting is even threaded correctly by hand. The leak shows up later, but the mistake happened much earlier.
Another real-world lesson is that neat tape beats heroic tape. Beginners often think more wraps equal more sealing. In practice, a clean three-wrap job often seals better than a messy seven-wrap job. The reason is simple: smooth, even coverage lets the threads mate correctly. Too much tape turns the joint bulky and awkward, and the fitting may bind before it is truly sealed.
Experience also teaches you that different jobs feel different. On a shower arm, the tape goes on quickly and the connection usually behaves nicely. On old galvanized pipe, the threads may be rough, the alignment may be annoying, and the joint may need more patience. On plastic threaded fittings, the emotional tone changes completely. Suddenly every extra quarter-turn feels dramatic, because you know plastic can crack if you get carried away. That is when slow, careful tightening becomes more important than brute force.
Another common lesson comes from removing old fittings. If you ever take apart a joint and see tape packed in every direction like a bird nested in the threads, you immediately understand why it leaked. Good tape jobs look almost boring when disassembled. The tape sits in the thread grooves, evenly compressed, with no massive shreds hanging loose.
Seasoned DIYers also learn to pay attention to what kind of connection they are working on before reaching for the tape. Many first-timers try to put Teflon tape on everything with threads, including compression nuts and fittings with rubber washers. Then they are confused when the joint still leaks. Experience teaches a better question: “Where is this fitting actually designed to seal?” If the answer is “at the washer” or “at the ferrule,” the tape roll should stay in your pocket.
One of the best habits you develop over time is testing your work calmly. After making a connection, turn the water or air back on and watch it for a minute. Wipe the joint dry and check again. Tiny leaks can hide in the excitement of “I fixed it!” A patient recheck saves cabinets, drywall, and ego.
Finally, experience teaches confidence. After a few successful jobs, you stop guessing. You know how tight the tape should feel in your fingers. You know what properly wrapped threads look like. You know when a fitting is snug and when it is being bullied. And that is the real upgrade: not just using Teflon tape, but using it with judgment. Once you have that, threaded pipe connections stop feeling mysterious and start feeling manageable.
Final Takeaway
If you want a leak-resistant threaded pipe connection, the formula is simple: use Teflon tape only where it belongs, clean the male threads, start a thread or two back, wrap clockwise, keep the tape taut, use a sensible number of wraps, and tighten without overdoing it.
That is the right way to apply Teflon tape on pipes. Not glamorous. Not flashy. But extremely effectivewhich, in plumbing, is a lot sexier than it sounds.
SEO Tags