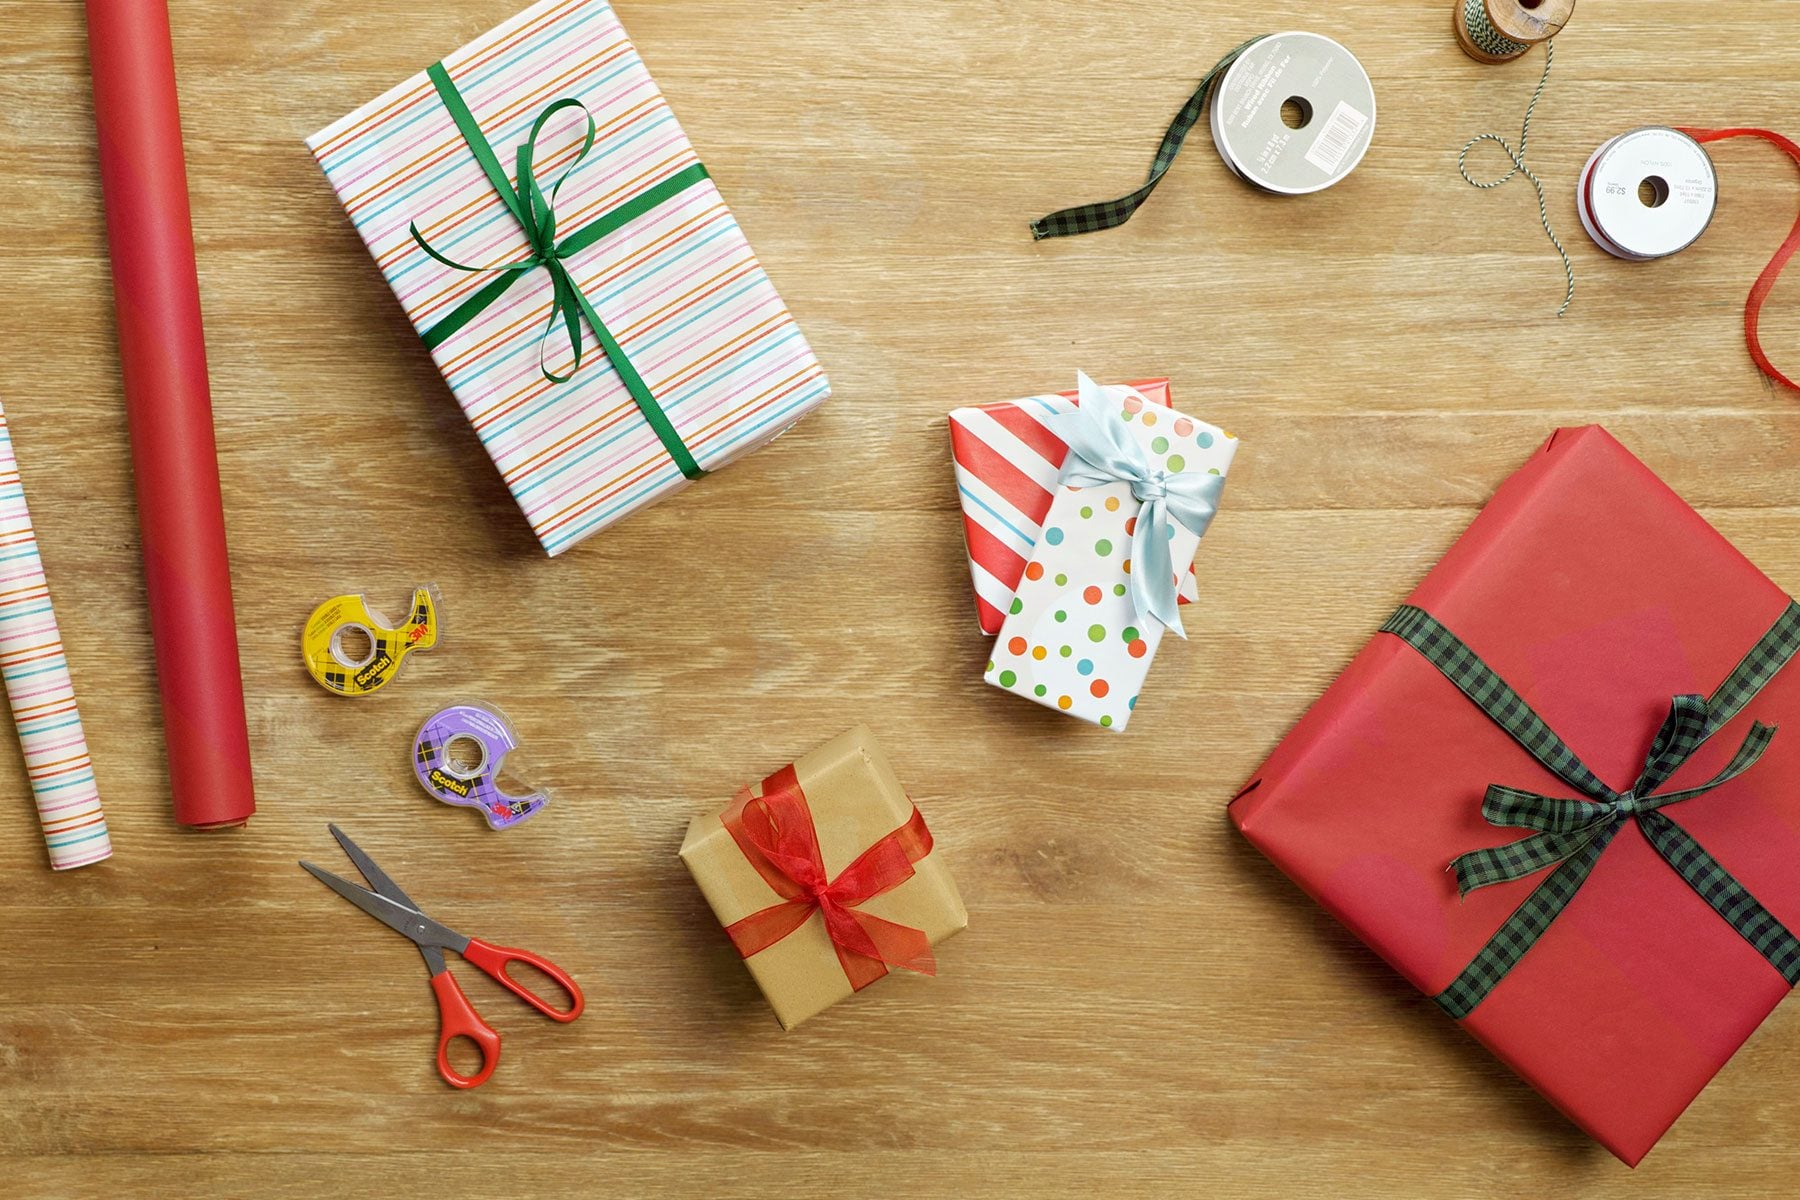

Wrapping a present looks easy until the paper curls into a taco, the tape disappears, and one corner starts behaving like it has legal representation. The good news? Learning how to wrap a present is not about being naturally crafty. It is about using the right amount of paper, making clean folds, pulling everything snug, and pretending you meant to add that ribbon exactly there.
This DIY guide walks you through the simple, repeatable method for wrapping a boxed gift beautifully, plus clever fixes for odd shapes, low-waste ideas, ribbon tricks, and real-life lessons from the noble battlefield known as the dining room table in December. Whether you are wrapping a birthday gift, holiday present, baby shower surprise, wedding package, or “I forgot until this morning” peace offering, this tutorial will help you make it look thoughtful, neat, and far more expensive than the tape situation suggests.
Why Good Gift Wrapping Matters
A wrapped present does more than hide what is inside. It builds anticipation. A crisp fold, smooth paper, and simple bow can make even a modest gift feel special. That does not mean you need glitter explosions, luxury paper, or a ribbon collection that requires its own zip code. The best DIY gift wrapping is practical, personal, and neat enough that the recipient feels cared for before they even open the box.
Good wrapping also protects the surprise. A visible logo, loose paper, or suspiciously book-shaped lump can ruin the fun. With a few basic techniques, you can wrap gifts quickly while still making them look polished.
Supplies You Need to Wrap a Present
Before you start, gather your materials. A gift-wrapping session goes much better when you are not crawling under the sofa looking for the tape dispenser like it is a lost family heirloom.
Basic Gift Wrapping Supplies
- Wrapping paper
- A box for the gift
- Sharp scissors
- Clear tape or double-sided tape
- Ribbon, twine, or a bow
- Gift tag or sticker label
- Flat, clean work surface
A box makes wrapping much easier because it gives you straight edges and crisp corners. If your gift is soft, oddly shaped, fragile, or determined to make your life difficult, place it inside a box first. Tissue paper can keep delicate items from shifting around.
Step-by-Step: How To Wrap a Present
This method works best for square or rectangular boxes. Once you master it, you can wrap most gifts confidently without wasting half the roll.
Step 1: Clear Your Work Area
Use a table, counter, or clean floor. Remove crumbs, pens, coffee mugs, and anything sticky. Wrapping paper has a magical ability to find every tiny smear of mystery sauce within a five-foot radius.
Step 2: Place the Gift Face Down
Put the box upside down in the center of the wrapping paper. This keeps the main seam on the bottom of the gift, so the top looks smooth and professional. If your paper has a pattern, make sure it is facing down against the table.
Step 3: Measure the Paper
Pull one side of the paper over the box, then pull the opposite side over until the two edges overlap slightly at the center. You only need enough paper to cover the box with a small overlap. Too little paper causes panic. Too much paper creates bulky corners that look like the gift is wearing shoulder pads.
For the ends, leave enough paper to cover about three-quarters of the box height. This gives you enough material to fold clean flaps without creating thick, messy bunches.
Step 4: Cut the Paper
Cut in a straight line. If your wrapping paper has grid lines on the back, use them. If not, fold the paper lightly before cutting to create a guide. Sharp scissors matter because dull scissors chew paper like a goat with a grudge.
Step 5: Tape the First Side
Bring one long side of the paper up and over the box. Pull it snug, but not so tight that the paper tears. Tape it to the box or to itself. For the cleanest look, use double-sided tape so the tape does not show.
Step 6: Fold the Second Edge for a Clean Seam
Before bringing the second long side over, fold its raw edge under by about half an inch. This hides any uneven cutting and creates a polished seam. Pull the folded edge across the box and secure it with tape. The seam should sit on the bottom of the gift.
Step 7: Fold the Ends
Turn the box so one open end faces you. Push the top flap down against the side of the box and crease it firmly. Two triangular side flaps will form naturally. Fold those triangles inward, crease them, then bring the bottom flap up and tape it in place.
Repeat on the other end. The secret is to crease as you go. Crisp creases make inexpensive wrapping paper look much better. Think of your fingers as tiny irons, minus the steam and danger.
Step 8: Smooth and Adjust
Run your hands gently over the wrapped box to smooth wrinkles. If a corner looks bulky, press it flat and add a tiny piece of tape underneath the fold. Small adjustments make a big difference.
Step 9: Add Ribbon or Twine
Ribbon is optional, but it makes a present feel finished. Wrap ribbon around the box lengthwise, twist it underneath, then bring it around the other direction so the ribbon crosses on the bottom and meets at the top. Tie a knot, then make a bow. Trim the ribbon ends at an angle for a tidy look.
Step 10: Add a Gift Tag
Do not skip the tag if you are wrapping multiple presents. A mystery gift is charming for about four seconds, right up until Grandma opens the video game controller meant for your nephew. Write the tag before or immediately after wrapping, then attach it securely.
How To Make Your Present Look Professionally Wrapped
The difference between “I wrapped this in a hurry” and “a charming boutique did this” often comes down to a few small details.
Use Less Paper Than You Think
Excess paper is the enemy of sharp corners. Measure before cutting and trim extra paper from the ends if needed. A clean fit is easier to fold and looks more refined.
Hide the Tape
Double-sided tape creates a seamless look. If you only have regular clear tape, use small pieces and place them where folds naturally overlap.
Choose a Simple Color Story
A cohesive wrapping style looks intentional. Try kraft paper with black ribbon, white paper with red twine, or patterned paper with a plain tag. You do not need every package to match exactly, but using related colors makes the whole pile look coordinated.
Add One Personal Detail
A sprig of rosemary, dried orange slice, candy cane, tiny ornament, pressed flower, mini photo, or handmade tag can turn simple wrapping into something memorable. Keep it flat if the gift will travel.
DIY Gift Wrapping Ideas for Any Occasion
Classic Kraft Paper Wrap
Kraft paper is affordable, versatile, and surprisingly elegant. Dress it up with twine, stamps, stickers, greenery, or handwritten names. It works for birthdays, holidays, housewarming gifts, and rustic wedding presents.
Fabric Gift Wrap
Fabric wrapping is a beautiful low-waste option. Use a scarf, tea towel, cloth napkin, bandana, or square of cotton fabric. Place the gift in the center, fold the fabric over the box, and tie the opposite corners together. This method is especially useful for awkward shapes because fabric bends without tearing.
Scrap Paper Accents
Do not throw away leftover strips of wrapping paper. Turn them into bands, tags, paper bows, or curled accents. A plain wrapped box with a contrasting paper band can look modern and intentional.
Washi Tape Design
For a fast DIY upgrade, wrap the gift in plain paper and decorate it with patterned washi tape. Make stripes, borders, initials, stars, or geometric shapes. This is a great solution when your wrapping paper is boring but your tape collection is ready for its big moment.
How To Wrap Odd-Shaped Gifts
Not every present comes in a neat box. Some gifts are round, soft, tall, lumpy, or shaped like a household appliance with commitment issues. Here is how to handle them.
Use a Gift Bag for Very Awkward Items
If the item has too many curves, corners, or fragile parts, use a gift bag with tissue paper. There is no shame in this. Gift bags exist because humanity needed mercy.
Make a DIY Bag from Wrapping Paper
For small items, fold wrapping paper into a simple pouch or bag. Tape the sides, fold the bottom into a flat base, insert the gift, then fold and tape the top. Add a ribbon or sticker to finish.
Wrap Bottles with Fabric or Paper
For a bottle, fabric is often easiest. Place the bottle in the center of a square cloth, gather the fabric at the neck, and tie it with ribbon or twine. With paper, roll the bottle diagonally, fold the bottom securely, and tie the top like a festive little cape.
Use Cellophane for Baskets
Gift baskets look best when wrapped in clear cellophane. Place the basket in the center, pull the cellophane up around it, gather at the top, secure with a twist tie, and cover the tie with ribbon. It keeps everything visible and contained.
Common Gift Wrapping Mistakes to Avoid
Using Too Much Tape
Tape should support the wrap, not become the wrap. If your package looks laminated, step away from the dispenser.
Skipping the Box
Soft items are difficult to wrap neatly. A simple box instantly improves the shape and protects the gift.
Forgetting the Recipient
Attach a tag right away. This matters especially during holidays, weddings, office parties, and family gatherings where many gifts are wrapped in similar paper.
Using Thin Paper for Heavy Gifts
Thin paper tears easily around corners. Use sturdier paper for heavy boxes, sharp corners, or gifts that need to travel.
Low-Waste Gift Wrapping Tips
DIY present wrapping can be beautiful without creating a mountain of trash. Reuse gift bags, save ribbons, flatten tissue paper, and keep clean scraps for tags or accents. Fabric wraps, dish towels, scarves, maps, newspaper, brown paper bags, and reusable boxes are all practical alternatives to traditional wrapping paper.
You can also make the wrapping part of the gift. Wrap a cookbook in a kitchen towel, a spa gift in a soft hand towel, or a picnic item in a reusable napkin. It feels thoughtful and reduces waste at the same time.
Real-Life Experience: What Wrapping Presents Teaches You
After wrapping enough presents, you learn that gift wrapping is less about perfection and more about rhythm. The first gift of the season always takes the longest. You measure twice, cut once, then still somehow cut a piece of paper that is exactly one inch too short. This is a universal experience. Somewhere, at any given moment, a person is staring at a half-covered box and whispering, “How?”
The easiest way to improve is to wrap in batches. Put all boxed gifts together, all gift bags together, and all odd-shaped items in a separate pile where they can think about what they have done. Start with the simplest boxes first. Once your hands remember the motions, the folds get cleaner and the process speeds up. By the fourth or fifth present, you may even feel confident enough to use ribbon without sighing dramatically.
Another lesson is that the work surface matters. Wrapping on a bed sounds cozy, but soft surfaces make crooked folds. Wrapping on the floor works until your knees file a complaint. A table or counter gives you control, especially when cutting long sheets of paper. Keep scissors, tape, tags, and ribbon on the same side of your dominant hand. It sounds fussy, but it saves time and prevents the classic “Where did the tape go?” mystery that occurs every six minutes.
Personal touches matter more than expensive supplies. A plain brown paper package with neat twine and a handwritten tag can look warmer than glossy paper with a giant store-bought bow. For children, doodles, stickers, candy, or a tiny toy tied to the ribbon can make the outside almost as exciting as the inside. For adults, simple details like a sprig of greenery, a pressed flower, or a photo tag can make the gift feel intentional.
You also learn when to stop. There is a point where adding more ribbon, more stickers, more ornaments, and more sparkle turns a gift into a parade float. One strong detail is usually enough. Clean paper, tidy folds, and a thoughtful tag will always win over chaos wearing glitter.
Finally, DIY gift wrapping reminds you that presentation is an act of care. The recipient may tear through your careful folds in eight seconds, and yes, part of you may briefly mourn the ribbon. But the point is not to create something permanent. The point is to create a moment. A well-wrapped present says, “I thought about you before you opened this.” That message is worth a few creases, a little tape, and maybe one tiny argument with the scissors.
Conclusion
Learning how to wrap a present is a simple DIY skill that pays off every birthday, holiday, and special occasion. Start with a box, measure the paper carefully, keep the seam on the bottom, crease your corners, and finish with ribbon or a personal accent. Once you understand the basic steps, you can get creative with kraft paper, fabric wraps, handmade tags, reusable materials, and decorative scraps.
The perfect present does not need flawless wrapping. It needs thoughtful wrapping. Clean folds, snug paper, and a little personality can make even a small gift feel memorable. And if one corner is not perfect? Add a bow. Bows are basically tiny festive problem solvers.