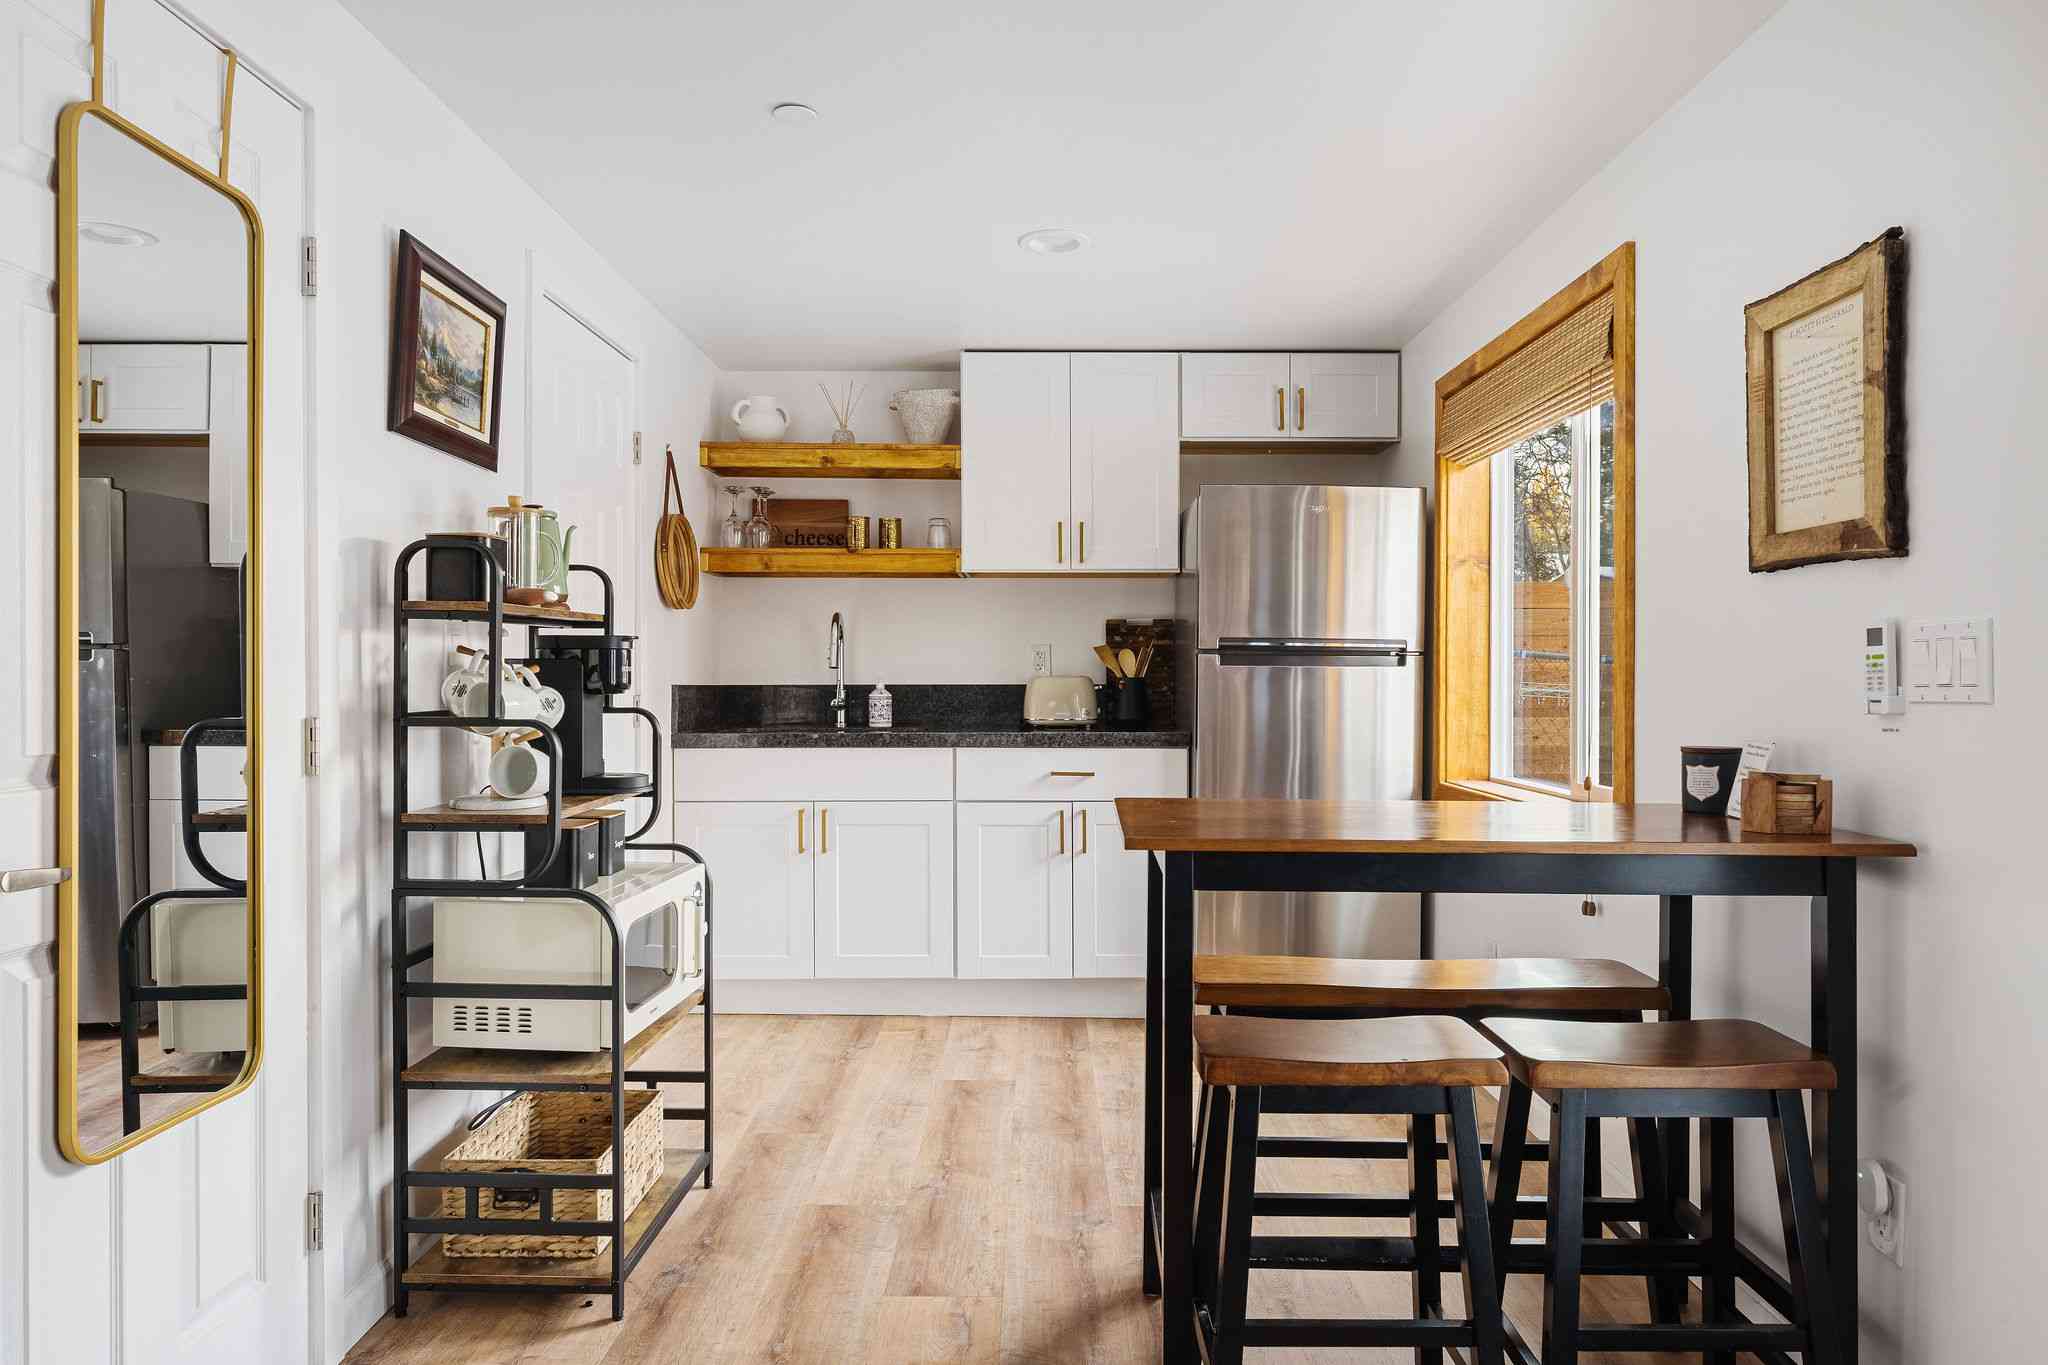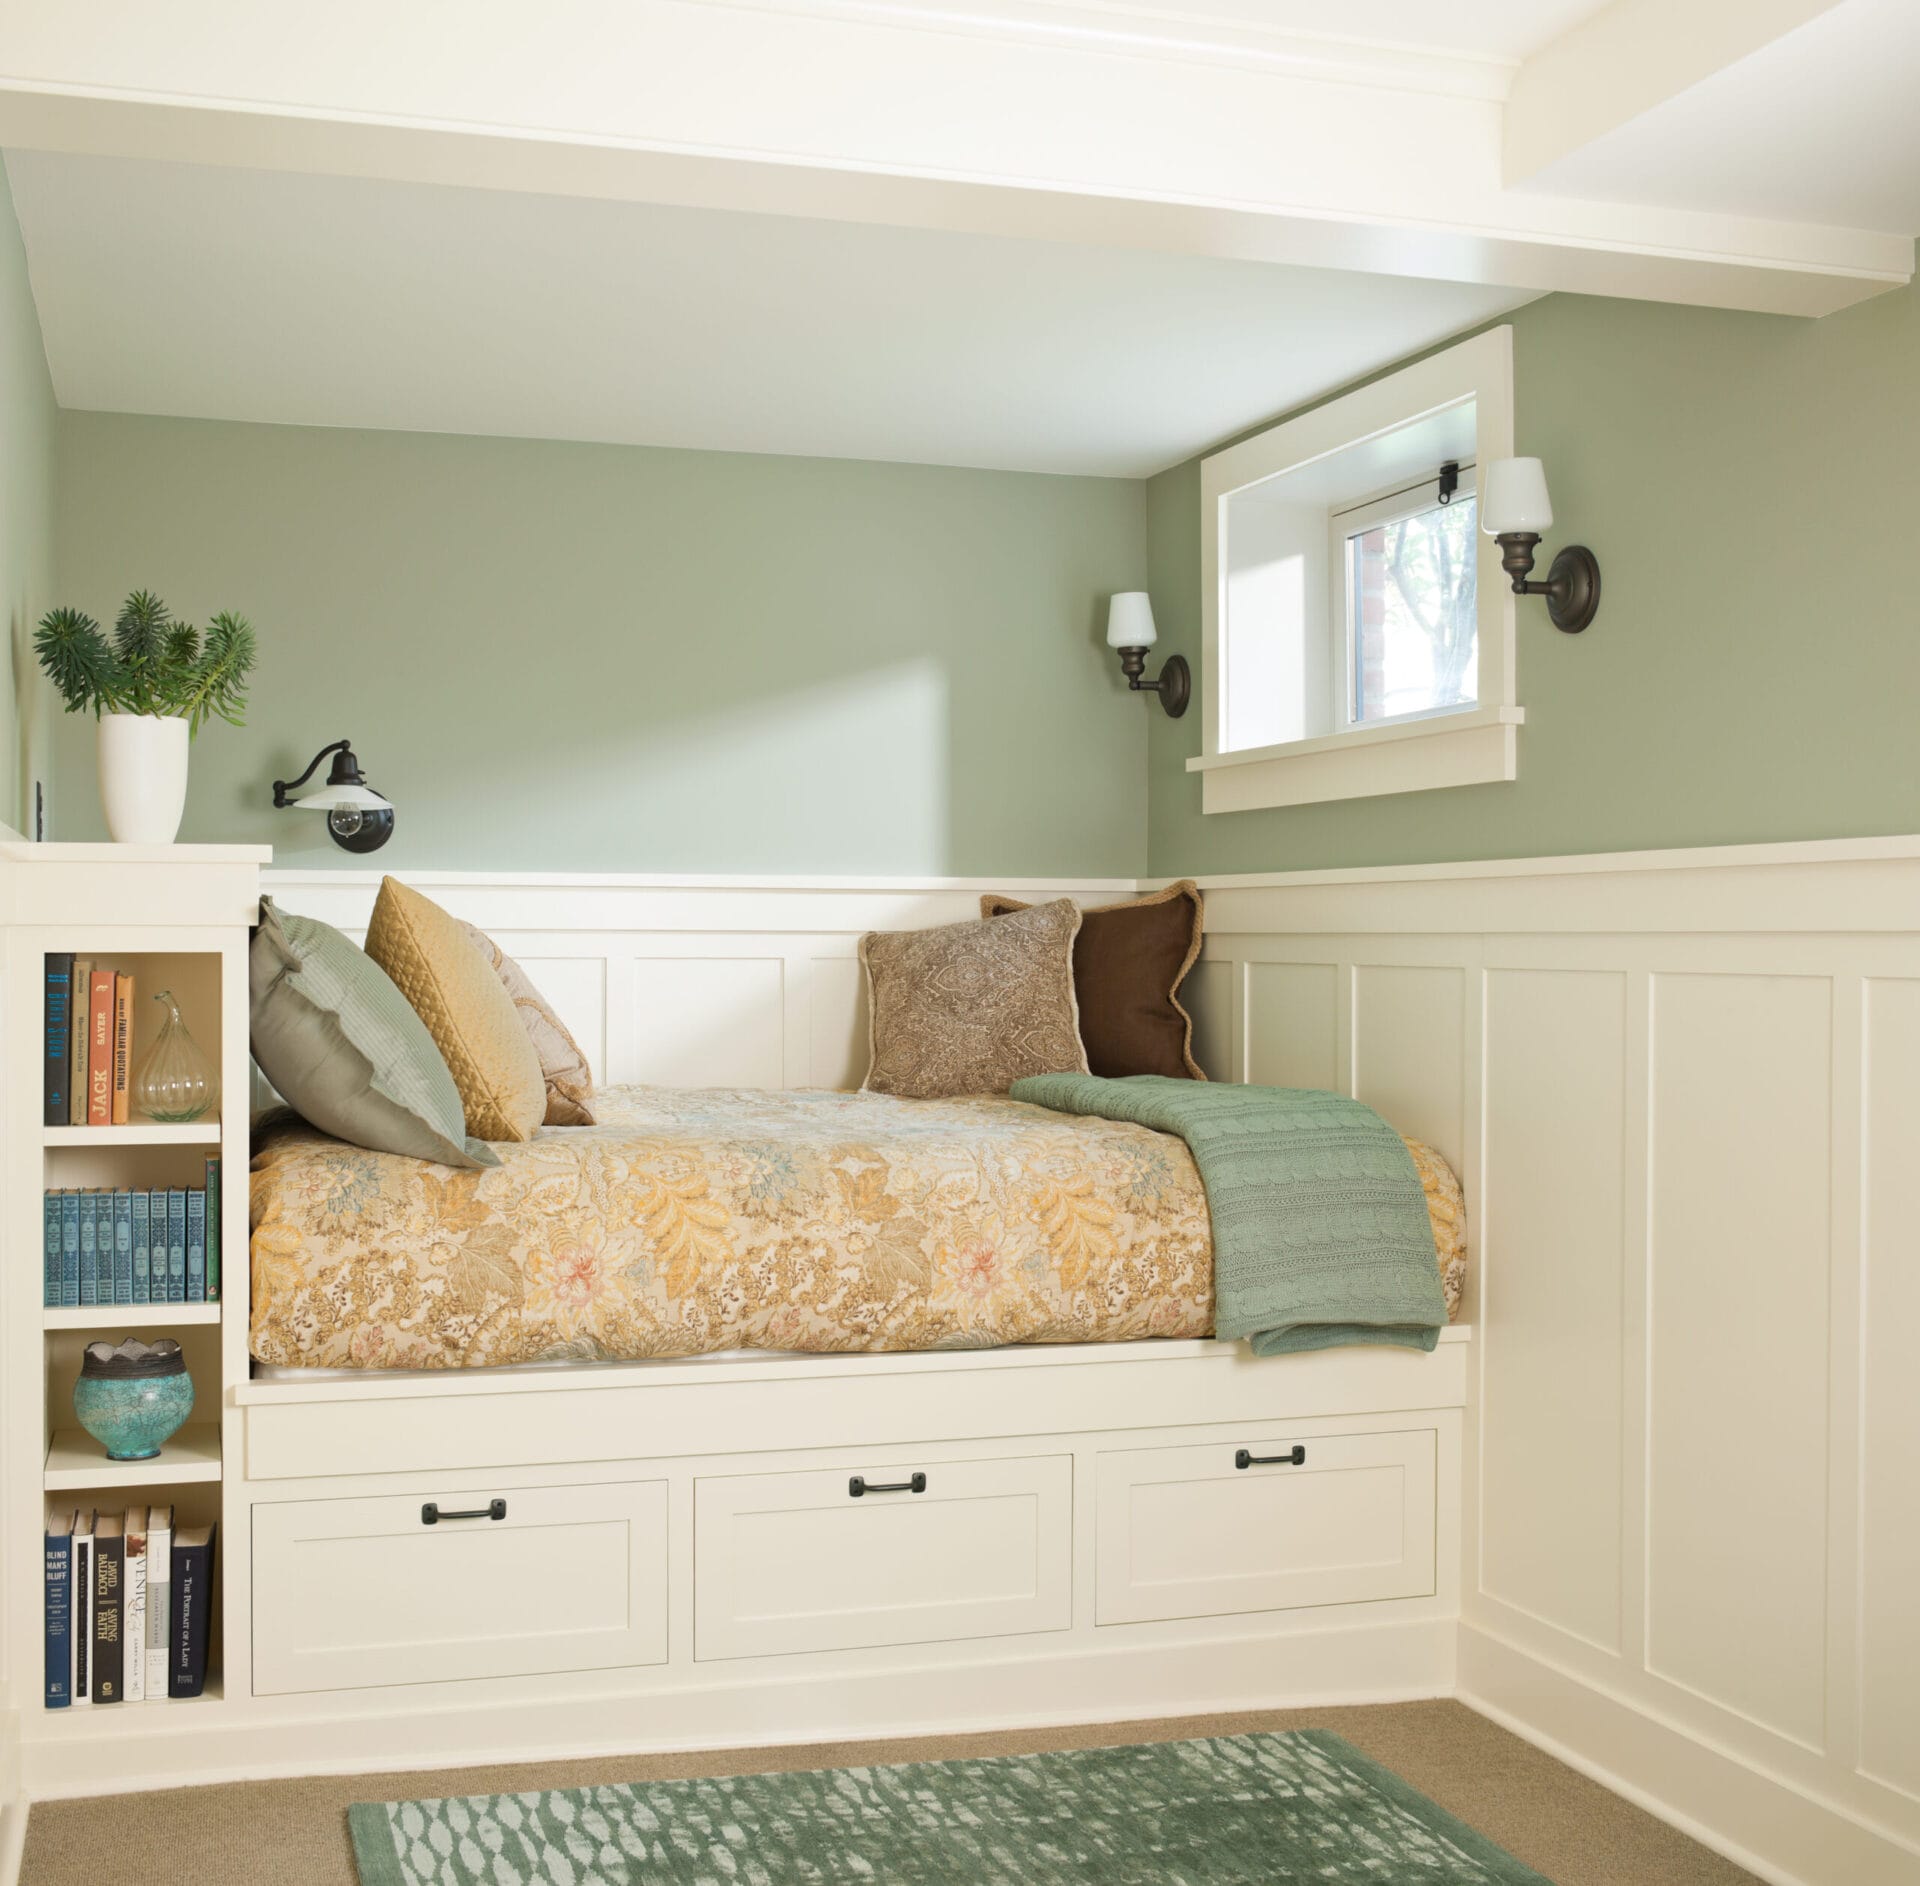

A basement can be the most misunderstood room in a house. One homeowner sees concrete walls, exposed pipes, and a suspicious collection of holiday decorations. Another sees a family room, home office, guest suite, gym, workshop, or theater where nobody complains about the volume.
Successful basement refinishing, however, involves much more than framing a few walls and choosing attractive flooring. Because the space sits partly or entirely below grade, it faces unusual challenges involving groundwater, humidity, radon, limited daylight, low ceilings, mechanical equipment, and emergency access. Ignore those issues, and your beautiful new room may eventually smell like a wet gym bag wearing expensive carpet.
This comprehensive basement refinishing guide explains how to evaluate the space, control moisture, plan a practical layout, meet safety requirements, select suitable materials, and avoid costly remodeling mistakes.
Start by Deciding What the Basement Needs to Become
Before buying lumber, decide how the finished basement will function. This sounds obvious, but many projects begin with demolition and end with homeowners wondering why the pool table blocks the bathroom door.
Make a list of essential uses and optional features. A growing family may need a playroom and storage area. Someone working remotely may prioritize a quiet office with good lighting and reliable internet. Frequent hosts might prefer a media room, wet bar, and guest bedroom.
Create Activity Zones
Instead of dividing every function with a full wall, consider flexible zones. An open family room can include a television area, game table, and reading corner without feeling like an underground maze.
Reserve enclosed rooms for functions that genuinely require privacy, sound control, or code separation, such as bedrooms, bathrooms, mechanical rooms, and offices used for video meetings. Keep circulation paths simple and avoid placing permanent walls where they restrict access to electrical panels, plumbing shutoffs, cleanouts, sump pumps, or HVAC equipment.
Plan Around Existing Conditions
Measure the basement carefully, including ceiling height beneath beams, pipes, and ducts. Mark windows, columns, stairs, drains, utility equipment, and any areas where water has previously appeared.
Existing obstructions do not always need to disappear. A structural column can become part of a built-in bookshelf, bar, or room divider. A bulky duct can be incorporated into a soffit. The goal is to design with the basement rather than wage an expensive personal battle against every pipe.
Inspect the Basement Before Covering Anything
A basement remodel should begin with investigation, not decoration. Once insulation and drywall are installed, cracks and leaks become harder to inspect and more expensive to repair.
Look for Water and Moisture Problems
Check the space during and after heavy rain. Look for stains, mineral deposits, peeling paint, damp corners, condensation, rust, warped wood, musty odors, and dark growth on walls or stored materials. Inspect the floor-to-wall joint, foundation penetrations, window wells, and areas around plumbing.
A moisture meter and humidity monitor can provide useful information, but they do not replace a physical inspection. Persistent water intrusion may require help from a drainage specialist, foundation professional, plumber, or structural engineer.
Check the Exterior Drainage
Many basement water problems begin outside. Clean clogged gutters, repair leaking downspouts, and direct roof runoff away from the foundation. Soil near the house should generally encourage water to move away rather than collect beside the walls.
Inspect window wells and exterior drains for debris. Cracks in pavement, poorly positioned landscaping, and settled soil can also channel water toward the foundation. Interior waterproof coatings may help in limited situations, but painting over an active leak is not a drainage strategy. It is more like putting makeup on a faucet.
Evaluate Foundation Cracks
Small, stable cracks may only require sealing, but widening, displaced, stair-step, or repeatedly leaking cracks deserve professional evaluation. Do not conceal signs of structural movement behind new walls without identifying the cause.
Test for Radon
Radon is an invisible, odorless radioactive gas that can enter through soil, foundation openings, drains, and slab cracks. Because finishing a basement changes how the space is occupied and ventilated, test before remodeling. The EPA recommends taking corrective action when radon is measured at or above 4 picocuries per liter.
If mitigation is necessary, it is usually easier to install the system before ceilings and walls are closed. Test again after construction because air sealing, HVAC changes, and new exhaust equipment can affect pressure relationships inside the home.
Address Mold and Hazardous Materials Safely
Mold needs moisture, so cleanup without moisture correction is rarely a permanent solution. Porous materials that remain wet or heavily contaminated may need to be discarded. Larger affected areas, sewage contamination, repeated growth, or mold inside HVAC systems should be evaluated by qualified professionals.
Older houses require additional caution. Homes built before 1978 may contain lead-based paint, and sanding or demolition can spread hazardous dust. Older floor tiles, pipe insulation, textured coatings, adhesives, and other building products may contain asbestos. Suspect materials should be evaluated before they are cut, drilled, sanded, or removed.
Asbestos is not a material to investigate with a pry bar and optimism. When potentially hazardous products will be disturbed, use trained and appropriately licensed professionals.
Confirm Permits, Codes, and Emergency Access
Building permits are not glamorous, but neither is tearing open a completed wall because an inspector needs to see the wiring. Contact the local building department before construction to determine which permits, plans, inspections, and licensed trades are required.
Verify Ceiling-Height Requirements
Many jurisdictions base their residential rules on versions of the International Residential Code, which commonly requires approximately seven feet of ceiling height in habitable basement areas, with specific exceptions and separate rules for obstructions. Local amendments and rules for existing buildings can differ.
Measure from the planned finished floor to the lowest finished ceiling surface. New subflooring, ceiling systems, and boxed-in utilities all consume height. That handsome platform floor may seem less handsome when everyone has to duck beneath the ductwork.
Plan Emergency Escape and Rescue Openings
Basements and basement bedrooms commonly require compliant emergency escape and rescue openings unless a qualifying exterior door or another local exception applies. The opening must be operable and lead to a safe exterior area. A basement bedroom generally needs its own compliant opening.
An egress window project may involve enlarging a foundation opening, installing a window well, providing drainage, and adding a permanently attached ladder or steps where required. Treat it as an early structural and site-planning decision rather than a decorative upgrade added after drywall.
Include Smoke and Carbon Monoxide Protection
Plan smoke alarms on every level, including the basement, and inside and outside sleeping areas as required. Carbon monoxide alarm placement depends on the basement’s use, sleeping areas, fuel-burning equipment, and local code. Follow the alarm manufacturer’s instructions and local requirements.
Build a Basement-Specific Moisture and Insulation System
Above-grade wall assemblies cannot always be copied below grade. Foundation walls are cooler and can transmit moisture from the soil. Materials that tolerate occasional dampness are safer than assemblies that trap moisture against paper-faced drywall or fiberglass insulation.
Insulate Foundation Walls Carefully
Rigid foam board and properly installed closed-cell spray foam are frequently used against foundation walls because they can provide thermal resistance while limiting contact between humid indoor air and cold masonry. Product selection, thickness, fire protection, and vapor-control details must comply with local codes.
A common approach is to install compatible foam insulation against a dry foundation wall, seal seams and penetrations, and frame a service wall in front of it. Avoid placing moisture-sensitive fiberglass batts directly against masonry unless the complete wall assembly has been designed for local conditions.
Do Not Create a Moisture Sandwich
Basement wall assemblies need a drying strategy. Installing multiple low-permeance layers in the wrong locations can trap water where it cannot evaporate. Climate, foundation type, exterior waterproofing, insulation material, and local code all affect the correct design.
When the proper assembly is unclear, consult a building-science professional or experienced basement contractor. It costs less than replacing a wall that has quietly turned into a mushroom farm.
Control Indoor Humidity
A dehumidifier can help maintain comfortable humidity, but it should not be used as a substitute for fixing leaks. Choose a unit sized for the space and arrange continuous drainage to a suitable receptor when possible.
Bathrooms need effective exhaust ventilation to the outdoors. Clothes dryers must also vent outdoors through appropriate ducting. Depending on the climate and existing equipment, the finished basement may require new HVAC supply and return paths, a ductless heat pump, or other conditioning improvements.
Plan Framing, Plumbing, Electrical, and HVAC Together
Mechanical systems should be coordinated before framing. Otherwise, the plumber, electrician, and HVAC contractor may each arrive with a different interpretation of where your ceiling is supposed to go.
Preserve Utility Access
Maintain required working clearances around electrical panels, furnaces, boilers, water heaters, sump pumps, and other equipment. Use access panels for valves, cleanouts, dampers, junction points, and components that may require service.
Do not permanently bury plumbing connections, shutoffs, or electrical boxes. Leave a practical route for replacing major equipment. A water heater that entered through an open basement should not become a permanent resident because the new doorway is too narrow.
Design the Bathroom Early
Basement bathrooms can be straightforward when the main drain is deep enough for gravity flow. When it is not, the project may require an ejector system or other approved solution. Determine drain elevation and venting requirements before selecting the room location.
Place bathrooms, wet bars, and laundry areas near existing plumbing when practical. Shorter runs generally reduce demolition, labor, and the number of surprises hiding beneath the slab.
Provide Enough Electrical Capacity
Calculate the needs of lighting, receptacles, entertainment equipment, office electronics, exercise machines, kitchen appliances, and heating or cooling equipment. Finished basements may require additional circuits, arc-fault protection, ground-fault protection, interconnected alarms, and updated panel capacity.
Run internet cabling, speaker wire, and conduit before closing walls. Empty conduit is inexpensive during construction and extremely persuasive evidence that your future self deserves nice things.
Choose Materials That Can Handle Below-Grade Conditions
Basement Flooring
Luxury vinyl plank, ceramic or porcelain tile, sealed concrete, rubber flooring, and certain engineered flooring systems are popular basement options. Always confirm that the product is approved for below-grade installation and compatible with the slab’s moisture condition.
Solid hardwood and ordinary carpet are riskier where moisture is possible. Carpet can be comfortable in a reliably dry basement, but it may hold water and odors after a leak. Removable carpet tiles offer easier replacement than wall-to-wall material.
Before flooring installation, inspect and repair the slab, test for moisture when required by the manufacturer, and use the specified underlayment or vapor-control layer. Never assume concrete is dry simply because it feels dry.
Walls and Trim
Use moisture-resistant materials where appropriate, particularly near bathrooms, laundry equipment, exterior doors, and utility spaces. Keep drywall slightly above the concrete floor according to the selected construction detail so minor moisture does not wick directly into it.
Composite, PVC, tile, or other water-tolerant base materials can be practical in vulnerable areas. Wood trim can still work in a properly controlled basement, but it should not become a sponge for every minor plumbing mishap.
Ceiling Options
A drywall ceiling provides a clean, finished appearance and can improve sound control, but it limits access to pipes and wiring. A suspended ceiling makes future maintenance easier but reduces headroom. Painting exposed joists and utilities preserves height and offers an industrial look, although it does not hide mechanical clutter or control sound as effectively.
A hybrid approach often works well: drywall in primary living areas, accessible panels beneath important valves, and a suspended or open ceiling in utility zones.
Use Lighting and Design to Make the Basement Feel Above Grade
Basements need layered lighting because natural daylight is often limited. Combine general lighting with task lights, wall sconces, under-cabinet lighting, and accent fixtures. Multiple lighting zones allow a media area to remain dim while someone at a desk can still see what they are doing.
Light-colored walls can make low-ceilinged rooms feel more open, but an entirely white basement may look less like a welcoming retreat and more like a very clean storage unit. Add warmth through wood tones, textiles, artwork, and varied lighting temperatures.
Hang mirrors where they reflect windows or attractive fixtures rather than mechanical-room doors. Use full-height curtains around small windows to suggest taller openings. Built-in storage can make use of shallow areas while keeping toys, games, exercise gear, and the family’s mysterious cable collection under control.
Soundproofing and Comfort Improvements
Basements are ideal for noisy activities, but sound can travel through open joist cavities, ducts, plumbing, stairs, and framing. Install sound-absorbing insulation between ceiling joists where appropriate. Resilient channels, isolation clips, additional drywall layers, acoustic sealant, and solid-core doors can further reduce transmission.
Soundproof the correct boundaries. A home theater may need treatment above the ceiling, while a basement office beside a playroom needs attention to the shared wall and door. Ductwork may also carry conversations and movie sound throughout the house.
Comfort also depends on surface temperature and air movement. A basement with insulated walls but a cold, uninsulated slab may still feel chilly. Area rugs, approved insulated subfloor systems, radiant-floor options, and properly designed heating can improve comfort without turning the thermostat into a family argument.
Create a Realistic Basement Refinishing Budget
Break the project into categories rather than guessing one impressive round number. Include design, permits, demolition, moisture repairs, radon mitigation, egress work, insulation, framing, plumbing, electrical, HVAC, drywall, flooring, cabinetry, fixtures, painting, and cleanup.
Set aside a contingency fund for hidden problems. Basements frequently reveal corroded pipes, overloaded circuits, damaged framing, old drain lines, or foundation repairs after demolition. Spending every dollar on the visible design leaves no room for the systems that keep that design usable.
Prioritize investments in this order:
- Structural stability and water management
- Health, fire safety, egress, and code compliance
- Insulation, HVAC, plumbing, and electrical systems
- Durable floors, walls, ceilings, and storage
- Decorative upgrades and specialty features
The movie projector is exciting. The functioning sump pump is what lets you continue owning it.
A Practical Basement Refinishing Sequence
- Define the rooms, activities, and storage needs.
- Measure existing conditions and document all utilities.
- Inspect the structure, foundation, drainage, and slab.
- Correct water intrusion and test for radon.
- Evaluate lead, asbestos, or other hazardous materials.
- Develop plans and obtain required permits.
- Complete exterior drainage, egress, and structural work.
- Install underground plumbing and repair the slab.
- Complete insulation, framing, mechanical, electrical, and plumbing rough-ins.
- Pass required inspections before covering the work.
- Install walls, ceilings, doors, trim, and flooring.
- Complete fixtures, painting, alarms, testing, and final inspections.
Take photographs before insulation and drywall. Images showing pipe routes, wiring, blocking, and shutoff locations can save hours when mounting a television or repairing a future leak.
Common Basement Refinishing Mistakes to Avoid
- Finishing a wet basement: New materials do not cure old leaks.
- Skipping permits: Unpermitted work can cause safety, insurance, and resale complications.
- Ignoring egress: A room is not automatically a legal bedroom because it contains a bed.
- Using moisture-sensitive materials against concrete: Below-grade walls require basement-specific assemblies.
- Blocking mechanical access: Equipment eventually needs maintenance or replacement.
- Installing too few lights and receptacles: Basements rarely become brighter or less technology-dependent over time.
- Designing around furniture you do not own: Verify dimensions before building bars, gaming zones, or theater platforms.
- Spending the contingency fund on décor: Decorative pillows cannot repair a sewer line, no matter how confidently they are arranged.
Experience-Based Lessons From Basement Refinishing Projects
The most useful basement remodeling lessons often come from small decisions that seemed unimportant at the beginning. One recurring example is the rush to install walls. Framing creates dramatic visual progress, so homeowners naturally want to begin there. Unfortunately, it can also hide evidence of water movement. A better experience comes from leaving the basement exposed through several rain events after drainage and crack repairs. That quiet observation period is less exciting than construction, but it provides confidence that the moisture problem has actually been corrected.
Another lesson involves access. During design, access panels can feel like blemishes on a perfect ceiling. Years later, when a plumber needs to reach a shutoff valve, that modest panel looks like architectural genius. Successful projects identify every item likely to need adjustment or replacement and provide a logical route to it. The same principle applies to furnaces, water heaters, ejector pumps, filters, cleanouts, dampers, and network equipment.
Lighting plans also tend to improve after homeowners imagine specific activities rather than simply counting fixtures. A row of recessed lights may illuminate the floor evenly but still produce shadows over a craft table or desk. Layered lighting solves this problem. General fixtures handle movement through the room, task lighting supports work, and accent lighting gives the basement character. Separate switches and dimmers make the same space useful for homework at 4 p.m. and movies at 8 p.m.
Material samples should be viewed in the actual basement. Paint, flooring, and cabinetry can look completely different under limited natural light and artificial fixtures. A gray floor that appears elegant in a bright showroom may look cold or blue underground. Large samples left in the room for several days reveal more than a tiny chip examined beneath store lighting.
Homeowners also learn quickly that storage must be designed, not merely promised. A finished basement often eliminates the open area that previously held tools, luggage, seasonal decorations, and bulk purchases. Without dedicated closets, shelving, or a utility storage room, those objects migrate into the new living area. The finished basement then becomes the same storage space as before, except the boxes are now sitting on premium flooring.
Sound control is another area where advance planning pays off. Adding insulation after the ceiling is closed is inconvenient, and addressing vibration after a home theater is operating can be difficult. Install blocking, acoustic materials, speaker wiring, and equipment conduit while the framing is open. Even modest improvements made at this stage can reduce noise reaching bedrooms above.
Experienced remodelers also resist filling every square foot with a permanent function. Families change, hobbies appear, and home offices become guest rooms. Open areas, movable furniture, wide doorways, and adaptable lighting help a basement evolve. Built-ins are valuable where they solve a specific problem, but excessive customization can make a room less useful to future occupants.
Finally, the best basement projects separate “invisible” spending from “wasted” spending. Waterproofing, radon reduction, insulation, electrical capacity, safe stairs, and ventilation may not attract compliments during a party. They are still the features that make the room healthy, legal, comfortable, and durable. Finishes create the first impression; good building systems determine whether that impression survives the next storm.
Conclusion
Refinishing a basement can add useful living space without changing the footprint of the house, but success depends on treating the project as a below-grade building system rather than a simple decorating exercise. Begin with water management, foundation evaluation, radon testing, hazardous-material precautions, permits, egress, and fire safety. Then coordinate insulation, framing, plumbing, electrical work, HVAC, lighting, storage, and durable finishes.
The smartest basement is not necessarily the one with the largest television or fanciest bar. It is the one that remains dry, comfortable, accessible, adaptable, and pleasantly free of unexplained odors. Build that foundation first, and the fun details can safely follow.