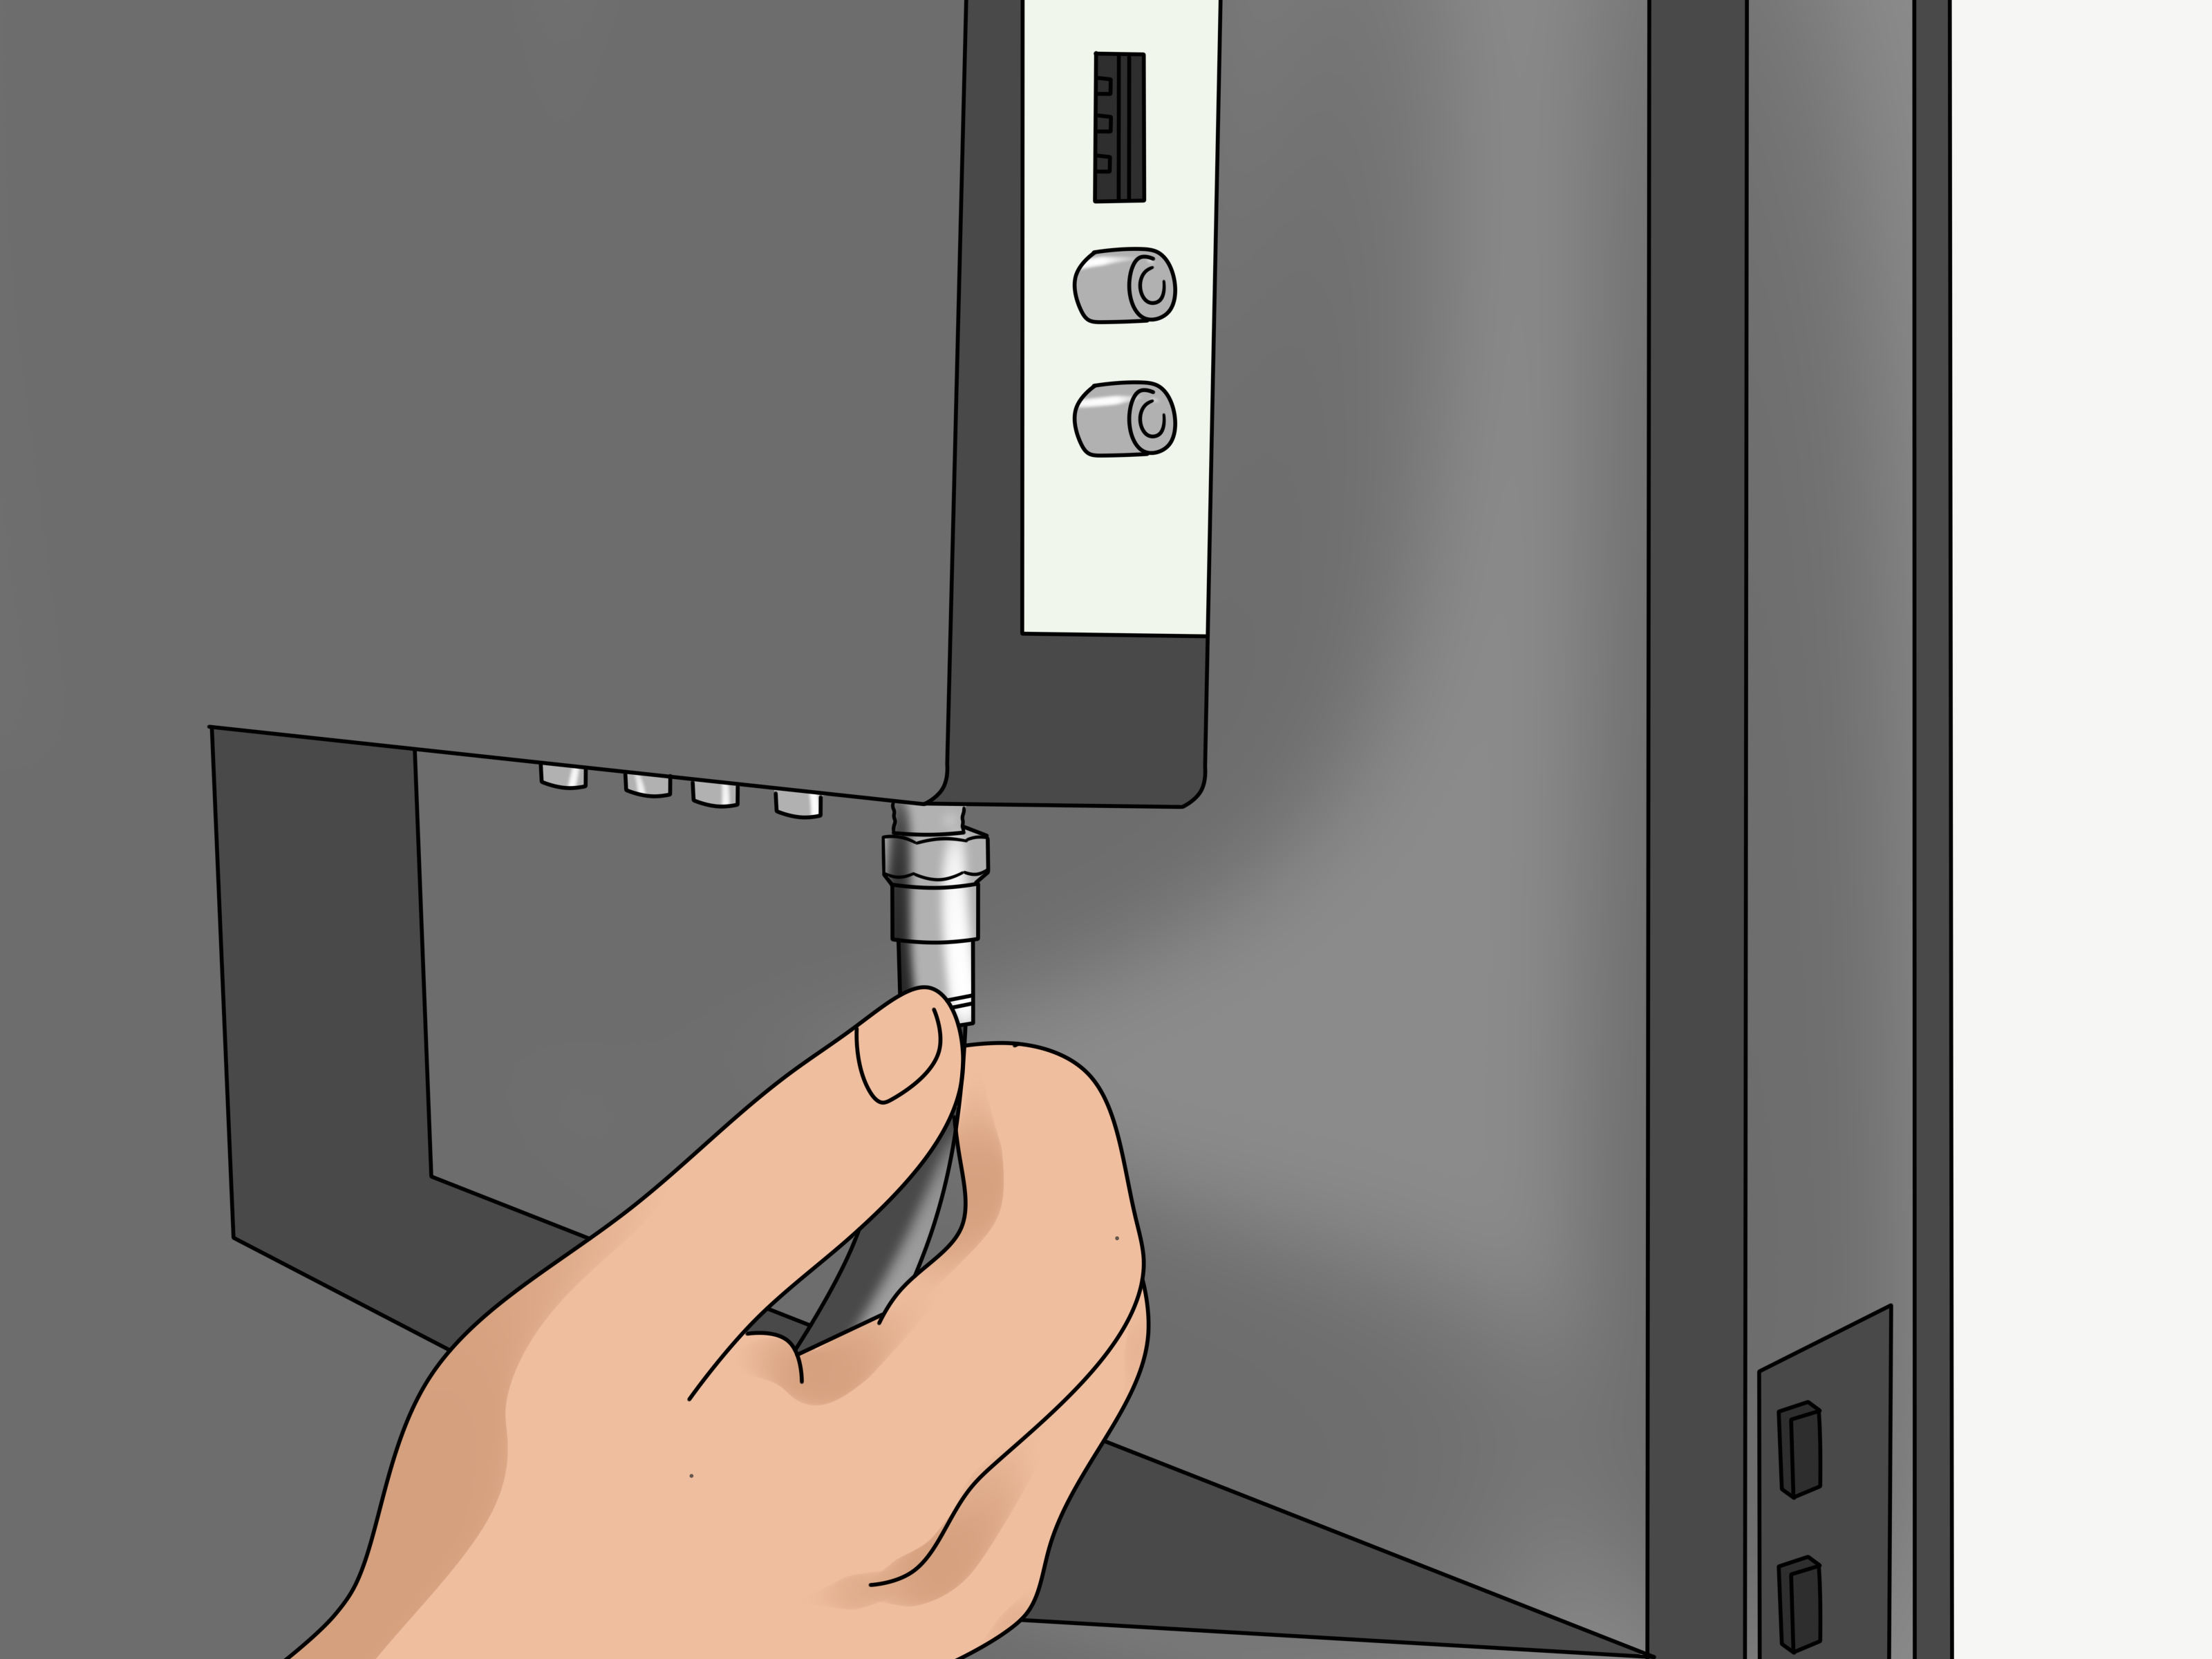

Few household frustrations feel more ridiculous than being six inches short. The TV is mounted beautifully, the modem is ready, the cable outlet is right there, and yet the cord refuses to reach like it has joined a tiny rebellion. The good news: extending a cable cord is usually simple, affordable, and completely doable if you are working with a low-voltage coaxial cable used for cable TV, satellite TV, antennas, or some internet modem connections.
The important word is low-voltage. This guide focuses mainly on extending coaxial cable cordsthe round cables with a center pin and threaded metal connector, often labeled RG6 or RG59. If you are trying to extend an electrical power cord, lamp cord, appliance cord, or in-wall household wiring, pause before grabbing tape and enthusiasm. Power cords carry real electrical risk, and unsafe extensions can overheat, shock, or start fires. In other words, coax cable is a tidy DIY job; household electrical wiring is where confidence should put on a hard hat and call a licensed electrician.
Below, you will learn nine simple steps to extend a cable cord cleanly, safely, and without turning your entertainment center into a spaghetti exhibit at a modern art museum.
What You Need Before Extending a Cable Cord
For most cable TV or internet coaxial cable extensions, the job requires only a few basic items: an extra length of compatible coaxial cable, a female-to-female F-type coaxial coupler, and possibly a small wrench. If the existing cable end is damaged or bare, you may also need a coax stripper, compression connectors, and a compression tool.
The most common cable for modern home TV, satellite, and cable internet connections is RG6 coaxial cable. RG6 is generally preferred over older RG59 for longer runs and higher-frequency signals because it is better suited for today’s broadband and HD video needs. If your current cable is labeled RG6, match it with RG6. If the labeling has vanished into the dust dimension behind your cabinet, compare the cable thickness and connector type, or buy a high-quality RG6 extension cable with F-type connectors.
Simple Ways to Extend a Cable Cord: 9 Steps
Step 1: Identify What Kind of Cable Cord You Are Extending
Before buying anything, identify the cord. A coaxial cable is usually round, moderately stiff, and has a threaded metal connector with a small center wire or pin. It is commonly used for cable boxes, cable modems, satellite receivers, TV antennas, and wall cable outlets.
If the cord has a two-prong or three-prong plug, it is an electrical power cord, not a coax cable. Do not splice it, bury it under rugs, run it through walls, or treat it like a permanent fix. Use a properly rated extension cord only for temporary needs, and for permanent power access, have an outlet installed where you need one. Safety may not be glamorous, but neither is explaining to your insurance company that the living room fire started with “a little DIY experiment.”
Step 2: Measure the Distance You Actually Need
Measure from the existing cable end to the device, following the route the cable will take. Do not measure in a straight heroic line across the room unless you plan to levitate the cable. Add extra length for routing around furniture, along baseboards, and behind equipment.
A good rule is to add 12 to 24 inches of slack. This prevents tension on the connectors and makes it easier to move the TV stand, modem, or cable box later. However, do not buy a 100-foot cable when you only need 8 feet. Longer coaxial cable runs can increase signal loss, especially if the cable is low quality or connected through multiple adapters and splitters.
Step 3: Choose the Right Extension Cable
Select a coaxial extension cable that matches your existing setup. For most homes, RG6 coaxial cable with F-type male connectors on both ends is the right choice. Look for a cable with solid connectors, good shielding, and a jacket appropriate for the location. Indoor cable is fine behind a TV. Outdoor cable should be weather-resistant, UV-resistant, and rated for exterior use.
If the cable will run near electrical wiring, routers, appliances, or other sources of interference, choose a well-shielded cable. Quad-shield RG6 can be helpful in noisy signal environments, though standard RG6 is often enough for typical indoor runs. The goal is simple: carry the signal cleanly without introducing static, pixelation, buffering, or mysterious “why is the game frozen during the best play?” moments.
Step 4: Get a Female-to-Female F-Type Coupler
The easiest way to extend a coaxial cable cord is with a female-to-female F-type coupler, also called a barrel connector. This small metal adapter has threads on both sides and lets you join two male coaxial cable ends together.
Buy a coupler designed for RG6 or standard F-type coaxial connections. For outdoor or high-quality installations, choose a weather-resistant or compression-style coupler. Gold plating is not magic, but corrosion-resistant materials and snug threading can help maintain a reliable connection over time.
Avoid using a splitter unless you truly need to send the signal to two devices. A splitter divides signal strength; a coupler simply extends the cable. If your only goal is length, use a coupler. Your signal will thank you by not acting like it has stage fright.
Step 5: Turn Off or Unplug Connected Equipment
Coaxial cable is low voltage, but it is still smart to turn off or unplug the connected device before making changes. Turn off the TV, cable box, modem, satellite receiver, or antenna amplifier. If you are working with a cable modem, unplug its power adapter before disconnecting the coax cable.
This step protects equipment and gives the device a clean restart after the cable extension is installed. For internet service, the modem may need a few minutes to reconnect after you plug everything back in. Be patient. Modems like to contemplate existence before returning to full speed.
Step 6: Connect the Coupler to the Existing Cable
Take the existing cable end and screw it onto one side of the F-type coupler. Turn it clockwise until it is finger-tight. The connector should thread smoothly. If it feels crooked or resistant, back it off and try again. Cross-threading can damage the connector and create a loose or unreliable connection.
Finger-tight is usually enough for many indoor setups. If the connector has flat sides, you can use a small wrench for a gentle final snug. Do not over-tighten. Coax connectors are not lug nuts on a pickup truck. Too much force can crush parts, damage threads, or make future removal annoying enough to require emotional support.
Step 7: Attach the Extension Cable
Now connect the new coaxial extension cable to the other side of the coupler. Again, turn the connector clockwise until it is secure. Make sure the center pin enters cleanly and does not bend. A bent center conductor can cause signal problems or no signal at all.
Once both sides are connected, inspect the joint. The cable should not wobble, and the connectors should sit straight. If the connection feels loose even when tightened, replace the coupler or cable. A $3 connector can absolutely ruin a $1,000 TV experience if it is poorly made or damaged.
Step 8: Route the Cable Safely and Neatly
Run the extended cable along baseboards, behind furniture, or through a cable raceway. Avoid sharp bends, tight kinks, crushed sections, and pinch points under doors or furniture legs. Coaxial cable has internal shielding and insulation; damaging those layers can weaken the signal.
Use cable clips, adhesive cable channels, or hook-and-loop straps to manage the run. Do not staple through the cable. Do not trap it under heavy furniture. Do not coil a huge amount of extra cable tightly behind the device. Gentle curves are better than sharp angles.
For outdoor runs, keep the connection protected from rain and moisture. Use weatherproof boots, outdoor-rated connectors, or a proper weatherproof enclosure. Water intrusion is the villain in many cable failures. It sneaks in, corrodes metal, weakens signal, and then acts innocent while your picture breaks into tiny squares.
Step 9: Test the Signal and Troubleshoot
Reconnect power to the device and test the connection. For a TV or cable box, check several channels and look for pixelation, static, audio dropouts, or missing channels. For a modem, wait for the online light to stabilize, then run a speed test and confirm normal browsing.
If the signal is poor, start with the simplest fixes. Tighten the connectors gently. Remove unnecessary splitters. Try a shorter extension cable if possible. Replace cheap or damaged couplers. Check whether the cable is bent sharply behind furniture. If the connection still fails, contact your cable provider or a professional installer. Sometimes the problem is not your extension at all but a weak signal at the wall outlet, an old splitter in the basement, or a cable line outside that has been quietly suffering since the last storm.
Common Mistakes to Avoid When Extending a Cable Cord
Using the Wrong Cable Type
Using RG59 for a long modern internet or HD video run can create performance issues. RG59 still has uses, especially for short low-frequency applications, but RG6 is usually the safer choice for cable TV, satellite, and broadband connections.
Adding Too Many Splitters
A splitter is not a harmless little metal octopus. Every split can reduce signal strength. If you only need to extend a cable, use a coupler. If you need multiple devices connected, use the fewest splitters possible and consider a high-quality splitter rated for your service frequency range.
Creating a Permanent Power-Cord Workaround
This is the biggest safety warning in the article. Extension cords for electrical power are temporary tools, not permanent wiring. Do not run them through walls, ceilings, floors, doorways, under rugs, or behind places where heat cannot escape. Do not plug major appliances, space heaters, air conditioners, refrigerators, microwaves, or other high-wattage devices into random extension cords. If you need power in a new location every day, the real solution is usually a properly installed outlet.
Ignoring Outdoor Ratings
Indoor cable and indoor power cords are not designed to live outside. Sunlight, temperature changes, rain, and moisture can break down jackets and connectors. For exterior coaxial cable, use outdoor-rated materials and weatherproof the connection. For exterior power needs, use only outdoor-rated extension cords with GFCI protection where appropriate.
When You Should Call a Professional
You can usually extend a coaxial cable yourself if the existing cable has a good connector and the run is short. However, call a professional if you need to run cable through walls, install a new wall plate, route cable outdoors, bury cable underground, or solve recurring signal problems.
You should also call a licensed electrician if the project involves household electrical wiring, new outlets, damaged power cords, overloaded circuits, warm outlets, flickering lights, tripping breakers, or anything that smells like melted plastic. That smell is your house sending a strongly worded email.
Best Practices for a Clean, Reliable Cable Extension
For the best results, keep the cable path short, use RG6 coaxial cable for modern TV and internet setups, choose a quality F-type coupler, avoid unnecessary splitters, and protect the cable from crushing or moisture. Label the cable if it disappears behind a media cabinet with other cords. Future you will appreciate not having to play “which black cable is this?” while crouched behind a shelf with a flashlight in your mouth.
Also, make sure your cable run does not create a trip hazard. Cable clips and cord covers are inexpensive and make the installation look intentional. A cable stretched across the floor may work electrically, but it also creates the perfect trap for pets, kids, guests, and your own sleepy midnight snack mission.
Experience Notes: What Extending Cable Cords Teaches You the Hard Way
After helping with more home entertainment setups than I can count, I have learned that extending a cable cord is rarely difficultbut it is often underestimated. People usually think the cable either reaches or it does not. In reality, the quality of the cable, the connector, the routing, and the final tension all matter. A loose connection can mimic a bad service provider. A crushed cable behind a cabinet can make a perfect TV signal look like it has been through a blender. A splitter added “just in case” can quietly weaken everything downstream.
One of the most common experiences is the wall-mounted TV problem. The homeowner mounts the TV, steps back proudly, and then realizes the original cable was measured for the old TV stand, not the new wall location. The quick fix is usually a short RG6 extension and a barrel coupler. The better fix is routing the cable neatly through a raceway or behind the wall using proper low-voltage wall plates. The lesson: always measure the cable path before mounting anything. TVs are much easier to admire when you are not holding them with one hand and negotiating with a cable that refuses to cooperate.
Another frequent lesson comes from internet modems. A modem may work in one room but lose stability after a long, cheap coax extension is added. The owner blames the router, the provider, the moon, and sometimes the neighbor’s microwave. But the issue may be simple signal loss. A shorter RG6 cable, fewer splitters, and tight connectors can make the connection stable again. Internet signals are surprisingly picky for something invisible.
Outdoor cable extensions bring their own personality. A connection that works perfectly in July may fail after months of rain if it is not weatherproofed. Moisture inside a coax connector can cause corrosion and signal problems that appear gradually. The practical habit is to use outdoor-rated cable, weather-resistant connectors, drip loops, and protective boots or enclosures. A little prevention beats climbing a ladder later while muttering things unsuitable for a family website.
The biggest experience-based warning, though, involves confusing coax extension with electrical extension. People often use the phrase “cable cord” for everything: TV cable, power cord, phone cord, Ethernet cable, charger cable, mysterious drawer cable from 2009. But the safety rules are very different. Extending a coax cable with a coupler is routine. Extending a power cord by splicing wires or hiding an extension cord under a rug is risky. If the cord powers an appliance, heater, AC unit, or major device, use the right rated cord temporarily or get a proper outlet installed.
The final lesson is aesthetic: neat cable work feels better. A clean cable route makes a room look finished and makes troubleshooting easier. Use labels, clips, raceways, and reasonable slack. Do not over-tighten connectors, do not create sharp bends, and do not leave a mystery coil behind the cabinet. A cable extension should solve a problem, not create a documentary titled Chaos Behind the Television.
Conclusion
Extending a cable cord can be a quick, satisfying DIY project when you are working with coaxial cable. Identify the cable, measure the route, choose a compatible RG6 extension, join it with a quality F-type coupler, route it carefully, and test the signal. The process is simple enough for beginners, but the details still matter. Clean connections, proper cable type, safe routing, and weather protection can make the difference between a reliable setup and a screen that freezes at the worst possible moment.
At the same time, remember the safety boundary: coaxial cable extensions are not the same as electrical power cord extensions. Do not splice power cords or use extension cords as permanent wiring. When electricity, heat-producing appliances, damaged cords, or in-wall power work is involved, call a licensed professional. Your home deserves good signal, good safety, and fewer cable-related acrobatics behind the entertainment center.
SEO Tags