
A handlebar mustache has the rare ability to look distinguished, rebellious, theatrical, and mildly capable of ordering a complicated espressoall at the same time. The secret is not simply growing the hair long enough to curl. You also need to trim it without accidentally turning those carefully cultivated handlebars into two uneven commas.
Unlike a short natural mustache, a handlebar depends on graduated length. The center should remain tidy around the upper lip, while the outer sections need enough length to sweep sideways and curl upward. That means the usual strategy of running one trimmer guard across the entire mustache is risky. Precision scissors, a small comb, patient snips, and a modest amount of wax are much better companions.
The following eight-step handlebar mustache trimming guide combines techniques recommended by professional barbers, grooming publications, major trimmer manufacturers, and dermatology organizations. The goal is a balanced mustache that stays out of your mouth without losing the length needed for its signature curl.
What You Need to Trim a Handlebar Mustache
Gather everything before you begin. Wandering around the bathroom with one side trimmed and the other side untouched is an excellent way to answer the door looking like two different historical figures.
- A fine-tooth mustache comb
- Small, sharp mustache or beard scissors
- A precision electric trimmer for outlining
- A well-lit mirror, preferably with magnification
- Gentle facial cleanser or beard wash
- Mustache wax or firm styling balm
- A clean towel
- A razor and shaving gel, if you want clean-shaven areas around the mustache
Scissors are especially useful for longer mustaches because they let you remove individual hairs instead of cutting a broad section at once. A trimmer is still valuable for cleaning the perimeter, removing stubble, and defining the areas beneath the handles.
Step 1: Decide on the Finished Shape
Choose between a compact curl and a dramatic handlebar
Before touching the scissors, decide what you are trying to create. A compact handlebar ends close to the corners of the mouth and has a subtle upward turn. A classic handlebar extends farther outward before curling. A dramatic version may have long, narrow handles that form full loops or sharp points.
Your decision affects how much hair you can safely remove. The longer and more pronounced the curl, the more length you must preserve at the outer edges. You can always shorten a long handle later, but you cannot negotiate with a freshly cut whisker and persuade it to grow back by dinner.
Study the mustache in its natural position and then style it loosely with your fingers. Notice which hairs contribute to the handles and which belong to the central body. If the ends do not yet reach far enough to curl, limit the session to cleaning the lip line and removing obvious strays.
Step 2: Wash, Dry, and Comb the Mustache
Start clean, but trim only after the hair is dry
Wash your face and mustache with lukewarm water and a gentle cleanser. This removes wax, oil, crumbs, and other evidence that lunch happened. Rinse thoroughly and pat the hair dry without rubbing it into a tangled cloud.
Allow the mustache to dry completely before making decisions about length. Wet facial hair may lie flatter and appear longer than it will after drying. Cutting it while damp can therefore produce a shorter result than expected.
Once dry, comb the mustache straight down over the upper lip. Begin at the center and work outward. The comb separates the hairs, exposes uneven strands, and shows the natural density of each side. Cleaning and drying before trimming are common recommendations across professional grooming guides because clean, organized hair is easier to assess and cut consistently.
Step 3: Establish a Neat Upper-Lip Line
Remove mouth-bound hairs without cutting away the mustache
Comb the center section downward and close your mouth naturally. Do not stretch your lips, smile broadly, or make the face you use when trying to read tiny restaurant prices. Changing your expression changes the lip line and may cause an uneven cut.
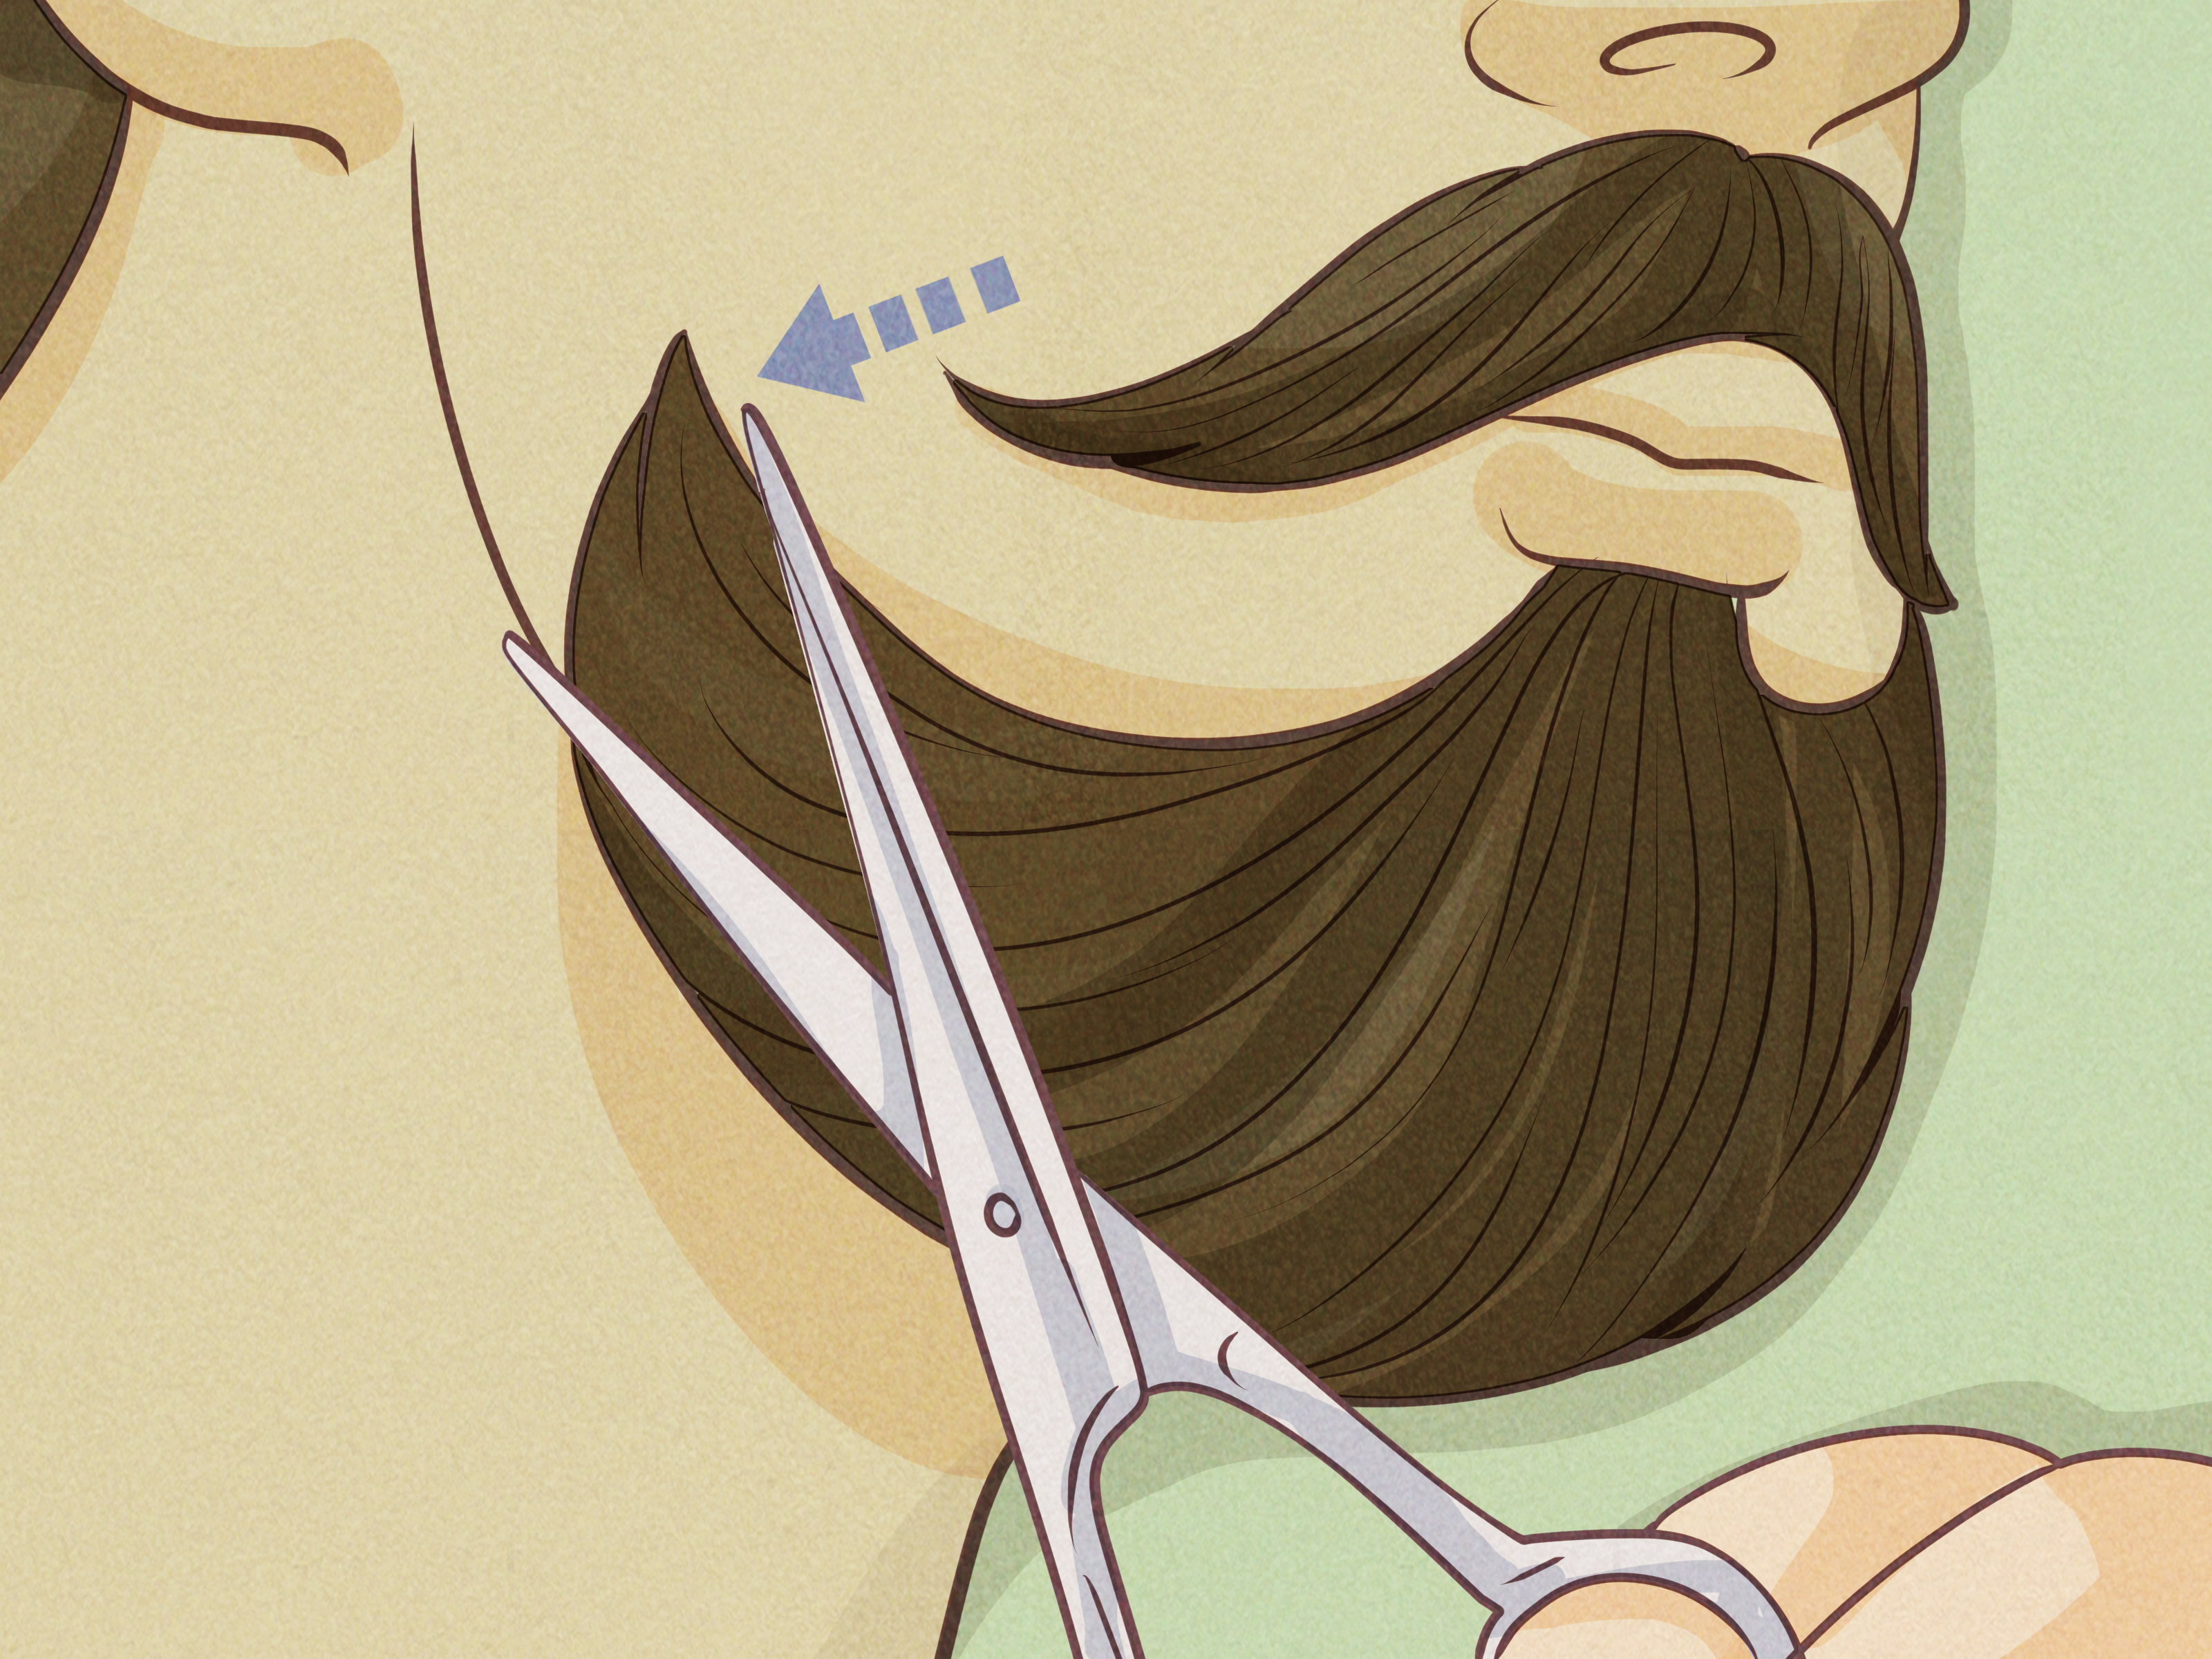
Using small scissors, trim only the hairs that fall into your mouth or extend noticeably below your chosen line. Start near one corner and make tiny cuts toward the center. Then repeat from the opposite side. Approaching the middle from both directions helps you maintain symmetry.
A handlebar mustache does not always need a sharply exposed upper lip. Some wearers prefer the center to overlap the lip slightly, while others maintain a narrow strip of visible skin. Either option can work. The important point is to preserve enough central length for a natural transition into the handles.
Avoid cutting a perfectly straight, severe line unless that is your deliberate style. Following the gentle curve of the upper lip usually looks softer and more natural. Grooming experts commonly recommend trimming the lip line in small increments and leaving the outermost hairs longer when the goal is a handlebar.
Step 4: Reduce Bulk in the Center
Thin carefully without creating holes
The middle of a mature handlebar mustache can become thick enough to collect coffee foam like a tiny, highly committed sponge. Reducing a little bulk makes the mustache easier to comb, wax, and keep away from the mouth.
Comb the central hairs downward, then lift a small section with the comb. Trim only the tips protruding beyond the comb. Work across the mustache gradually, checking the result after every few snips.
Do not push the scissors deeply into the mustache or cut an entire horizontal row. Facial hairs grow in overlapping layers. A deep cut may remove supporting hairs and leave a visible notch once everything is combed back into place.
Give special care to the philtrumthe groove beneath the center of the nose. Some people have a natural center part, while others need longer hairs there to create one through styling. Excessive trimming in this area can produce a gap that makes the mustache look divided rather than gracefully parted.
Step 5: Blend the Center Into the Handles
Create a gradual increase in length
This is the step that separates a true handlebar mustache from a regular mustache wearing wax and hoping nobody asks difficult questions.
Comb each handle inward toward the center of your mouth. This reveals the transition between the shorter central section and the longer outer hairs. Look for isolated strands that interrupt the slope or make one side appear heavier.
Make small point cuts into the ends of those uneven hairs rather than cutting a blunt line across them. The mustache should gradually become longer as it approaches the corners of the mouth. Keep the hairs that form the handles noticeably longer than the center.
After several cuts, comb both sides outward and compare them. Check the mustache from the front and from a slight angle. Perfectly identical growth is uncommon, so focus on visual balance rather than counting individual hairs. Beardbrand’s handlebar guidance similarly recommends blending from shorter central hair into longer outer sections and repeatedly checking the handles for equal apparent length.
Step 6: Even the Length of the Handles
Compare them while pulled straightnot while curled
Apply a trace of wax or dampen your fingertips just enough to gather each handle. Pull both ends horizontally away from your face. Do not curl them yet. A tightly curled handle may hide a meaningful difference in length.
Compare where the tips end in relation to the corners of your mouth, cheekbones, or another visible facial landmark. If one side is longer, remove only a tiny amount. Comb and compare again before taking a second cut.
Hair density can create an optical illusion. A thicker side may look shorter because it forms a wider curl, while a finer side may look longer and sharper. Style both handles temporarily before deciding whether additional trimming is truly necessary.
When cutting the tips, point the scissors vertically and make small upward snips. This creates a softer, tapered finish. A single horizontal chop can make the handle look blunt, especially when the wax begins to loosen later in the day.
Step 7: Clean the Perimeter and Areas Under the Handles
Define the mustache without trimming into it
Lift one handle and inspect the skin beneath it. Depending on your style, you may find stray cheek hair or stubble that makes the mustache look connected to the beard. Use a precision trimmer to remove unwanted hair beneath the handle, then repeat on the other side.
Next, clean the upper border directly beneath the nose. Remove stray nose hairs with a dedicated nose trimmer or rounded-tip grooming scissors rather than attacking the area with large scissors. You may also define the outer edges of the mustache, but begin wider than you think you need. It is easy to narrow the shape gradually.
If you use a razor around the mustache, shave with light pressure and in the direction of hair growth. Use a clean blade and shaving gel rather than shaving dry. Dermatology guidance links dull blades, aggressive pressure, dry shaving, and shaving against the grain with irritation, razor burn, and ingrown hairs. Grooming tools should also be cleaned regularly and should not be shared.
Step 8: Wax, Curl, and Perform the Final Symmetry Check
Style the mustache only after the trimming is complete
Scrape out a small amount of mustache waxusually less than you initially believe is necessary. Warm it thoroughly between your thumb and forefinger until it becomes soft and nearly invisible.
Apply the wax from the center outward, coating the hairs lightly rather than placing one heroic blob on each end. Use the comb to distribute the product and guide the hair sideways. Add a little more wax only to the handles if they need stronger hold.
Twist each end gently between your fingers, then curl it upward around a finger, pen, or small round grooming brush. Hold the curl for several seconds. For stubborn whiskers, low heat from a hair dryer can help direct the hair; a brief cool-air finish may help the shape set.
Stand back from the mirror and look at your entire face. Check the height, width, angle, and fullness of both curls. Do not automatically reach for the scissors when one side looks different. Try restyling it first. Wax distribution and curl tightness often cause apparent asymmetry that has nothing to do with length.
Professional styling advice generally recommends warming wax before application, working from the center toward the ends, combing it through, and using a higher-hold product for pronounced handlebar curls.
Common Handlebar Mustache Trimming Mistakes
Cutting the entire mustache to one length
A uniform guard may be convenient, but the handlebar requires longer outer sections. Trimming everything evenly can remove the very hairs needed to form the curls.
Trimming while the mustache is heavily waxed
Wax sticks hairs together and changes their apparent length. Remove old product, wash the mustache, and let it dry before judging the natural shape.
Trying to perfect one side before touching the other
Work back and forth between the two sides. Completing one handle first encourages you to remove increasingly large amounts from the other while chasing symmetry.
Using large household scissors
Full-size scissors block your view and can remove too much hair at once. Small grooming scissors provide better control around the lips and nose.
Trimming again immediately after a mistake
When you notice an uneven section, stop. Comb the mustache, style both sides, step into different lighting, and inspect it again. Panic trimming has ended more promising handlebars than genetics ever did.
How Often Should You Trim a Handlebar Mustache?
Most handlebars benefit from light maintenance rather than frequent major reshaping. Snip obvious strays when necessary, clean the perimeter every few days if you prefer sharp borders, and perform a more careful balancing trim approximately every one to three weeks. Your ideal schedule depends on growth speed, desired length, and how sharply defined you keep the surrounding skin.
Daily combing and styling can reduce the need for aggressive trimming. Wax helps direct wandering hairs, while a small amount of beard oil or facial moisturizer can condition dry hair and the skin underneath. Wash away heavy product buildup regularly, especially if the mustache feels stiff, itchy, or flaky. Clean facial hair and moisturized skin may help reduce dryness and discomfort.
Practical Experiences and Lessons From Maintaining a Handlebar Mustache
The first successful trim usually feels too conservative
One of the most useful lessons for a first-time handlebar owner is that a good trim may not look dramatically different. That is a feature, not a failure. Removing five troublesome hairs can improve the shape more effectively than shortening an entire section. New growers often expect a haircut-style transformation, but a handlebar trim is closer to detailed pruning. The changes are small, strategic, and visible mainly because the mustache becomes easier to style.
Each side may require a different styling technique
Facial hair rarely grows like a perfectly mirrored diagram. One handle may naturally sweep upward, while the other points toward the nearest snack. This does not always mean the longer-looking side needs trimming. It may need more combing, a slightly different curl direction, or a touch more wax at the base. Many uneven-handle problems disappear when the stubborn side is curled first and given a few extra seconds to set.
Bathroom lighting can create imaginary problems
Strong overhead lighting casts shadows beneath the curls and can make one handle look thicker or lower. Before cutting again, inspect the mustache in natural light and from a normal conversational distance. A mustache that looks mildly uneven from two inches away may look completely balanced to everyone who is not conducting a forensic whisker investigation.
Eating reveals which hairs actually need attention
A handlebar may look flawless in the mirror yet become inconvenient during a meal. Hairs that repeatedly enter the mouth usually belong to the central lip section rather than the handles. Mark their location mentally, wash and dry the mustache later, and trim those specific hairs. Avoid performing emergency surgery at the restaurant table, particularly with the steak knife.
Wax can disguise length problemsbut only temporarily
A strong wax can force unequal handles into similar curls, which is useful for styling but less useful for evaluating the trim. Every few grooming sessions, inspect the mustache clean and unwaxed. Pull the handles straight and compare their actual length. This prevents small differences from becoming larger over several months.
Growth periods require tolerance for awkward stages
When extending a short mustache into a larger handlebar, the outer hairs may refuse to cooperate for several weeks. They are too long to lie neatly and too short to form a stable curl. Frequent cutting resets this process. During the awkward stage, trim only hairs that interfere with eating or visibly disrupt the center. Train the ends sideways with daily combing and a light application of wax.
A correction should usually be delayed
After an accidental short cut, the instinct is to shorten the opposite side immediately. A better approach is to style both handles and live with the result for a day or two. The difference may be nearly invisible once curled. If correction is still necessary, remove a fraction from the longer side rather than attempting instant mathematical equality.
Professional help is useful before a major redesign
Home maintenance is practical once the basic shape exists. However, a barber experienced with long mustaches can help establish the initial taper, correct accumulated unevenness, or change a broad handlebar into a narrower style. Bring a reference photograph and explain how much length you want preserved. The phrase “just clean it up” can mean very different things to a nervous mustache owner and an enthusiastic barber holding powered equipment.
The best routine is the one you can repeat
A handlebar does not require an elaborate daily ceremony. A sustainable routine may consist of washing as needed, combing every morning, applying a pea-sized or smaller amount of wax, and trimming only when individual hairs become disruptive. Consistency keeps the shape polished while reducing the temptation to perform dramatic weekend renovations.
Conclusion
Learning how to trim a handlebar mustache is mainly an exercise in restraint. Begin with clean, dry hair, establish a comfortable lip line, reduce central bulk carefully, and preserve increasing length toward the ends. Compare the handles while they are straight, clean the surrounding skin with precision, and style the curls before deciding that further cutting is necessary.
The golden rule is simple: make tiny cuts and check often. A well-maintained handlebar should feel comfortable, look balanced, and retain enough length to curl without requiring half a container of wax. Treat the scissors as a precision tool rather than a tiny hedge trimmer, and your mustache will remain impressive instead of becoming an unexpected pencil mustache with ambitious memories.