
If you have ever opened Cricut Design Space, added a cute layered design, clicked Make It, and watched your project turn into a tiny digital confetti storm, you are not alone. Cricut is wonderful, but it does enjoy making beginners ask deep philosophical questions like, “Why is my sticker being cut into 37 pieces?” That is where the Flatten tool comes in.
So, what does Flatten mean on Cricut? In simple terms, Flatten turns selected layers into one single printable image for Print Then Cut. Instead of cutting every color, shape, letter, or decorative detail separately, Cricut Design Space treats the design like a printed picture and cuts around the outside edge. It is one of the most useful tools for making stickers, labels, printable decals, cake toppers, planner accessories, gift tags, and other projects where you want full-color artwork without layering vinyl like a craft-room archaeologist.
This guide explains the Cricut Flatten definition, how it works, when to use it, when not to use it, and how to avoid common mistakes that make Design Space behave like it skipped its morning coffee.
What Does Flatten Mean on Cricut?
In Cricut Design Space, Flatten is a function that converts two or more selected layers into a single Print Then Cut layer. When you flatten a design, Cricut keeps the visible colors and details in the artwork, but it removes the individual cut paths inside the design. Your Cricut machine will then cut only the outside shape of the flattened image.
Think of Flatten like taking a photograph of your layered design. Before flattening, every piece may be separate: text, flowers, shadows, outlines, tiny stars, and that one decorative swirl you forgot you added at 1 a.m. After flattening, all those pieces become one printable image. Cricut prints the design using your home printer, then your Cricut machine scans the sensor marks and cuts around the final shape.
Quick Cricut Flatten Definition
Flatten means converting selected Cricut layers into one printable Print Then Cut image so the machine cuts around the outer edge instead of cutting every layer separately.
That is the heart of it. Flatten does not simply “group” your design. It changes how Cricut reads the project. The operation usually becomes Print Then Cut, which means the design is meant to be printed first and cut second.
How Flatten Works in Cricut Design Space
Flatten is closely connected to Cricut’s Print Then Cut feature. Print Then Cut lets you create or upload a design in Design Space, print it on a home printer, place the printed sheet on a Cricut mat, and let your Cricut cut around the image. The machine uses printed sensor marks to understand where the image sits on the page.
When you select multiple layers and click Flatten, Design Space compresses the selected objects into one printable layer. You will usually notice the Layers panel change. Instead of seeing several Basic Cut layers, you will see one flattened Print Then Cut layer. That is your clue that Design Space now sees the design as one printed image.
Before Flattening
Before flattening, a layered design may contain many separate cut lines. For example, a rainbow sticker might have red, orange, yellow, green, blue, and purple arches as separate layers. If each layer remains a Basic Cut operation, Cricut may try to cut each color separately from different materials.
After Flattening
After flattening, Cricut treats the rainbow as one full-color printed graphic. The colors remain visible, but the machine cuts around the outside of the rainbow rather than slicing every arch apart. In other words, your rainbow stays a rainbow instead of becoming a craft-table puzzle.
When Should You Use Flatten on Cricut?
Use Flatten when you want a design to be printed as a complete image and cut around the outside. It is especially useful for full-color graphics, multi-layer images, and designs with details too small or annoying to cut from separate materials.
1. Making Stickers
Stickers are the classic reason people learn how to flatten on Cricut. If you create a sticker with text, icons, illustrations, and a white border, you want Cricut to cut the sticker outlinenot every letter, dot, sparkle, and tiny eyelash in the design. Flattening the artwork and its offset layer tells Design Space to print everything together and cut around the outer sticker border.
2. Creating Labels
Flatten is perfect for pantry labels, classroom labels, candle labels, product labels, and organizing labels. A label might include a background shape, decorative lines, a logo, and text. Flattening keeps the layout intact and turns the whole design into one printable label.
3. Using Full-Color Images
If you upload a colorful PNG or create a multi-color graphic in Design Space, flattening helps preserve the visual design while avoiding dozens of separate cuts. This is useful for party decorations, printable decals, planner stickers, scrapbook elements, and custom gift tags.
4. Adding an Offset Around a Design
The Offset tool creates a border or shadow around an image. For stickers, many crafters create a white offset behind the design, then select both the original artwork and the offset and click Flatten. This makes the Cricut cut around the offset instead of cutting around every internal detail.
5. Turning Layered Cut Files into Printable Art
Some SVG files are designed for layered vinyl or cardstock. That is great until you realize the design has 19 colors and you only have the patience of a sleepy raccoon. Flatten lets you turn many layered cut files into Print Then Cut projects, reducing the amount of weeding, layering, and tiny-piece rescue missions.
How to Flatten on Cricut: Step-by-Step
The Flatten tool is simple once you know where to find it. Here is the basic process for Cricut Design Space on desktop. Mobile apps may place the tool under the Actions menu, but the concept is the same.
Step 1: Open Your Design in Cricut Design Space
Start a new project or open an existing one. Add your image, text, shapes, uploaded artwork, or sticker design to the canvas.
Step 2: Arrange the Layers
Position everything exactly the way you want it to appear when printed. If you are making a sticker, add your offset or background shape before flattening. Check alignment, spacing, spelling, and sizing. Flattening before checking spelling is how “Happy Birthday” becomes “Hapy Birtday,” and nobody wants that on a cupcake topper.
Step 3: Select All Layers You Want to Print Together
Highlight the objects that should become one printable image. You can drag a selection box around them or select the layers from the Layers panel.
Step 4: Click Flatten
On desktop, look near the bottom of the Layers panel and click Flatten. Design Space will convert the selected layers into one Print Then Cut layer.
Step 5: Check the Layers Panel
Make sure your design now appears as a single flattened layer. This is the easiest way to confirm that the tool worked. If you still see several separate layers, you may not have selected everything before clicking Flatten.
Step 6: Click Make It
Design Space will guide you through printing the design, placing it on the mat, loading it into the machine, and cutting it. Use the correct material setting for your sticker paper, printable vinyl, cardstock, or other printable material.
Flatten vs Attach vs Weld vs Group: What Is the Difference?
One reason Cricut beginners get confused is that several tools sound like they should do the same thing. They do not. Each tool has a different job, and choosing the wrong one can change your project faster than a toddler with glitter glue.
Flatten
Flatten turns selected layers into one printable Print Then Cut image. Use it when you want to print a design and cut around the outside.
Attach
Attach keeps objects in the same position on the cutting mat but does not turn them into a printable image. It is useful for keeping text, score lines, foil lines, debossing details, or cut elements aligned. Attach keeps layers separate; Flatten merges them into one printable layer.
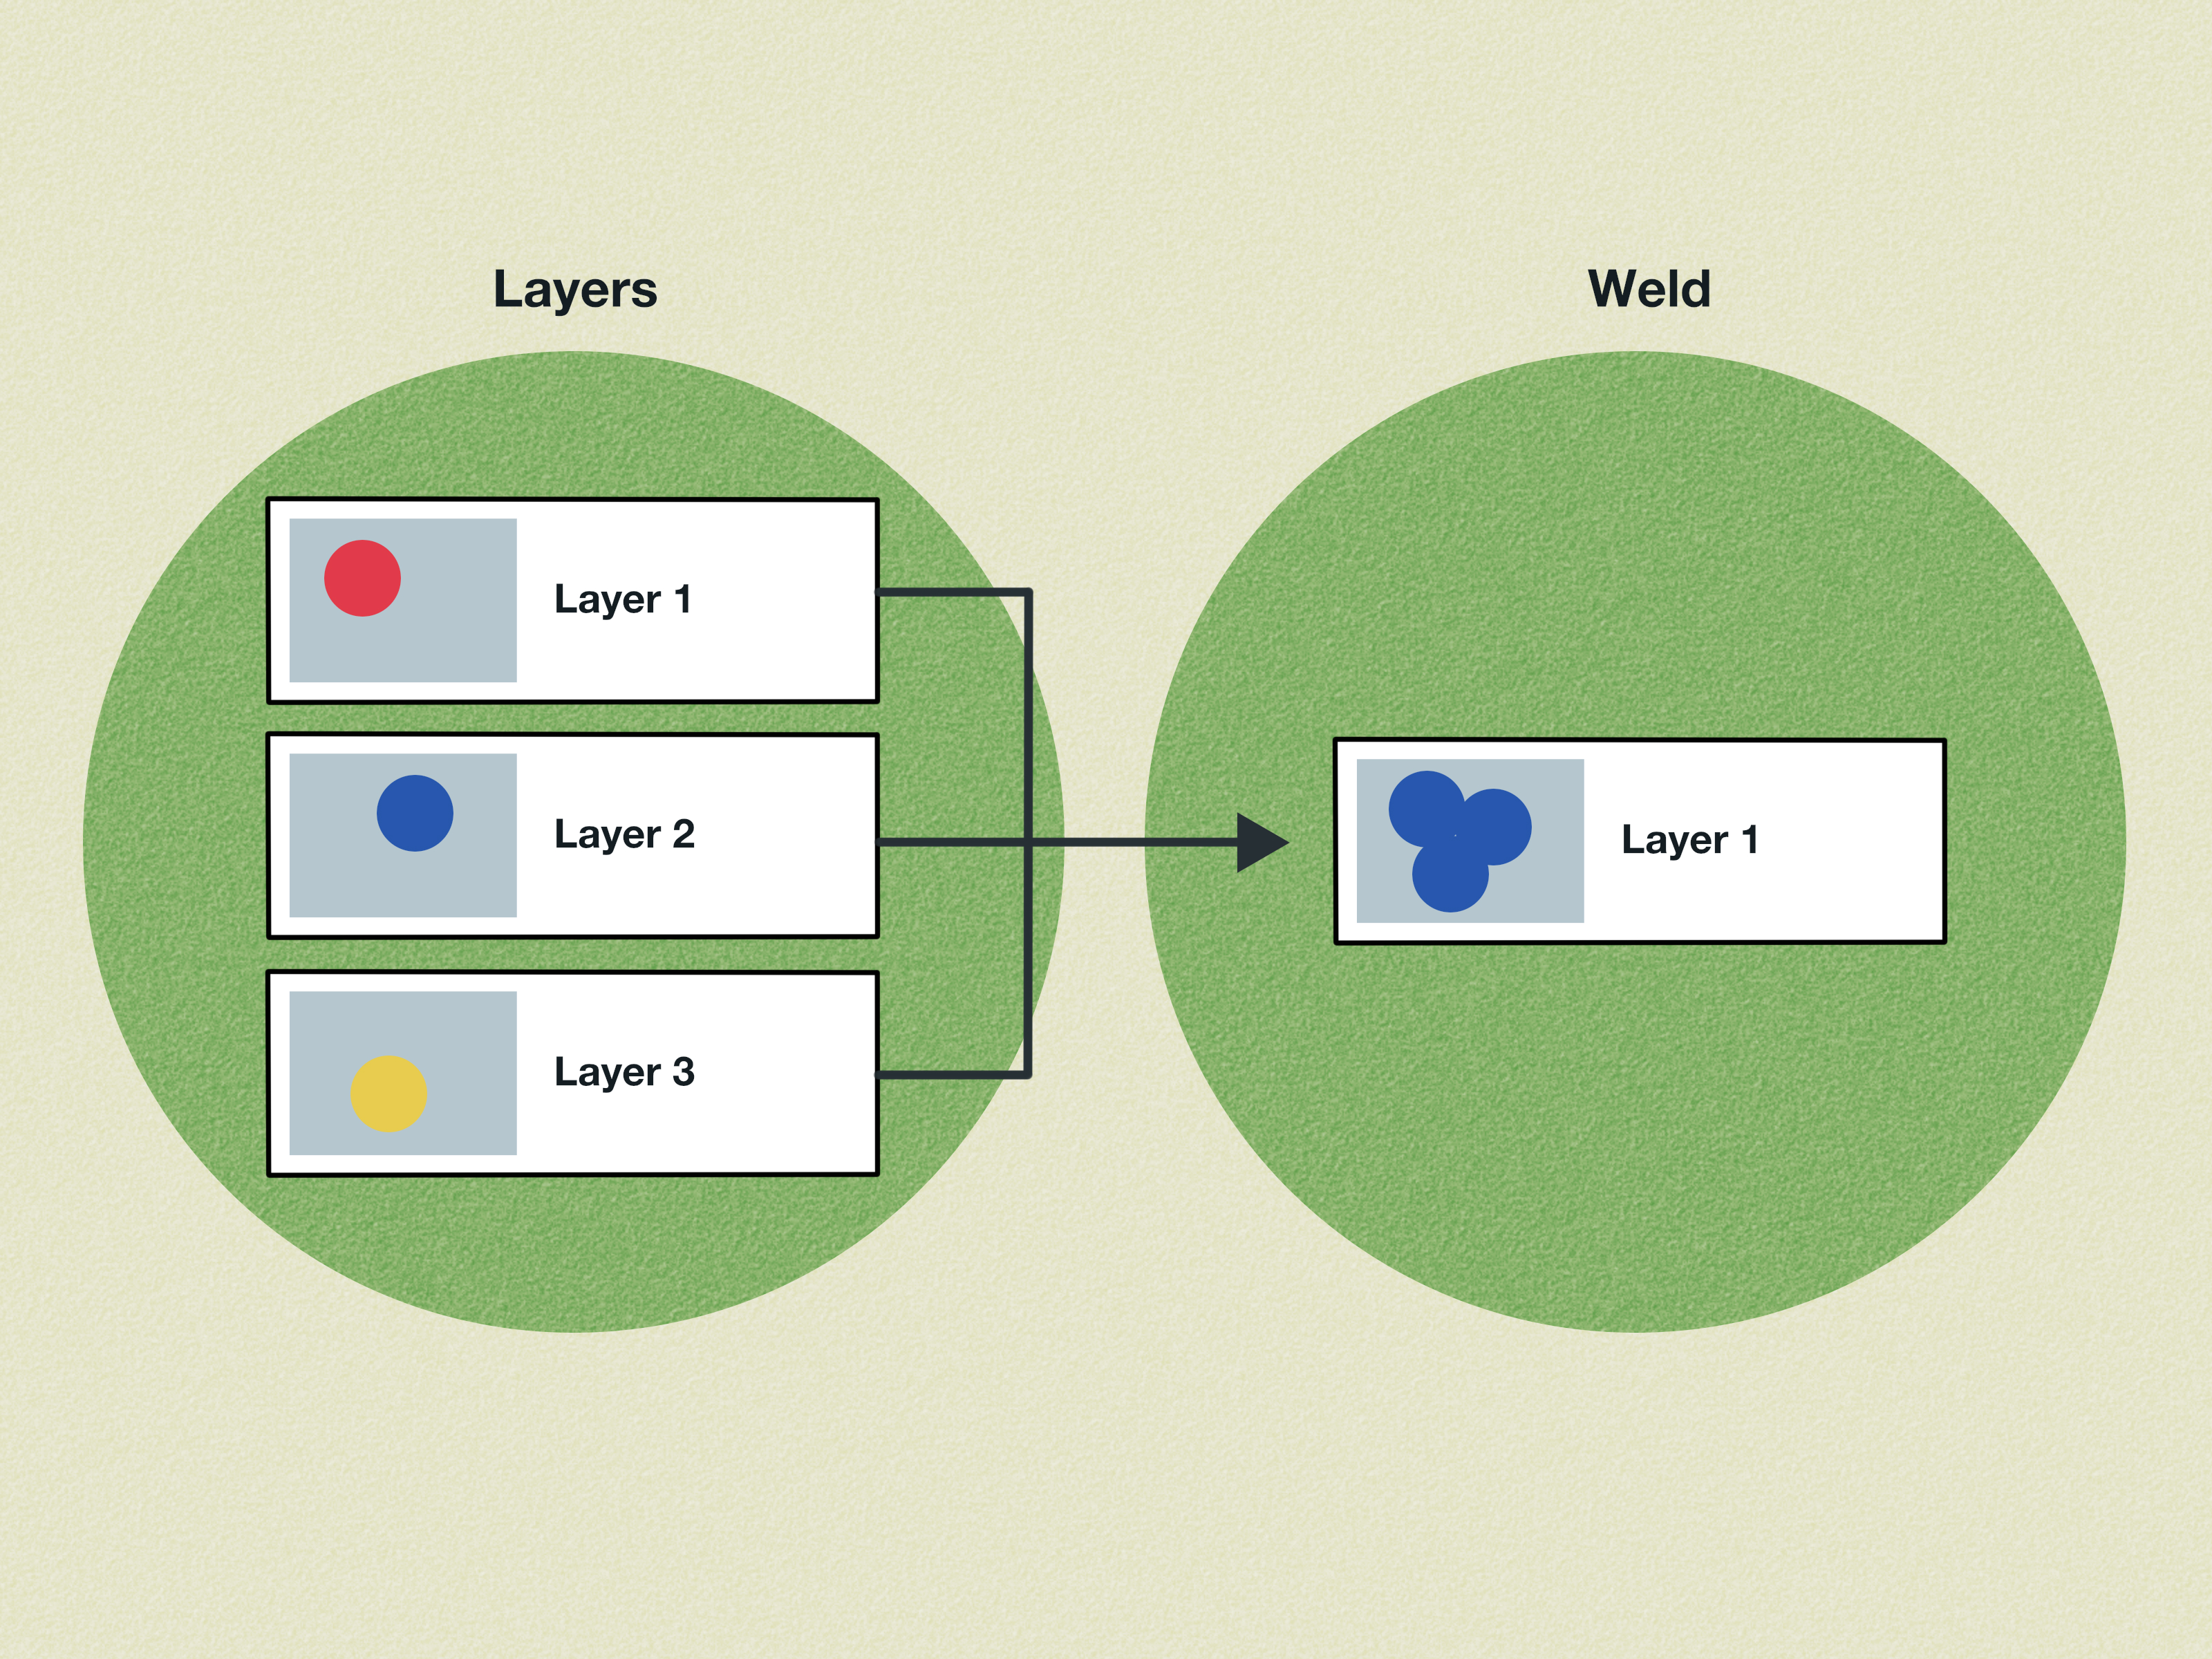
Weld
Weld permanently joins overlapping cut shapes into one cut shape. It is often used for script fonts, connected letters, and custom silhouettes. Weld is for cutting; Flatten is for printing and cutting.
Group
Group is mostly for organization on the canvas. It lets you move or resize several layers together, but it does not keep them together on the mat and does not change them into Print Then Cut. Group is like putting your layers in a folder. Flatten is like turning them into a printable sticker.
Slice
Slice cuts one shape out of another and creates new cut shapes. It is useful for making cutouts, custom shapes, and stencil-style designs. It does not create a printable layer.
Common Uses for Flatten in Cricut Projects
Flatten is not just a mystery button hiding in the corner of Design Space. It is a practical tool that solves several real crafting problems.
Printable Stickers
For kiss-cut or die-cut stickers, Flatten keeps artwork, text, and borders together. This prevents Cricut from cutting every little design element individually.
Party Decorations
Flatten works well for cupcake toppers, favor tags, bottle labels, photo booth props, and party signs. You can design in full color and let Cricut cut the final shape.
Business Packaging
Small business owners use Flatten for logo stickers, thank-you labels, product seals, care instruction cards, and branded packaging accents.
Planner and Journal Stickers
Planner stickers often include tiny icons, text, boxes, and decorative shapes. Flatten makes them printable so the final sticker sheet cuts cleanly.
Scrapbooking and Paper Crafts
Use Flatten for printable embellishments, journaling cards, title pieces, layered-looking die cuts, and themed scrapbook accents.
Why Is Cricut Cutting Inside My Flattened Image?
If Cricut is cutting inside your image, the design may not actually be flattened correctly. Another possibility is that the image has transparent areas or unwanted cut paths. This often happens with uploaded images that were cleaned up too aggressively or not cleaned up enough.
To fix it, check the Layers panel first. Your final artwork should appear as one Print Then Cut layer. If you see multiple layers, select them again and flatten. If the design still cuts inside areas you do not want cut, add a solid offset or background shape behind the image, select both layers, and flatten again. For stickers, this is often the magic move.
Why Is Flatten Grayed Out in Cricut Design Space?
If the Flatten button is grayed out, Design Space usually needs a better selection. Flatten is available when you select layers that can be converted into a printable image. Try selecting two or more objects, or select the image and its offset layer together. Also make sure the layers are visible and not locked in a way that prevents editing.
Sometimes beginners select a grouped design and expect Flatten to work on the hidden contents. If needed, ungroup the design, select the actual layers, and try again.
Can You Unflatten in Cricut?
Yes, in many cases you can use Unflatten shortly after flattening to restore the original layers. This is helpful if you notice a typo, want to change colors, or realize your sticker border is too thick. However, it is still smart to duplicate your design before flattening. Keep one editable copy off to the side and flatten the duplicate. Future you will be grateful, and future you deserves nice things.
Best Practices Before You Flatten
Flatten is easy, but a few habits will save time, material, and emotional support snacks.
Check Spelling and Alignment
Always proofread before flattening. Once the design becomes one printable layer, editing text requires unflattening or returning to your backup copy.
Create a Duplicate
Duplicate the original layered version before flattening. Move it to the side or hide it. This gives you an editable backup if you need to make changes.
Use Offset for Stickers
If you want a clean sticker border, create an offset behind the artwork and flatten the artwork to the offset. This tells Cricut to cut around the border, not the internal design.
Watch the Printable Size
Print Then Cut has size limits based on the paper or printable material size selected in Design Space. If your flattened image is too large, Design Space may show a warning. Resize the design or adjust the page size settings if your machine and material support it.
Use Matte or Compatible Printable Materials
Print Then Cut depends on the machine reading sensor marks. Very shiny, glittery, metallic, holographic, or dark materials can interfere with scanning. Matte white sticker paper and compatible printable vinyl are usually easier for beginners.
Flatten Mistakes Beginners Make
The most common mistake is using Attach when you need Flatten. Attach keeps things in place, but it does not remove internal cut lines. If you attach a detailed sticker design, Cricut may still cut around every separate piece. Flatten is the tool that tells Cricut, “Print this as one image and cut the outside.”
Another mistake is flattening too early. If you flatten before adding an offset, the machine may cut too close to the artwork. Add your background shape or sticker border first, then flatten everything together.
A third mistake is flattening the wrong layers. If your offset is not included in the selection, Cricut may cut around the artwork instead of the border. If your background is selected but the artwork is not, you may end up printing something that looks like a lonely blob. Always check the Layers panel after flattening.
Specific Example: Making a Sticker with Flatten
Imagine you want to make a sticker that says “Crafty & Caffeinated” with a coffee cup, flowers, and a white outline. First, add the text and images to your canvas. Arrange everything neatly. Next, create an offset around the design and set it to white. Then select the text, coffee cup, flowers, and offset. Click Flatten.
Now the sticker becomes one Print Then Cut image. When you click Make It, your printer prints the whole design in color. Then your Cricut scans the sensor marks and cuts around the outer white border. The result is a clean sticker instead of a tragic pile of tiny coffee-cup fragments.
Is Flatten Only for Stickers?
No. Stickers are the most popular use, but Flatten is helpful for any project where you want a printed design with a cut outline. You can use it for laminated labels, printable iron-on designs when appropriate, cardstock decorations, classroom materials, custom tags, party favor labels, and paper embellishments.
The key question is this: Do you want the design printed in color and cut as one outer shape? If yes, Flatten is probably your friend. If you want to cut each shape from separate vinyl, cardstock, or iron-on material, do not flatten.
When Not to Use Flatten
Do not use Flatten if you want separate material layers. For example, if you are making a vinyl decal with different colors of adhesive vinyl, keep the layers as Basic Cut and use tools like Attach or Weld when appropriate. Flatten would turn the design into a printed image, which is not what you want for layered vinyl.
Also avoid Flatten if you need score lines, foil lines, debossing, engraving, or pen details to remain separate machine operations. In those cases, Attach is usually the better tool because it keeps operation types connected to the base layer without turning everything into one printed image.
My Practical Experience Using Flatten on Cricut
The first time many crafters use Flatten, it feels almost suspiciously simple. You select the layers, click one button, and suddenly Design Space stops trying to cut every tiny piece. It is the Cricut equivalent of telling a room full of excited toddlers to form a single-file line. Miraculous? No. Deeply satisfying? Absolutely.
In real projects, the biggest lesson is that Flatten works best when the design is truly ready. Before flattening, zoom in and inspect the artwork. Check that the offset is behind the design, not floating slightly to the left like it has social anxiety. Make sure the text is centered. Look for tiny unwanted shapes hiding near the edge of the canvas. Those little pieces can become part of the printable layer or affect the cut area, and they love showing up after you have already loaded the mat.
For sticker making, a reliable workflow is to create the artwork first, then add an offset, then change the offset color to white or another border color, then select everything and flatten. After that, check the Layers panel. If you see one Print Then Cut layer, you are in good shape. If you still see multiple layers, something was left out of the selection. It is not a disaster. It is just Design Space gently reminding you that it is very literal.
Another helpful habit is making a duplicate before flattening. Keep the original layered design off to the side or hide it. This backup copy is a lifesaver when a customer wants the label in a different color, your child suddenly decides the birthday theme is dinosaurs instead of unicorns, or you notice that “homemade vanilla” somehow became “homemade vilnalla.” Flatten is reversible in many editing situations, but a backup copy is still the safer move.
Material choice also matters. If Print Then Cut is acting fussy, look at the paper before blaming the machine. Glossy, metallic, glittery, or heavily patterned printable materials may confuse the sensor. A matte material is usually the easiest starting point. Also keep the mat clean near the sensor marks. A smudge in the wrong place can make the machine think it has discovered a secret map.
Finally, Flatten is most useful when you understand what it is not. It is not the best tool for layered vinyl. It is not a substitute for Attach when you need score lines or pen lines to stay in place. It is not a magic “fix everything” button, although it can feel that way when a sticker finally cuts correctly. Flatten is a Print Then Cut tool, and once you remember that, most Cricut projects become much easier to troubleshoot.
The best way to master Flatten is to test it with a simple design: a shape, a word, a small icon, and an offset. Flatten it, print it, cut it, and watch what happens. Once you see that Cricut cuts the outer edge instead of every inner detail, the tool finally clicks. After that, you will use Flatten for stickers, labels, tags, and printable decorations so often that it may become your favorite button in Design Space. Sorry, Undo. You had a good run.
Conclusion
Flatten on Cricut means turning selected layers into one printable image for Print Then Cut. It preserves the look of your design while telling the machine to cut around the outside edge. This makes it essential for stickers, labels, full-color graphics, printable tags, and layered designs you do not want to cut piece by piece.
The easiest way to remember it is this: Flatten is for printing a design as one image and cutting the outline. Use Attach to keep cut layers positioned, Weld to join cut shapes, Group to organize your canvas, and Flatten when you want Cricut to stop slicing your adorable sticker into a craft-room crime scene.
Note: Cricut Design Space features, machine compatibility, printable area settings, and material behavior can change with software updates, machine models, printers, and materials. Always check your Layers panel and run a small test cut before producing a large batch.