
Corrugated metal is strong, weather-tough, and weirdly satisfying to work with right up until it starts fighting back like a caffeinated accordion. One minute you are feeling like a home-improvement genius, and the next you are staring at a jagged cut wondering why your panel now looks like it lost an argument with a lawn mower.
The good news is that cutting corrugated metal does not have to be complicated. The better news is that you do not need a machine shop, a welding helmet, or nerves of titanium. In most DIY and light construction situations, there are three simple ways to cut corrugated metal successfully: with tin snips, a circular saw fitted with the right metal-cutting blade, or a nibbler or power shear. Each method has strengths, weaknesses, and one very important lesson: the best cut is not just the fastest one. It is the one that leaves the panel clean, safe to handle, and ready to install.
In this guide, you will learn when each cutting method makes sense, how to prepare the panel, what safety gear actually matters, and how to avoid beginner mistakes that can turn a neat project into a sharp-edged regret. Whether you are trimming corrugated roofing panels, cutting metal siding, or sizing decorative wall panels, this article will help you do it with less drama and better results.
Before You Cut: Set Yourself Up for a Clean Result
Before choosing a tool, start with the basics. Corrugated metal panels are not flat sheets. Their ridges and valleys add strength, but they also make layout and cutting trickier. A rushed setup is usually what causes wandering lines, bent ribs, scratched coatings, and edges that look like they were chewed instead of cut.
Measure Twice, Mark Once, Then Check It Again
Use a tape measure and mark your cut line clearly with a permanent marker. Many pros avoid graphite pencils on bare metal because graphite can contribute to corrosion on some materials. A bold marker line is easier to follow anyway, and your future self will thank you when the saw is running and your eyes are trying to do three things at once.
For long cuts, use a straightedge or chalk line. For outlet openings, vents, or curved cuts, make a template from cardboard first. That is especially helpful when cutting around roof penetrations, because “close enough” is rarely close enough when water is involved.
Support the Panel Properly
Lay the panel on a stable work surface or sawhorses, and clamp it if possible. Corrugated metal likes to vibrate, flex, and sing the song of its people when unsupported. That movement can pull your blade off course, distort a snip cut, or leave scratches where you least want them.
Whenever possible, cut on the ground or on a workbench rather than over installed panels. Fine metal shavings, sometimes called swarf, can stain painted surfaces and may contribute to corrosion if they sit there too long. In plain English: tiny metal debris is small, rude, and surprisingly destructive.
Wear the Right Safety Gear
This is not optional. Corrugated panels have sharp edges, and cutting them creates flying particles, noise, and little metal fragments that have zero respect for eyeballs. At a minimum, wear safety glasses, heavy work gloves, long sleeves, and sturdy shoes. For power cutting, add hearing protection and a respirator or dust mask appropriate for the job.
Method 1: Cut Corrugated Metal with Tin Snips
Best for: small projects, short cuts, notches, trim work, detail work, and curved cuts.
If you want the simplest low-tech method, tin snips are the classic answer. They are affordable, easy to control, and ideal for homeowners who only need to make a few cuts. Think of them as heavy-duty scissors for metal, except they are much less forgiving and far less interested in your hand comfort.
How Tin Snips Work
Tin snips slice through thin-gauge metal by shearing it between two blades. For corrugated metal, this works best when you are trimming edges, cutting small sections, or making adjustments around corners and obstacles. They are not the fastest choice for long production cuts, but they are dependable and precise.
You will usually see three common styles of aviation snips:
- Yellow snips for straight cuts and gentle curves
- Red snips for left or counterclockwise curves
- Green snips for right or clockwise curves
How to Use Tin Snips on Corrugated Metal
- Mark the cut line clearly.
- Start at an edge or drill a starter hole if cutting an interior opening.
- Open the blades fully and make long, smooth cuts rather than tiny nervous bites.
- Use your free hand to roll or lift the waste side as you go so it does not jam the blades.
- Move slowly over ridges and valleys to avoid twisting the panel.
Pros of Tin Snips
- Budget-friendly and easy to find
- No electricity required
- Excellent control for detail cuts
- Great for curves, corners, and small adjustments
- Less heat than many abrasive cutting methods
Cons of Tin Snips
- Slow for long straight cuts
- Can be hard on your hands during bigger jobs
- May distort thinner panels if rushed
- Not ideal for cutting lots of sheets
Practical example: If you are trimming one corrugated panel to fit around a shed corner, cutting a notch around flashing, or shaping a vent opening, tin snips are often the simplest and safest choice. For a full-roof install with dozens of long cuts, they will start to feel less like a tool and more like a punishment.
Method 2: Cut Corrugated Metal with a Circular Saw
Best for: long straight cuts, repeated cuts, and larger projects where speed matters.
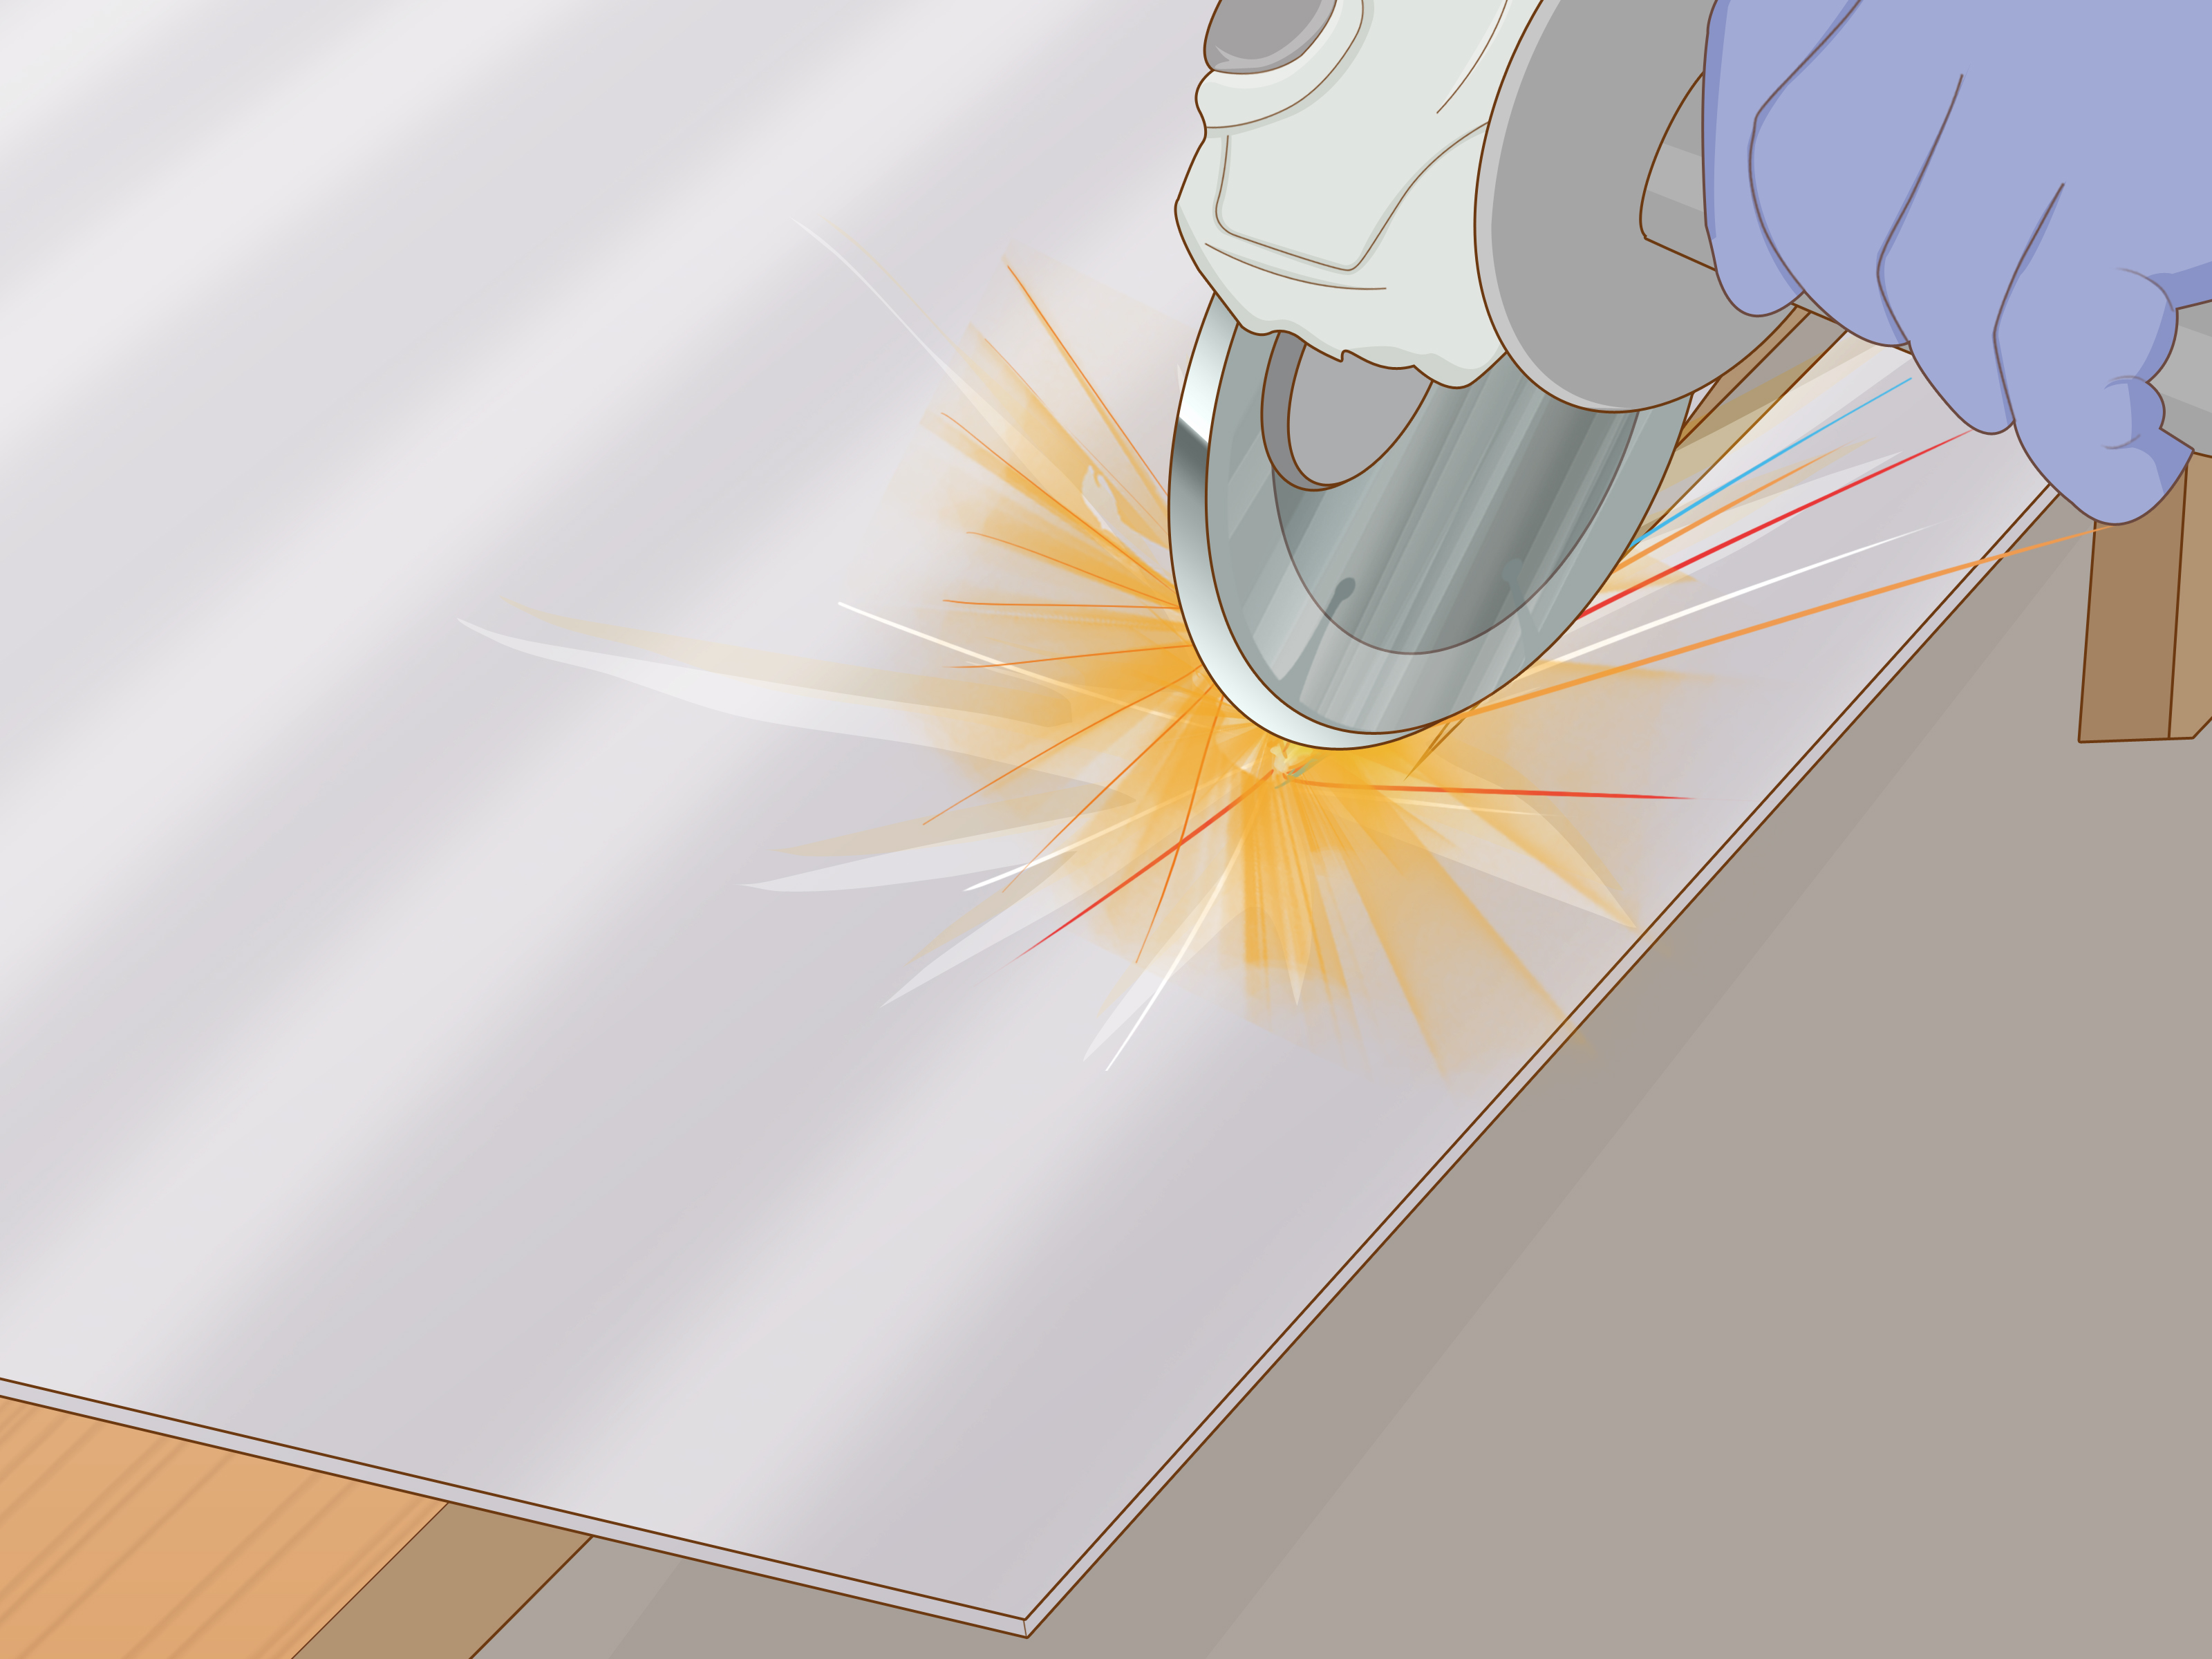
A circular saw with a proper metal-cutting blade is one of the fastest ways to cut corrugated metal panels. Big-box DIY guides commonly recommend it for straight cuts, especially when you are working through multiple long roofing or siding panels. That said, this method comes with an important asterisk the size of a garage door.
Some metal panel manufacturers prefer nibblers, snips, or shears instead of saw-based methods because heat and debris can damage protective coatings and increase the risk of rust. So before you fire up the saw like you are auditioning for a home-renovation montage, check the panel manufacturer’s instructions and warranty guidance first.
How to Use a Circular Saw Safely and Effectively
- Install a blade specifically designed for cutting metal.
- Support the panel fully and clamp it to reduce vibration.
- Mark the line with a straightedge.
- Cut slowly and steadily, letting the blade do the work.
- Keep the waste side free so the blade does not bind.
- Brush off metal shavings immediately after cutting.
Pros of Using a Circular Saw
- Fast for long, straight cuts
- Helpful when cutting multiple panels
- Can produce a neat, consistent edge with the right blade
- Useful for larger roofing and siding jobs
Cons of Using a Circular Saw
- Noisier than hand tools
- Throws metal particles and debris
- Requires more safety gear and care
- May not be recommended by every manufacturer
- Less suited to curves and intricate cuts
When This Method Makes Sense
If you are trimming several full-length corrugated roofing panels for a shed, workshop, or barn-style structure, a circular saw can save serious time. It is especially useful when you need multiple repeat cuts of the same dimension. Just keep the cutting area clean, avoid rushing the blade, and do not ignore the manufacturer’s instructions in favor of internet bravado.
Method 3: Cut Corrugated Metal with a Nibbler or Power Shear
Best for: clean cuts, frequent use, curved openings, cross-cuts, and projects where panel finish matters.
If tin snips are the patient cousin and a circular saw is the loud cousin, the nibbler or power shear is the efficient professional who arrives on time and brings the right shoes. This method is often favored by manufacturers and installers because it cuts cleanly, creates less heat, and is well-suited to corrugated profiles.
A nibbler removes tiny pieces of metal as it moves along the cut line. A power shear slices through sheet metal more continuously. Some drill attachments are designed specifically for corrugated roofing and can handle cross-cuts, lengthwise trimming, and even circular or square openings.
How to Use a Nibbler or Power Shear
- Mark the panel and secure it on a work surface.
- If needed, create a starter hole for interior cuts.
- Guide the tool along the line without forcing it.
- Keep both hands steady and maintain an even pace through ridges and valleys.
- Collect and clean up the small metal waste pieces after the cut.
Pros of a Nibbler or Power Shear
- Very clean cuts with minimal heat buildup
- Excellent for corrugated profiles
- Good for both straight and shaped cuts
- Often preferred for protecting painted or coated panels
- Faster than hand snips on larger jobs
Cons of a Nibbler or Power Shear
- More expensive than basic snips
- Requires a drill or power source for some models
- Creates lots of tiny metal fragments that must be cleaned up
- May be overkill for one small DIY repair
Practical example: If you need to cut around a vent boot, skylight opening, or electrical penetration in corrugated roofing, a nibbler is often easier than trying to wrestle snips over every rib. It is also a smart choice when appearance matters and you want a clean edge without excessive coating damage.
Which Cutting Method Is Best?
The best way to cut corrugated metal depends on the project, not on who sounds the most confident in the hardware store aisle.
- Choose tin snips for small jobs, detailed cuts, notches, and curves.
- Choose a circular saw for long straight cuts and high-volume work, but only if your panel manufacturer allows it and you use a proper metal-cutting blade.
- Choose a nibbler or power shear for the cleanest all-around results on corrugated panels, especially coated or painted metal.
If you are unsure, follow this simple rule: for one or two panels, start with snips; for many panels, consider a nibbler or shear; for fast straight production cuts, a circular saw may help, but only after checking the product guidance.
Common Mistakes to Avoid
Using the Wrong Blade or Tool
A wood blade on metal is not “creative.” It is a shortcut to sparks, rough edges, and regret. Use tools and accessories designed for sheet metal or corrugated roofing panels.
Ignoring the Panel Finish
Painted and coated panels need extra care. Heat, friction, and trapped metal shavings can damage the finish. That is why many manufacturers recommend snips, shears, or nibblers over abrasive methods.
Leaving Metal Shavings Behind
Always clean the panel surface after cutting. Tiny metal particles can stain finishes and may rust if left in place. A soft brush, rag, or blower used carefully can help remove debris before installation.
Forgetting Edge Cleanup
Freshly cut metal can be razor-sharp. If needed, lightly smooth burrs with a file. Not every cut needs aggressive filing, but every cut deserves a quick check before you drag your hand across it like an overconfident TV host.
Final Thoughts
Learning how to cut corrugated metal is really about matching the right tool to the right job. Tin snips keep things simple. Circular saws speed up long straight cuts. Nibblers and power shears offer clean, professional-looking results that many installers love. None of these tools is magic, but each can work beautifully when you plan carefully, protect the panel finish, and respect the fact that metal is tougher than it looks.
If you remember only three things, make it these: mark carefully, support the panel well, and clean up every metal shaving when you are done. That alone will save you from most of the classic mistakes. And yes, wearing gloves before grabbing the cut edge is also an excellent character-building decision.
Real-World Lessons and Experiences Cutting Corrugated Metal
Anyone who has cut corrugated metal more than once tends to learn the same lessons, usually in the same order. First comes confidence. Then comes noise. Then comes the realization that corrugated panels are not difficult so much as unforgiving. The shape that makes them strong also makes them awkward. A straight line across a flat board feels easy. A straight line across ridges and valleys feels like trying to draw on a washboard while it glares at you.
One of the most common real-world experiences is discovering that long cuts look easy until the panel starts moving. Even experienced DIYers say the biggest difference between a sloppy cut and a clean one is support. The moment a panel hangs off a workbench too far, vibrates on sawhorses, or shifts because it was never clamped, the quality of the cut drops fast. People often blame the tool first, but the setup is usually the real villain.
Another lesson is that beginners often pick tools based on price alone, while repeat users pick tools based on fatigue. Tin snips are great until you are halfway through multiple panels and your forearm begins filing a formal complaint. That is where many people start appreciating nibblers and drill-mounted shears. They are not always the cheapest option, but they reduce hand strain and make corrugated profiles much more manageable, especially around roof penetrations and trim details.
There is also a practical difference between a cut that is technically finished and one that is truly ready for installation. In real projects, the cleanup matters almost as much as the cut itself. Experienced installers get almost obsessive about removing shavings, checking scratched areas, and keeping the finished side clean. That habit may seem fussy at first, but it pays off later when the panels still look good after months of weather instead of showing mysterious rust spots that were really just forgotten debris.
People also learn that speed is a tricky goal. Many first-time users rush because cutting metal feels intimidating, and they want to get it over with. Ironically, going too fast usually creates more problems: wandering cuts, bent ribs, rough edges, and unnecessary scratches. The smoother jobs come from a steady pace, not a dramatic one. Corrugated metal rewards calm hands and punishes heroic improvisation.
And finally, there is the universal experience of underestimating safety. Nearly everyone knows metal is sharp, but plenty of people still try to “just make one quick cut” without gloves or eye protection. That confidence tends to disappear the second a tiny metal fragment flies up or a freshly cut edge reminds them who is actually in charge. Veterans of these projects tend to become almost boringly consistent about safety gear, and that is a compliment.
The longer you work with corrugated metal, the more the process becomes less about muscle and more about rhythm: mark clearly, support the panel, choose the right tool, cut steadily, clean thoroughly, and inspect the edge. Once that rhythm clicks, the work stops feeling chaotic and starts feeling controlled. And that is usually the point where corrugated metal goes from “annoying project material” to “actually pretty satisfying to work with.”
Conclusion
There is no single best way to cut corrugated metal for every project, but there is a best way for your project. For detail work, tin snips are hard to beat. For fast straight cuts, a circular saw with the right blade can save time when allowed by the panel maker. For clean, finish-friendly results, nibblers and power shears are often the smartest upgrade. Use the right tool, respect the coating, clean up your metal shavings, and your panels will look better, fit better, and behave a lot more politely.