
Editorial note: This feature uses representative, recreatable setup-versus-result scenarios inspired by common behind-the-scenes photography techniques.
Some photographs look like they were created in a moonlit castle, a luxury studio, or a secret garden guarded by extremely photogenic dragons. Then you see the behind-the-scenes shot and discover the “castle” was a bedsheet, the studio was a kitchen counter, and the dragon was a house cat who wanted snacks.
That is the irresistible charm of photo setup vs. final result content. It reminds us that creative photography is not always about owning the biggest camera, the fanciest lens, or a lighting kit that requires its own zip code. Often, it is about noticing good light, controlling distractions, experimenting with angles, and being willing to lie on the floor for a photo that makes people say, “Wait, how did you do that?”
These 30 photo setup ideas reveal how ordinary rooms, inexpensive props, smartphones, natural light, and a little imagination can create surprisingly polished images. Whether you are building a DIY photo setup for social media, product photography, portraits, food shots, or pure creative fun, consider this your reminder that the magic is usually hiding just outside the frame.
Why “Setup vs. Result” Photography Is So Addictive
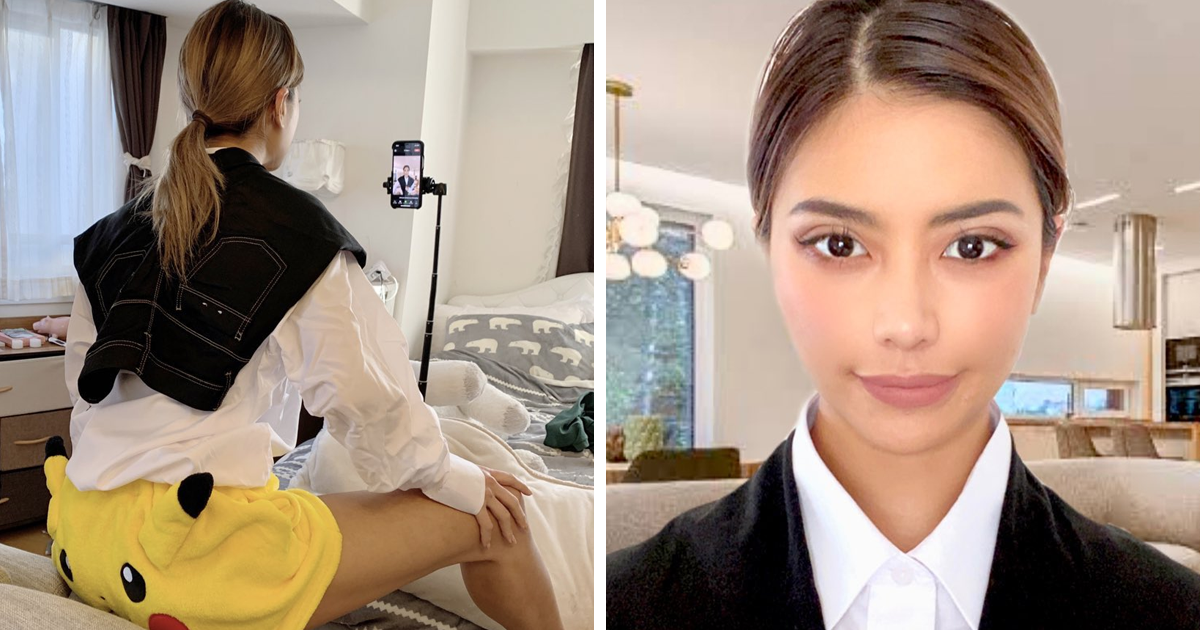
A finished image usually shows only the final illusion. It does not show the laundry basket holding a reflector, the friend crouching behind a chair with a flashlight, or the photographer balancing a phone on three cookbooks and praying that gravity takes the afternoon off.
Behind-the-scenes photography makes the creative process visible. It shows that a strong photo often depends on four simple ingredients: light, composition, perspective, and patience. A window can become a softbox. A cardboard box can become a product studio. A puddle can become a mirror. A cheap piece of colored plastic can turn a boring hallway into a cyberpunk movie poster.
The biggest lesson is wonderfully freeing: professional-looking images do not always require professional-looking setups. They require intentional choices.
30 Brilliant Photo Setup Vs. Result Reveals
1. The Bedroom Window Portrait
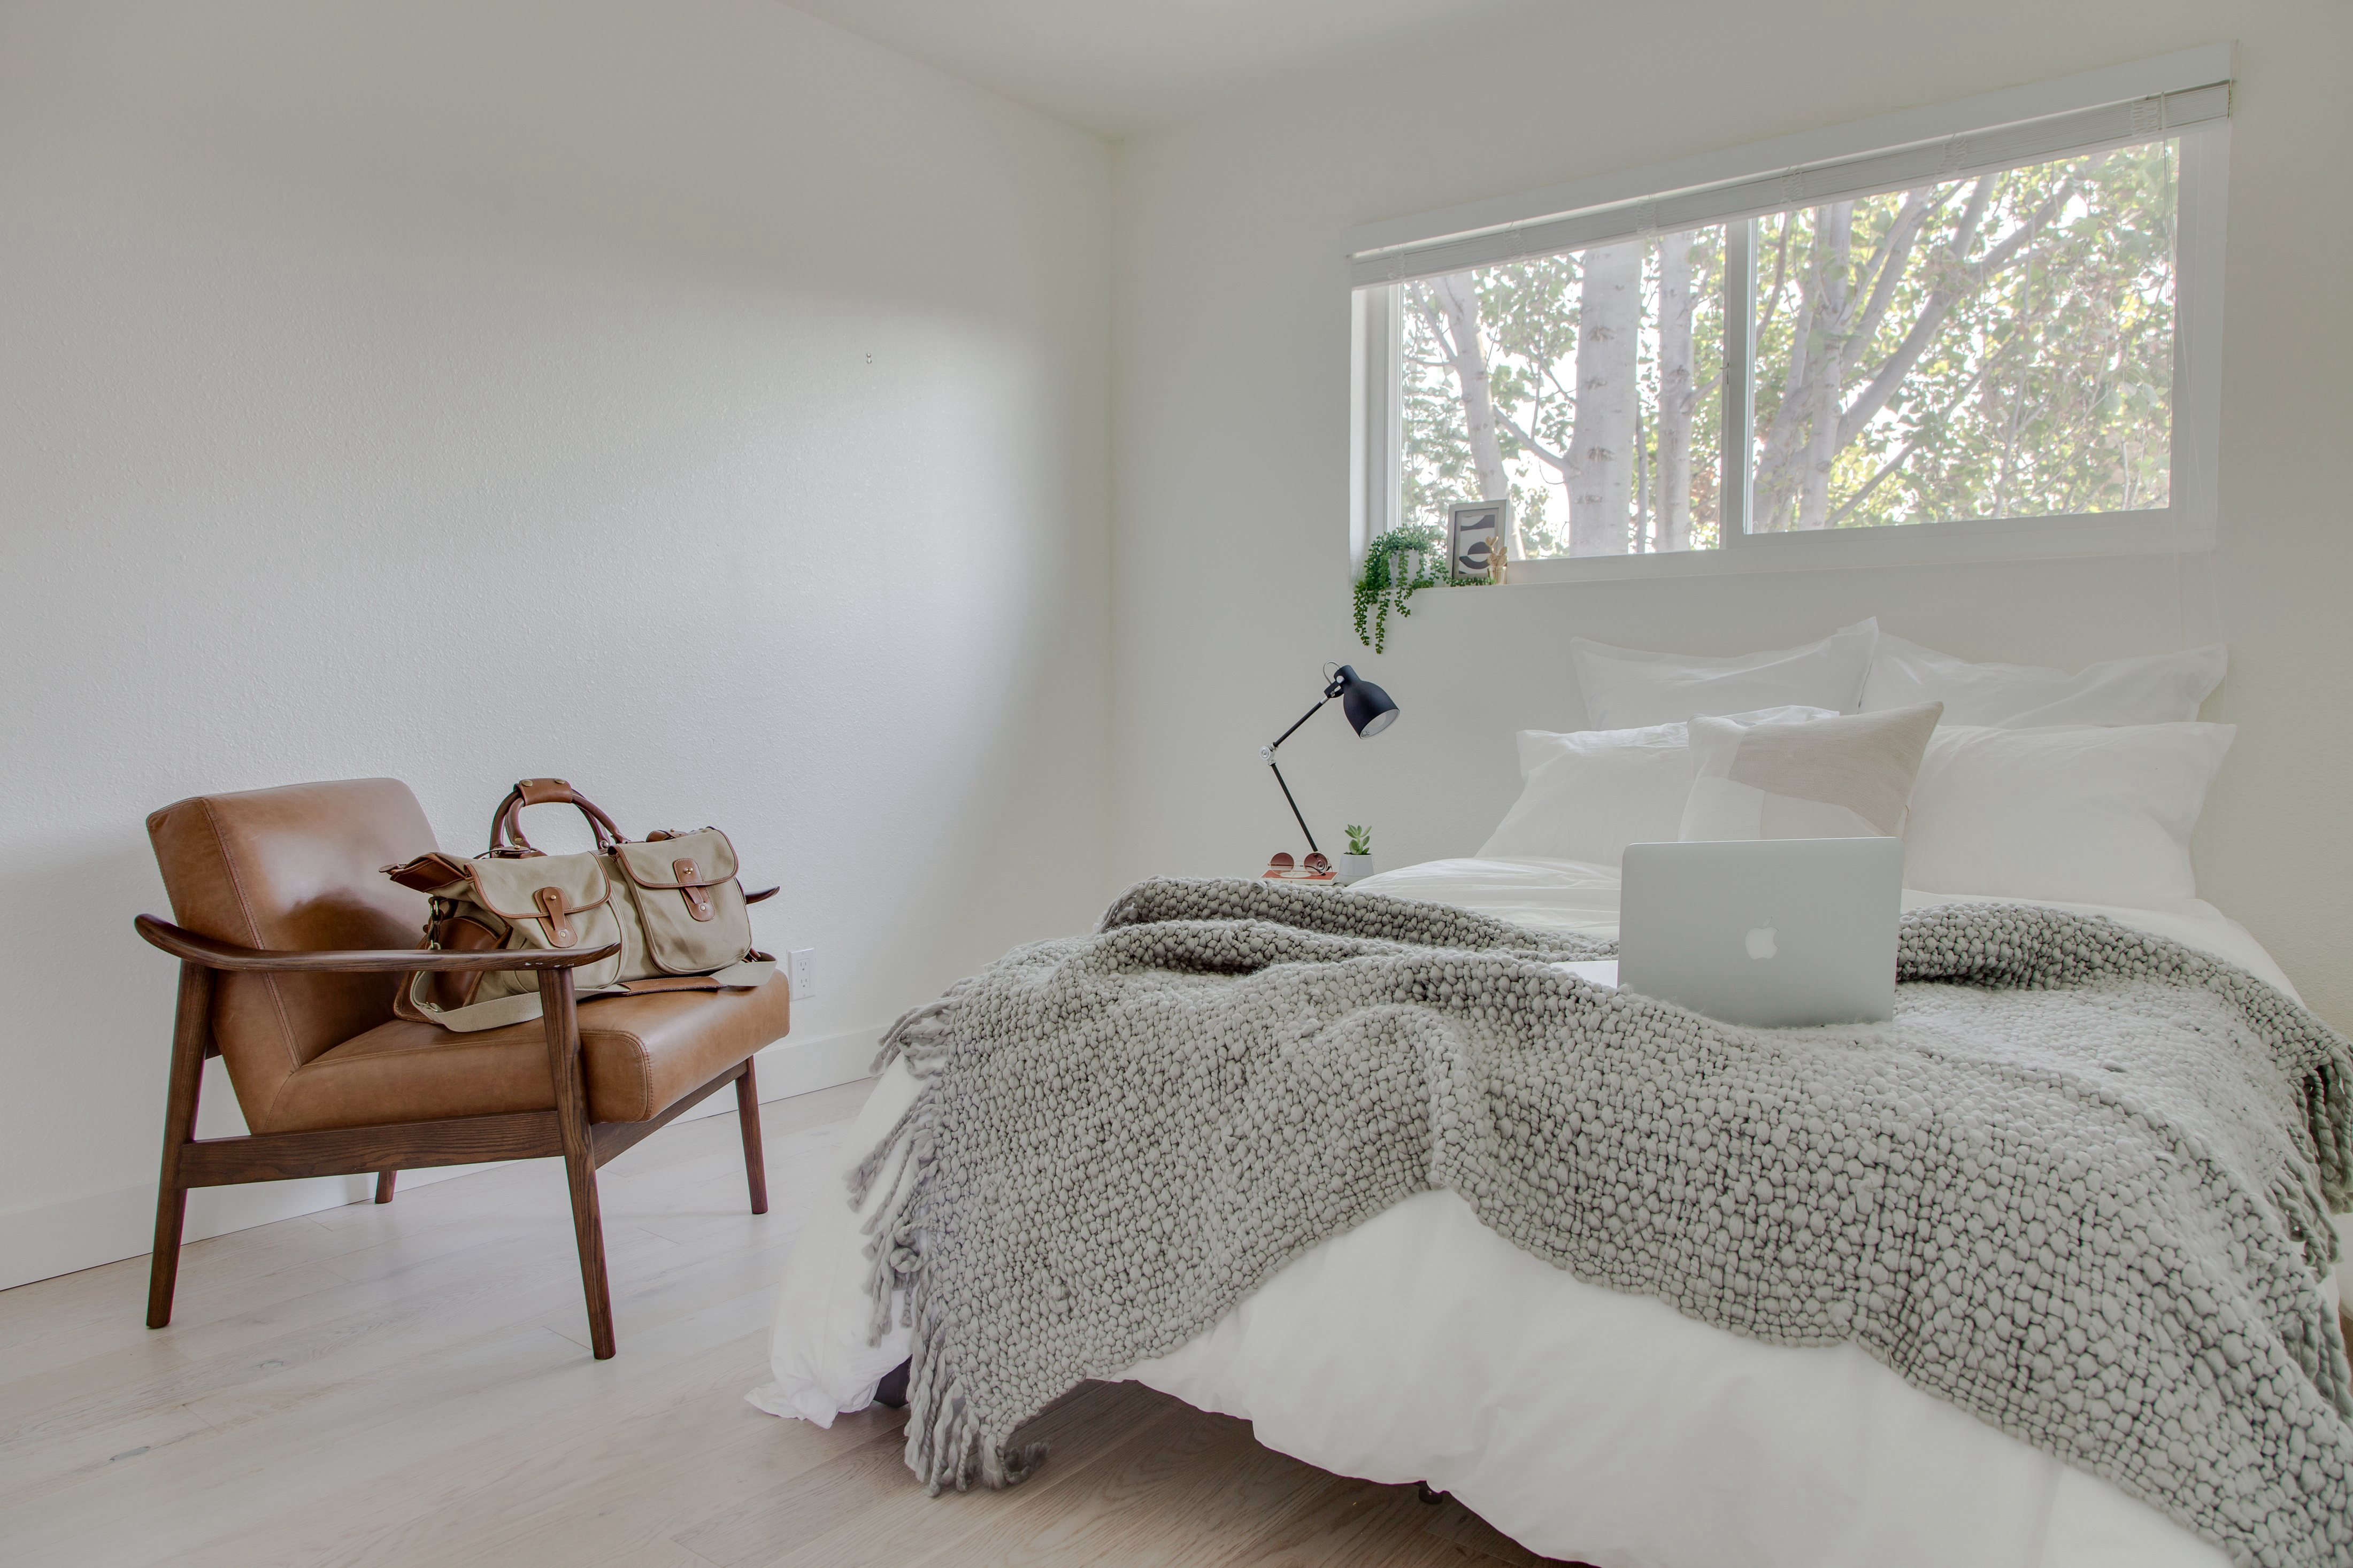
The setup: A subject stands next to a bedroom window while a white curtain softens the sunlight. A plain wall, bedsheet, or uncluttered corner becomes the backdrop.
The result: A soft, flattering portrait with gentle shadows and a calm editorial feel. The window acts like a giant light source, proving that daylight can be more useful than a ceiling light that makes everyone look like they are being questioned by detectives.
2. The Grocery Bag Flower Shoot
The setup: A bouquet from the grocery store sits in a glass jar on a table near a window. A dark jacket or black poster board is placed behind the flowers.
The result: A moody floral image that looks more like an art print than a last-minute errand. The dark background isolates the petals and lets the colors do the dramatic work.
3. The Cardboard Product Studio
The setup: A small product is placed inside a cardboard box lined with white paper. A desk lamp shines through thin white fabric or paper to soften the light.
The result: A clean product photography image with fewer harsh shadows and a simple ecommerce-friendly look. It is not glamorous behind the scenes, but neither is doing taxes, and both can still produce useful results.
4. The Puddle Reflection Trick
The setup: A phone or camera is held close to a shallow puddle after rain. The subject stands several feet away, framed against buildings, trees, or lights.
The result: A cinematic reflection that makes an ordinary sidewalk feel like a scene from a music video. Lowering the camera angle is the key; the puddle does not need to be huge, just cooperative.
5. The Flashlight Night Portrait
The setup: A friend holds a flashlight, phone light, or small LED off to one side of the subject’s face. The rest of the room stays dark.
The result: A dramatic low-light portrait with sculpted shadows and a film-noir mood. Side lighting adds depth, while the darkness hides the fact that the “studio” might be a hallway with a shoe rack nearby.
6. The Kitchen Table Food Scene
The setup: A plate of food is moved next to a window. A napkin, cutting board, utensil, or ingredient is added only where it supports the story.
The result: A brighter, more appetizing food photograph with texture and depth. Side light tends to make details pop, especially on bread, fruit, sauces, pastries, and anything that has been carefully arranged before being eaten five minutes later.
7. The Mirror Self-Portrait Illusion
The setup: A mirror is leaned against a wall or placed near a window. The photographer uses the frame, reflection, and room edges as part of the composition.
The result: A layered self-portrait that feels intimate and deliberate. The mirror creates depth while allowing the photographer to become both subject and director.
8. The Sheet-as-a-Cloud Backdrop
The setup: A white sheet is clipped to a wall, door frame, or curtain rod. Wrinkles are left in place or gently arranged for texture.
The result: A bright, airy backdrop that can resemble a minimalist studio set. The secret is keeping the subject away from the sheet so it falls softly out of focus instead of looking like laundry day got ambitious.
9. The Car Window Golden Hour Shot
The setup: A person sits near an open car window shortly before sunset. The photographer shoots from outside or from the opposite seat.
The result: Warm, glowing portrait light with a spontaneous road-trip mood. The car acts as a natural frame, while the low sun adds a soft rim of light around hair and shoulders.
10. The Tinfoil Light Experiment
The setup: Crumpled aluminum foil is placed behind a small object or portrait subject. Light hits the foil from an angle.
The result: Sparkling bokeh and dreamy highlights that look expensive, even though the background probably began its life wrapped around leftovers.
11. The Coffee Table Flat Lay
The setup: Books, coffee, headphones, stationery, flowers, or skincare products are arranged on a flat surface. The camera is held directly above the scene.
The result: A balanced flat lay photograph that tells a visual story. The strongest versions use only a few intentional objects instead of turning the table into a yard sale with better lighting.
12. The Refrigerator-Light Portrait
The setup: A subject opens the refrigerator door in a darkened kitchen while the photographer frames the face from the side or inside the fridge.
The result: A quirky, cinematic image with cool-toned light and instant storytelling. It works especially well for playful portraits, midnight-snack humor, or moody editorial concepts.
13. The Bathroom Steam Scene
The setup: A bathroom mirror is fogged with warm steam, while a small light source illuminates the subject from one side.
The result: A dreamy portrait with mystery and atmosphere. The texture on the glass turns an everyday mirror into a storytelling tool, although photographers should protect cameras and phones from excessive moisture.
14. The Sunglasses Reflection Shot
The setup: The photographer moves close to reflective sunglasses, placing a landscape, skyline, or colorful scene in front of the lenses.
The result: A graphic image that captures both the subject and the surrounding environment. The reflection becomes a tiny second photograph hiding inside the first.
15. The Plastic Bag Soft-Focus Effect
The setup: A translucent plastic bag or clear material is held near the edge of the lens without covering the main subject.
The result: Soft haze, glowing highlights, and a dreamlike frame. It can turn a standard portrait into something more atmospheric without relying on heavy editing.
16. The Bookcase “Library” Portrait
The setup: A subject stands in front of a bookshelf or shelves with repeating shapes. The photographer uses a wider aperture or portrait mode to blur the background.
The result: A warm, textured portrait with visual depth. Bookshelves work because they add pattern and color without demanding attention from the subject.
17. The Shadow Pattern Wall
The setup: Sunlight passes through blinds, leaves, lace, or a patterned object and creates shapes on a wall or face.
The result: A high-contrast image with graphic lines and natural drama. The setup takes almost no equipment, but timing matters because sunlight is a brilliant assistant who refuses to follow a schedule.
18. The Bathtub Flower Portrait
The setup: Flowers, fabric, or colored paper are arranged around a subject in an empty bathtub. Light comes from a nearby window or soft lamp.
The result: A stylized portrait that can feel romantic, surreal, or fashion-forward. The tub creates clean edges and contains the visual chaos, which is more than most group chats can say.
19. The Phone Screen Color Wash
The setup: A phone or tablet displays a bright colored screen close to the subject’s face in a dark room.
The result: Blue, red, pink, or purple light that transforms a simple portrait into a neon-inspired scene. Different colors can suggest different moods, from futuristic to intimate to “I accidentally became the cover of an indie album.”
20. The DIY Rainy Window Scene
The setup: Water droplets are sprayed onto a window, clear acrylic sheet, or glass panel between the camera and subject.
The result: A rainy-day portrait full of texture and emotion. The droplets add foreground detail and make a simple background feel more cinematic.
21. The Paper-Cut Shadow Trick
The setup: Shapes are cut from paper and placed between a lamp and a wall. The subject stands where the shadows fall.
The result: Custom projected patterns that can resemble leaves, stars, windowpanes, or abstract art. It is a budget-friendly way to create a designed lighting effect without buying a truckload of gear.
22. The Tiny Toy “Epic World” Setup
The setup: Small toys, figurines, or miniatures are placed close to the lens against a large outdoor or indoor background.
The result: A playful forced-perspective scene where tiny objects appear to interact with the real world. The trick depends on camera angle, careful alignment, and an ability to take plastic dinosaurs very seriously.
23. The Blanket Fort Portrait
The setup: Blankets are draped over chairs or furniture, with a lamp or string lights placed inside the small space.
The result: A cozy portrait with warmth, texture, and childhood nostalgia. The enclosed area limits distractions and makes the light feel more intentional.
24. The Backlit Curtain Silhouette
The setup: A subject stands behind a thin curtain or in front of a bright window. Exposure is adjusted for the brightest part of the frame.
The result: A soft silhouette or glowing outline that emphasizes shape rather than facial detail. This setup proves that sometimes hiding information makes a photograph more interesting.
25. The Cereal Box Macro Shot
The setup: A small item, such as jewelry, a watch, makeup, or a miniature object, is photographed close up on textured paper, fabric, or packaging.
The result: A detailed macro-style image with rich texture and selective focus. Everyday materials become backgrounds once the camera moves close enough to make them look mysterious.
26. The Stairwell Fashion Frame
The setup: A subject stands between railings, door frames, or stairwell walls. The photographer shoots through the architecture rather than avoiding it.
The result: A fashion-style image with strong geometry and leading lines. The structure guides the viewer’s eyes toward the subject and gives an ordinary location more visual purpose.
27. The Candlelit Still Life
The setup: Objects such as fruit, flowers, books, pottery, or glassware are arranged near one or two candles. The room lights are dimmed.
The result: A painterly still life with warm shadows and a classic mood. Stability matters here, so using a tripod, timer, or steady surface can help avoid blurry images in low light.
28. The Umbrella Diffuser
The setup: A translucent umbrella, white umbrella, or light-colored fabric softens direct sunlight or a lamp before it reaches the subject.
The result: Gentler shadows and a more flattering portrait. Large soft light sources tend to create a smoother transition between light and dark, especially for close-up photography.
29. The Floor-Level Pet Photo
The setup: The photographer gets down to the pet’s eye level and uses treats, toys, or sounds to direct attention.
The result: A more engaging animal portrait with personality and connection. Shooting from above can make a pet look small; shooting at eye level makes the viewer feel like they have entered the pet’s world.
30. The “Nothing Special” Location Makeover
The setup: A photographer chooses one clean wall, one good patch of light, and one interesting angle in an otherwise ordinary place.
The result: A polished photograph that makes viewers assume the location was carefully chosen. In reality, the secret is often cropping out the clutter, simplifying the frame, and refusing to let a nearby trash can become the main character.
What These Photo Setups Teach About Creative Photography
The best part of a photo setup versus result reveal is not the surprise. It is the permission it gives people to experiment. You do not have to wait until you own a professional studio, live near a dramatic mountain range, or have a friend willing to hold six reflectors while pretending not to be cold.
Start with the light you have. A window, doorway, shaded porch, lamp, flashlight, or phone screen can all become useful tools when positioned with intention. Move the subject closer to the light, farther from the background, or slightly to one side. Those small adjustments often create bigger improvements than adding another filter later.
Then pay attention to the frame. Ask yourself what belongs in the image and what does not. Is there a distracting object behind the subject? Can you crouch lower, step closer, change the angle, or use a door frame to create a natural border? Strong composition is often less about adding more visual information and more about removing what does not help.
Another lesson is that props should support the story, not overwhelm it. A few flowers can suggest softness. A cup of coffee can suggest morning. A single colored light can suggest nightlife. But twenty unrelated objects can make a photo feel like a game of “find the thing the photographer forgot to move.”
Editing matters, but it works best as a finishing touch rather than a rescue mission. Basic adjustments to brightness, contrast, highlights, shadows, color temperature, and cropping can help a good image become more polished. However, no editing app can completely replace thoughtful light, clean framing, and a subject that knows where to look.
Most importantly, allow yourself to make imperfect attempts. The first version of a DIY photography setup may be awkward. The lamp may be too bright. The curtain may refuse to hang correctly. The cat may walk through the frame exactly when the photo finally looks good. That is not failure; that is the behind-the-scenes story every photographer eventually collects.
Creative photography gets easier when you stop asking, “Do I have the right equipment?” and start asking, “What can I do with this light, this angle, and this moment?” A paper backdrop, a puddle, a window, or a flashlight can become the beginning of a great image. The setup may look gloriously ridiculous, but the result can still look unforgettable.
Conclusion: The Messy Setup Is Part of the Magic
These 30 photo setup versus result ideas show that memorable images are often built from simple ingredients: controlled light, a clear subject, thoughtful framing, and a willingness to experiment. The finished photo may look polished, dreamy, dramatic, or expensive, while the reality behind it involves cardboard, blankets, grocery-store flowers, or a phone balanced on a stack of books.
That contrast is exactly what makes behind-the-scenes photography so inspiring. It replaces the myth of effortless talent with something much more useful: creative problem-solving. The next time you see a beautiful image, do not just admire the final result. Look for the likely setup behind it. Then try making your own version with what you already have nearby.