
Getting a boarding pass used to feel like a tiny airport side quest. You’d shuffle into line, clutch a suitcase handle like it owed you money, and hope the printer near the counter was in a good mood. These days, things are much easier. You can get a boarding pass on your phone, on your laptop, at a kiosk, or from an actual human being wearing an airline badge and the expression of someone who has already answered “Which line is faster?” forty-seven times this morning.
If you’re wondering how to get a boarding pass quickly and without turning your travel day into a dramatic short film, you have options. The best method depends on your airline, your airport, whether you’re checking a bag, and whether your phone battery lives a brave life or dies at 12 percent. In this guide, we’ll break down the four main ways to get a boarding pass, explain when each one makes the most sense, and share practical tips so you can check in with less stress and more confidence.
Why Your Boarding Pass Matters More Than You Think
Your boarding pass is more than a glorified permission slip. It confirms that you’ve checked in, shows your seat assignment, lists your boarding group or zone, and often updates automatically if your gate changes. Depending on the airport and airline, you may use it at bag drop, security, self-service stations, and the gate.
That means getting your boarding pass the smart way can save you time, reduce airport confusion, and help you avoid those panicky “Wait, why did my seat move?” moments. It also helps you plan ahead. If you check in early, you may have a better chance of snagging a decent seat, sorting out bags, or noticing any travel document issues before you’re standing at the airport trying to solve them with one bar of Wi-Fi.
1. Get a Mobile Boarding Pass on Your Phone
The easiest option for most travelers is the mobile boarding pass. After checking in through the airline’s app or mobile website, your boarding pass appears on your phone and is ready to scan when needed. For many travelers, this is the gold medal winner of convenience.
Why people love it
A mobile boarding pass is quick, paperless, and hard to misplace unless you accidentally misplace your entire phone, which is a different problem. You can often save it to your wallet app, pull it up in the airline app, or access it from a confirmation email. Some airlines also send trip updates that sync with the pass, so if your gate changes, your digital pass may reflect it automatically.
Best for
- Carry-on-only travelers
- Frequent flyers who want the fastest check-in option
- Travelers comfortable using airline apps
- Anyone who prefers not to juggle papers, coffee, chargers, and life choices at the same time
What to watch out for
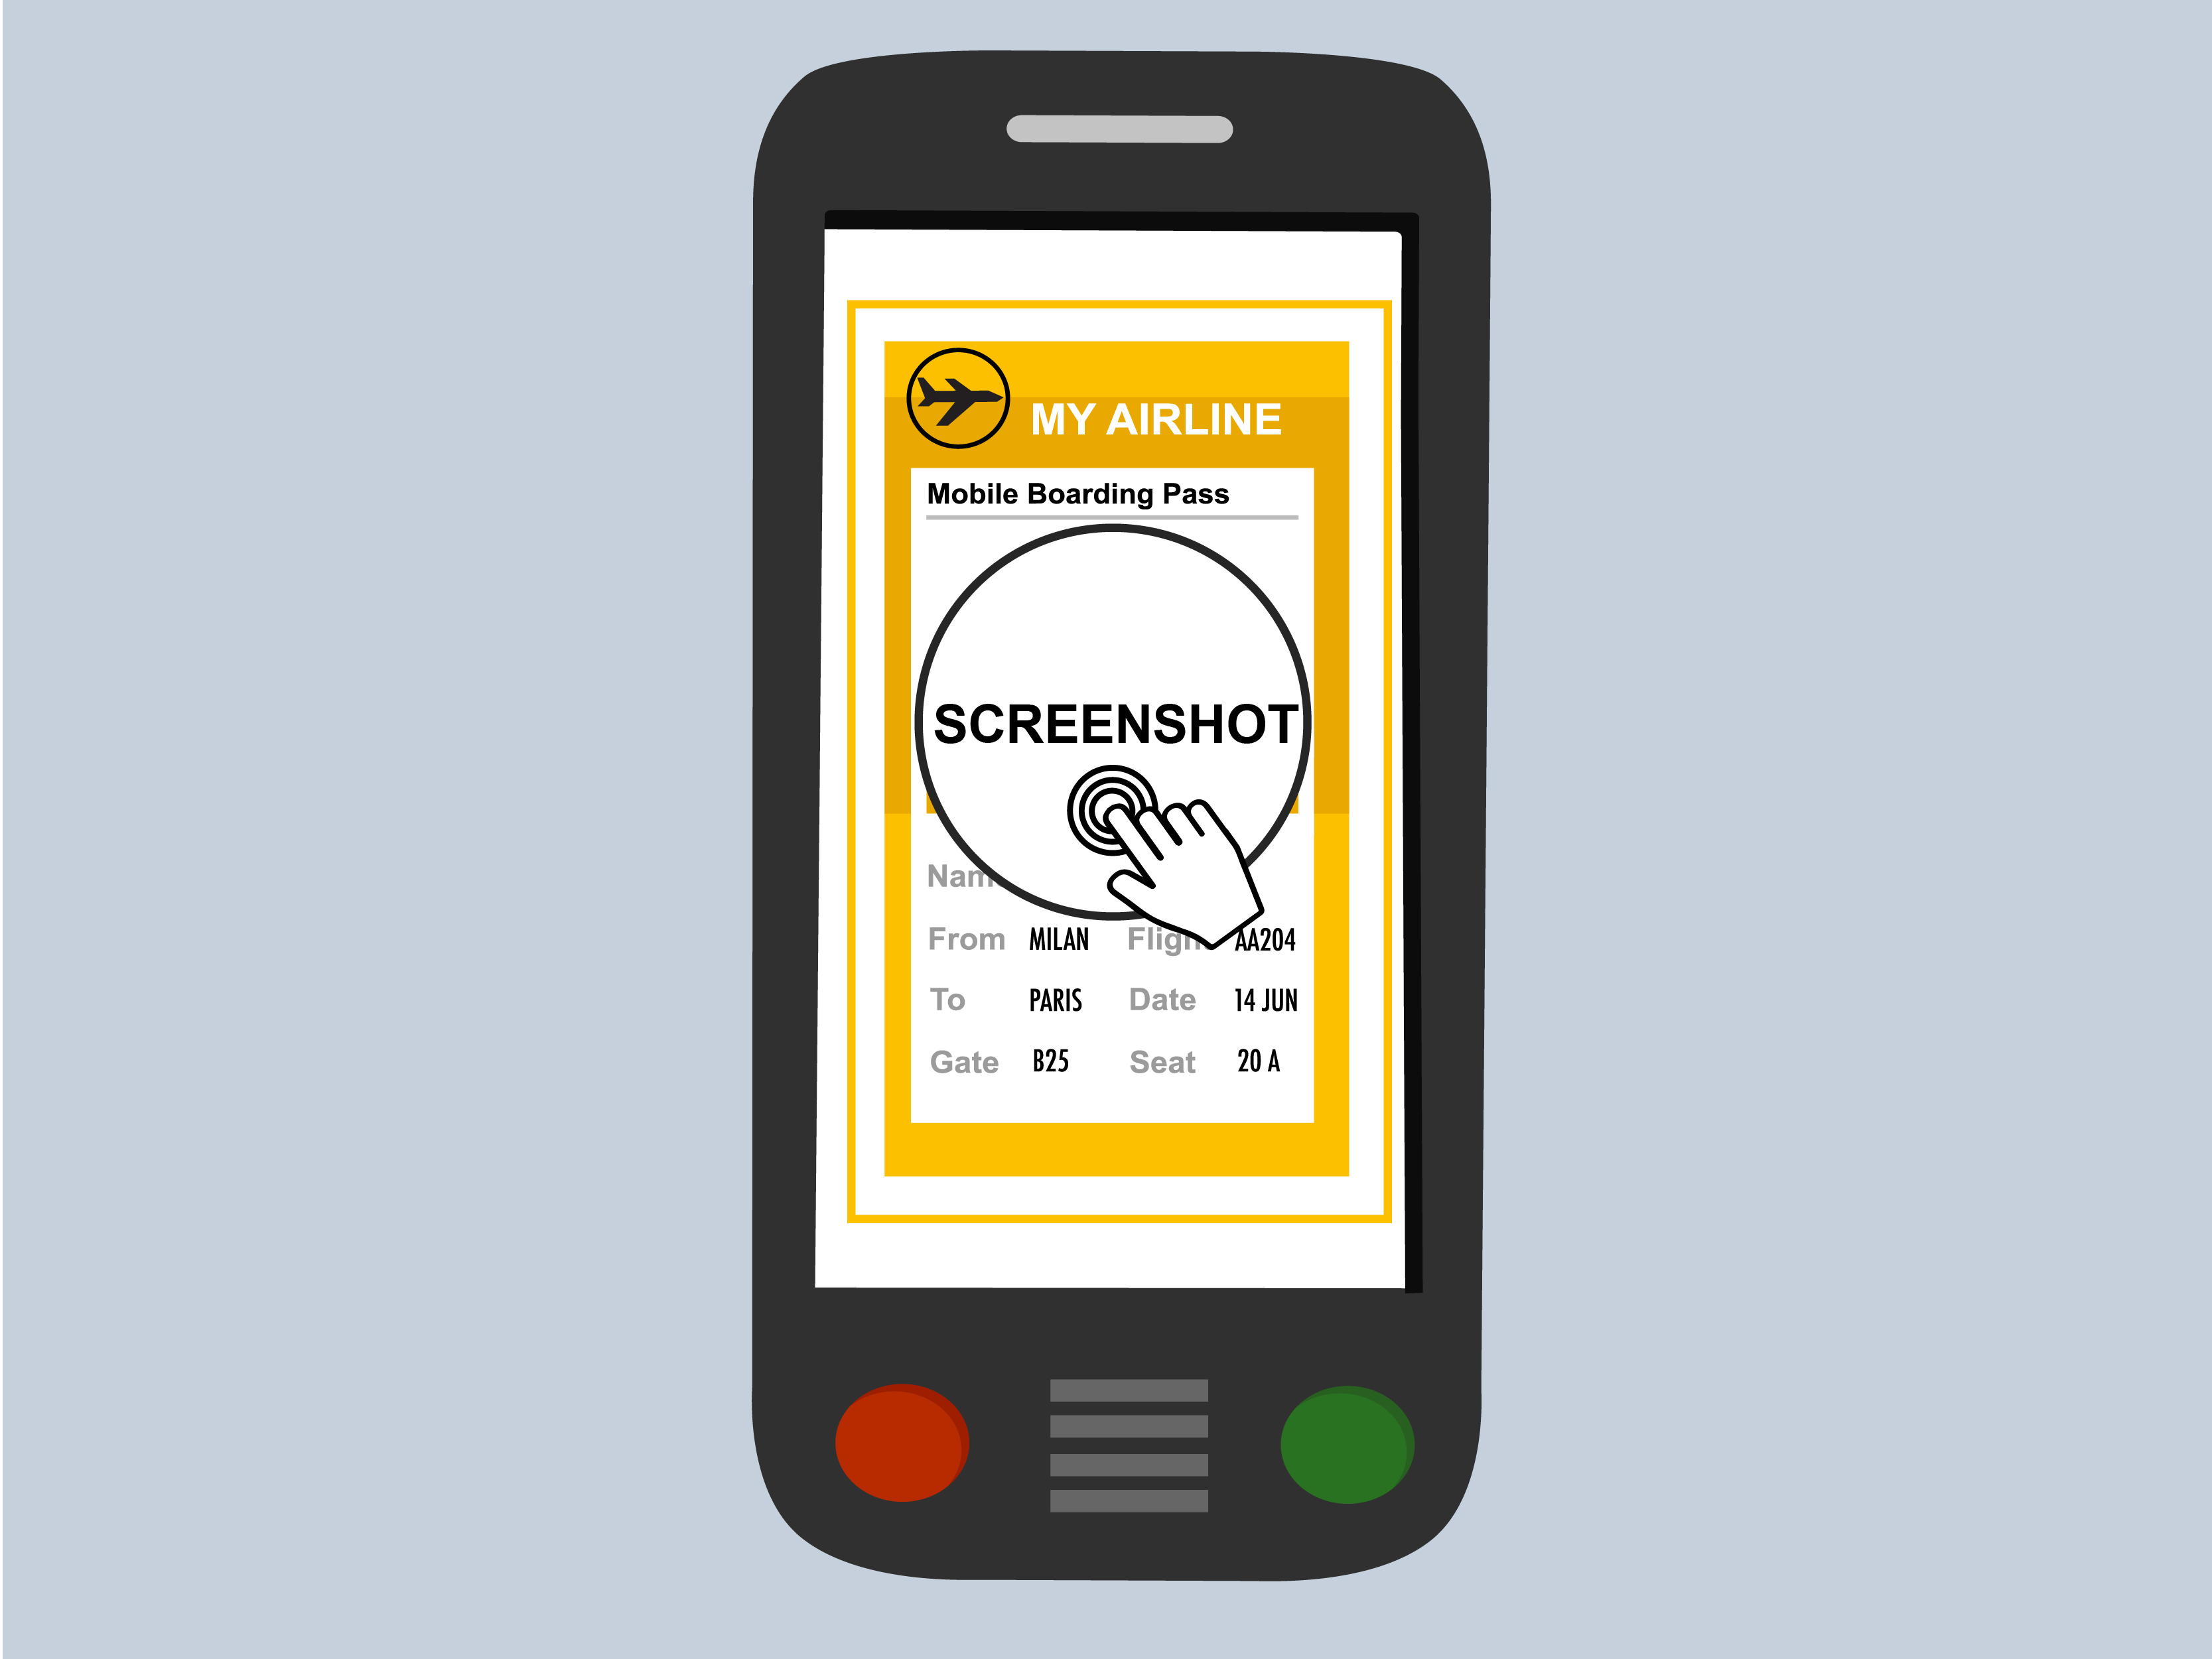
This method is convenient, but it does depend on your phone behaving like a responsible adult. A dead battery, cracked screen, weak signal, or app login issue can turn a smooth airport walk into an impromptu tech support session. It’s smart to take a screenshot of the pass after check-in, save it to your phone wallet if available, and carry a charger or power bank.
Also, not every trip is fully mobile-friendly. Some international itineraries, identity checks, visa reviews, or special assistance requests may still require you to stop at a kiosk or airline counter before you’re truly set.
2. Check In Online and Print Your Boarding Pass at Home
If you like the comfort of a paper copy without waiting until you reach the airport, this method is a classic. You check in through the airline’s website, download or print the boarding pass, and stroll into the airport feeling like a prepared person who definitely did not repack a suitcase three times the night before.
Why this option still works well
A printed boarding pass is simple, familiar, and delightfully immune to low battery anxiety. It’s especially useful for travelers who prefer physical documents, people traveling with older family members, or anyone who doesn’t want to fumble through apps in a busy terminal.
It can also be handy if you’re traveling with children or multiple people on one reservation. Some travelers find it easier to keep a printed packet with boarding passes, IDs, baggage receipts, and itineraries all together in one place.
Best for
- Travelers who prefer paper over screens
- Families managing several documents
- People with unreliable phone batteries
- Anyone who loves a backup plan almost as much as snacks
Possible downsides
Paper can wrinkle, disappear, or get stuffed into the same pocket as gum wrappers and mysterious receipts from two states ago. A printed pass also won’t automatically update if your seat or gate changes, so you still need to watch the airport screens or airline notifications.
Another catch: online check-in windows vary by airline, but many major U.S. carriers open check-in around 24 hours before departure. If you wait too long, you may lose some flexibility. And if your itinerary requires passport verification or extra document checks, you may still need to see an agent at the airport even if you printed your pass in advance.
3. Use an Airport Kiosk
The self-service kiosk is the middle ground between “I did everything in advance” and “Please let a real person handle this.” It’s a useful option for travelers who want to check in at the airport without waiting at the full-service counter. At many airports, kiosks let you retrieve your reservation, print your boarding pass, select or confirm a seat, and sometimes tag checked bags.
Why kiosks are useful
Kiosks are great when you forgot to check in ahead of time, want a paper pass, or need to print bag tags. On some airlines, they’re one of the fastest ways to move from lobby to bag drop without standing in the longest line in the building.
They’re also helpful if you already checked in online but still need something physical in your hand. Think of kiosks as the airport’s version of “No worries, we can still fix this.”
Best for
- Travelers who want a printed pass at the airport
- People checking bags
- Anyone who skipped online check-in
- Travelers who prefer touch-screen machines to hurried counter conversations
The catch with kiosks
Not all kiosks do the same thing anymore. Some airlines are shifting certain lobby stations toward bag-tagging rather than full boarding-pass printing. In plain English, that means you may need to check in online first and then use the kiosk for baggage help instead of starting the whole process there.
Kiosks can also get crowded during busy travel windows. If the terminal looks like everyone in the country chose your exact departure time, the kiosk line may not save much time. And if your trip involves document verification, international travel, or a special service request, the kiosk may send you to the counter anyway.
4. Get Your Boarding Pass at the Airline Counter
This is the old-school method, and sometimes it’s still the best one. You go to the airline check-in counter, show your ID and reservation details, and an agent helps you complete check-in and prints your boarding pass.
When the counter makes the most sense
The airline counter is often the safest choice if you’re traveling internationally, checking special baggage, flying with complicated documents, requesting assistance, or dealing with a reservation issue. If your trip involves a passport, visa, lap infant documentation, pet paperwork, oversized baggage, or a seat problem that a kiosk can’t fix, a real human is often your best friend.
It’s also the right choice when technology decides to become theatrical. App won’t load? Confirmation email missing? Kiosk refuses to acknowledge your existence? The counter is where these little travel gremlins usually get sorted out.
Best for
- International travelers
- Travelers with special requests or complicated itineraries
- People checking special or oversized bags
- Anyone whose travel day has already started acting suspiciously
What to remember
Counter service is helpful, but it can also be slower. During peak hours, the line can stretch like an airport version of a theme-park ride, except with less joy and more roller bags. Some ultra-low-cost airlines may also charge for agent assistance or printing a boarding pass at the airport, so it pays to check your airline’s rules in advance.
If you plan to use the counter, arrive early. “I’ll just breeze in” is famous last-word energy.
Which Boarding Pass Option Is Best?
There’s no single best answer for every traveler, but there is a best answer for your trip.
- Choose a mobile boarding pass if you want speed, convenience, and minimal paper.
- Choose online check-in plus printing at home if you like backups and easy organization.
- Choose a kiosk if you need a printed pass at the airport or want to handle bag tags quickly.
- Choose the airline counter if your trip is more complex or you need human help.
For many domestic travelers, the smoothest strategy is simple: check in online as soon as your window opens, save the mobile boarding pass, and keep a screenshot or printed copy as backup. That combo gives you flexibility without much hassle.
Smart Tips to Avoid Boarding Pass Problems
Check in as early as allowed
Many airlines let you check in about 24 hours before departure. Doing it early can help you confirm your seat, catch any issues, and avoid unnecessary airport lines.
Bring a backup
If you’re using a mobile pass, save a screenshot and carry a charger. If you’re using paper, keep it in an easy-to-reach spot that is not also home to snack crumbs.
Know your airline’s quirks
Some carriers are very app-friendly. Some are kiosk-heavy. Some low-cost airlines put extra emphasis on self-service and may charge for certain airport help. Read your airline’s check-in instructions before travel day, not while standing in line behind someone reorganizing an entire suitcase.
Allow extra time for international trips
Even if you check in online, international flights may still require document checks at the airport. Don’t assume a digital pass means you can skip every line.
Make sure your ID is ready
Your boarding pass gets you through the journey, but your ID still matters. Have your identification ready, make sure your travel name matches your reservation, and don’t leave important document checks until the last minute.
Traveler Experiences: What These 4 Methods Feel Like in Real Life
To make this even more practical, let’s talk about what getting a boarding pass actually feels like on a real travel day, because airport advice always sounds calmer on the internet than it does when Gate B14 has just changed to C2.
Experience one: the business traveler with only a carry-on. This traveler checks in on the airline app exactly 24 hours before departure, downloads the mobile boarding pass, and walks into the airport like someone starring in a productivity commercial. No counter stop. No kiosk stop. Just security, coffee, and the tiny smug thrill of being done early. For this kind of trip, a mobile boarding pass is hard to beat.
Experience two: the family vacation strategist. Mom prints all four boarding passes at home, slides them into a travel folder with passports and baggage confirmations, and becomes the undisputed chief operating officer of the trip. When one child asks where the boarding pass is, the answer is not “somewhere in my phone,” but “front pocket, left side, next to the snacks.” Printed passes may not be glamorous, but they are wonderfully practical when several people are moving at different speeds and asking many loud questions.
Experience three: the traveler whose phone battery enters its villain era. Everything was going beautifully until the rideshare app, music app, and three unnecessary weather checks reduced the battery to 4 percent. Suddenly, the person who trusted the mobile boarding pass alone is sprinting toward an airport kiosk with the focus of an Olympic athlete. This is why backups matter. A screenshot, a wallet save, or a printed copy can rescue your morning and your blood pressure.
Experience four: the international traveler with documents to verify. This traveler checked in online at home and felt extremely accomplished, only to arrive at the airport and learn that passport review must still happen at the counter. Annoying? A little. Normal? Also yes. This is one of the biggest reasons travelers should understand that “I checked in online” and “I never need to see an airline agent” are not always the same thing.
These experiences all point to the same truth: the best boarding pass method is the one that matches your trip, not just your preference. A simple domestic flight with no checked bag is perfect for a digital pass. A family trip may be easier with printed copies. A bag-heavy vacation might make the kiosk your hero. And a more complicated itinerary may call for the counter, where a human can solve problems faster than any glowing touch screen.
In other words, the smartest traveler isn’t the one using the fanciest option. It’s the one using the right option. Airports are unpredictable enough without forcing yourself into a check-in method that doesn’t fit the day. Pick the route that gives you the least friction, bring a backup, and let your boarding pass be the easiest part of your trip for once.
Final Thoughts
If you need to get a boarding pass, you have four reliable methods: use your phone, check in online and print at home, stop at a kiosk, or head to the airline counter. None of them is universally perfect, but all of them work when used at the right time.
The best travel strategy is not complicated: check in early, know your airline’s rules, keep your ID handy, and always have a backup plan. Do that, and your boarding pass becomes exactly what it should be: a simple step between you and your seat, not a mini-crisis with wheels.