
Note: This guide is written for white or light-colored sneakers, rubber soles, and many smooth synthetic or leather-like surfaces. Always spot-test first, and skip toothpaste on suede, nubuck, delicate dyed fabrics, or expensive specialty footwear.
Can You Really Clean Shoes with Toothpaste?
Yes, you can clean shoes with toothpasteand no, this is not just one of those internet hacks invented by someone avoiding laundry day. White, non-gel toothpaste can help lift scuffs, brighten rubber soles, and freshen up dingy white sneakers because it contains mild abrasives designed to polish without being wildly aggressive. That same gentle polishing action can work on shoe edges, midsoles, toe caps, and some smooth uppers.
But there is a tiny catch wearing very dirty socks: toothpaste is not a miracle potion. It works best on surface dirt, gray scuffs, yellowish rubber edges, and light stains. It is not the best choice for suede, deep oil stains, muddy mesh, or shoes that look like they survived a music festival, a thunderstorm, and a backyard wrestling match in the same weekend.
The safest approach is simple: use white non-gel toothpaste, a soft toothbrush, a damp microfiber cloth, and patience. Avoid colored toothpaste, charcoal toothpaste, whitening formulas with strong bleaching agents, and glittery kids’ toothpaste unless your goal is “minty disaster chic.”
What You Need Before You Start
Before learning how to clean shoes with toothpaste, gather everything in one spot. This keeps the process quick and prevents you from wandering through the house with one foamy sneaker in your hand.
Supplies
- White, non-gel toothpaste
- Old soft-bristled toothbrush
- Microfiber cloth or clean towel
- Small bowl of warm water
- Mild dish soap, optional
- Baking soda, optional for extra cleaning power
- Paper towels or shoe trees for shaping
- Dry towel for your work surface
If your shoes have removable laces, take them out. Laces trap grime and make it harder to clean the tongue and eyelet area. You can wash the laces separately in warm water with mild detergent while the shoes are getting their spa day.
How to Clean Shoes with Toothpaste: 10 Steps
Step 1: Check the Shoe Material
Start by identifying the material. Toothpaste is most useful on white rubber soles, smooth synthetic sneakers, white leather sneakers, and canvas shoes with light stains. It is not ideal for suede or nubuck because those materials dislike moisture and paste-based cleaners. Mesh can also be tricky because scrubbing too hard may stretch or damage the fibers.
When in doubt, clean only the rubber sole first. That is where toothpaste usually shines brightestliterally.
Step 2: Remove Loose Dirt
Use a dry brush, towel, or your hand to knock off loose dust, dried mud, and debris. Do this before adding water. If you wet dirt immediately, you basically create shoe soup, and nobody asked for that recipe.
Brush around the outsole grooves, toe area, and seams. The cleaner the surface is before toothpaste goes on, the better the paste can focus on stains instead of smearing dirt around.
Step 3: Take Out the Laces
Remove the shoelaces so you can clean the tongue and upper properly. Soak white laces in warm water with a small drop of mild detergent for 15 to 30 minutes, then gently rub them between your fingers, rinse, and air-dry.
If the laces are permanently gray no matter what you do, replacing them may be the cheapest “new shoe” upgrade on Earth.
Step 4: Spot-Test the Toothpaste
Apply a tiny dot of white non-gel toothpaste to a hidden area, such as the inside edge of the tongue or the lower back of the sole. Let it sit for a few minutes, then wipe it away with a damp cloth. If there is no discoloration, fading, sticky residue, or texture change, continue.
This step matters because not all shoes react the same way. Some dyed materials may lighten, and some finishes may become dull if rubbed too aggressively.
Step 5: Apply a Small Amount of Toothpaste
Put a pea-sized amount of toothpaste on the toothbrush. Start small. You can always add more, but once you have covered the shoe in mint foam, the cleanup becomes more dramatic than necessary.
For rubber soles and toe caps, apply toothpaste directly to scuffed areas. For white leather or synthetic uppers, use a thinner layer and lighter pressure.
Step 6: Scrub Gently in Circular Motions
Use small circular motions to work the toothpaste into stained or scuffed areas. Focus on the midsole, outsole edges, toe box, and heel. These areas usually collect the most visible dirt.
Do not grind the brush like you are sanding a deck. Gentle pressure is enough. Toothpaste already has mild abrasives; your job is to guide them, not start a sneaker demolition project.
Step 7: Let It Sit Briefly
Let the toothpaste sit for about 5 to 10 minutes on rubber soles or stubborn scuffs. For delicate uppers, keep the waiting time shorter. This gives the paste a chance to loosen grime without drying into a crusty layer.
If the toothpaste starts hardening, lightly dampen the brush before continuing. Dry paste can be harder to remove and may leave a chalky finish.
Step 8: Wipe Away the Residue
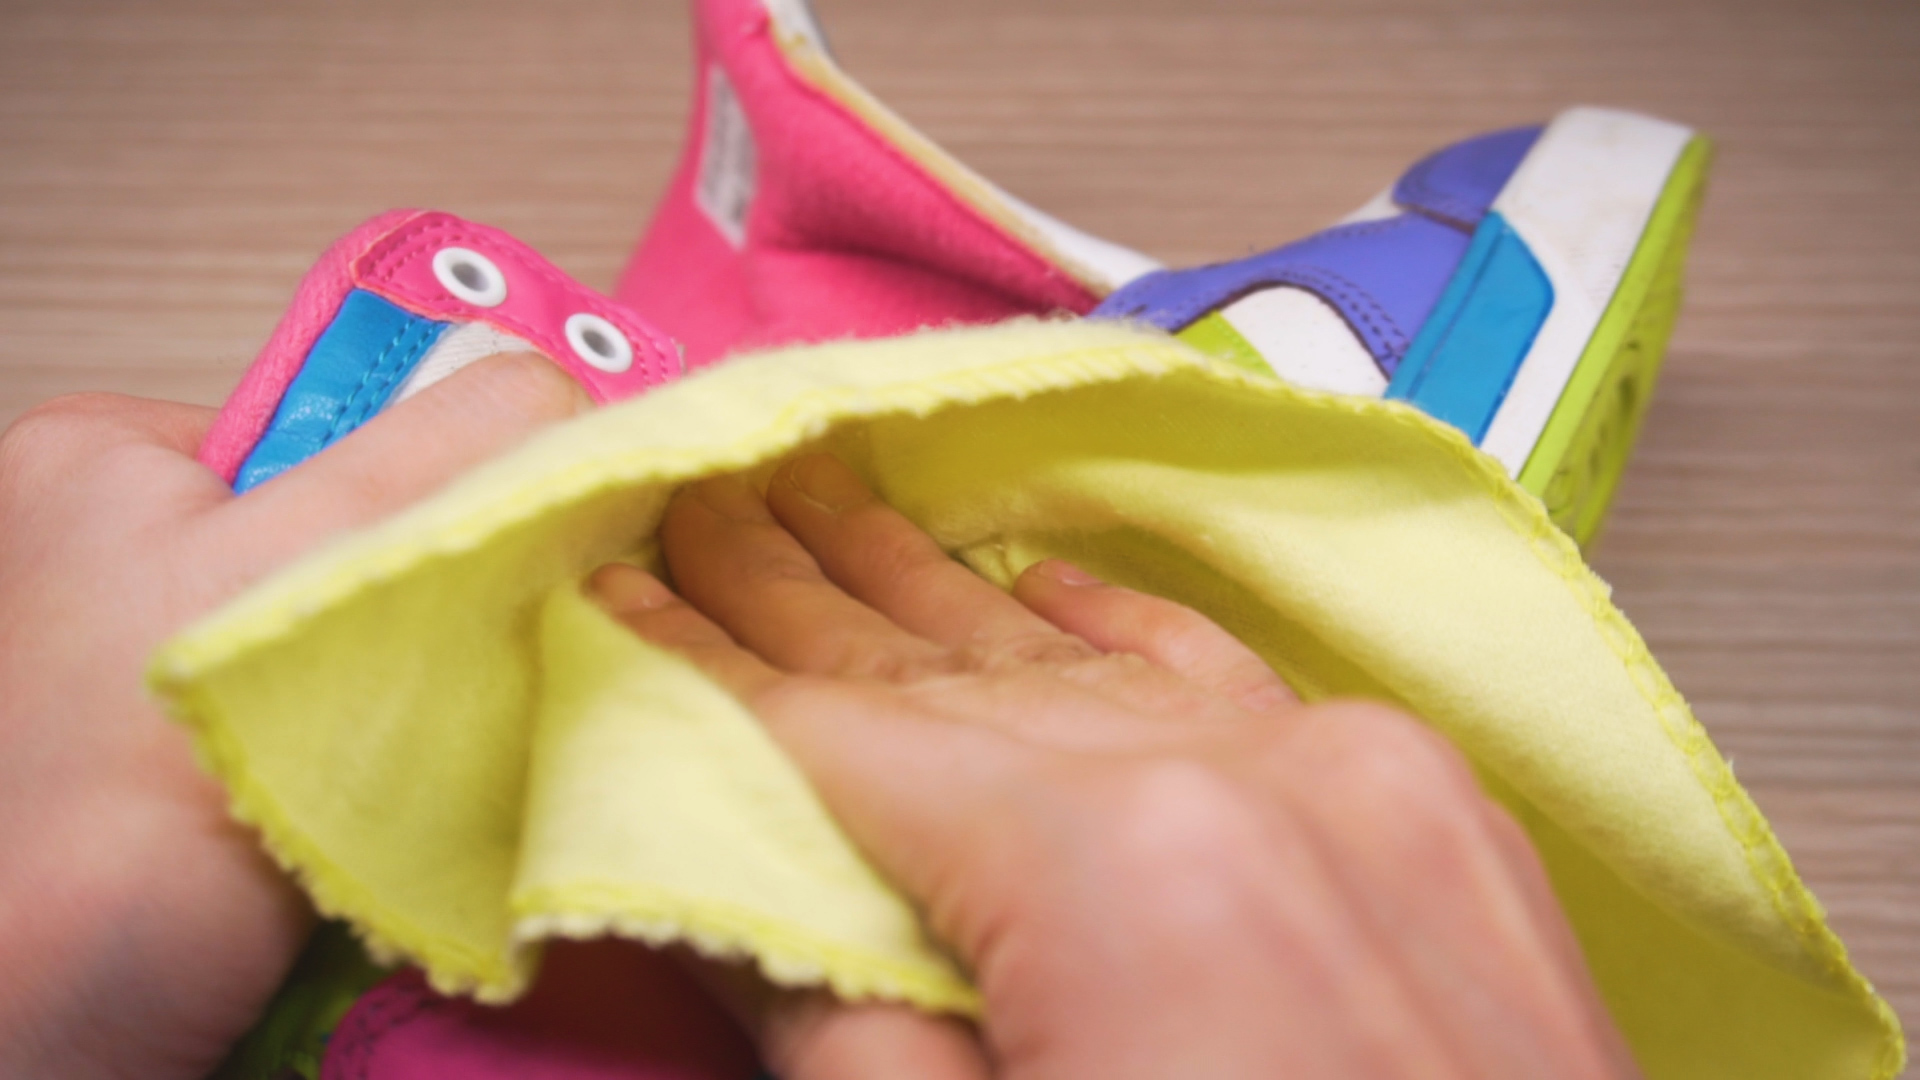
Dampen a microfiber cloth with warm water and wipe away the toothpaste. Rinse the cloth often so you are not spreading residue back onto the shoe. For grooves in rubber soles, use the toothbrush dipped in clean water to loosen leftover paste.
Keep wiping until the shoe feels clean, not slippery or gritty. Toothpaste residue left behind can attract dust later, which is the opposite of the plan.
Step 9: Repeat Only Where Needed
If scuffs remain, repeat the process on those specific spots. Do not keep scrubbing the entire shoe again and again. Targeted cleaning is safer and more effective.
For extra-stubborn white rubber soles, you can mix a small amount of toothpaste with a pinch of baking soda and a few drops of water. Use this only on durable rubber areas, not delicate uppers.
Step 10: Air-Dry the Shoes Properly
Stuff the shoes with paper towels or use shoe trees to help them hold their shape. Let them air-dry at room temperature in a well-ventilated place. Avoid direct heat, hair dryers, radiators, and clothes dryers because high heat can warp soles, loosen glue, or shrink materials.
Once dry, relace the shoes and admire your work. Try not to immediately step into a puddle. The universe loves comedy, but you do not have to help it.
Best Shoe Types for the Toothpaste Cleaning Method
White Sneakers
White sneakers are the best candidates for toothpaste cleaning. Rubber midsoles, white toe caps, and smooth uppers usually respond well to a small amount of white toothpaste and a soft brush.
Canvas Shoes
Canvas shoes can be cleaned with toothpaste, but use caution. Toothpaste may help with small stains, yet heavy scrubbing can push grime deeper into the fabric. For full canvas cleaning, mild detergent and water may work better.
Leather Sneakers
White leather sneakers can often handle toothpaste on scuffs, but only with gentle pressure. After cleaning, wipe thoroughly and let them dry naturally. A leather conditioner can help prevent the surface from feeling dry.
Rubber Soles
Rubber soles are the toothpaste method’s favorite playground. Toothpaste can brighten gray edges and remove black scuff marks from white midsoles. For many people, cleaning just the soles makes the whole shoe look newer.
Shoes to Avoid
Do not use toothpaste on suede, nubuck, velvet, satin, delicate dyed fabric, or premium specialty shoes unless the manufacturer specifically says it is safe. These materials need gentler, material-specific care.
Common Mistakes to Avoid
Using Colored or Gel Toothpaste
Colored toothpaste can stain light shoes, and gel toothpaste usually does not offer the same polishing effect. Stick with plain white, non-gel toothpaste.
Scrubbing Too Hard
Hard scrubbing may damage mesh, scratch leather finishes, or rough up canvas fibers. A soft toothbrush and light pressure are enough for most shoe cleaning jobs.
Skipping the Spot Test
Every shoe is a tiny mystery. Spot-testing helps you avoid surprise discoloration, especially on dyed materials or mixed-material sneakers.
Leaving Paste on Too Long
Toothpaste should not dry into a hard shell. Let it sit briefly, then wipe it away completely with a damp cloth.
Drying Shoes with Heat
Heat can damage glue, shape, and fabric. Air-drying takes longer, but it is safer and helps your shoes last.
How Often Should You Clean Shoes with Toothpaste?
Use toothpaste as a spot-cleaning method whenever scuffs appear, especially on white soles. For everyday sneakers, a quick sole touch-up every one to two weeks can keep them looking fresh. A deeper cleaning once a month is usually enough unless your shoes face mud, rain, grass, or mysterious sidewalk substances that are better left unnamed.
For best results, wipe shoes after wearing them in dirty conditions. The longer stains sit, the more stubborn they become. Cleaning early is easier than negotiating with a stain that has signed a long-term lease.
Extra Tips for Keeping Shoes Clean Longer
- Store shoes in a cool, dry place away from direct sunlight.
- Use a shoe protector spray if it is safe for the material.
- Clean scuffs as soon as you notice them.
- Rotate shoes so one pair does not take all the daily abuse.
- Keep a small cleaning kit with a toothbrush, cloth, and mild soap.
- Avoid wearing white sneakers on muddy or rainy days unless you enjoy suspense.
My Real-World Experience Cleaning Shoes with Toothpaste
The first time I tried cleaning shoes with toothpaste, I was skeptical. My white sneakers had reached that sad stage where they were technically still white, but only in the way old printer paper is technically still white. The rubber soles had gray scuffs, the toe caps looked tired, and the midsoles had that dull city-sidewalk film that makes sneakers look older than they are.
I started with the soles because that felt like the safest test zone. I used plain white toothpaste, an old toothbrush, and a damp microfiber cloth. The first surprise was how quickly the rubber edges improved. After about two minutes of gentle circular scrubbing, the gray marks started lifting. It was not an instant movie transformation with sparkles and dramatic music, but it was noticeable enough that I kept going.
The biggest lesson was that less toothpaste works better than too much. On my first shoe, I used a generous blob because apparently I thought the sneaker had teeth. That created extra foam and took longer to wipe off. On the second shoe, I used a pea-sized amount and got cleaner results with less mess. Small amounts are easier to control, especially around stitching and textured rubber.
I also learned that the damp cloth step matters as much as the scrubbing step. If you do not remove all the residue, the shoe can look slightly chalky after drying. I wiped the soles twice, rinsing the cloth between passes, and the finish looked much cleaner. For grooves along the outsole, I dipped the toothbrush in clean water and brushed out the leftover paste.
On smooth synthetic areas, toothpaste helped with light marks but did not erase everything. A dark scratch near the heel faded, but it did not disappear completely. That was a useful reality check. Toothpaste is great for freshening and brightening, but it cannot reverse every battle scar. Shoes are not time machines.
I would not use toothpaste for a full deep clean on mesh running shoes. Mesh needs a gentler wash with mild soap and careful blotting because scrubbing can rough up the material. I also would not use it on suede. Suede is the dramatic friend of shoe materials: one wrong move, and suddenly everything is complicated.
My favorite way to use this method now is as a quick maintenance routine. If my white sneakers look dull before going out, I clean only the rubber midsoles with toothpaste. It takes less than 10 minutes, and the shoes look much fresher. This is especially helpful when the upper is still fine but the sole edges are making the whole pair look neglected.
Another practical tip: put an old towel under the shoes before cleaning. Toothpaste splatter is tiny but sneaky. It can land on counters, floors, and sleeves. Also, do not use your current toothbrush unless you want a deeply confusing morning.
Overall, the toothpaste method is best viewed as a simple spot-cleaning trick, not a professional restoration system. It is cheap, fast, and surprisingly effective on white rubber soles and light scuffs. Used carefully, it can help extend the clean look of your sneakers between deeper washes. Used wildly, it can create a minty mess. Choose wisely, clean gently, and your shoes will thank you by looking slightly less like they have been running errands since 2017.
Conclusion
Cleaning shoes with toothpaste is one of the easiest home methods for refreshing white sneakers, especially when the rubber soles are covered in scuffs. The key is to use white non-gel toothpaste, scrub gently, wipe away residue completely, and let the shoes air-dry. It is not suitable for every material, but when used on the right surfaces, it can make your shoes look cleaner, brighter, and far more presentable without requiring expensive products.
Think of toothpaste as a quick rescue tool for light stains and dull soles. It will not perform magic, but it can absolutely help your favorite sneakers look like they still have plans this weekend.